This is a story of extreme refurbishing of Commodore 64 machine I call The Rusty British Lady.
This is a short story, with plenty of pictures to show most of the interesting parts of the refurbish project. Check out the multiple photo galleries on this page, a picture is worth a thousand misplelled words.
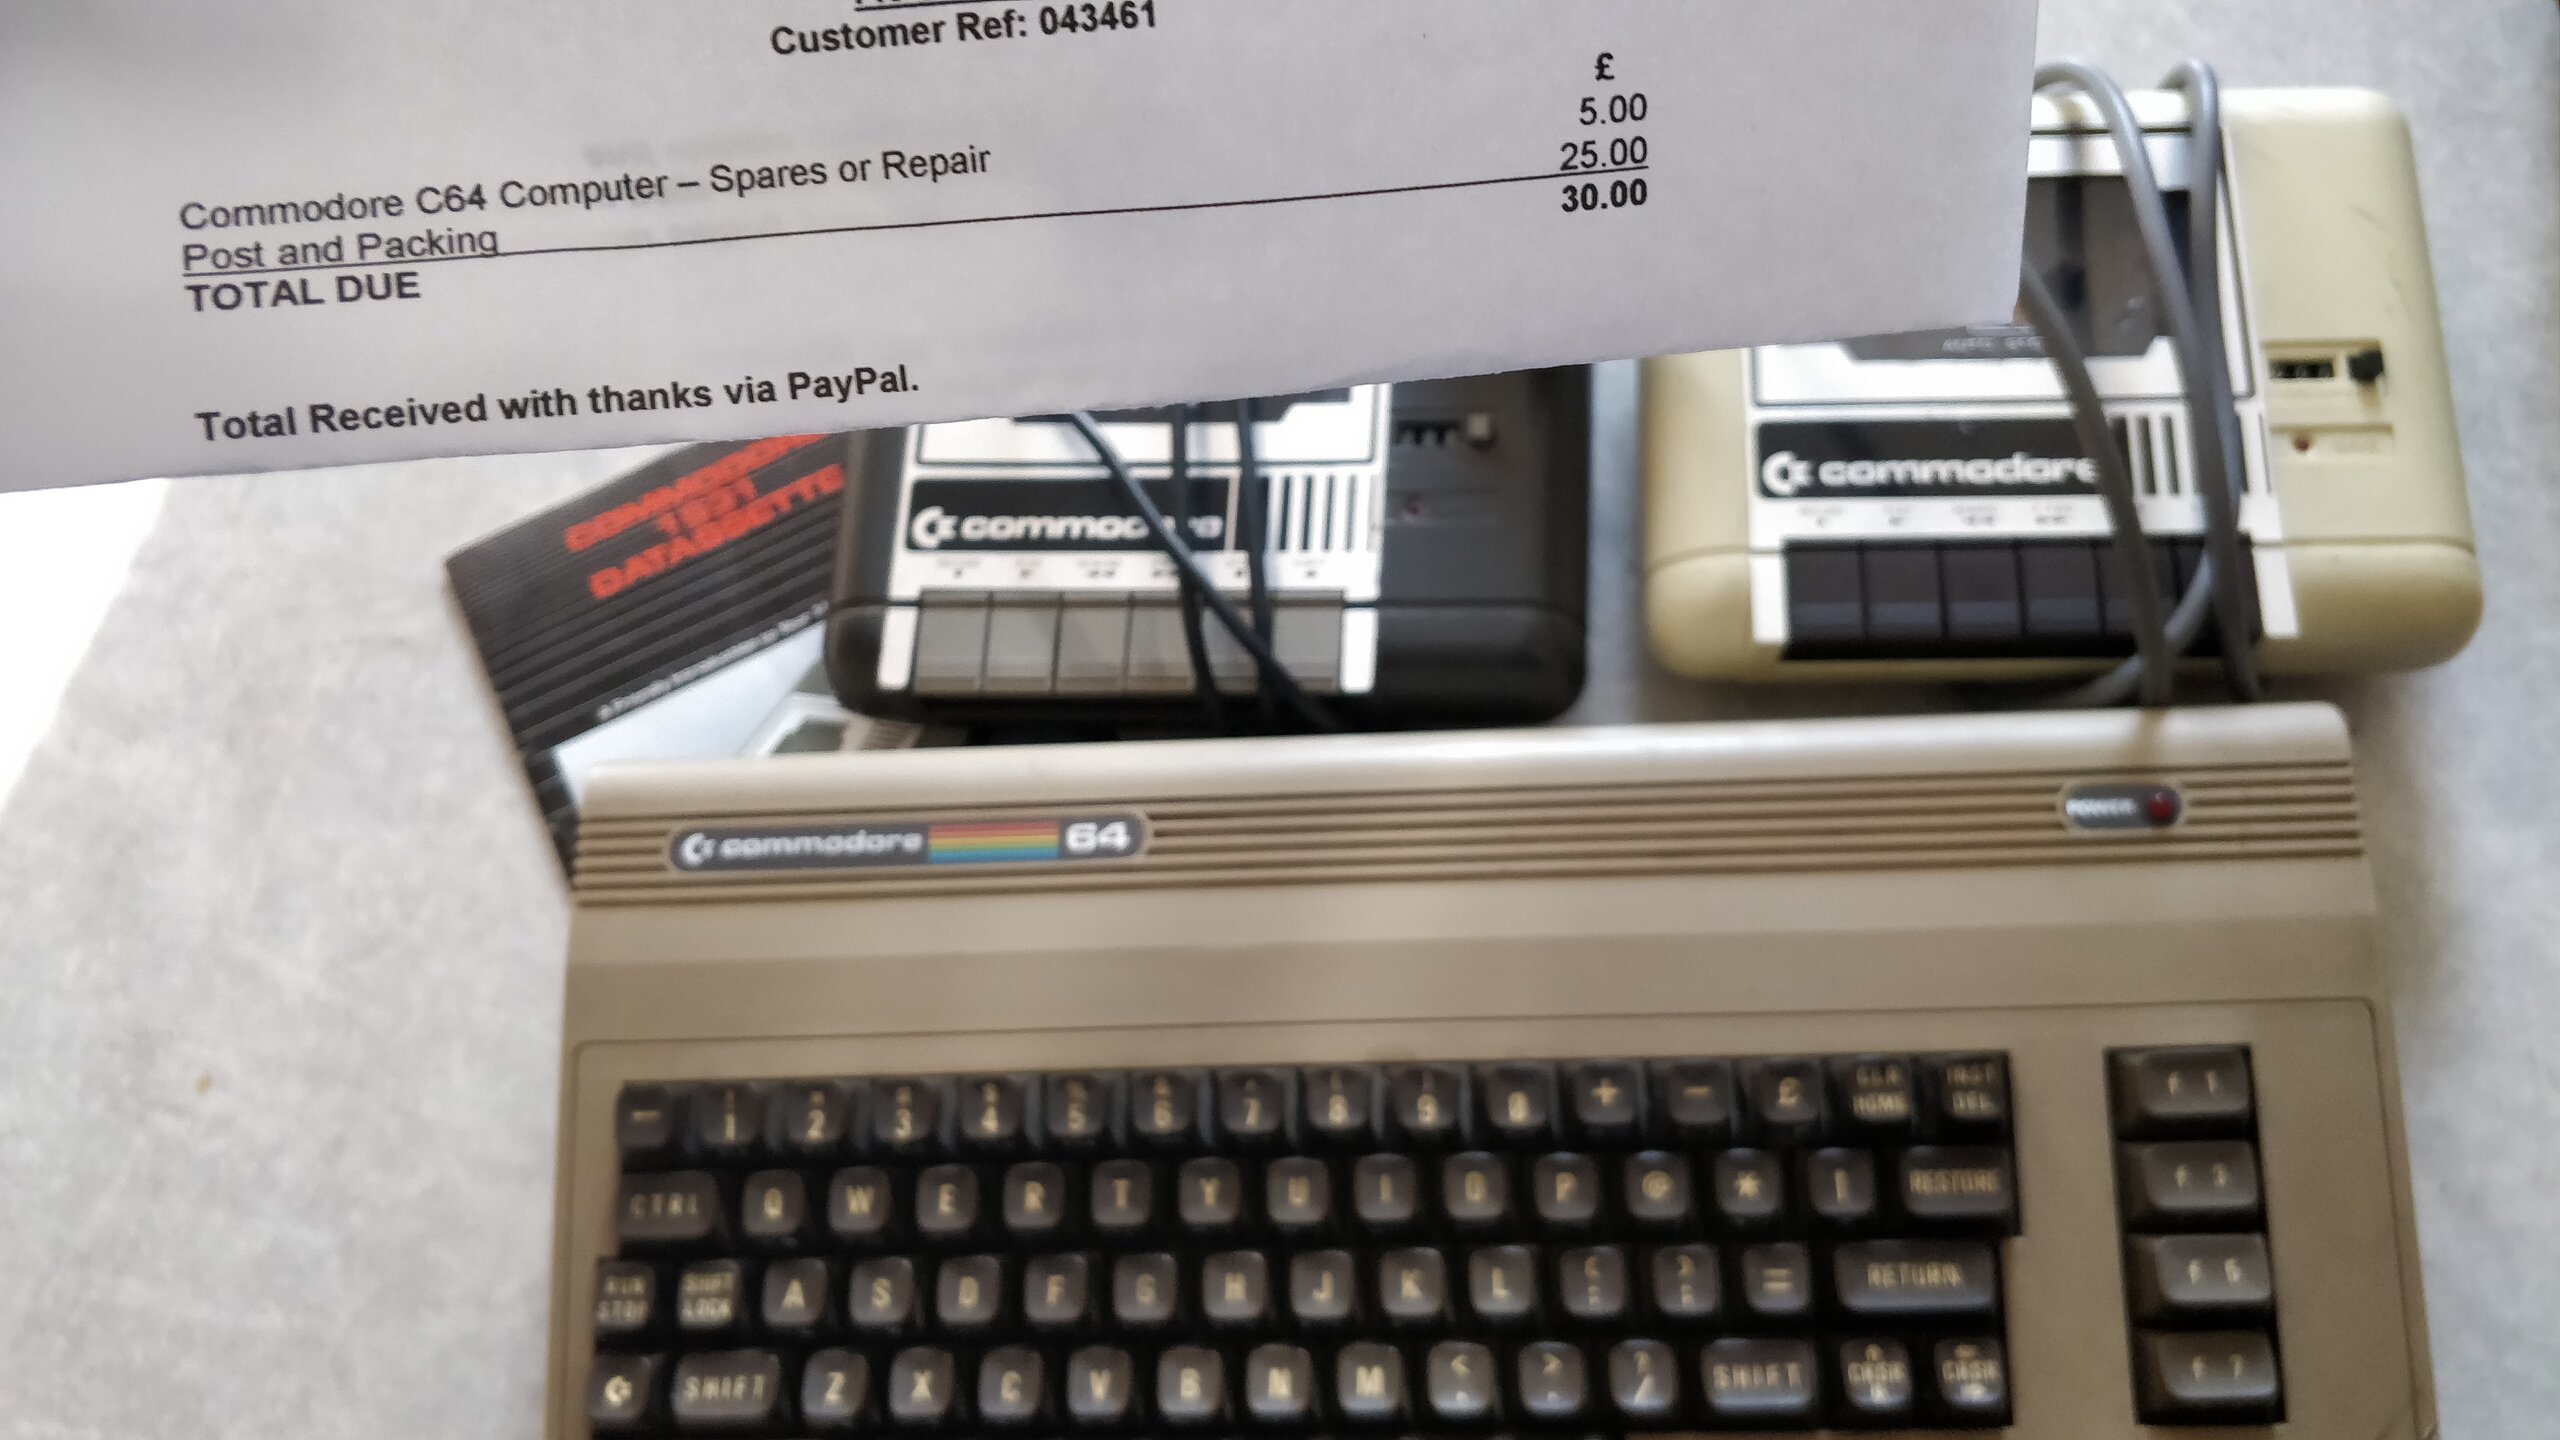
Impulse buy
I ran into ad saying “C64 for sale, not working, no power light comes on, unknown condition”. Price was pretty low, £5, and albeit shipping to Finland was £25 I still went for it because the package also included two datasettes (one “regular”, one black for C16).
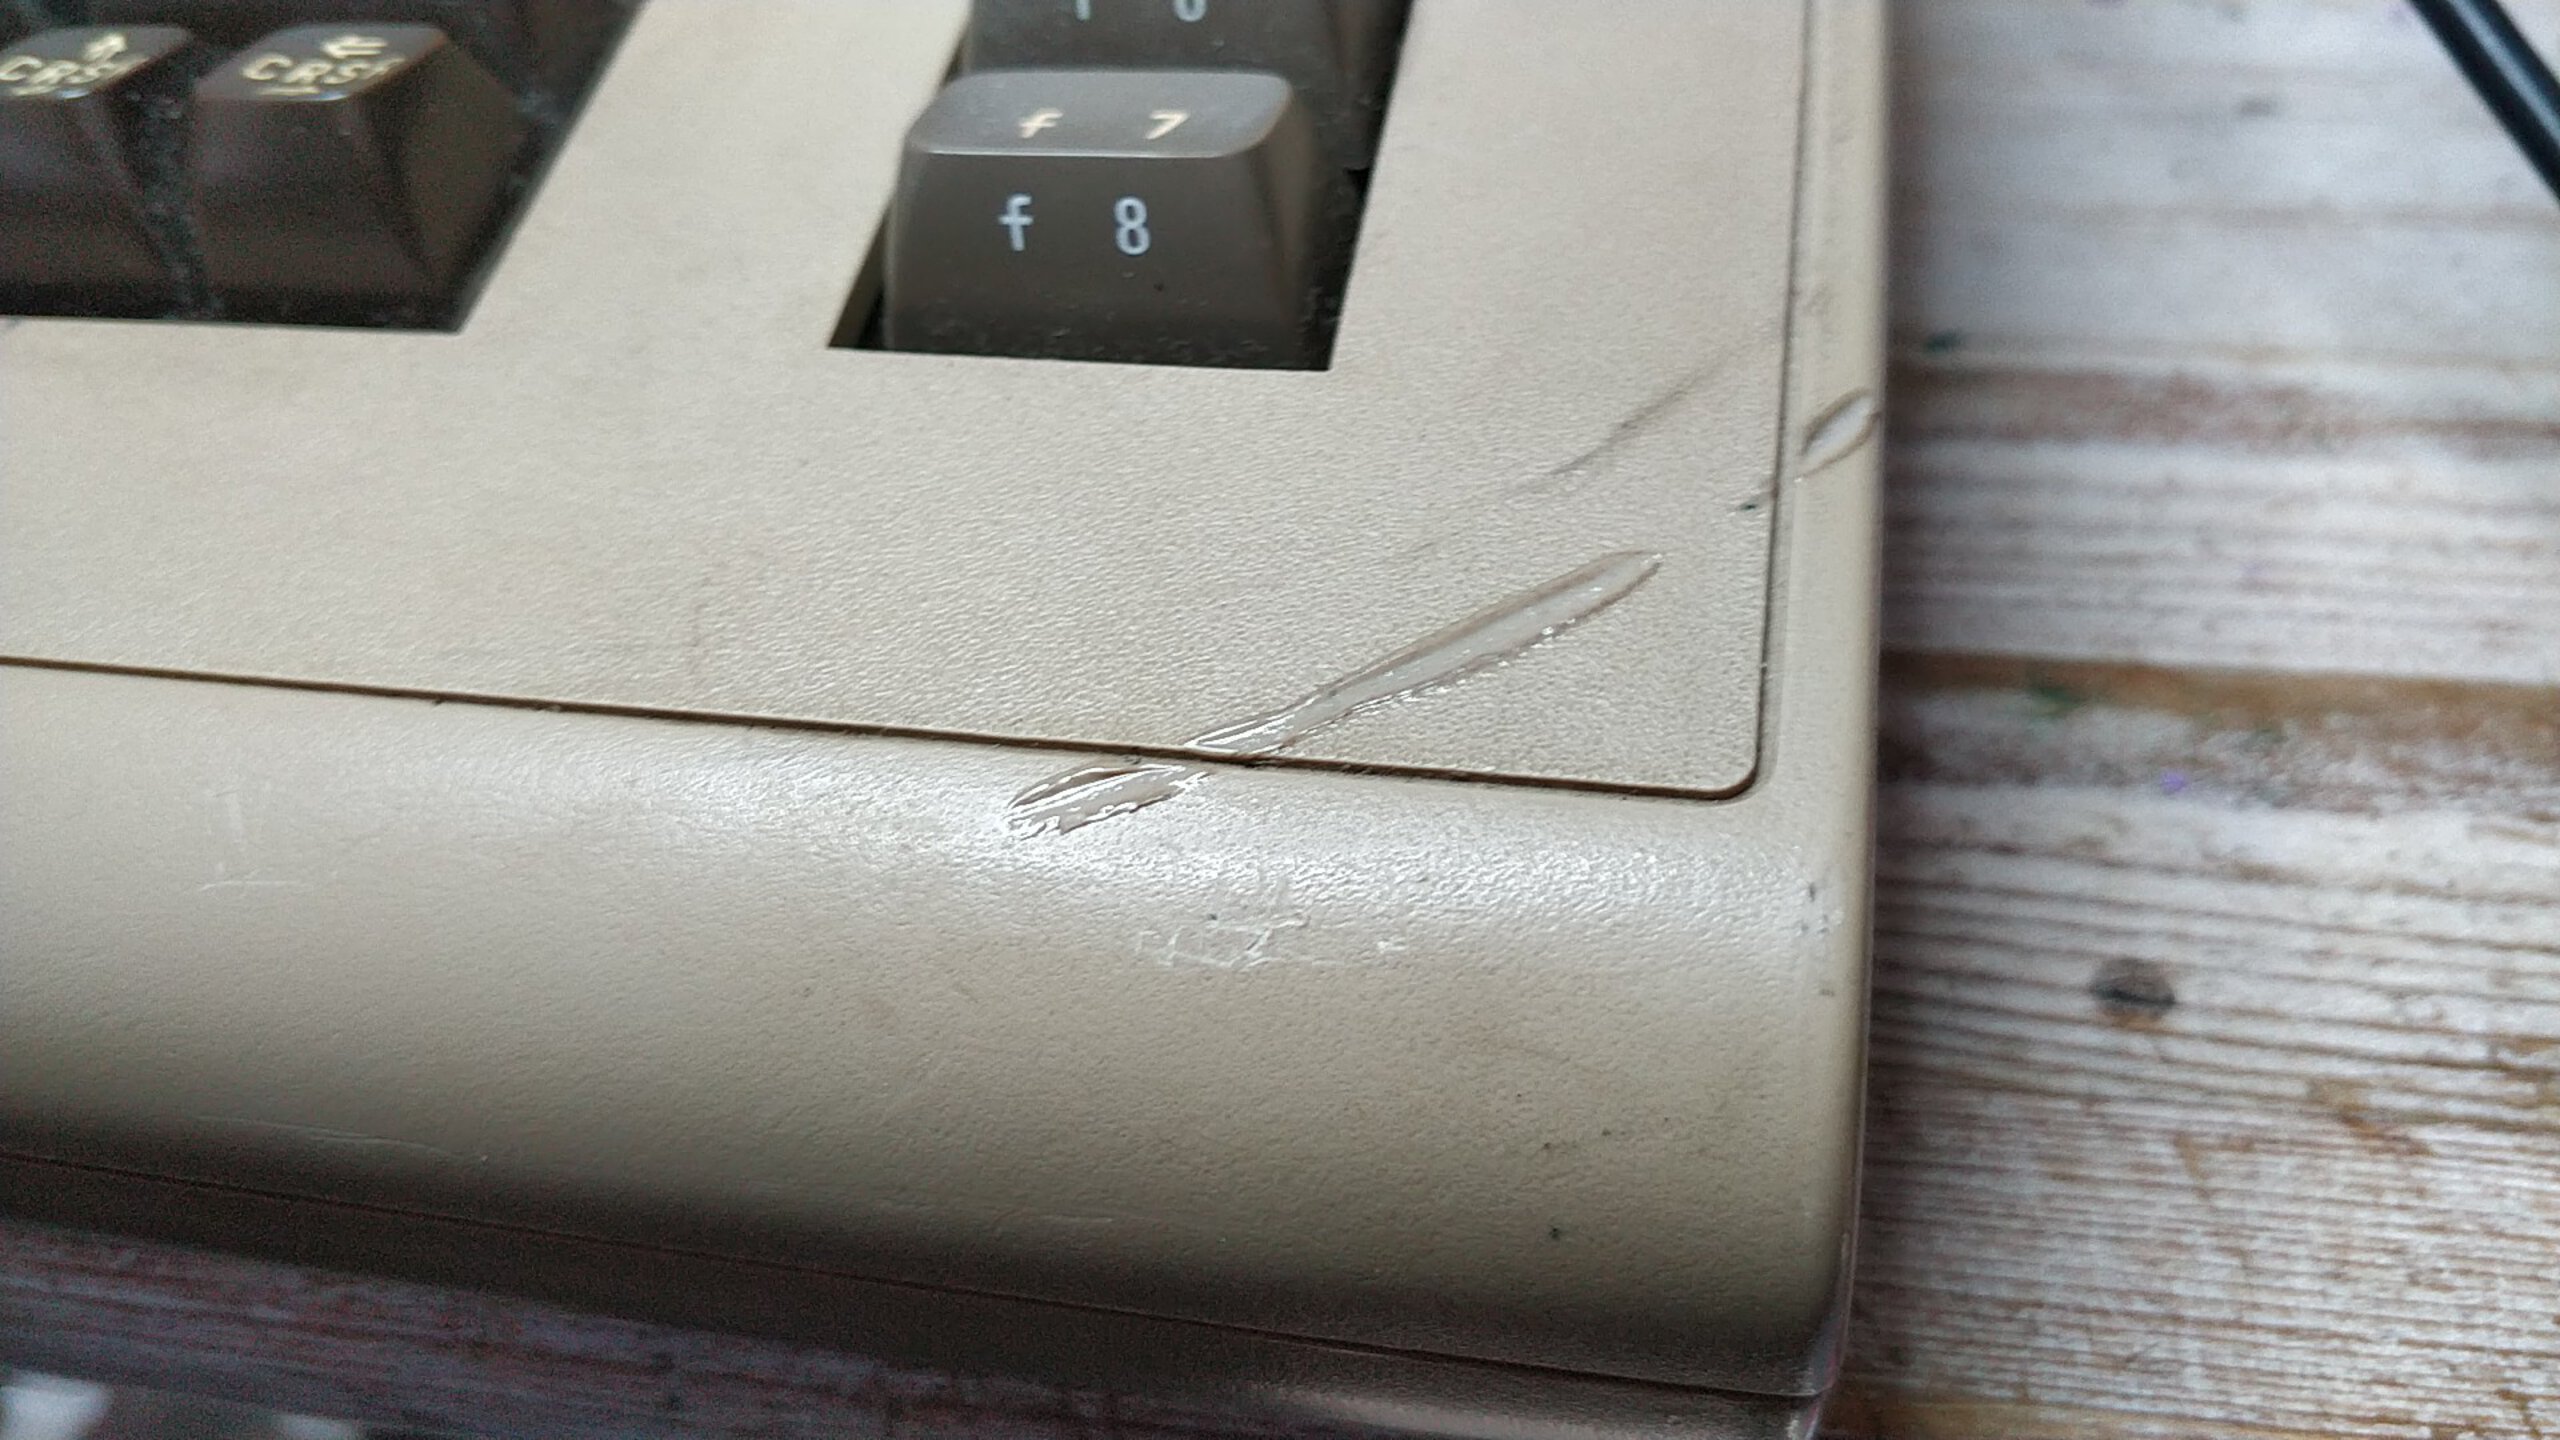
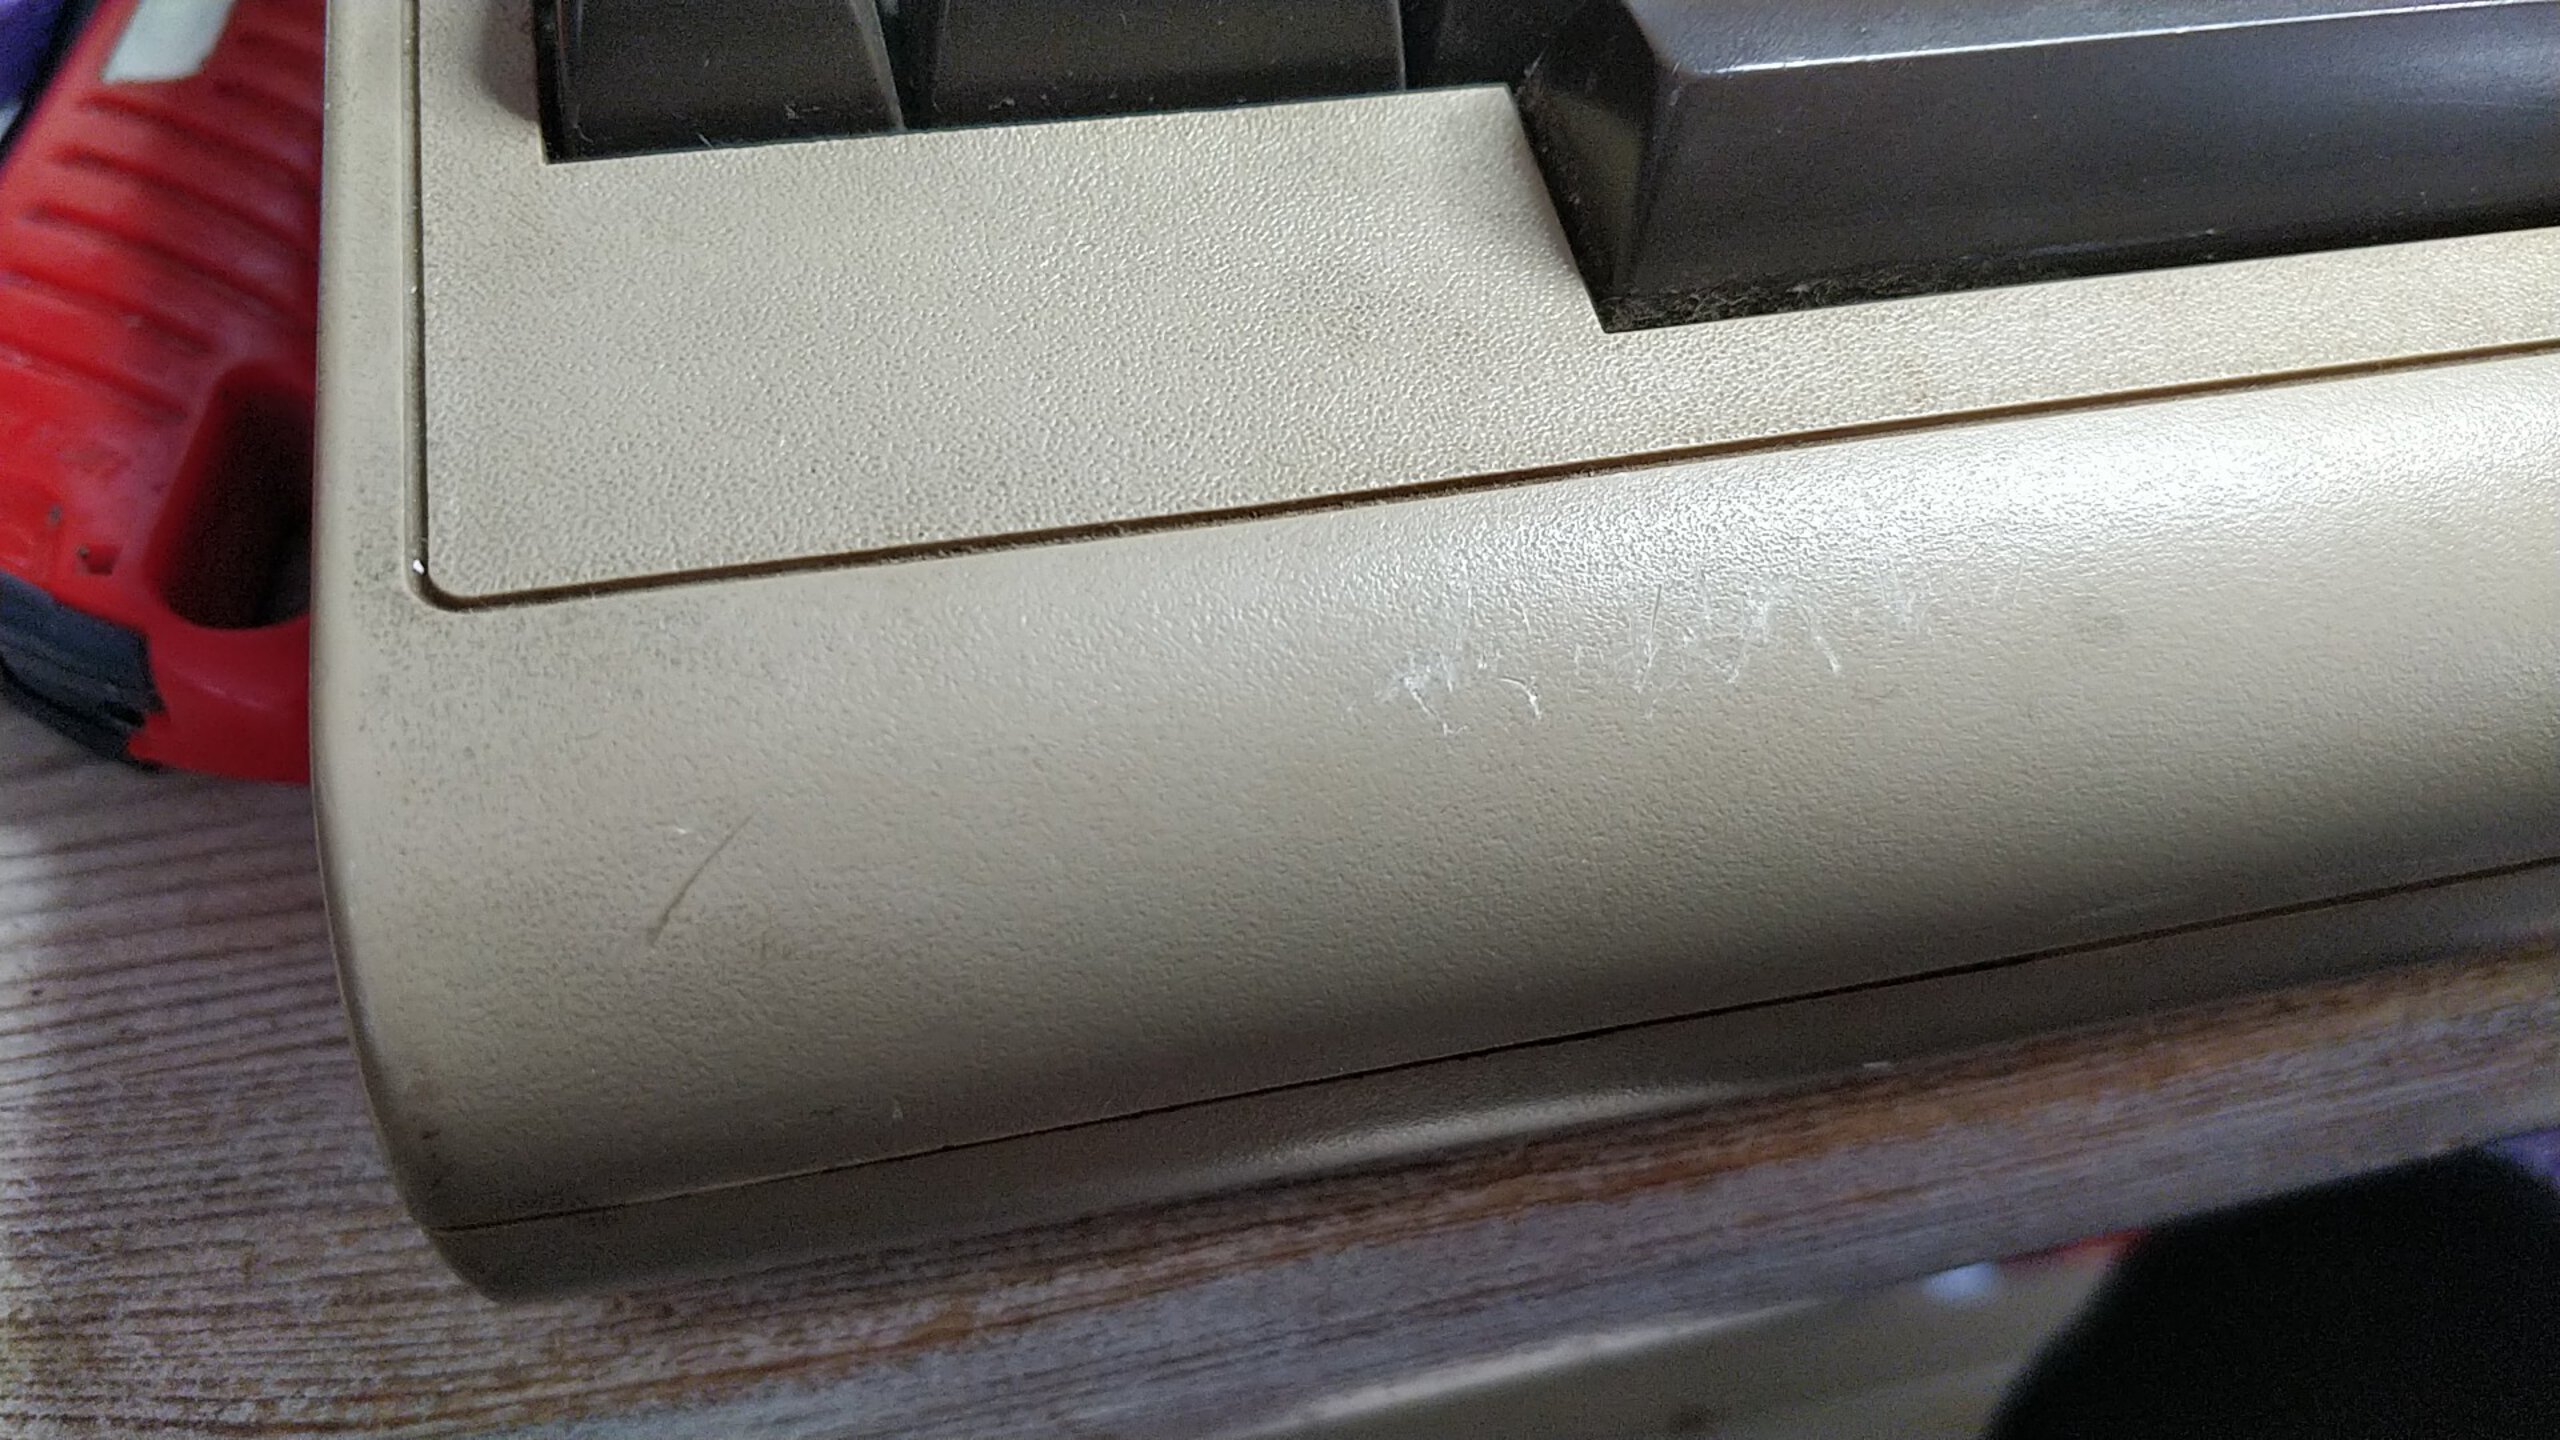
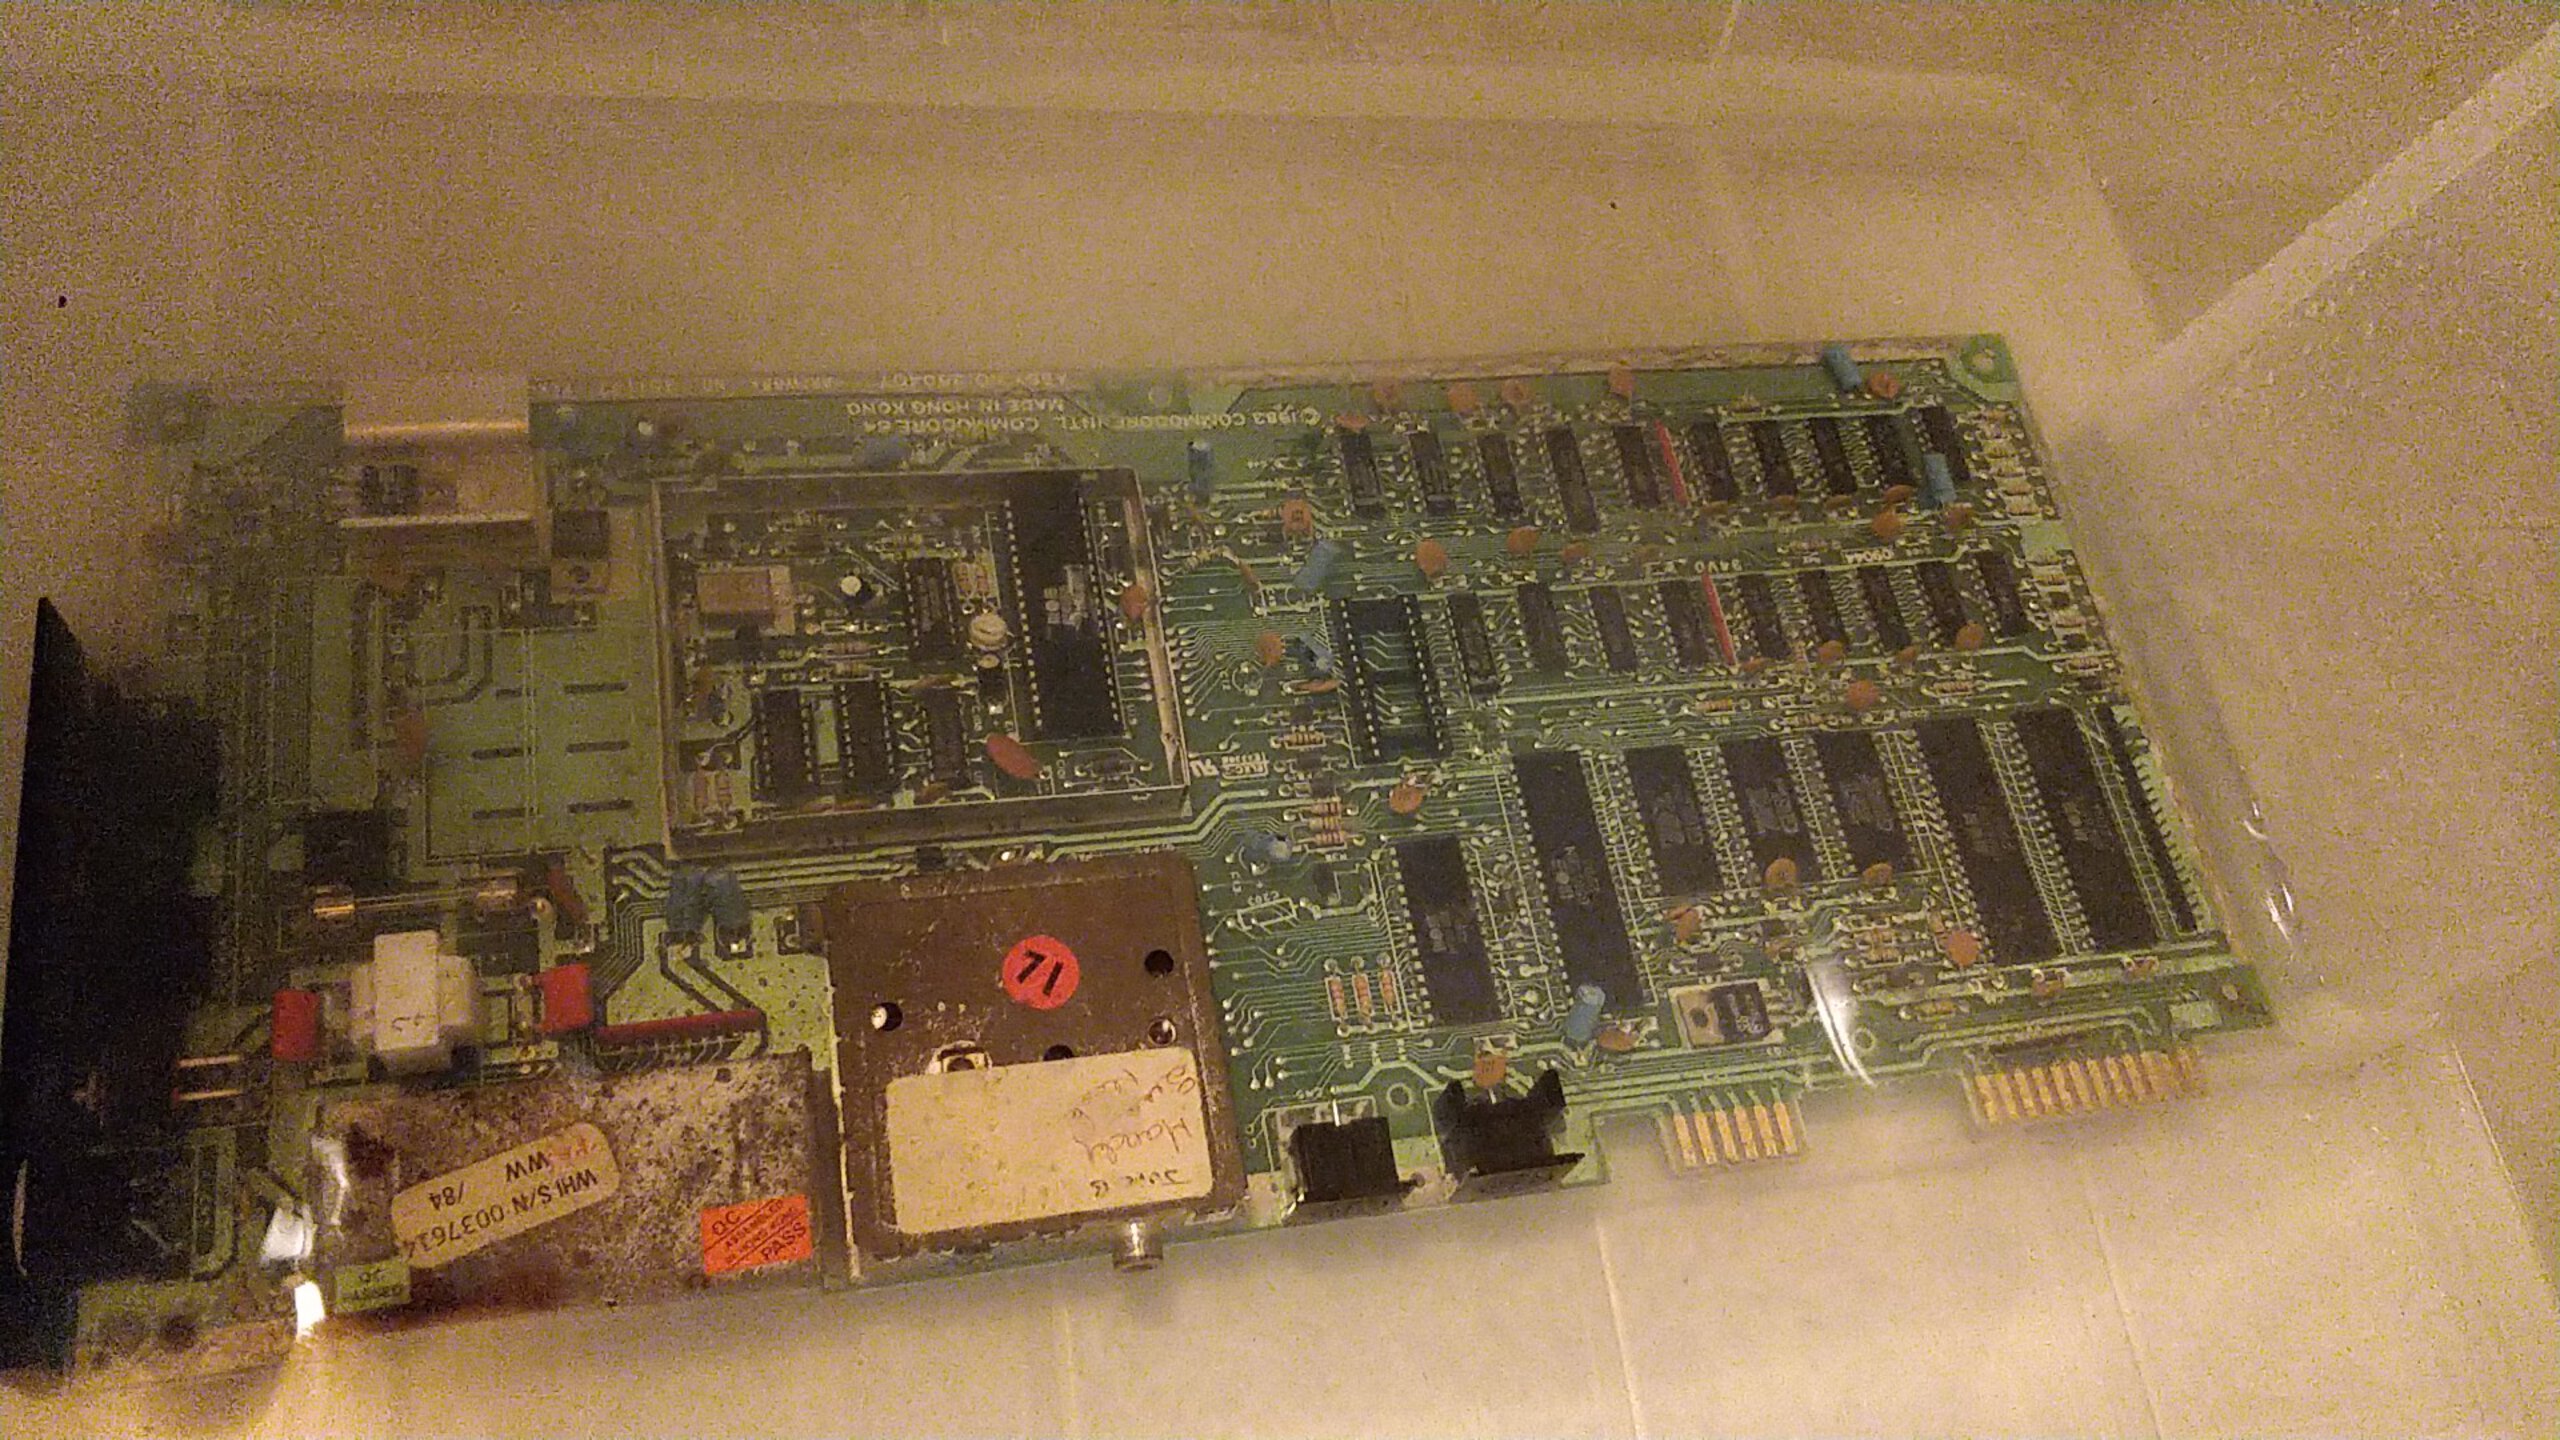
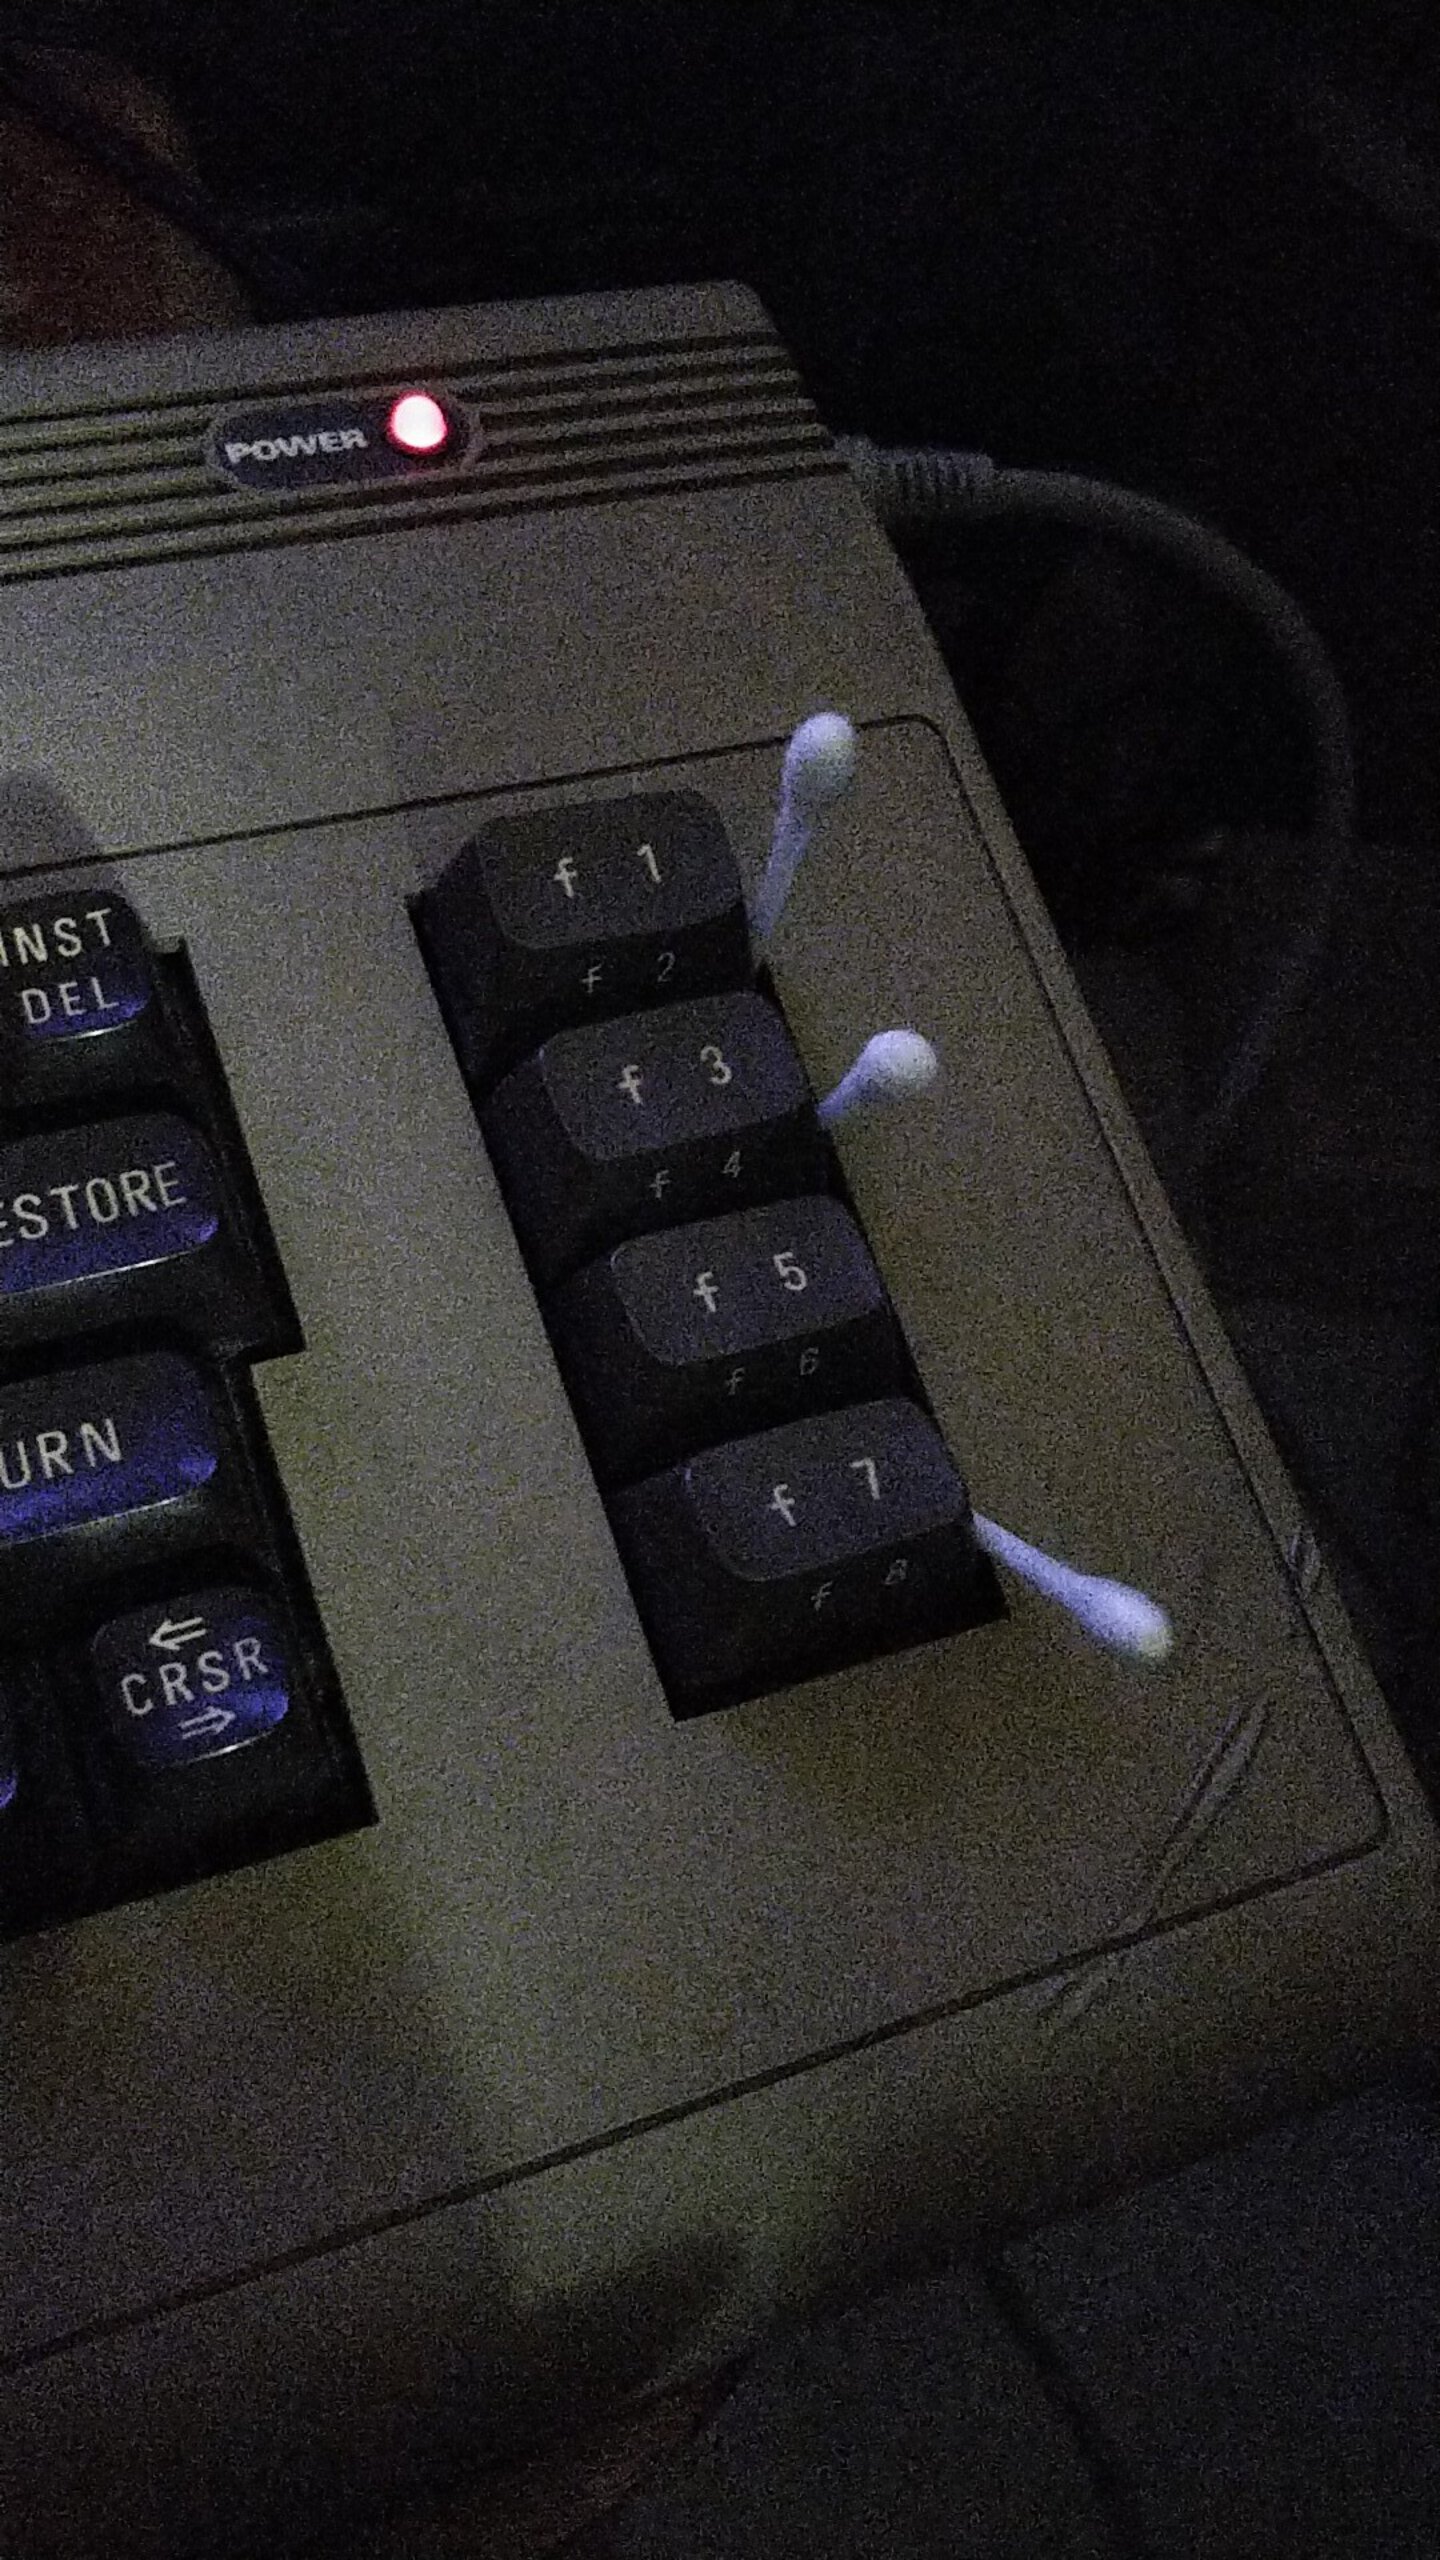
Around few weeks later I received the machine. It had a heavy smell of Hard Brexit and with quick testing using known good PSU, I could verify that the power LED didn’t come up and practically nothing happened, not even a blip on screen. Case had some bumps and bruises and cable marks but at least it was without cracks. All the screws were pretty rusty and they had bitten very hard into the plastic of the case, opening them was quite tedious task. All the function keys except F5 were also stuck to bottom.


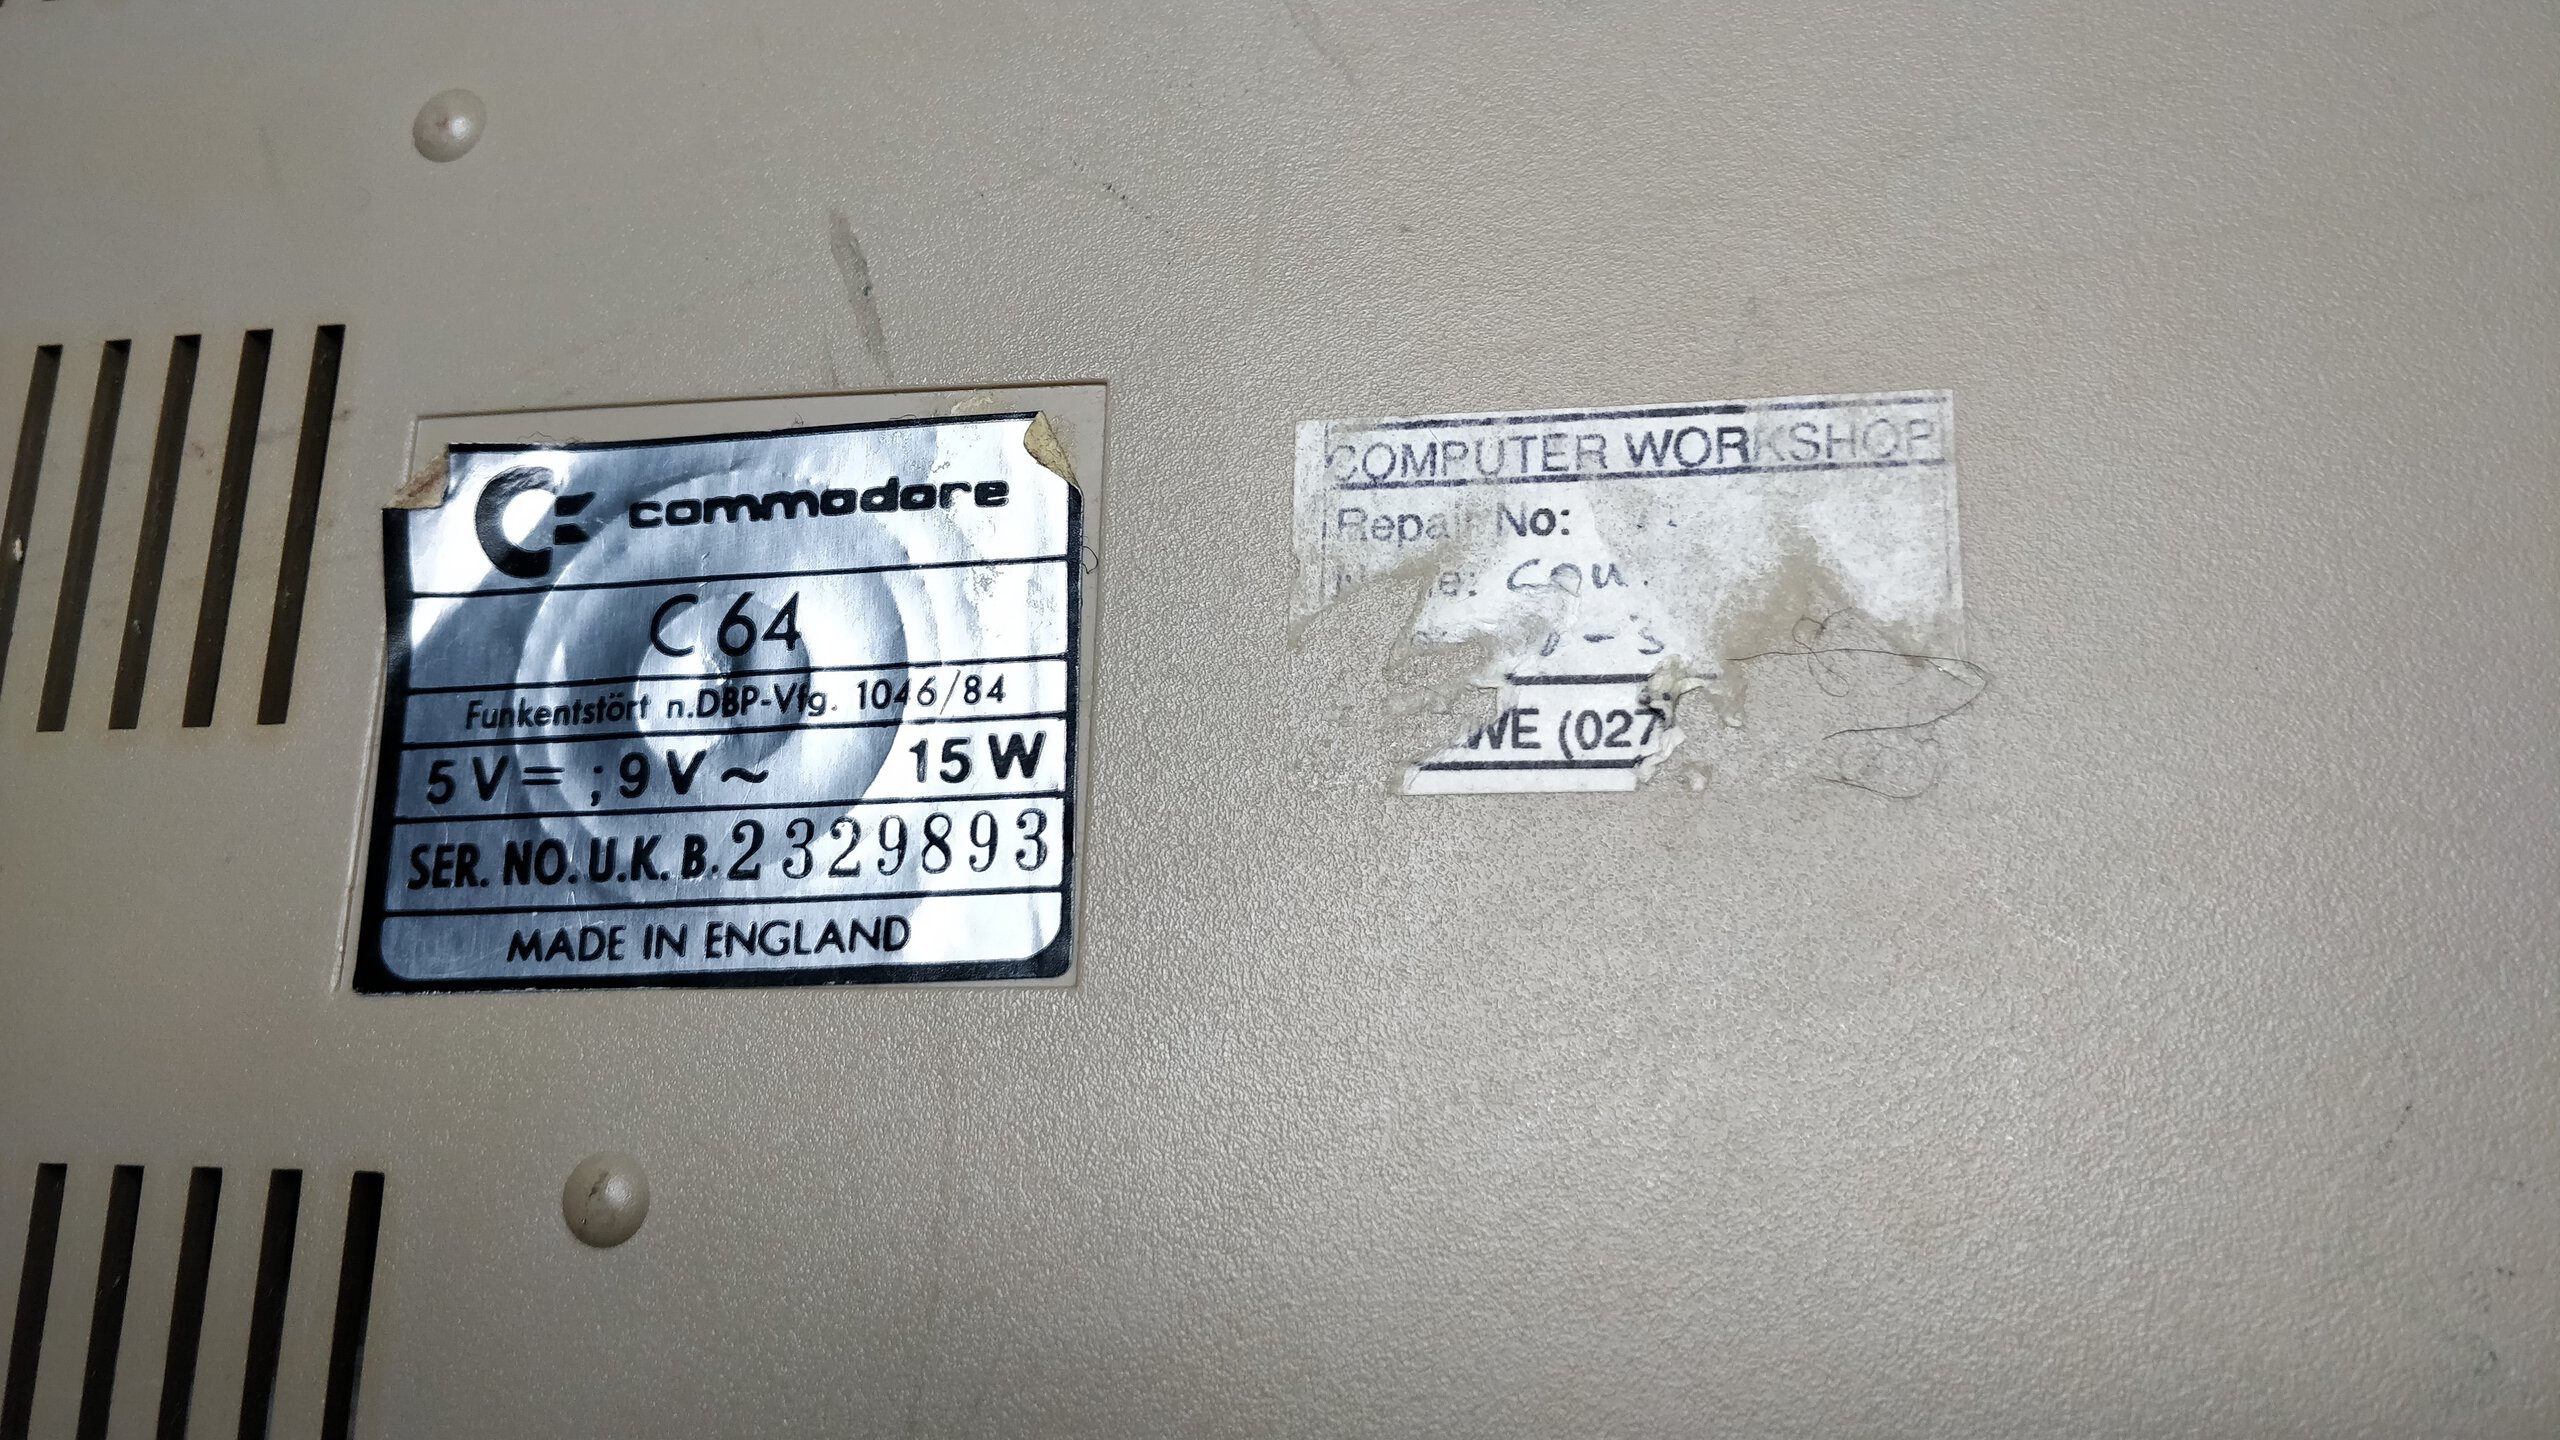
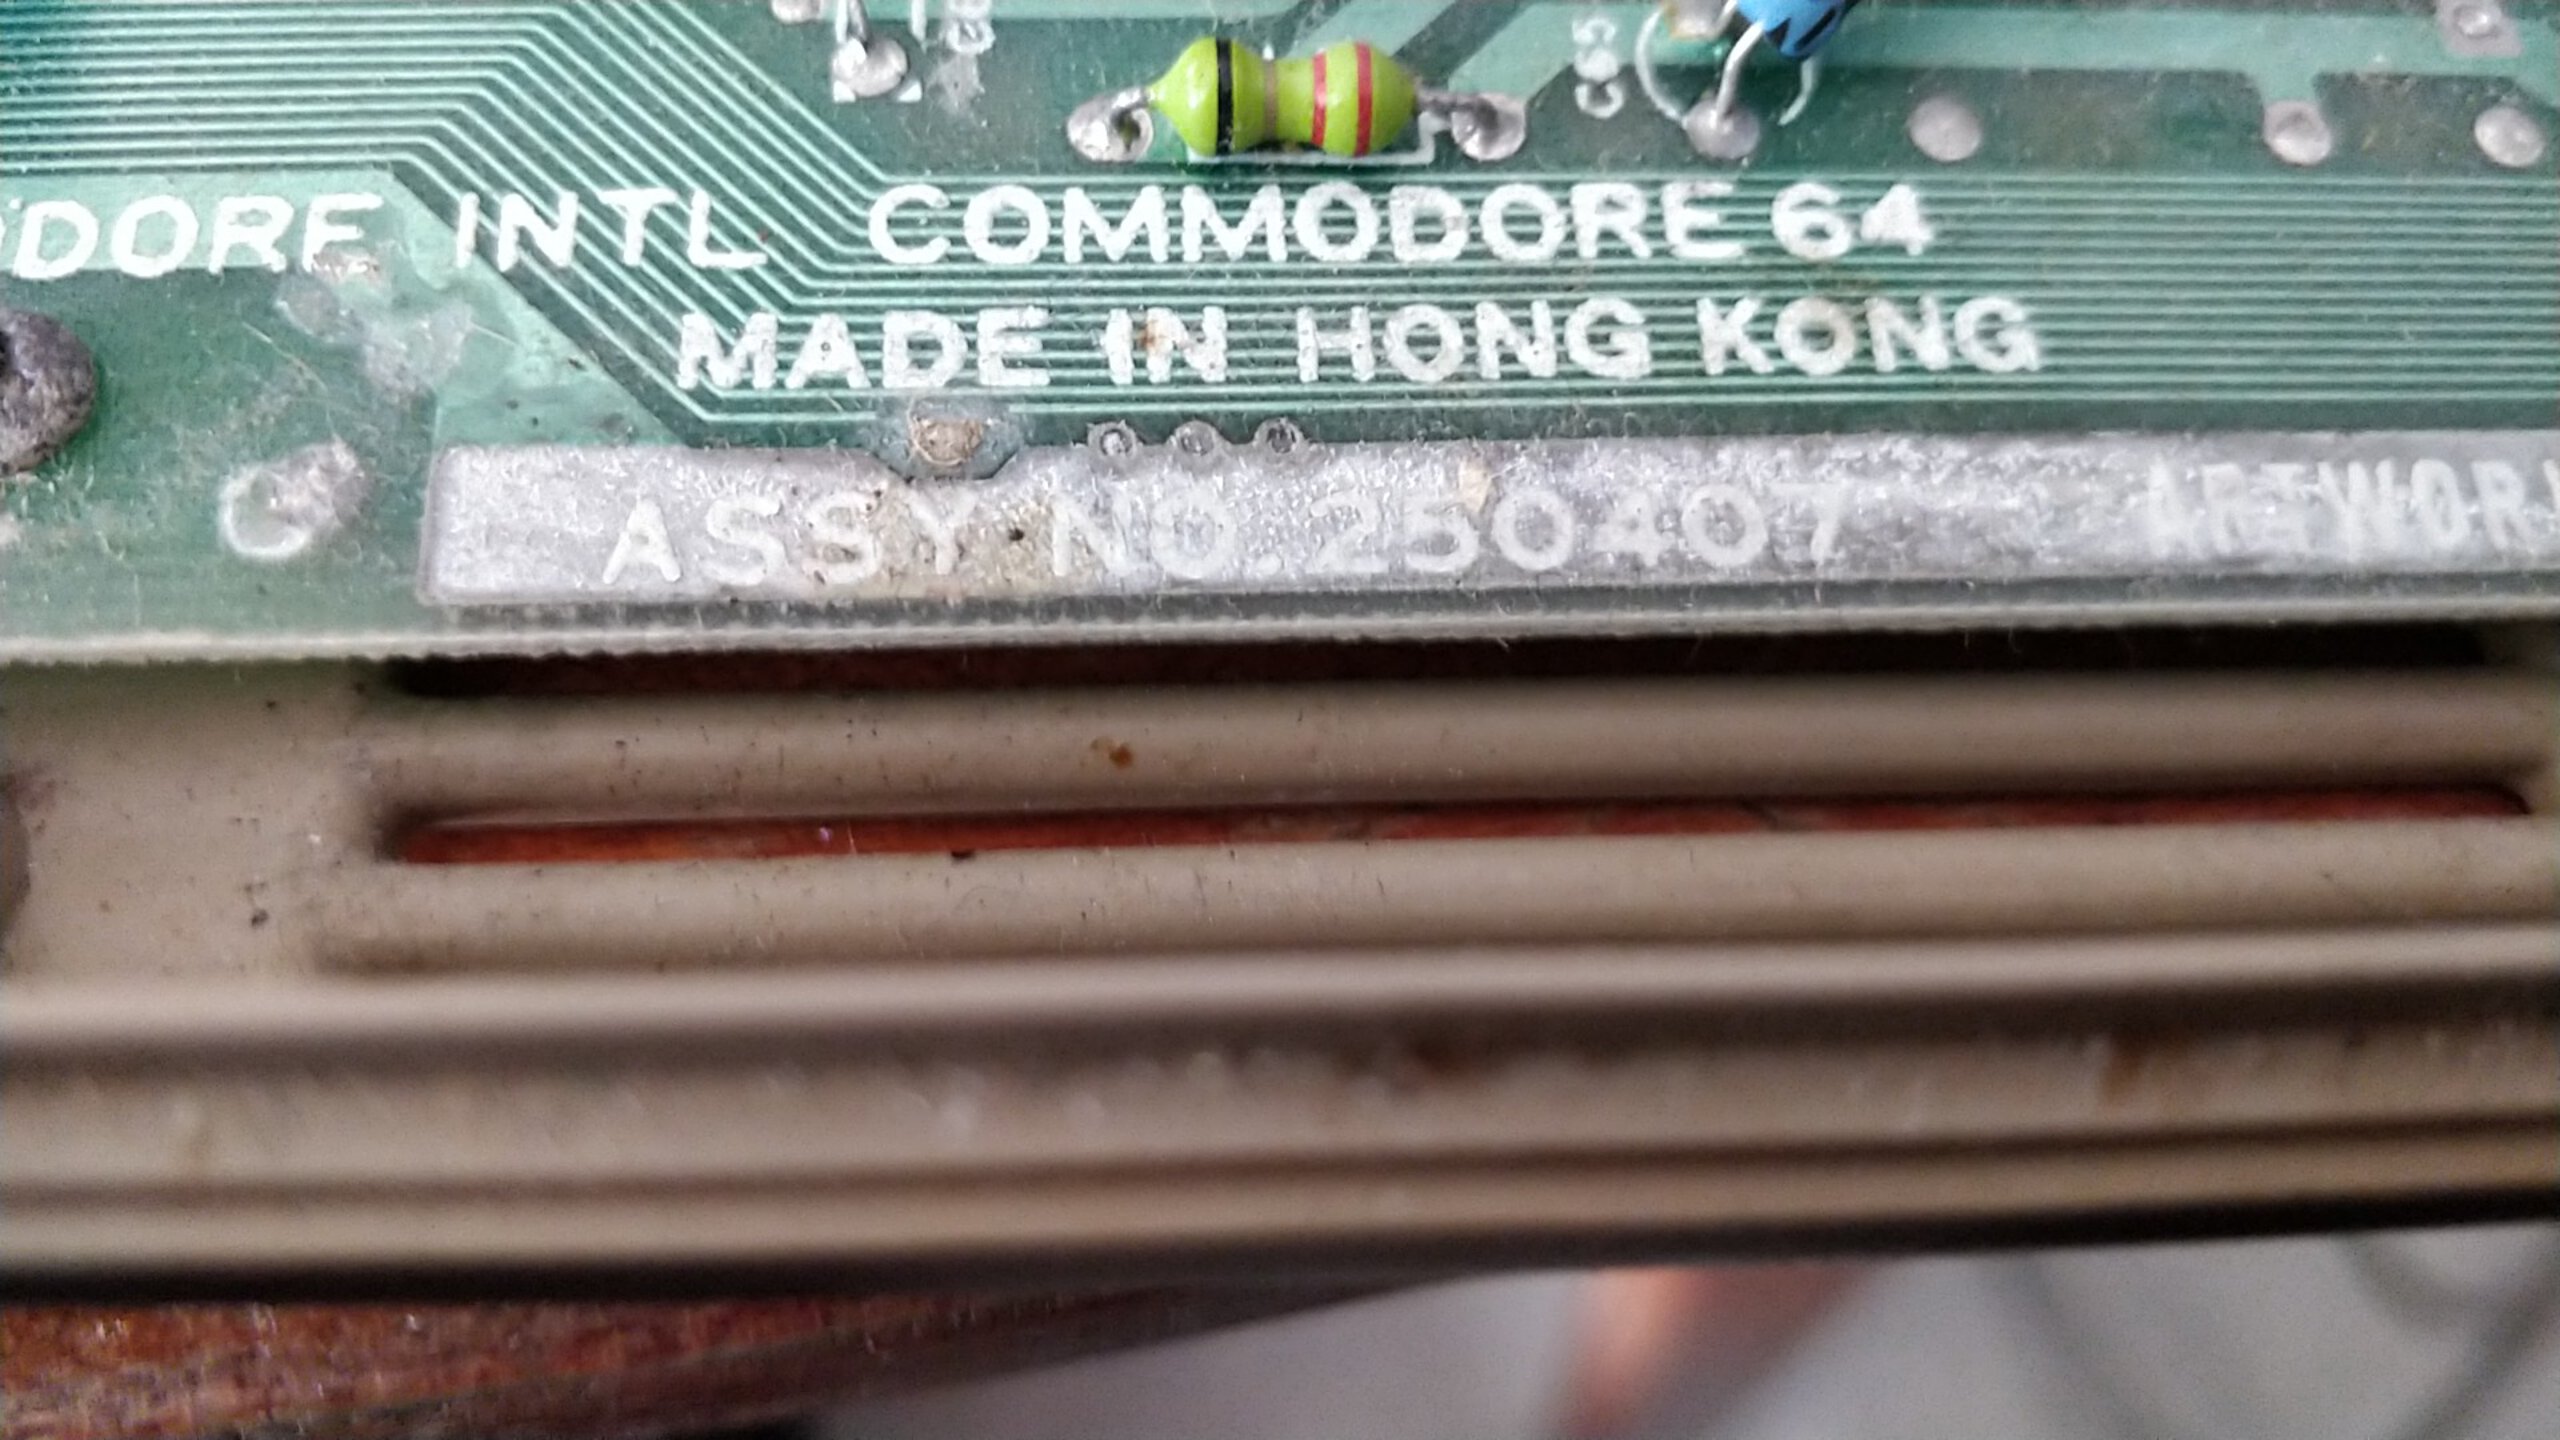
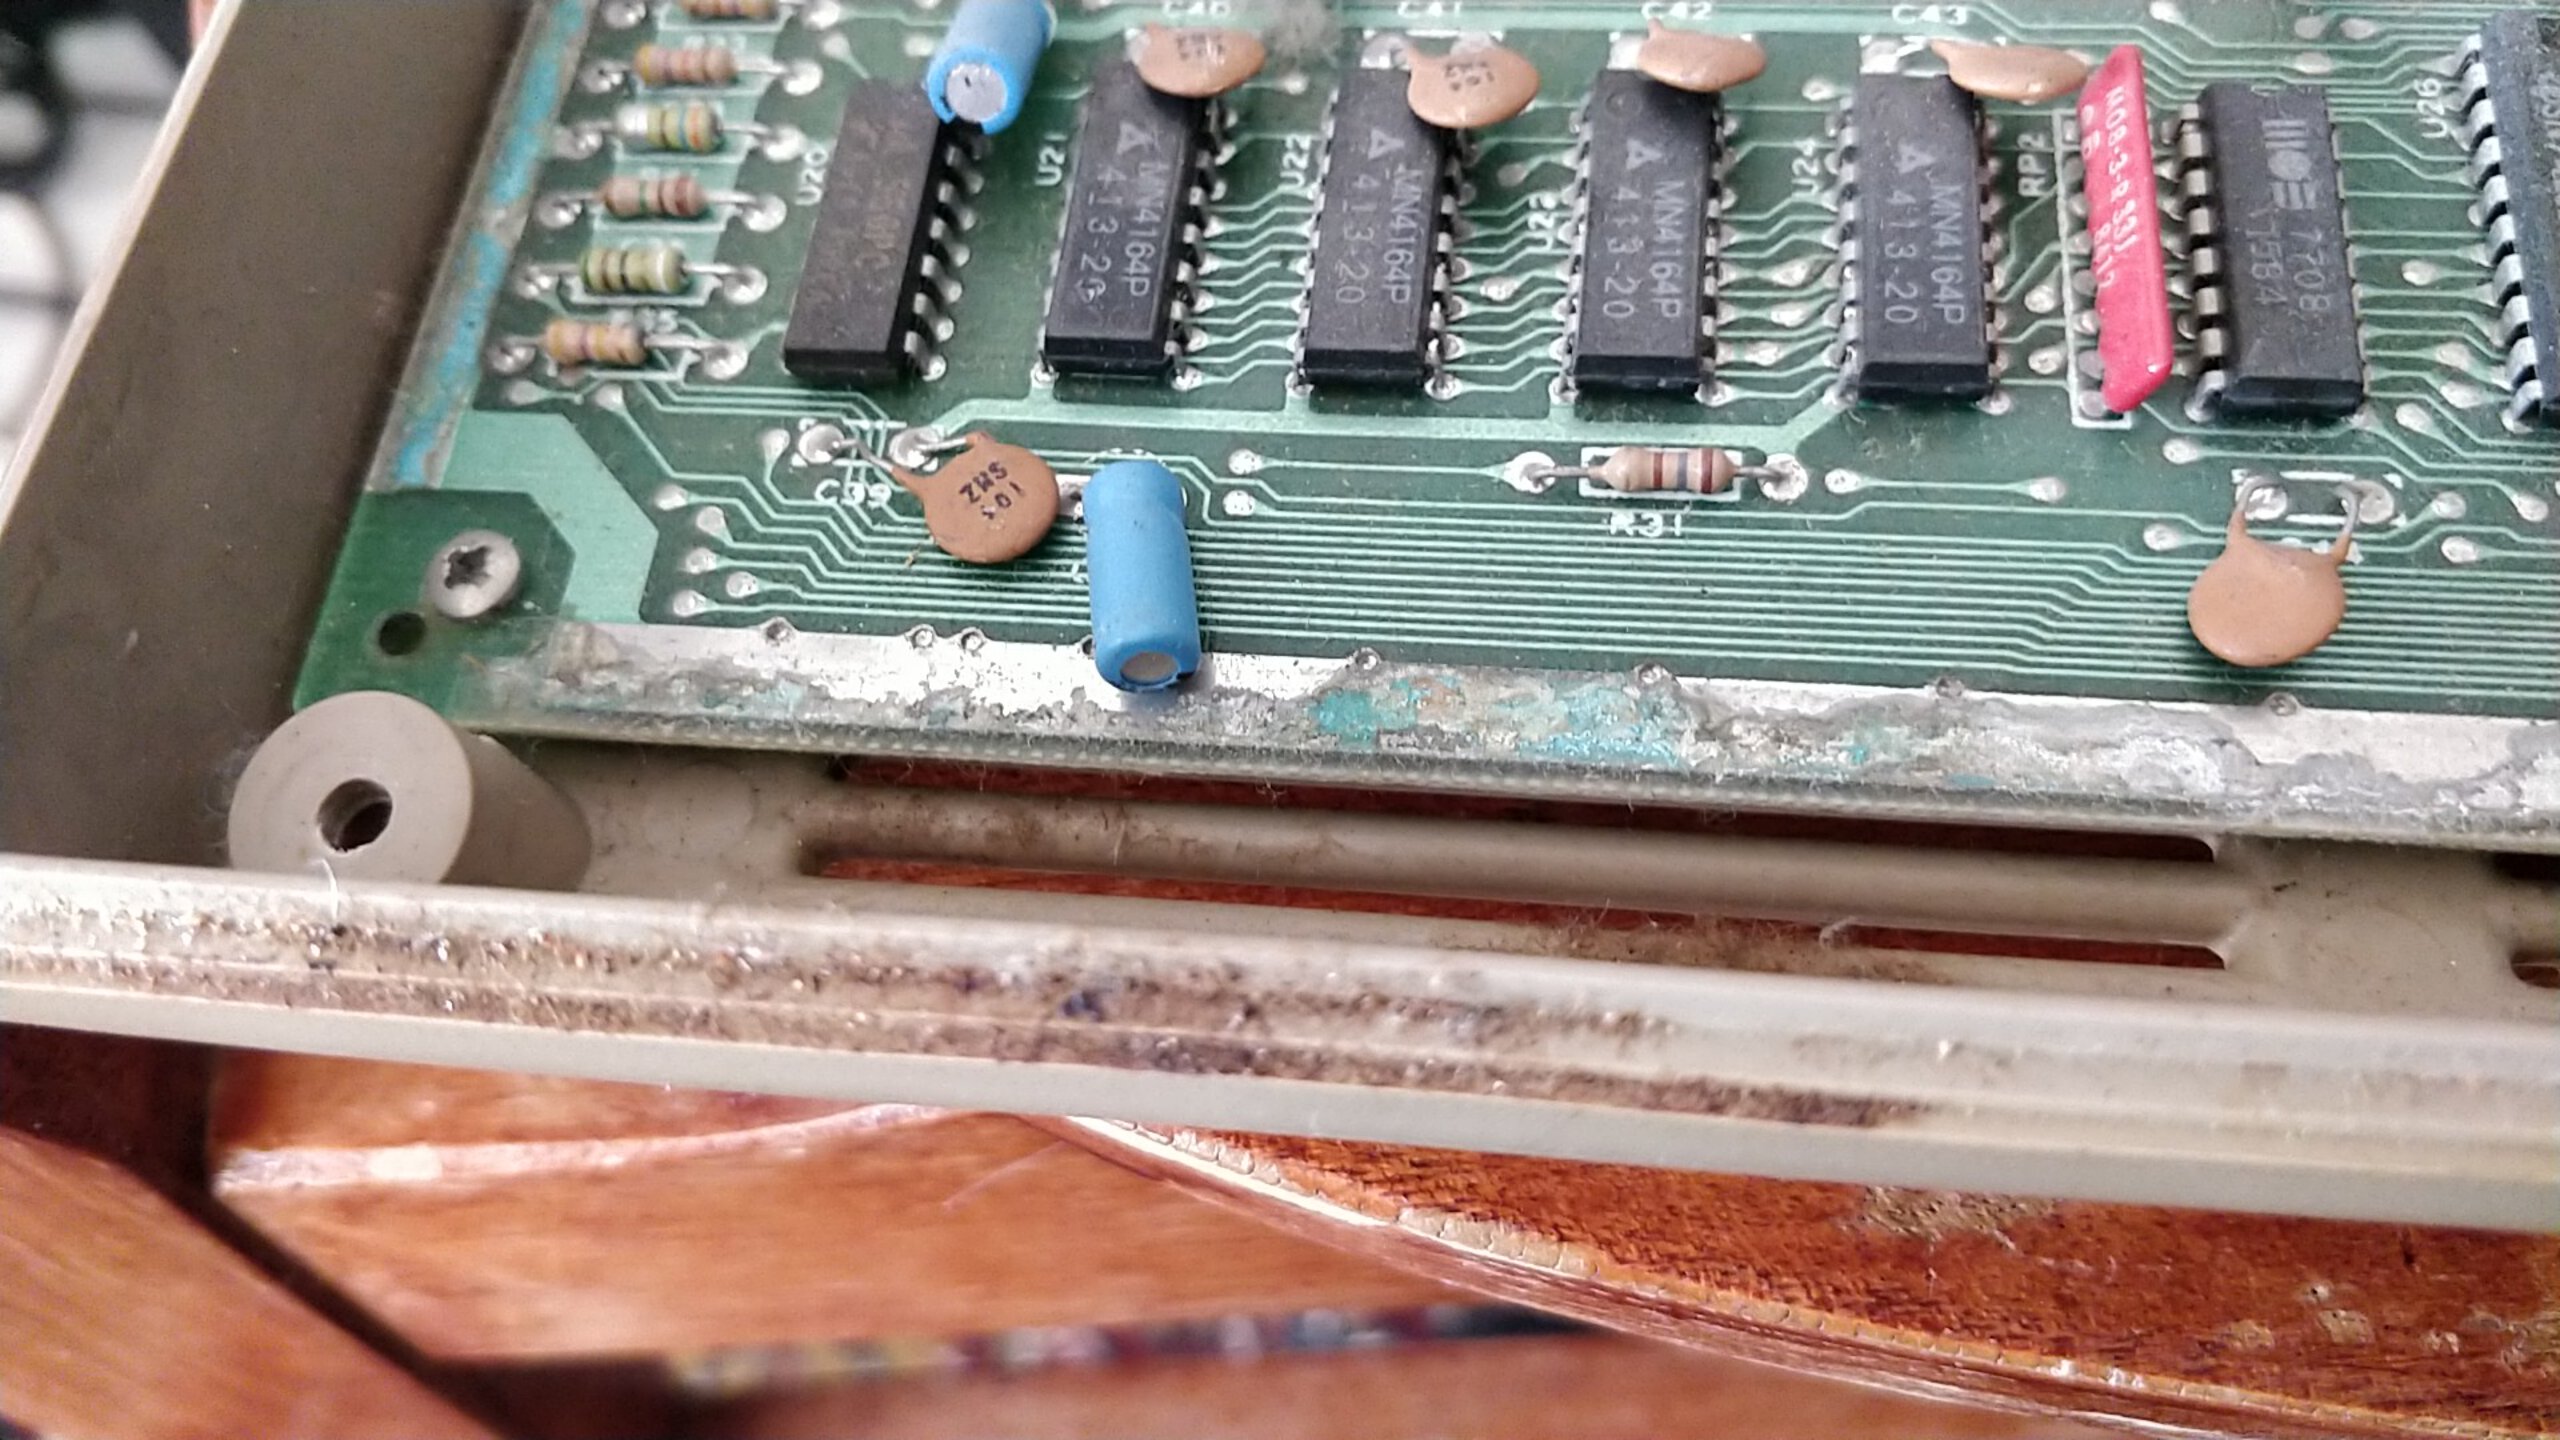
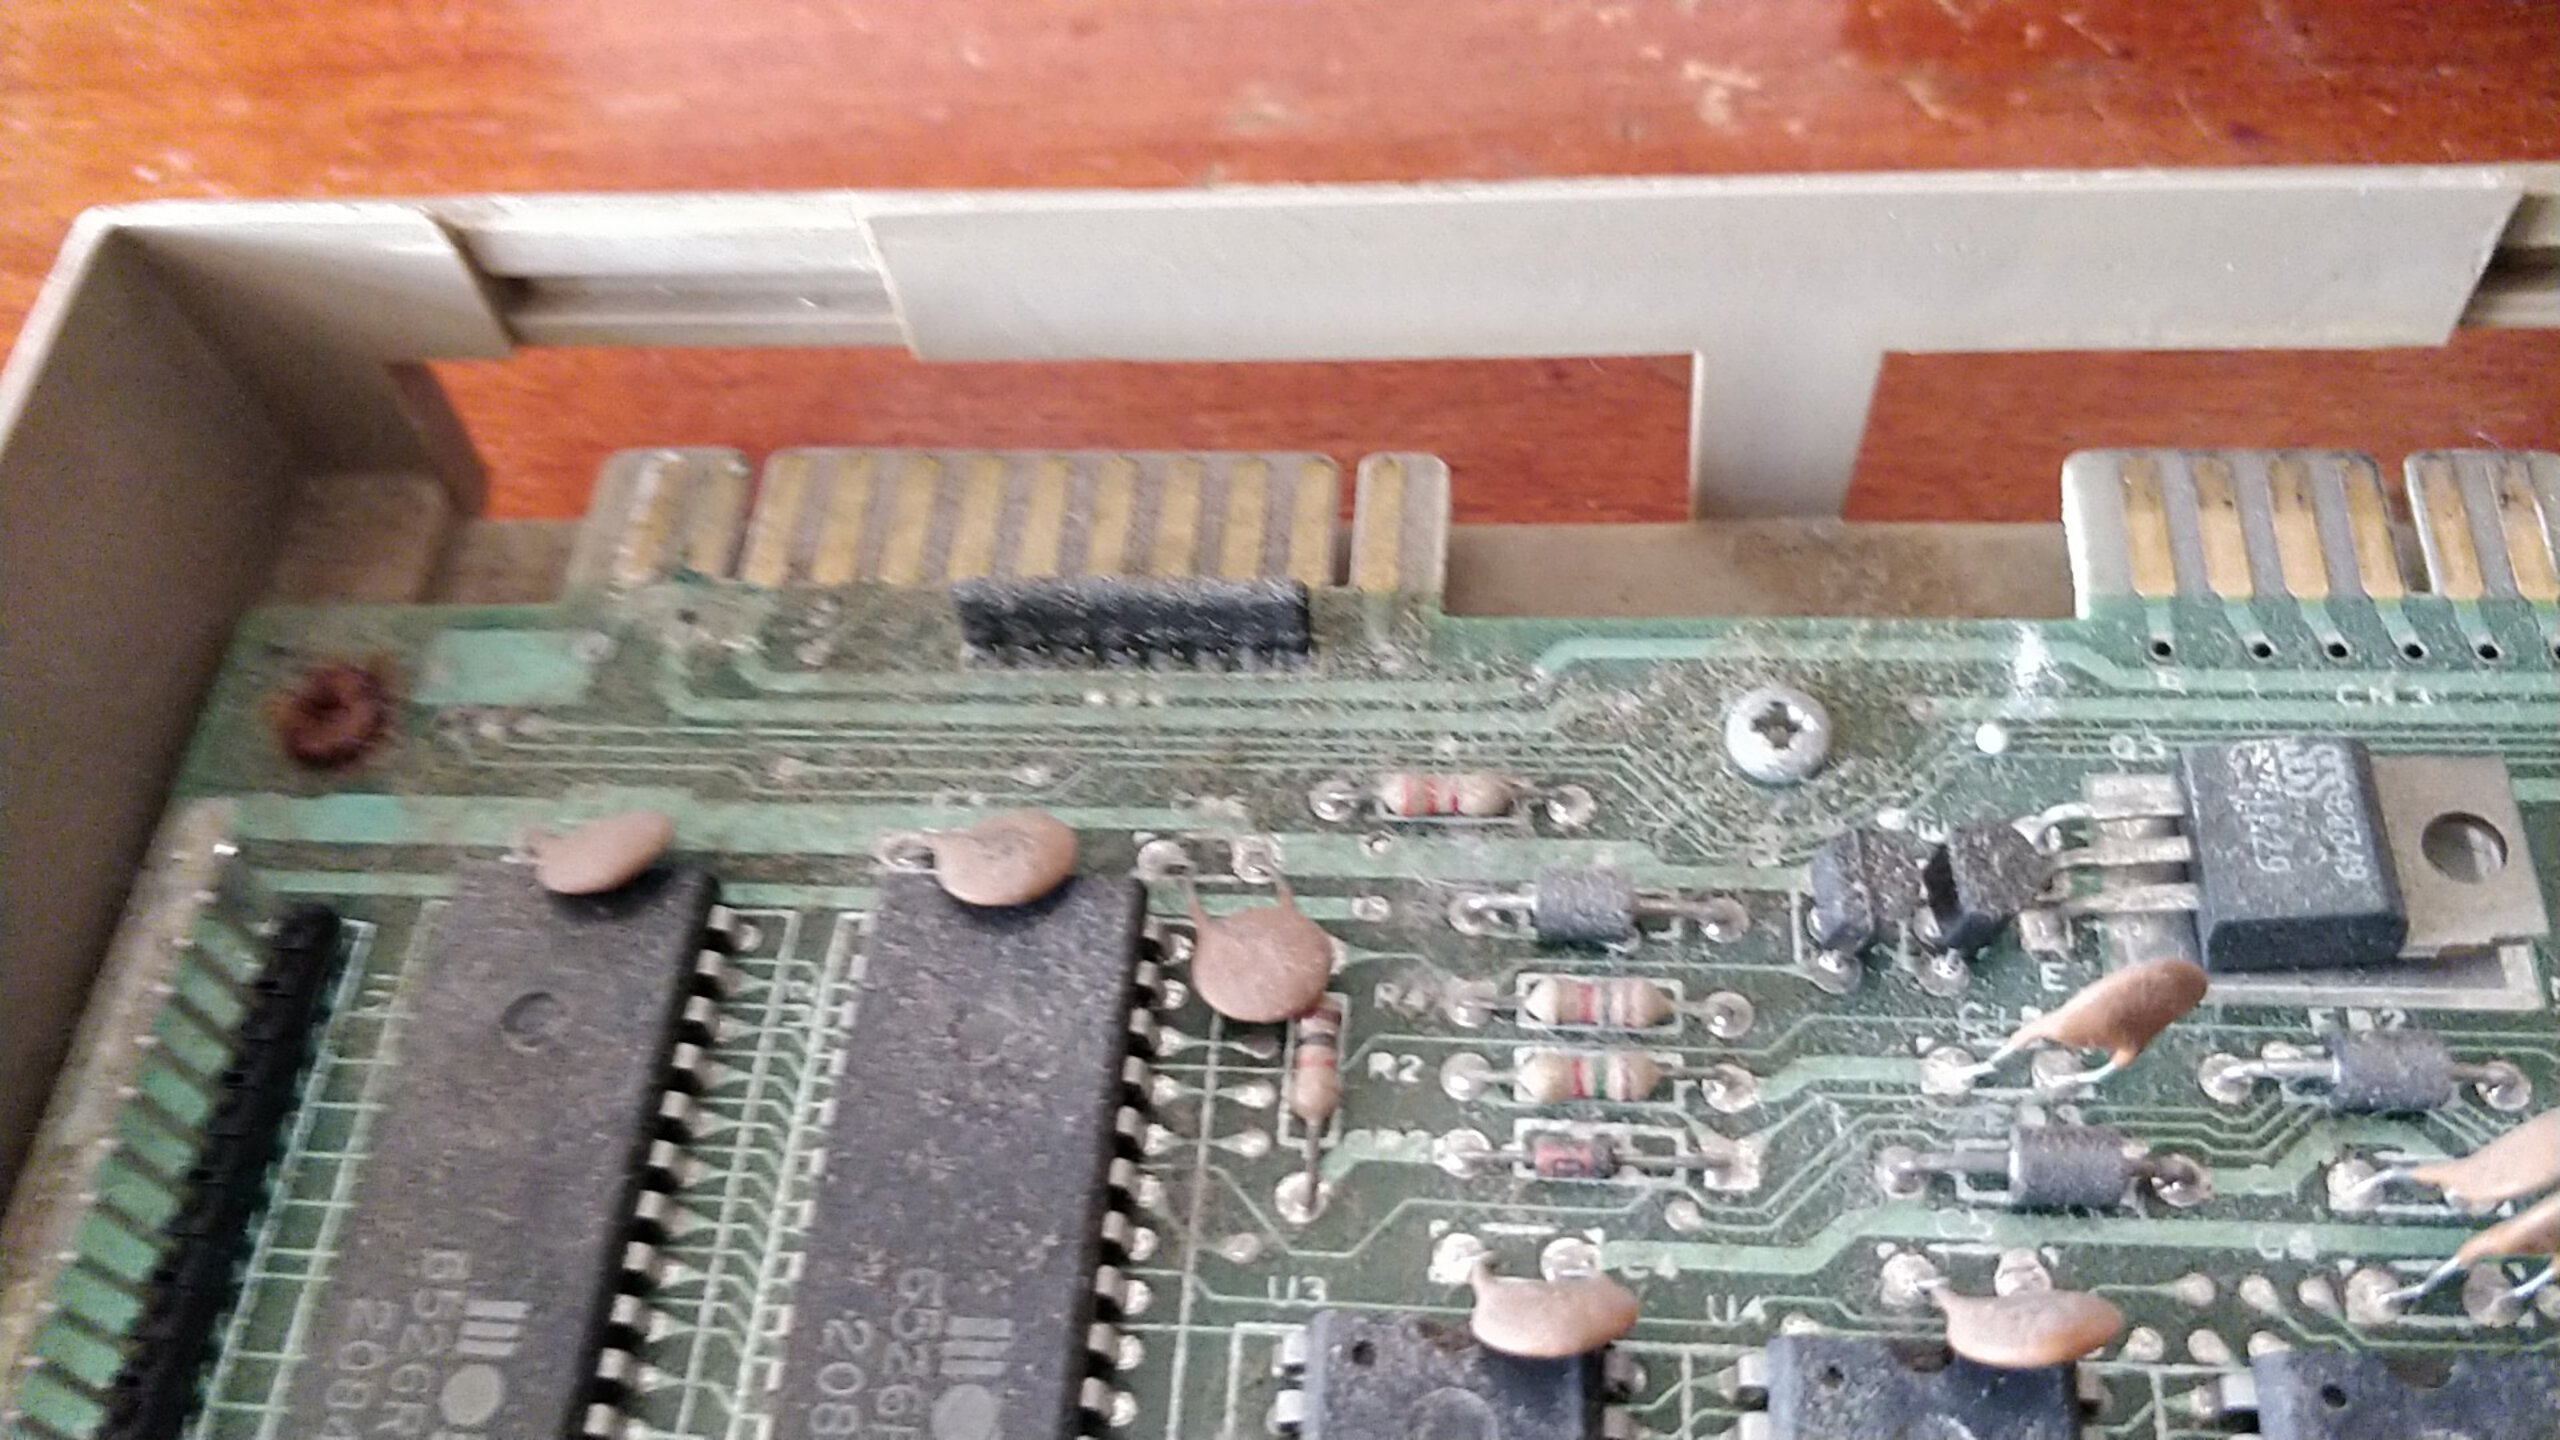
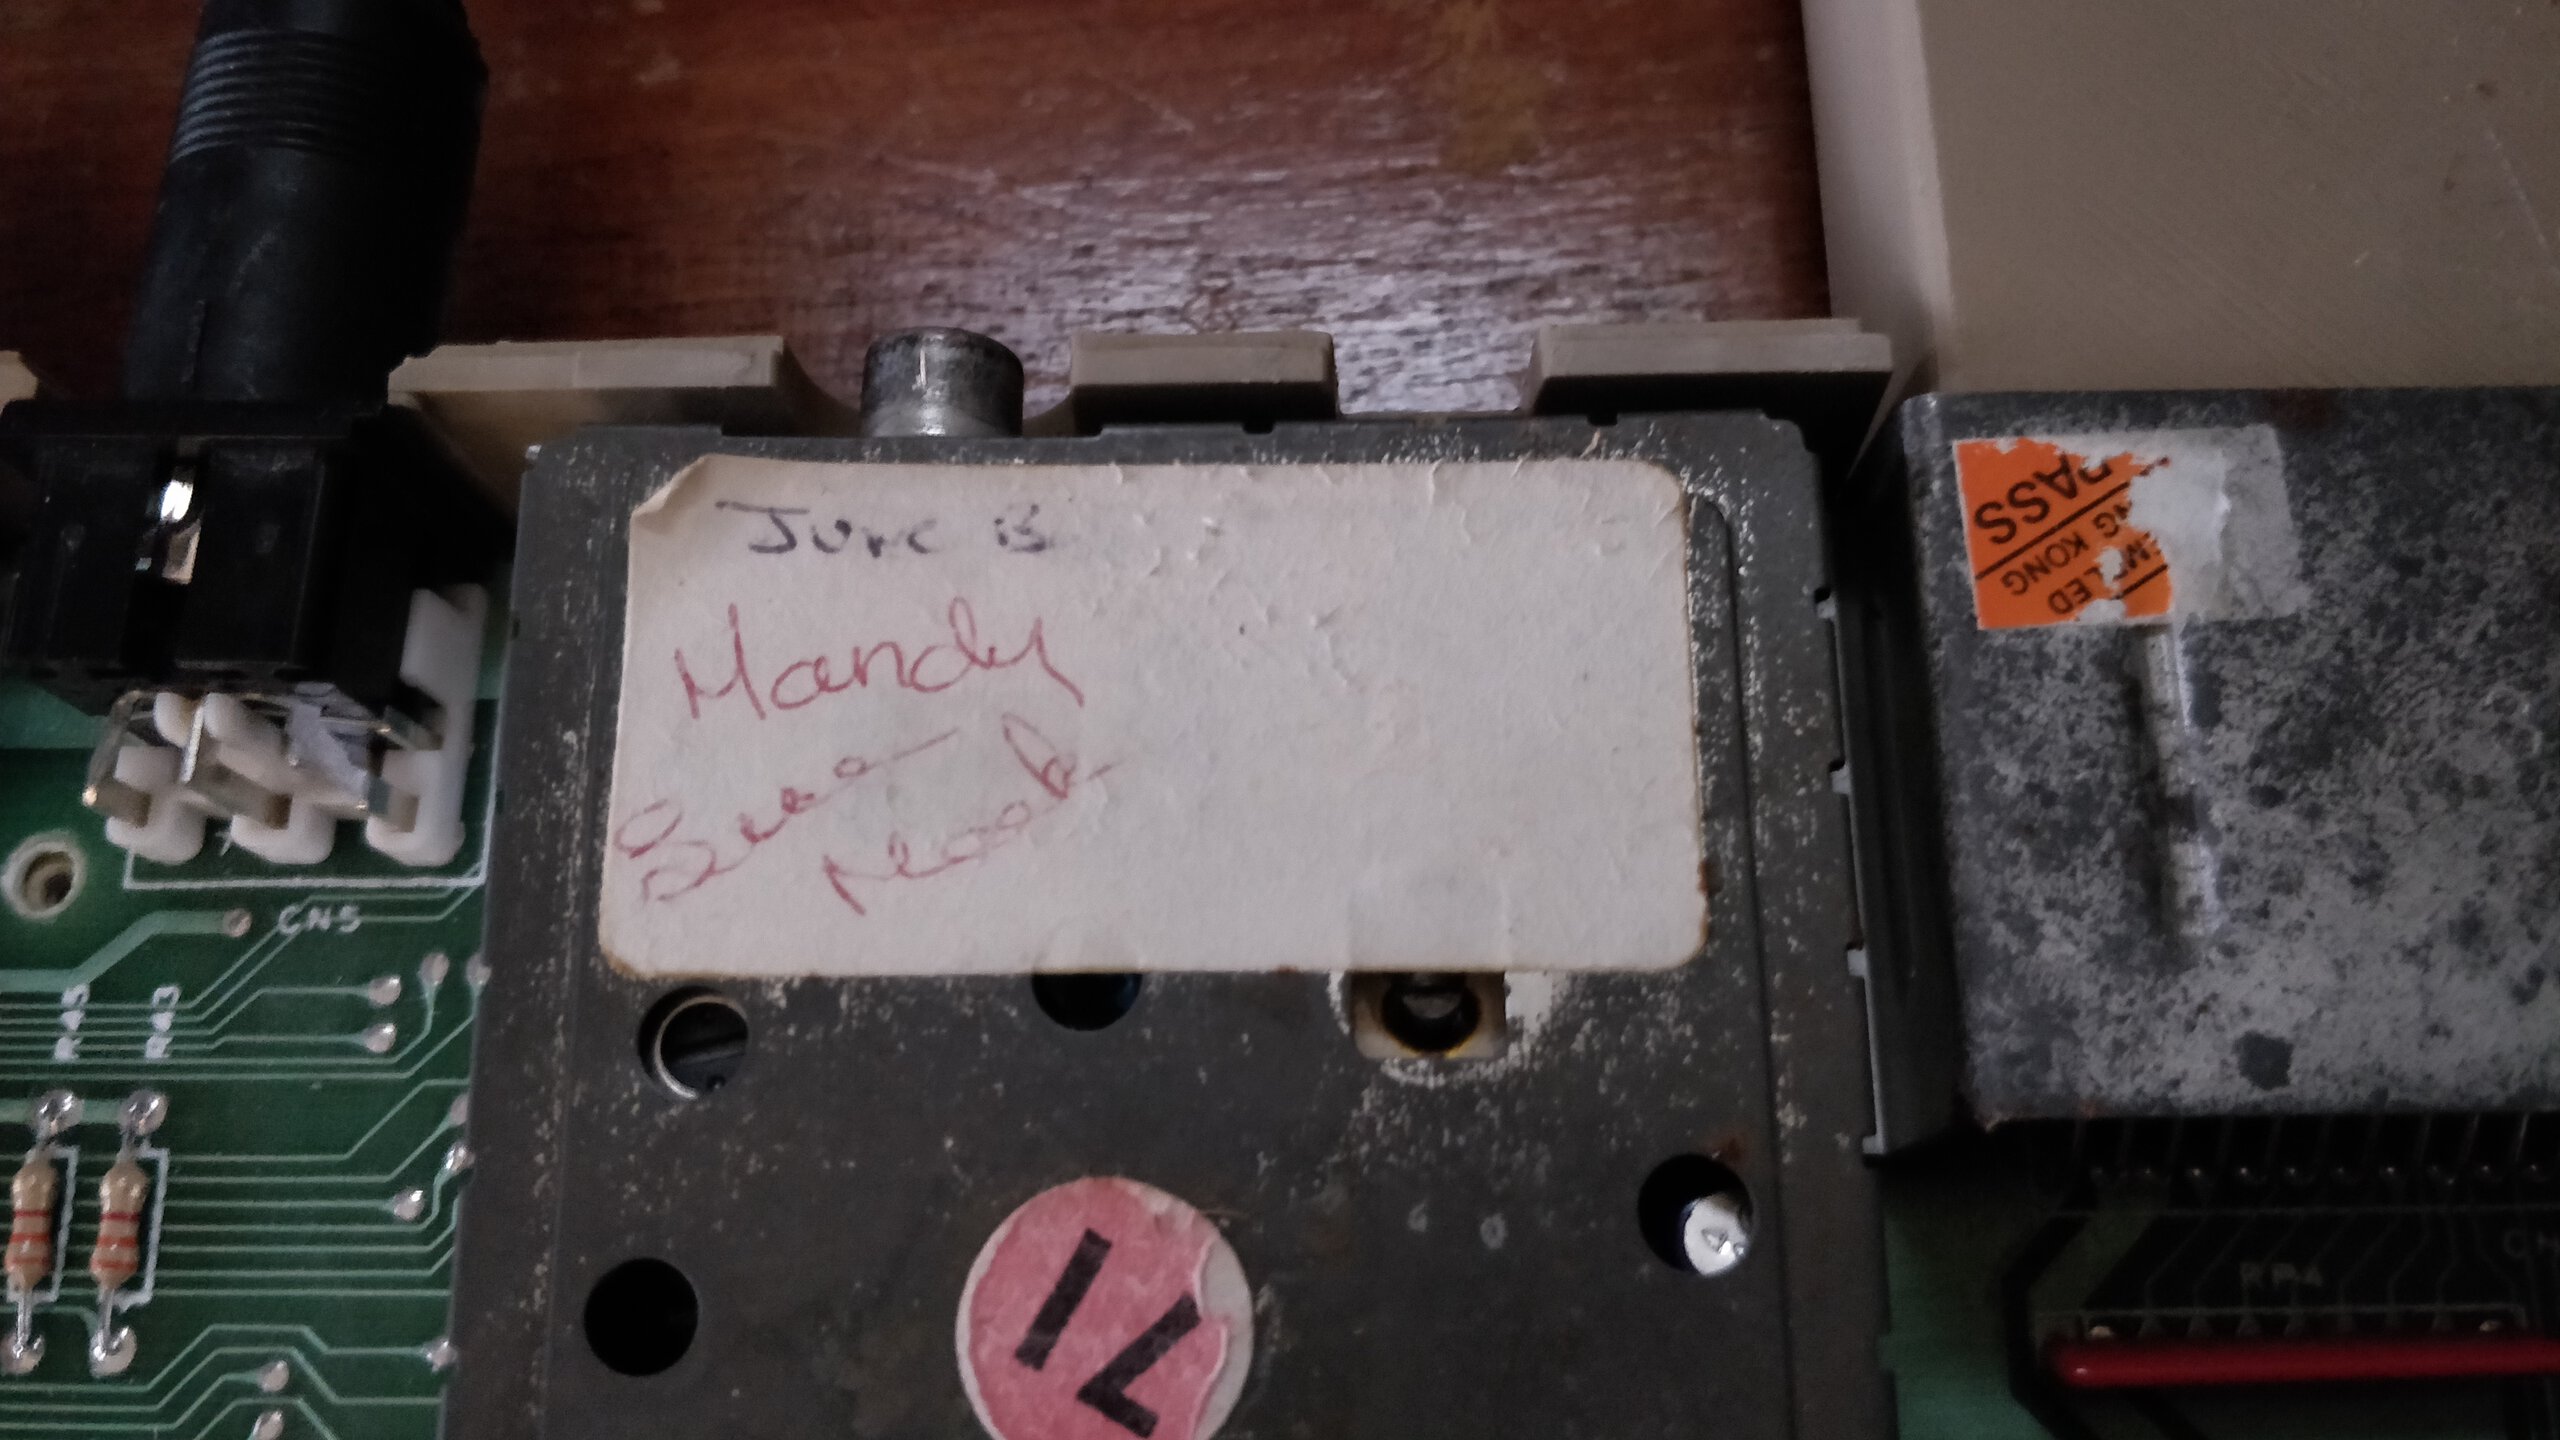
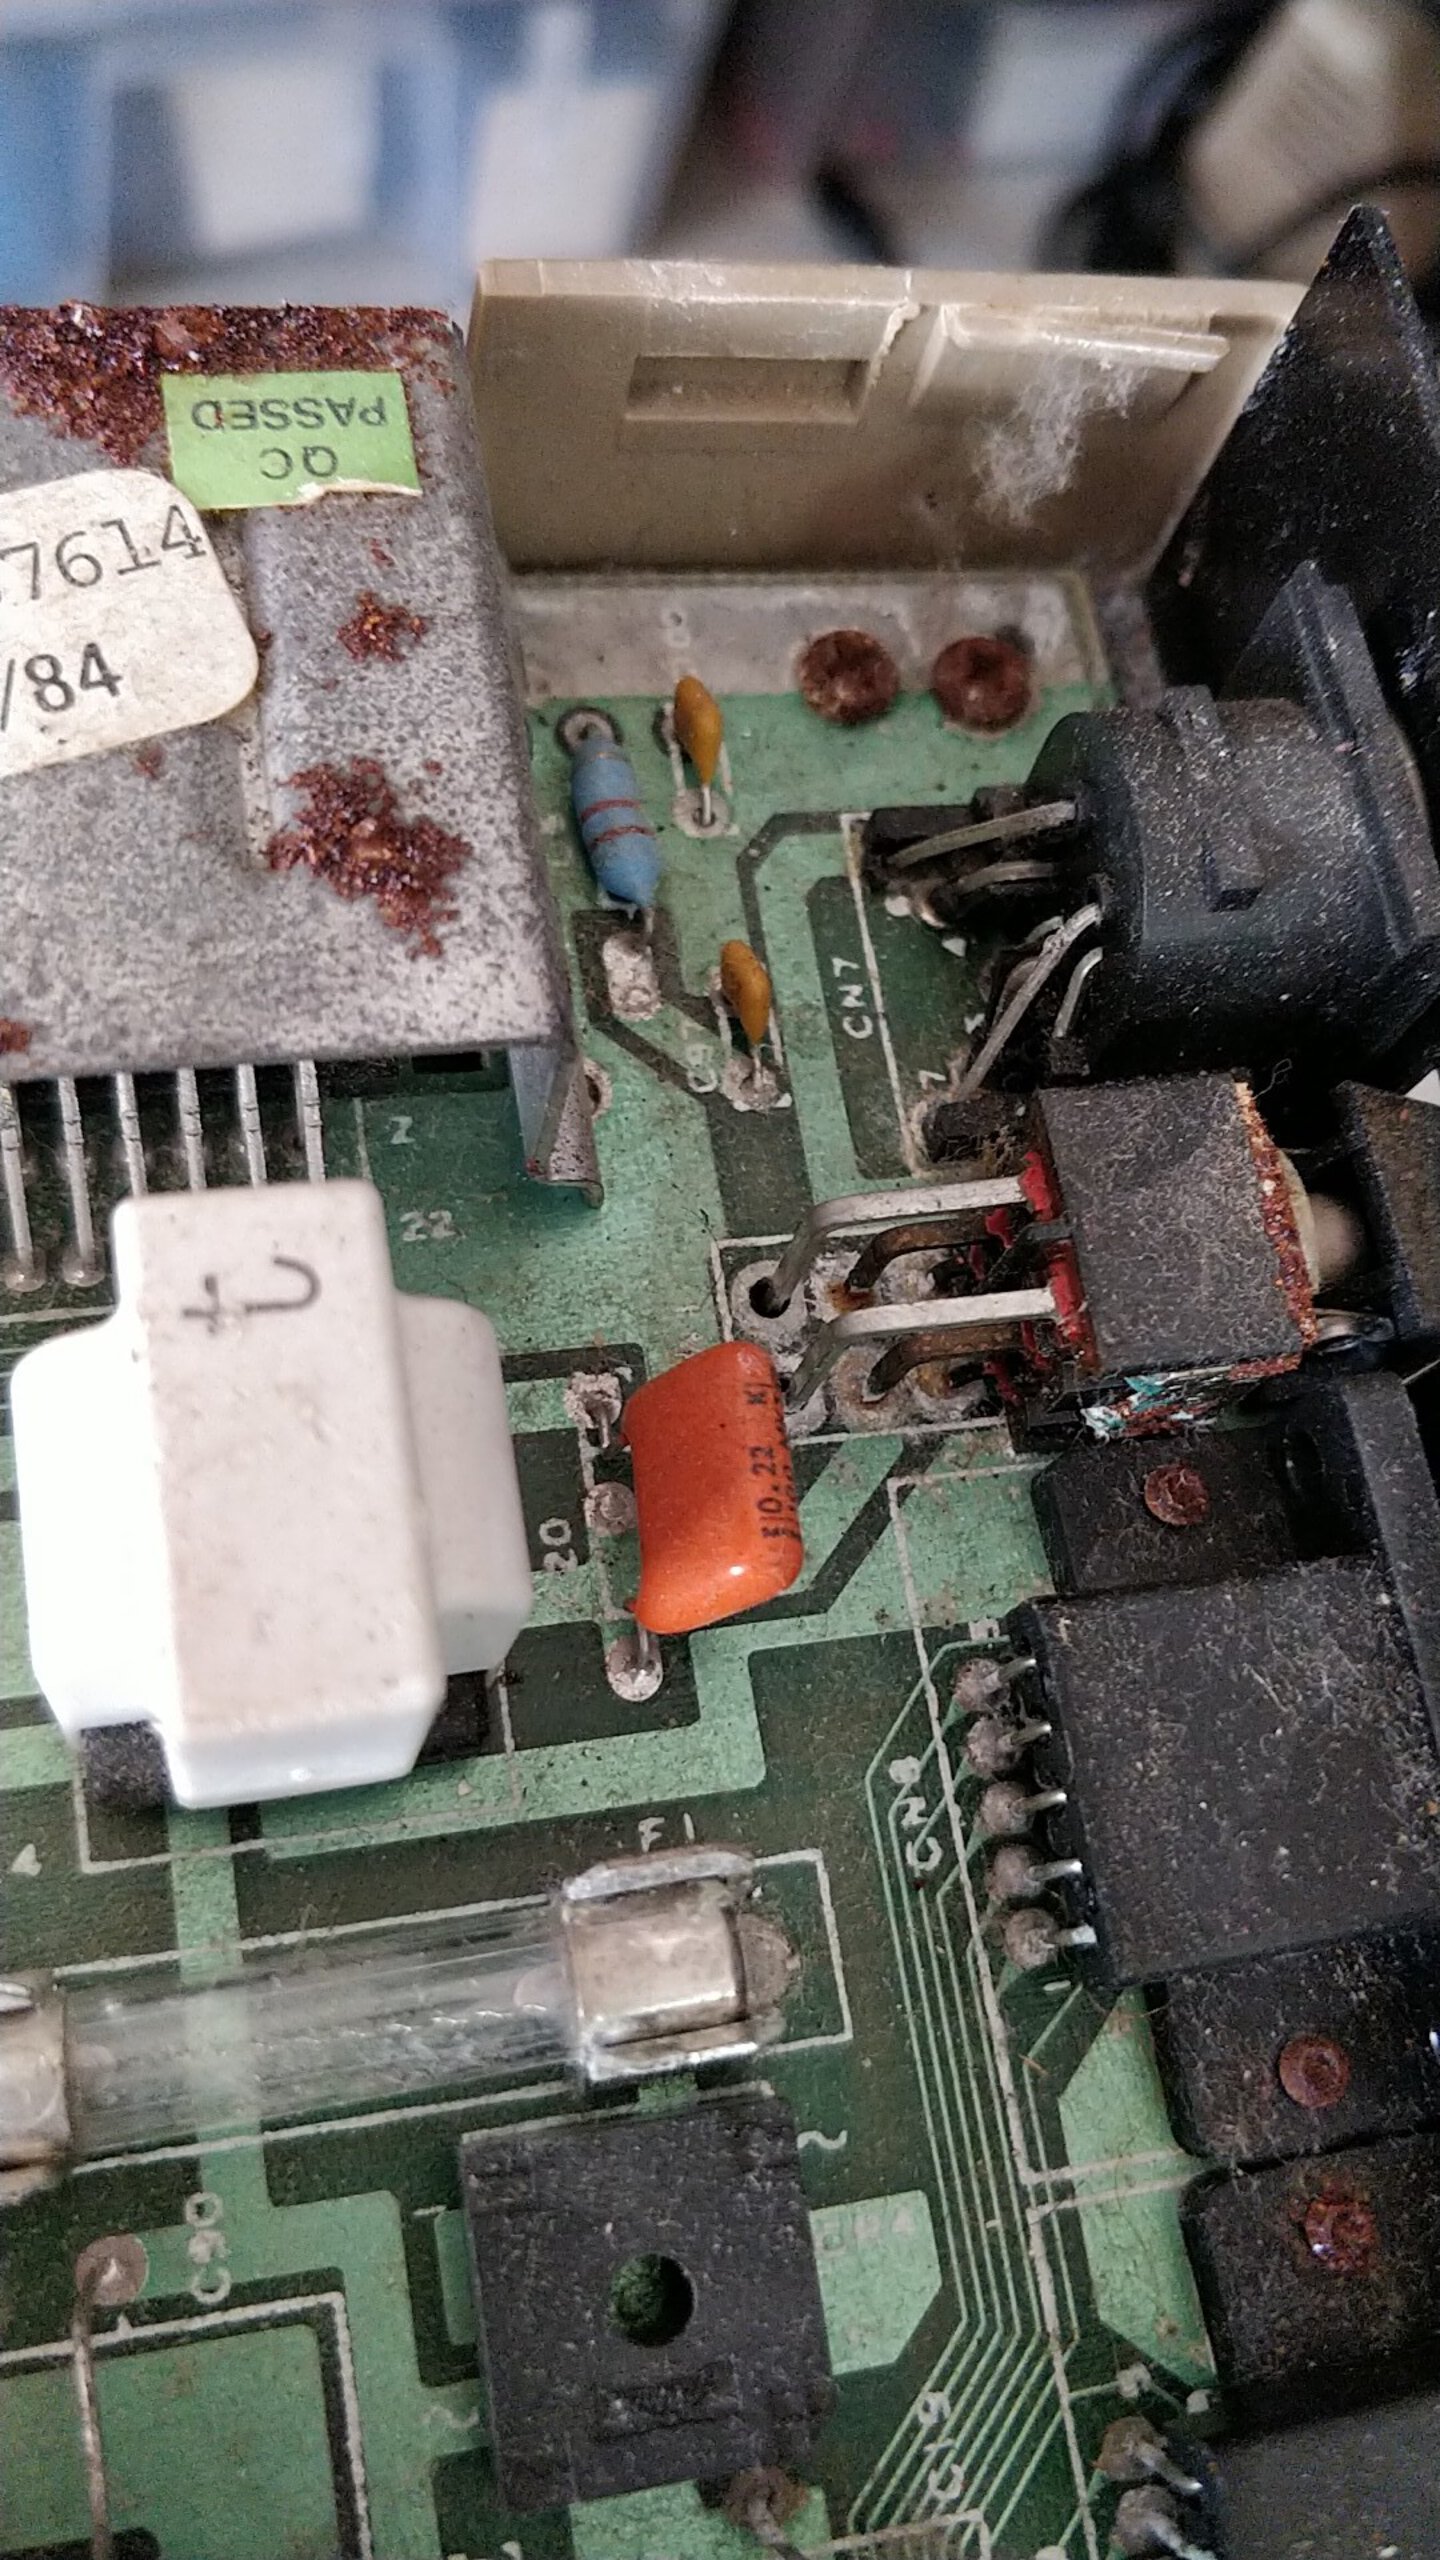
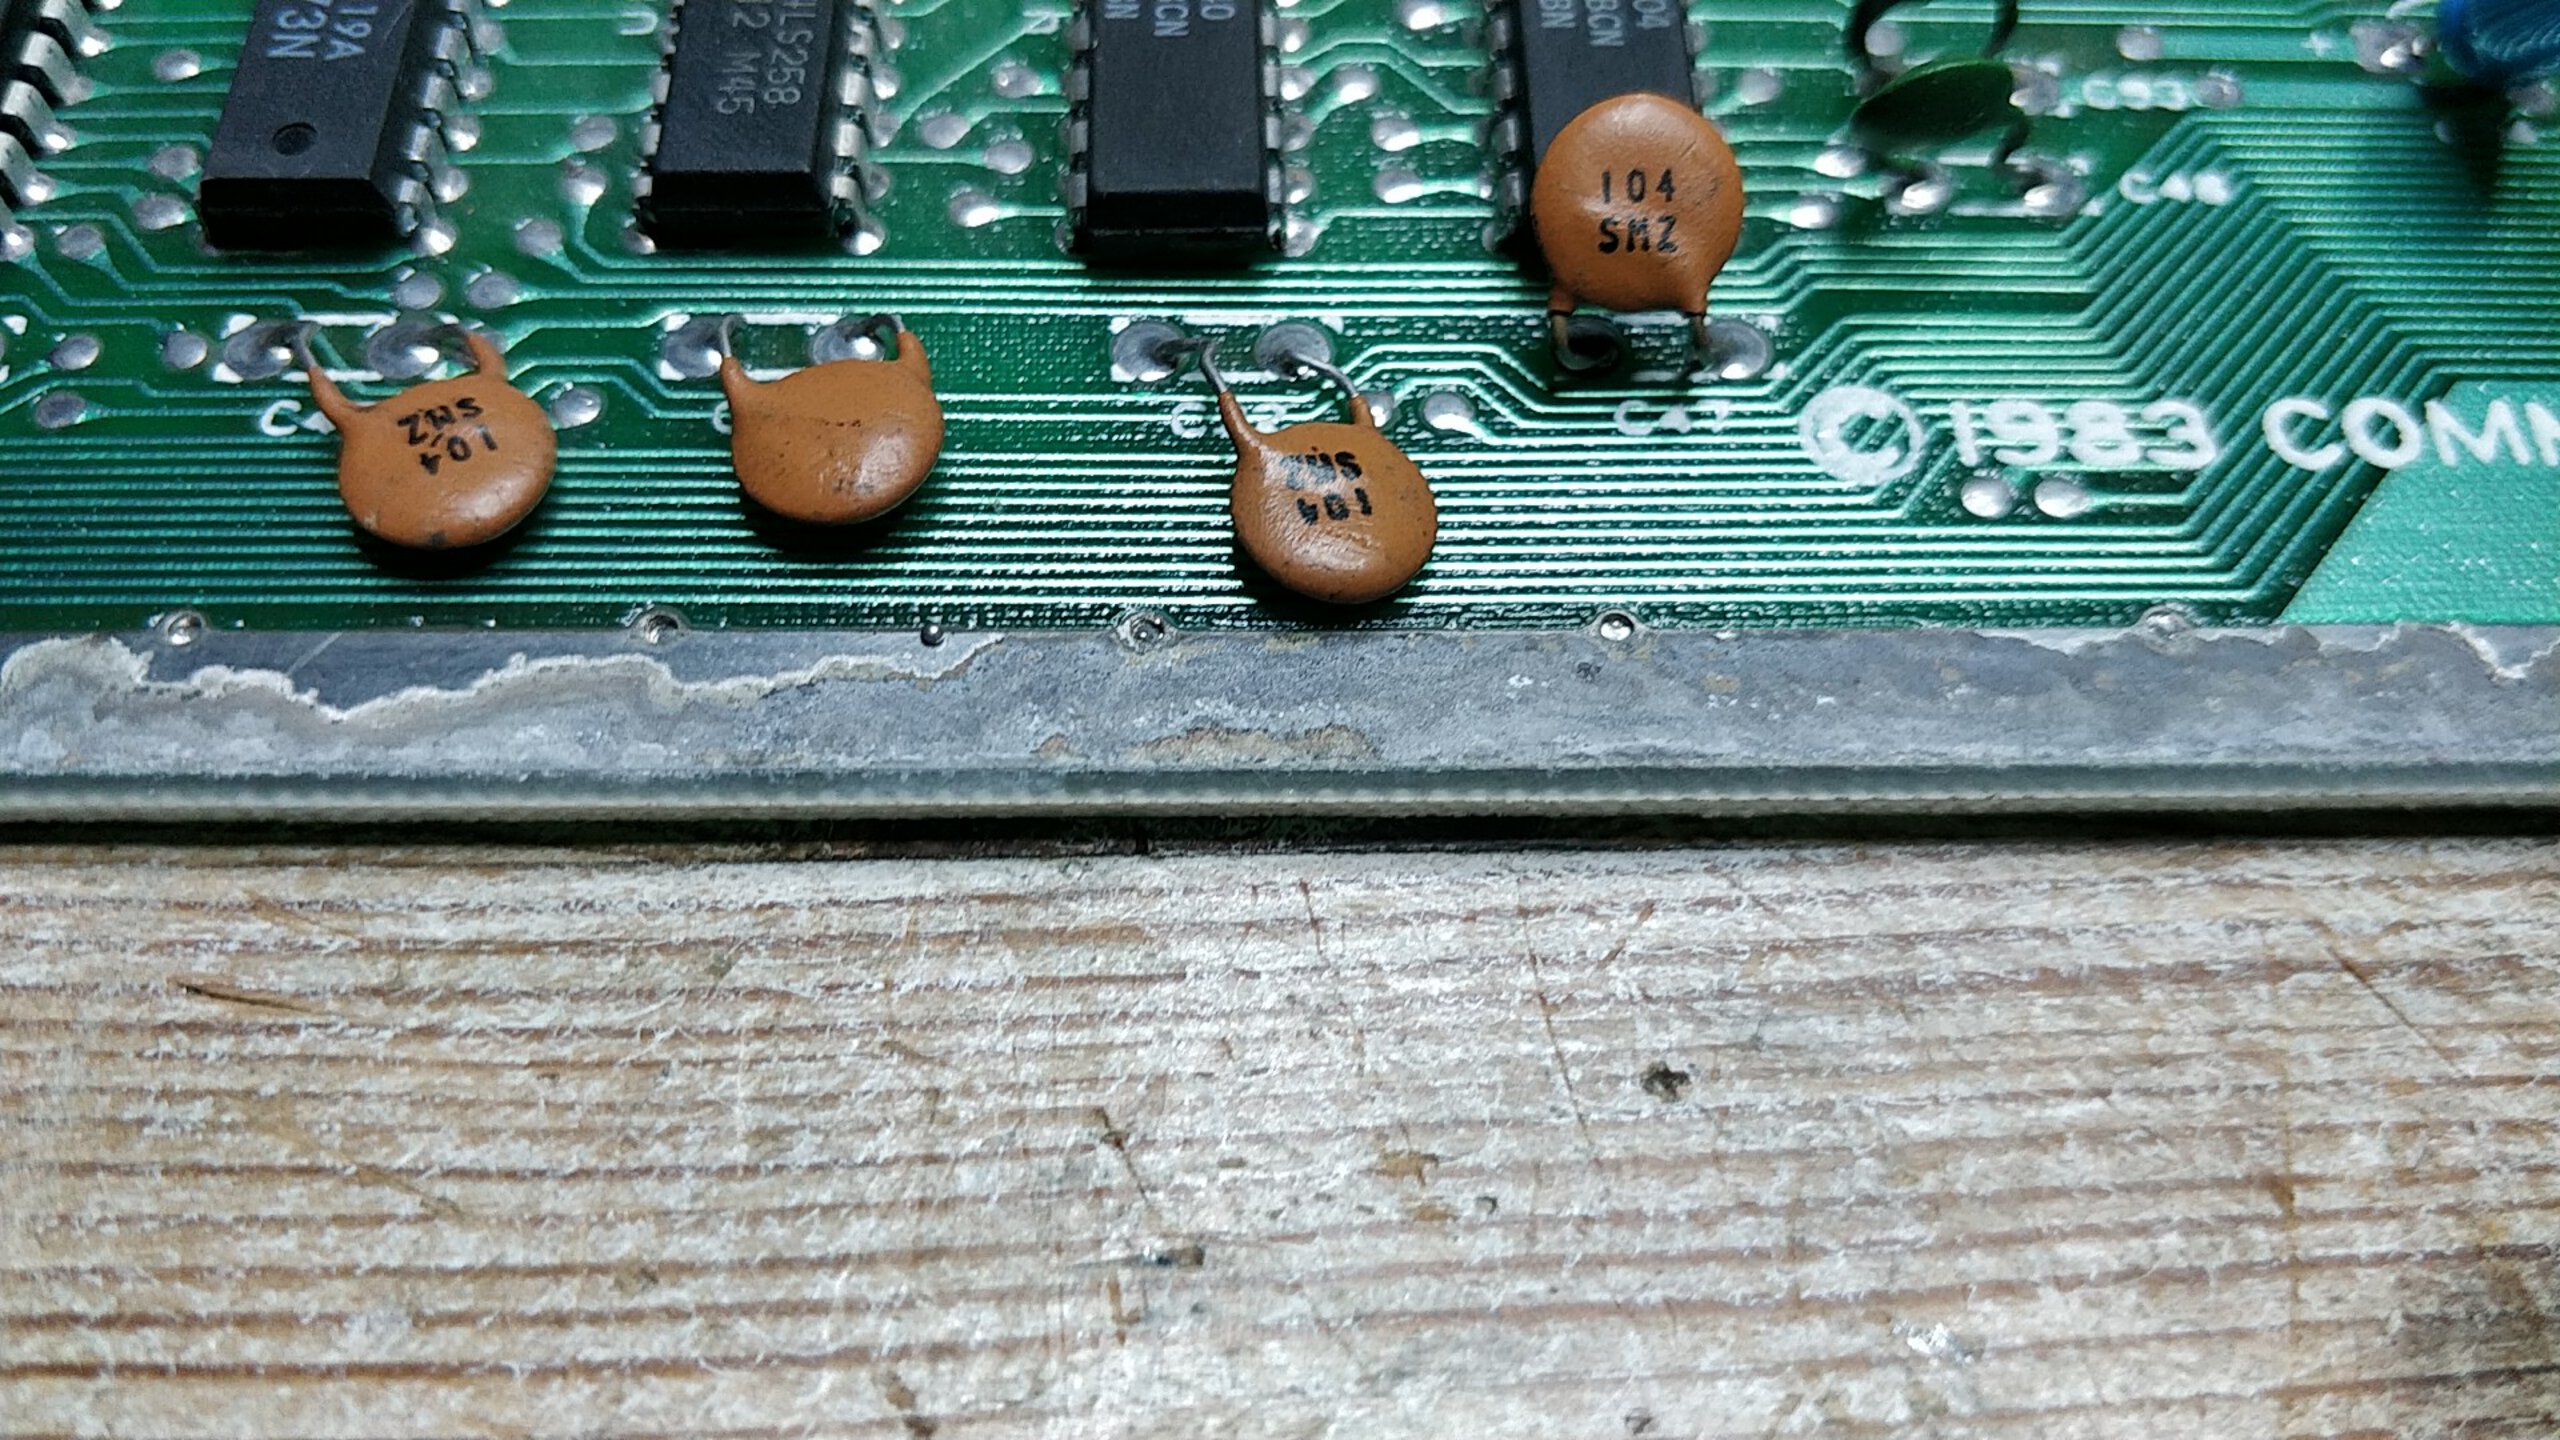
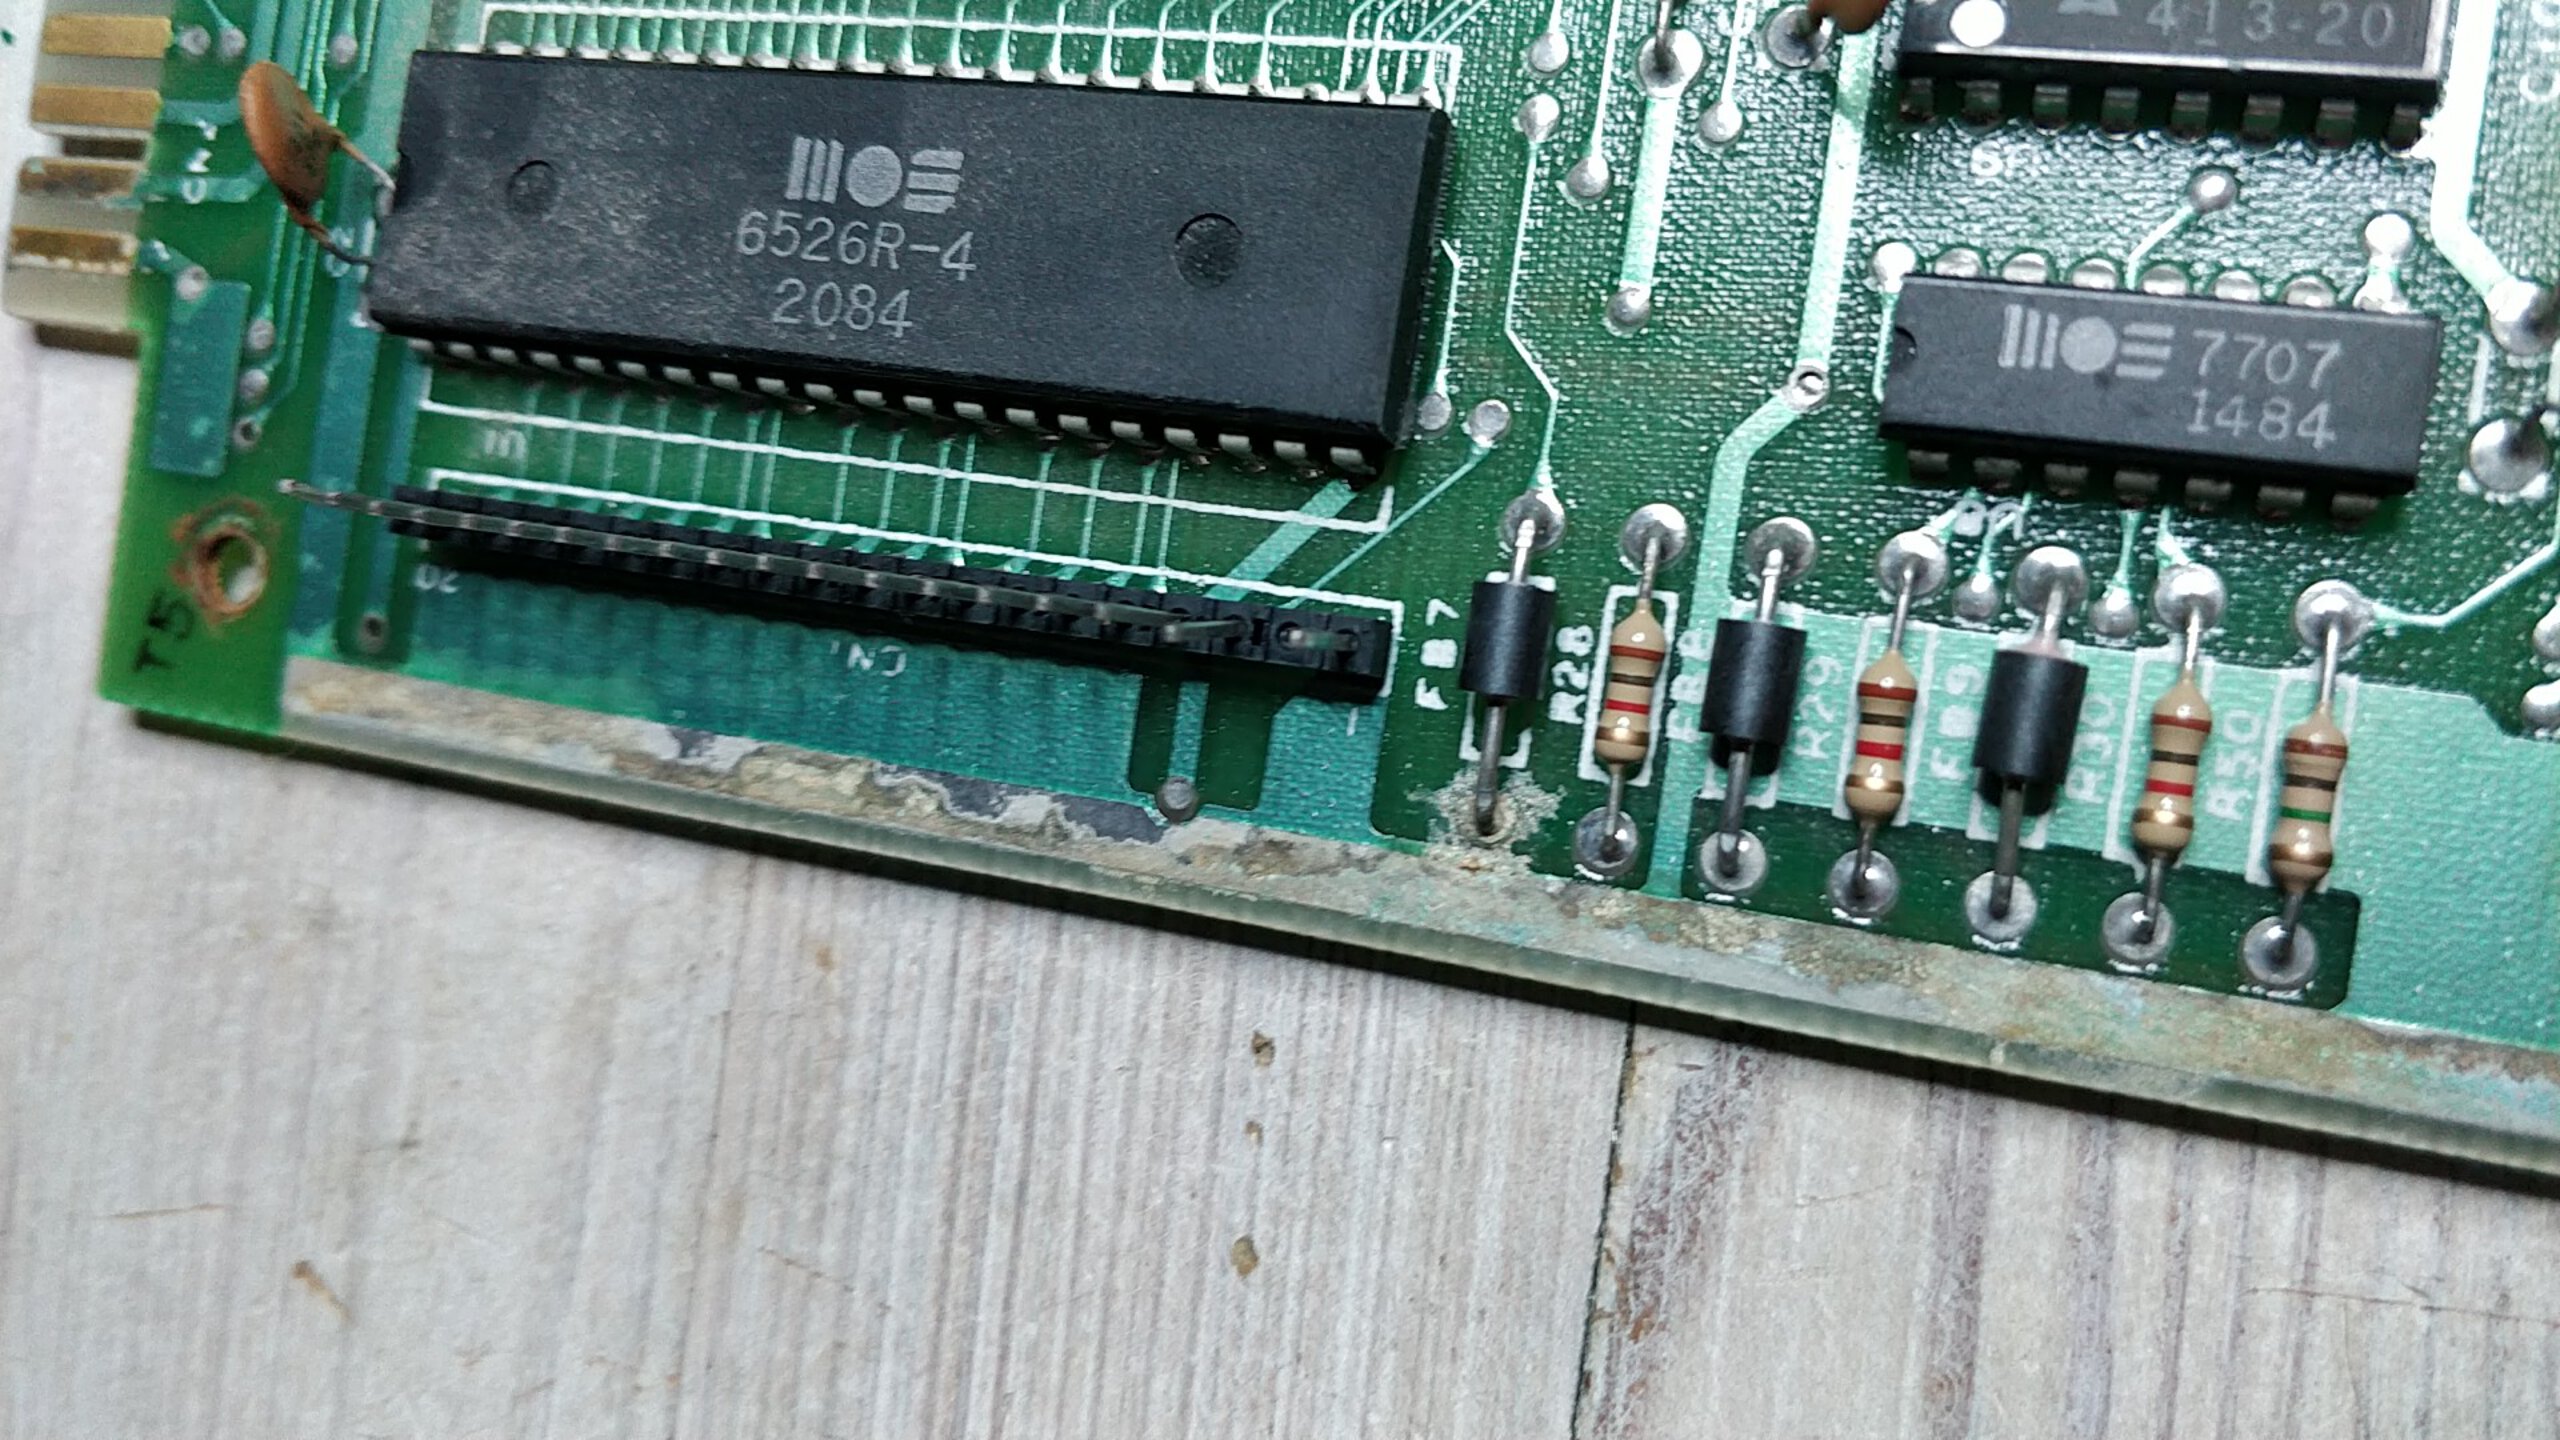
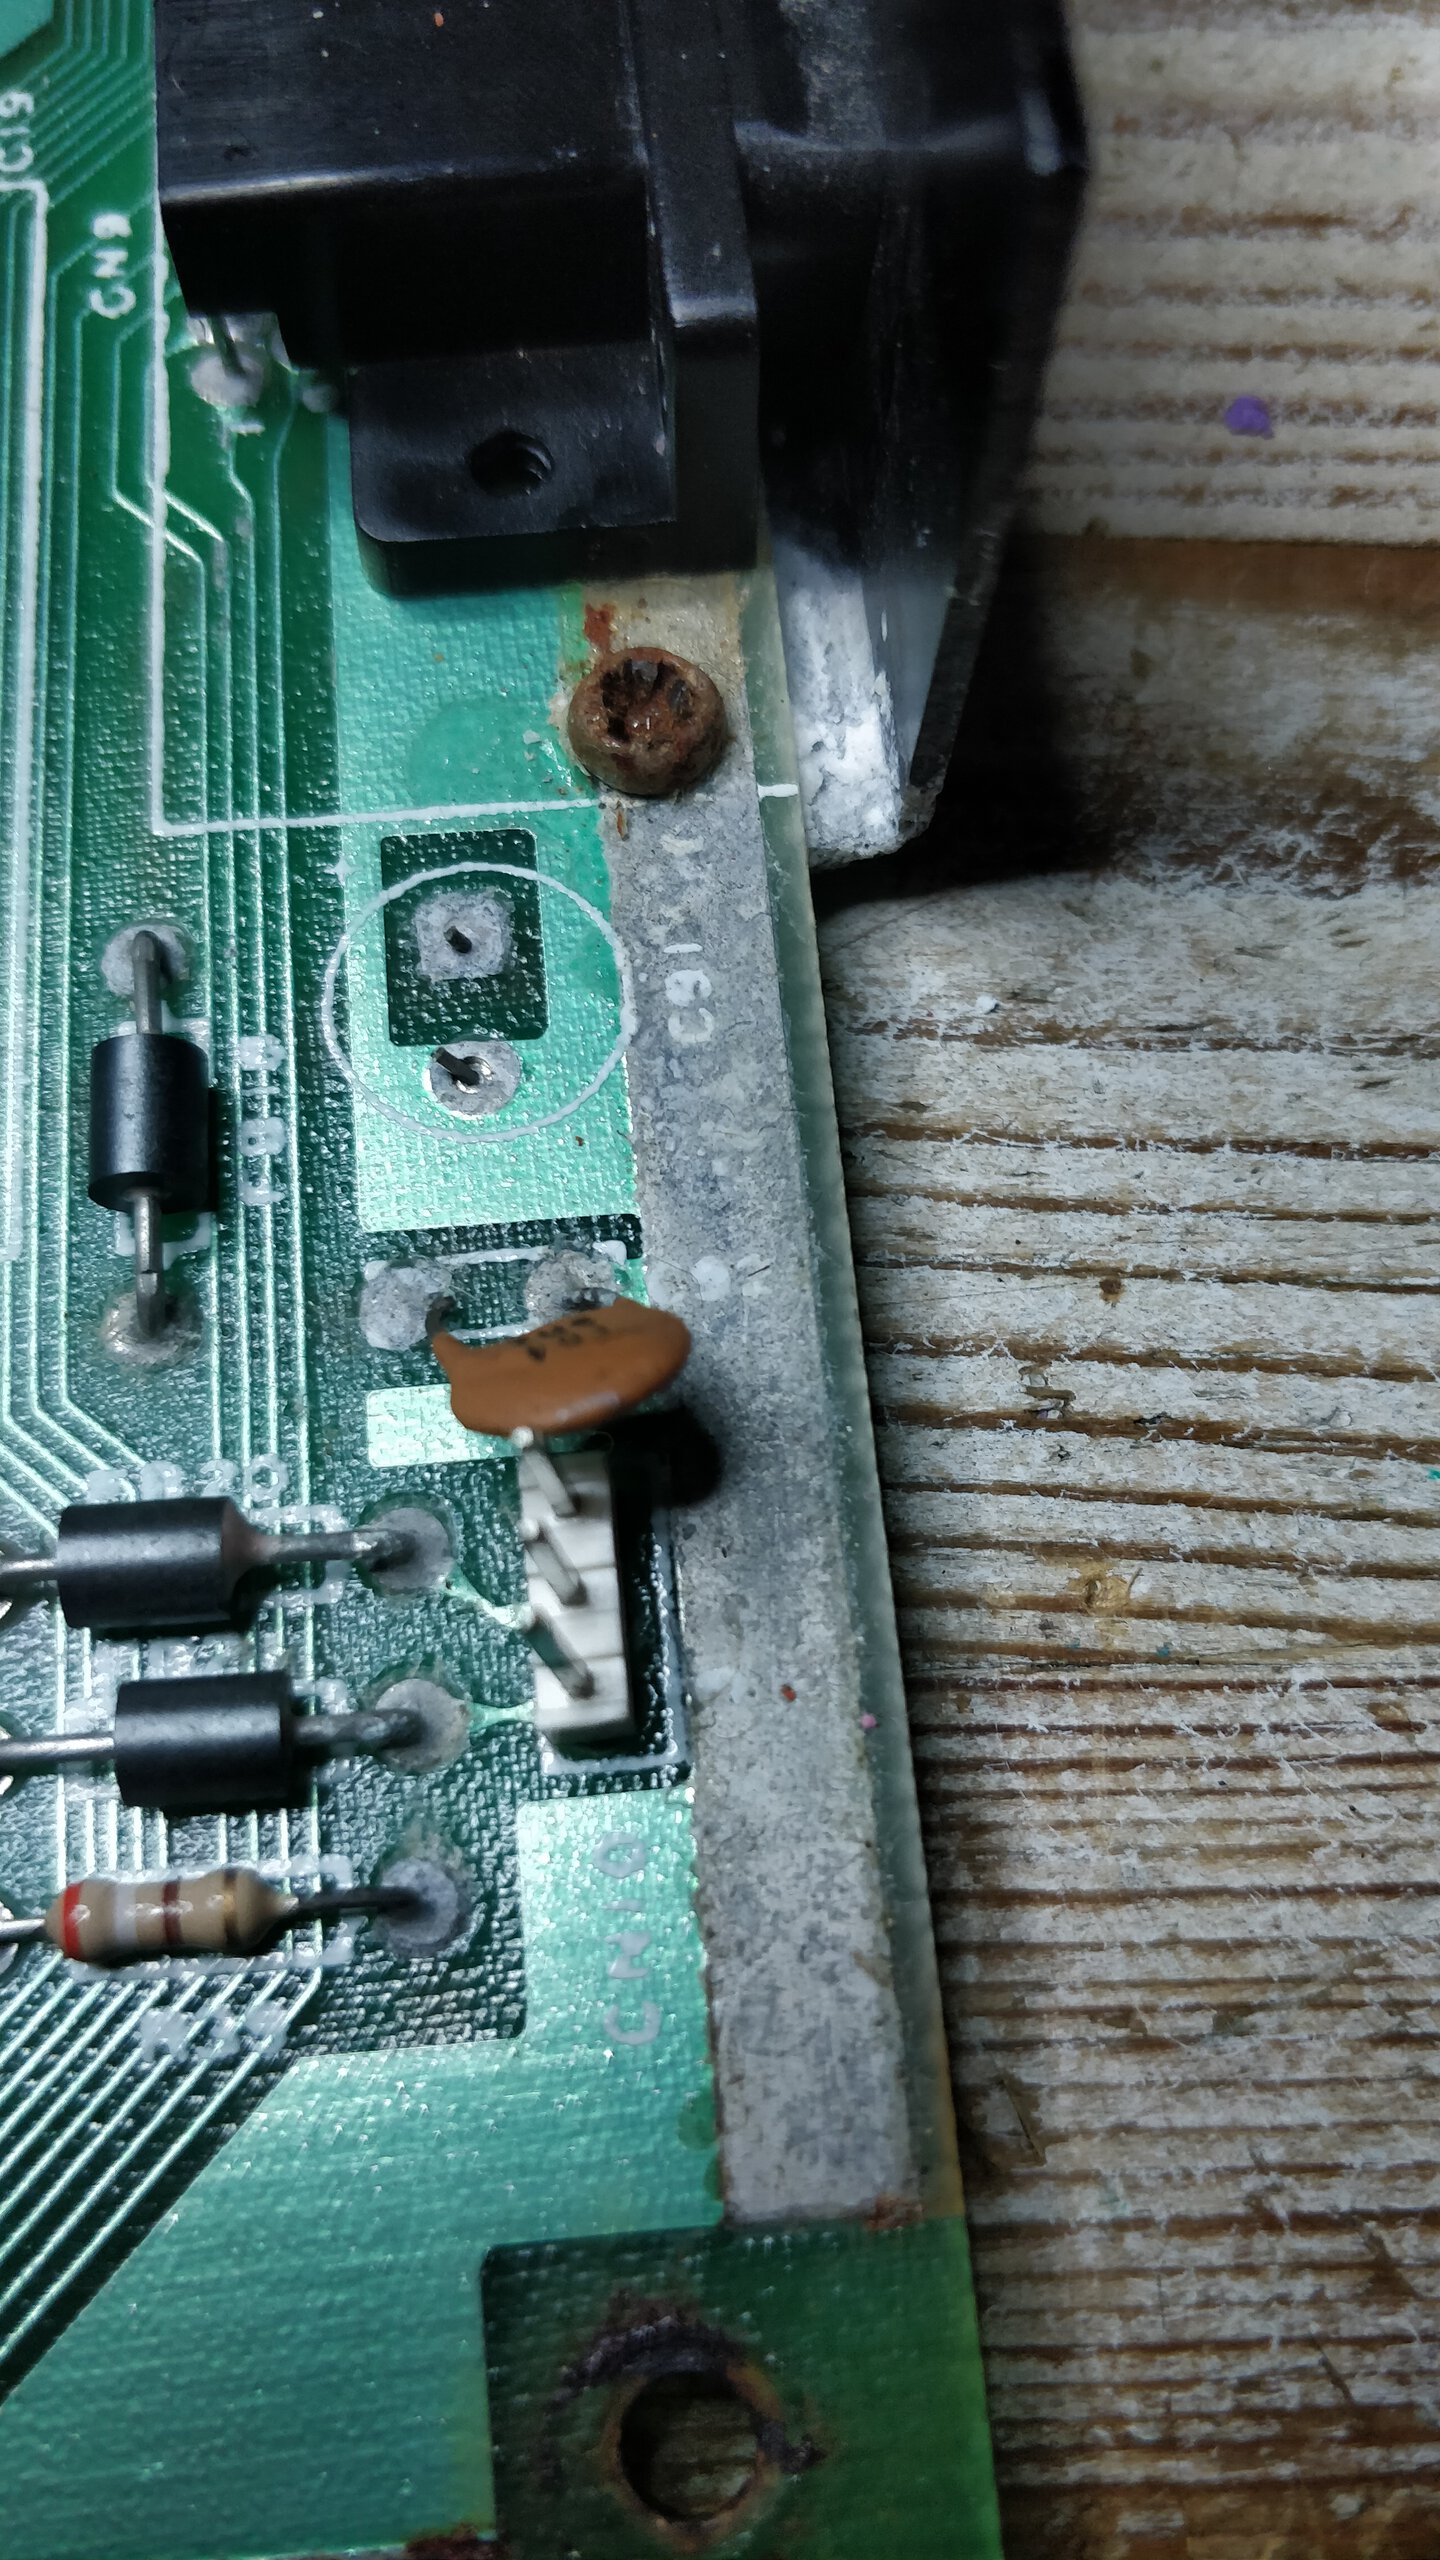
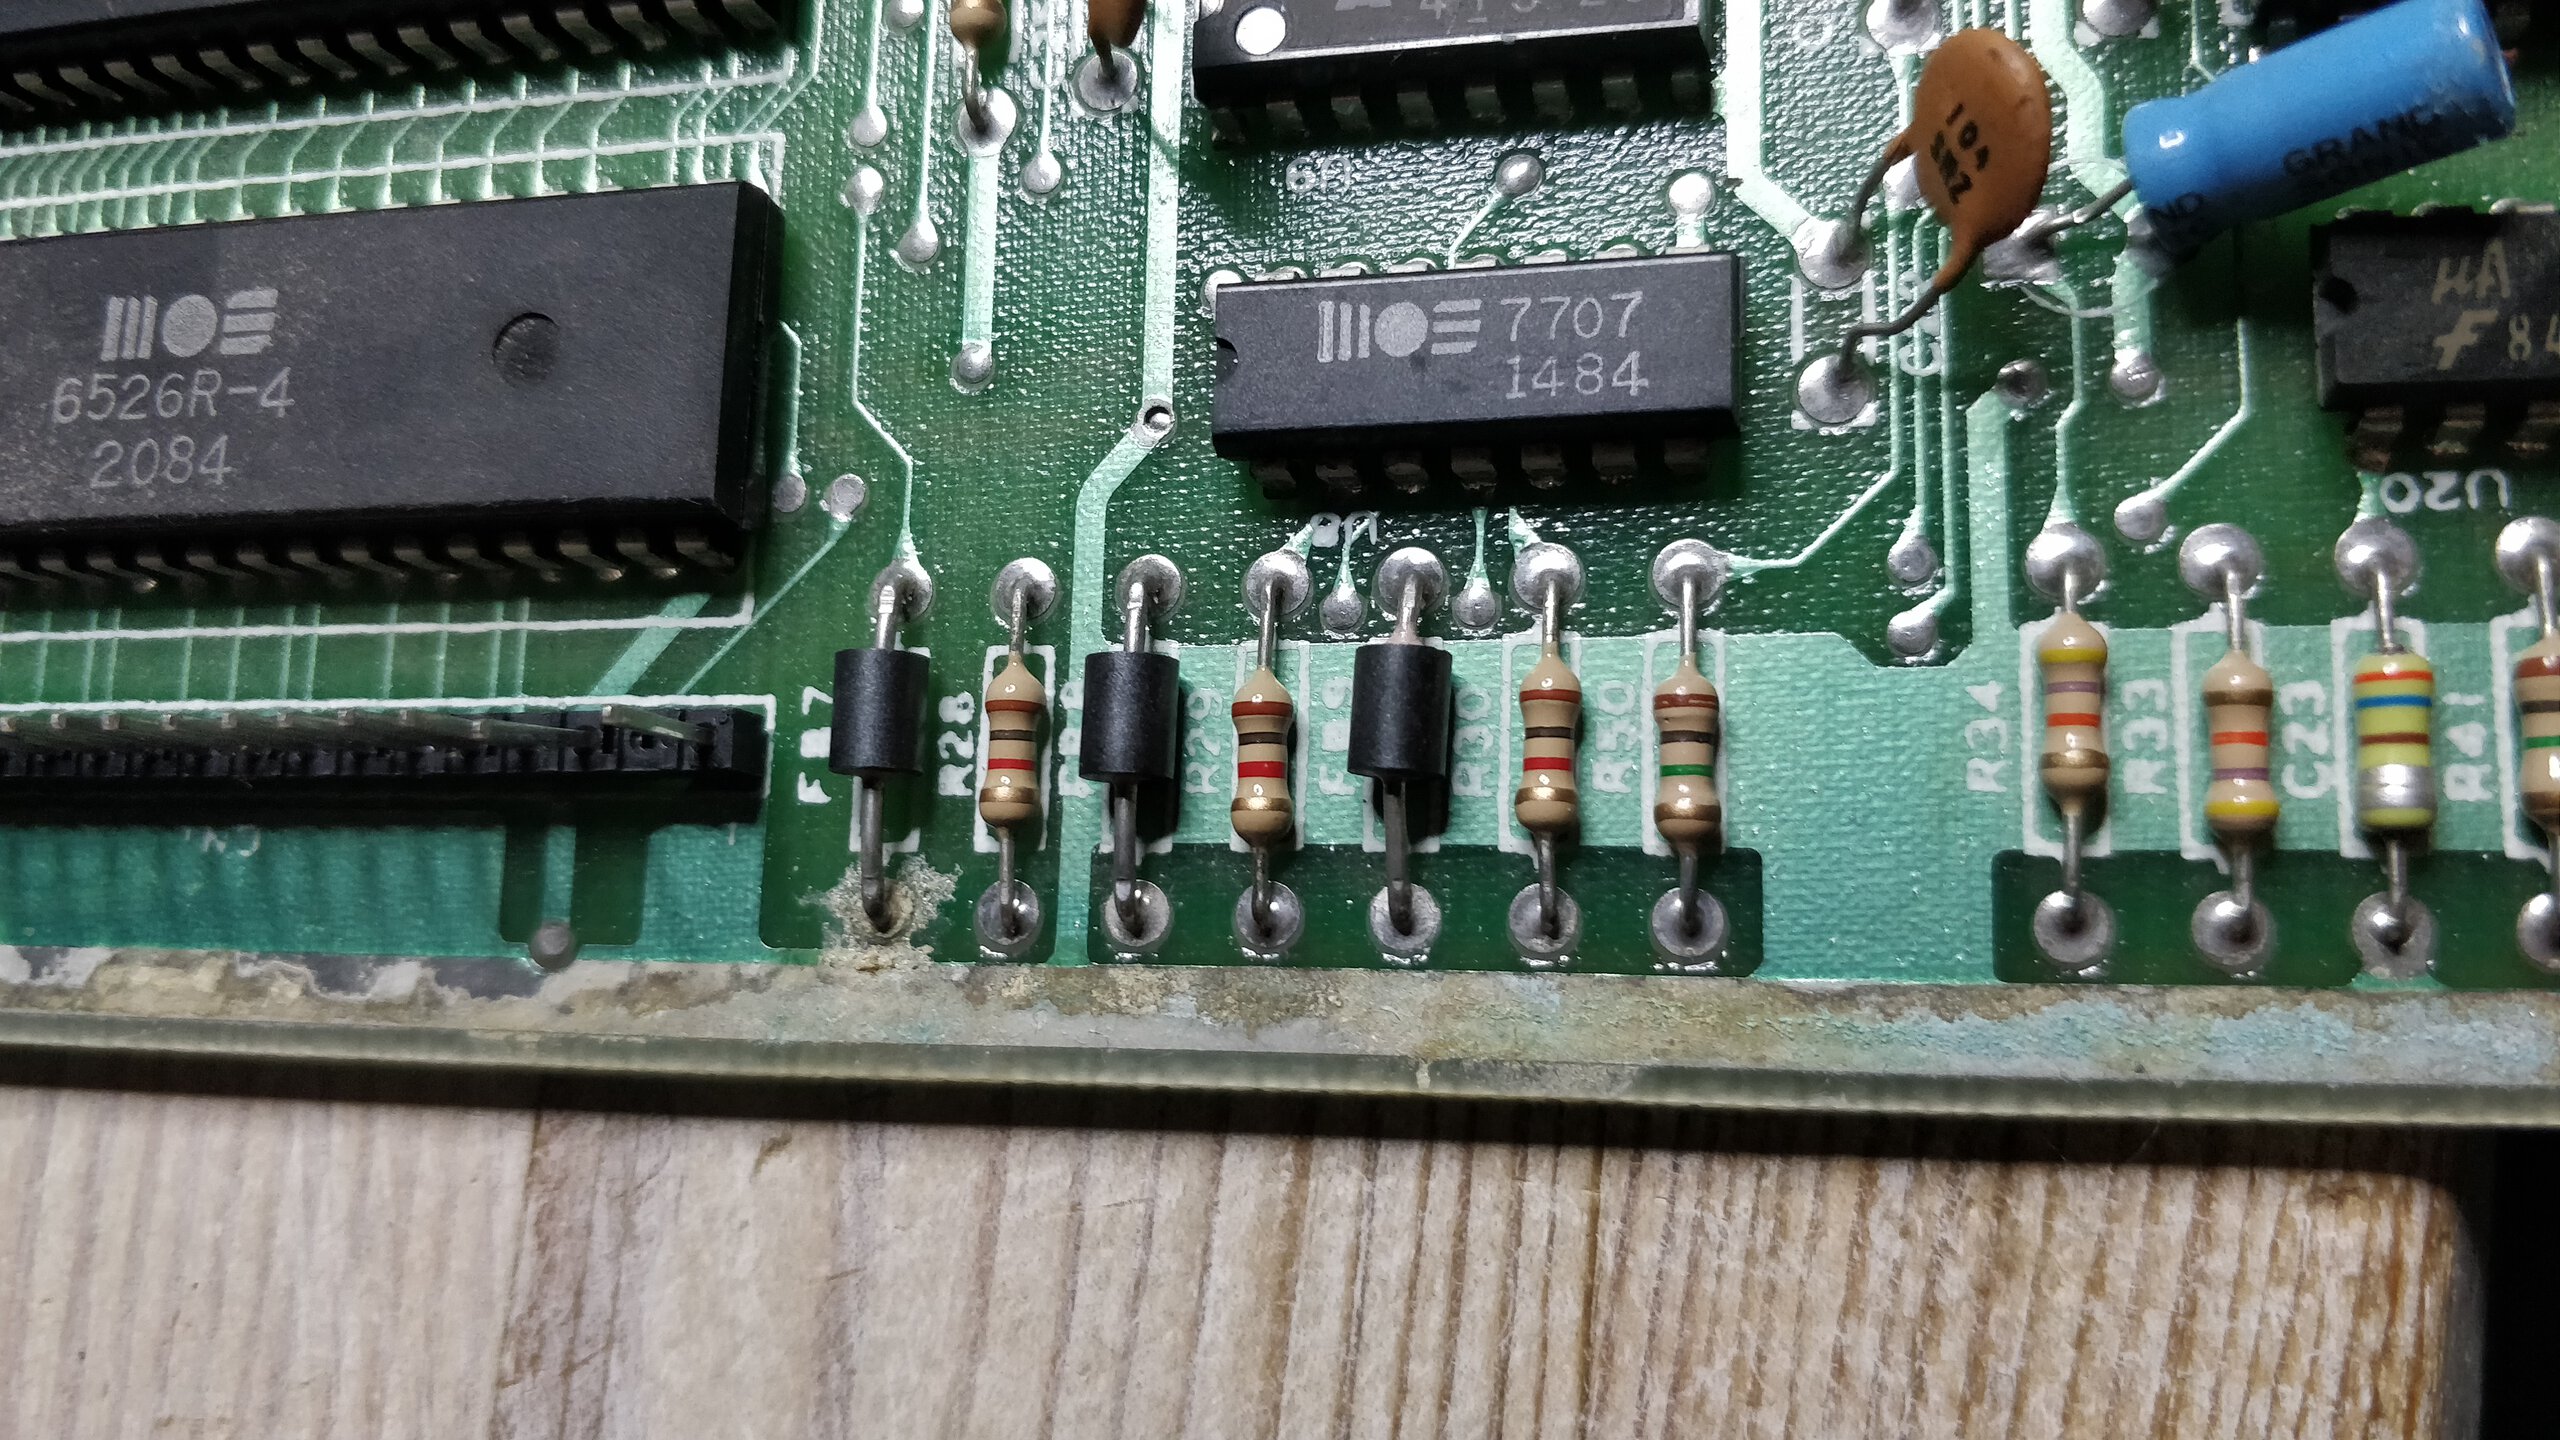
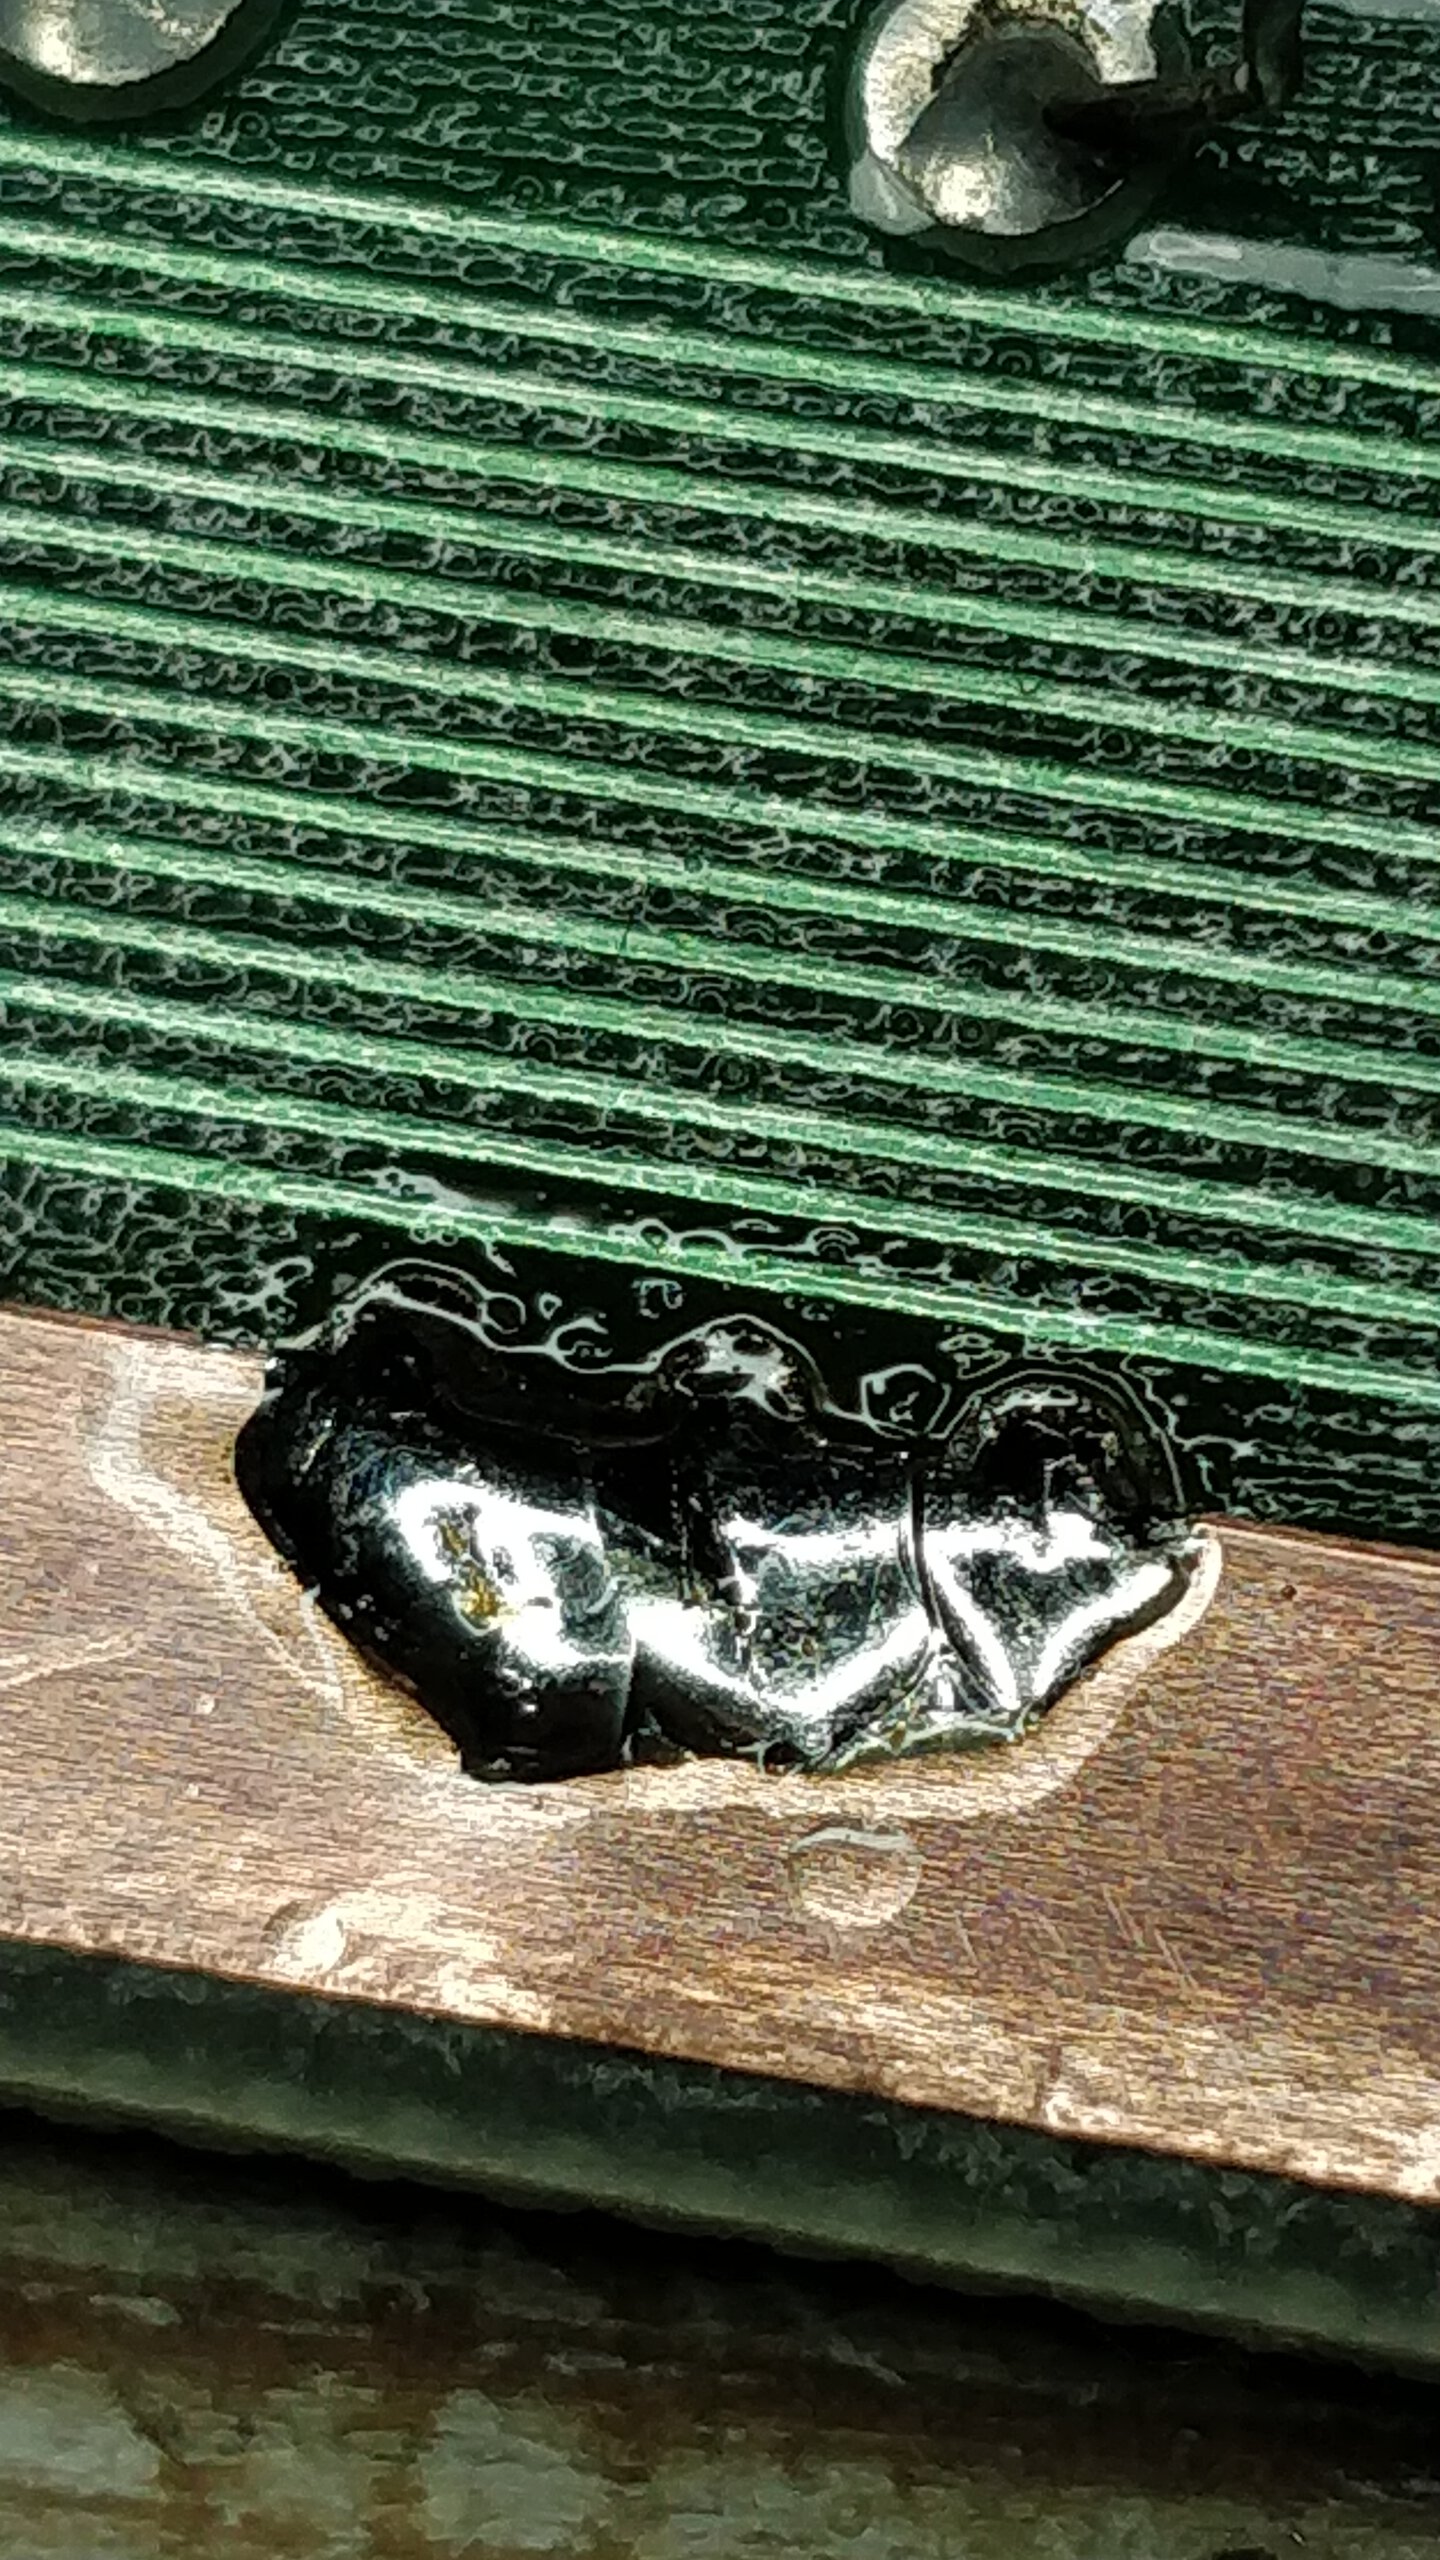
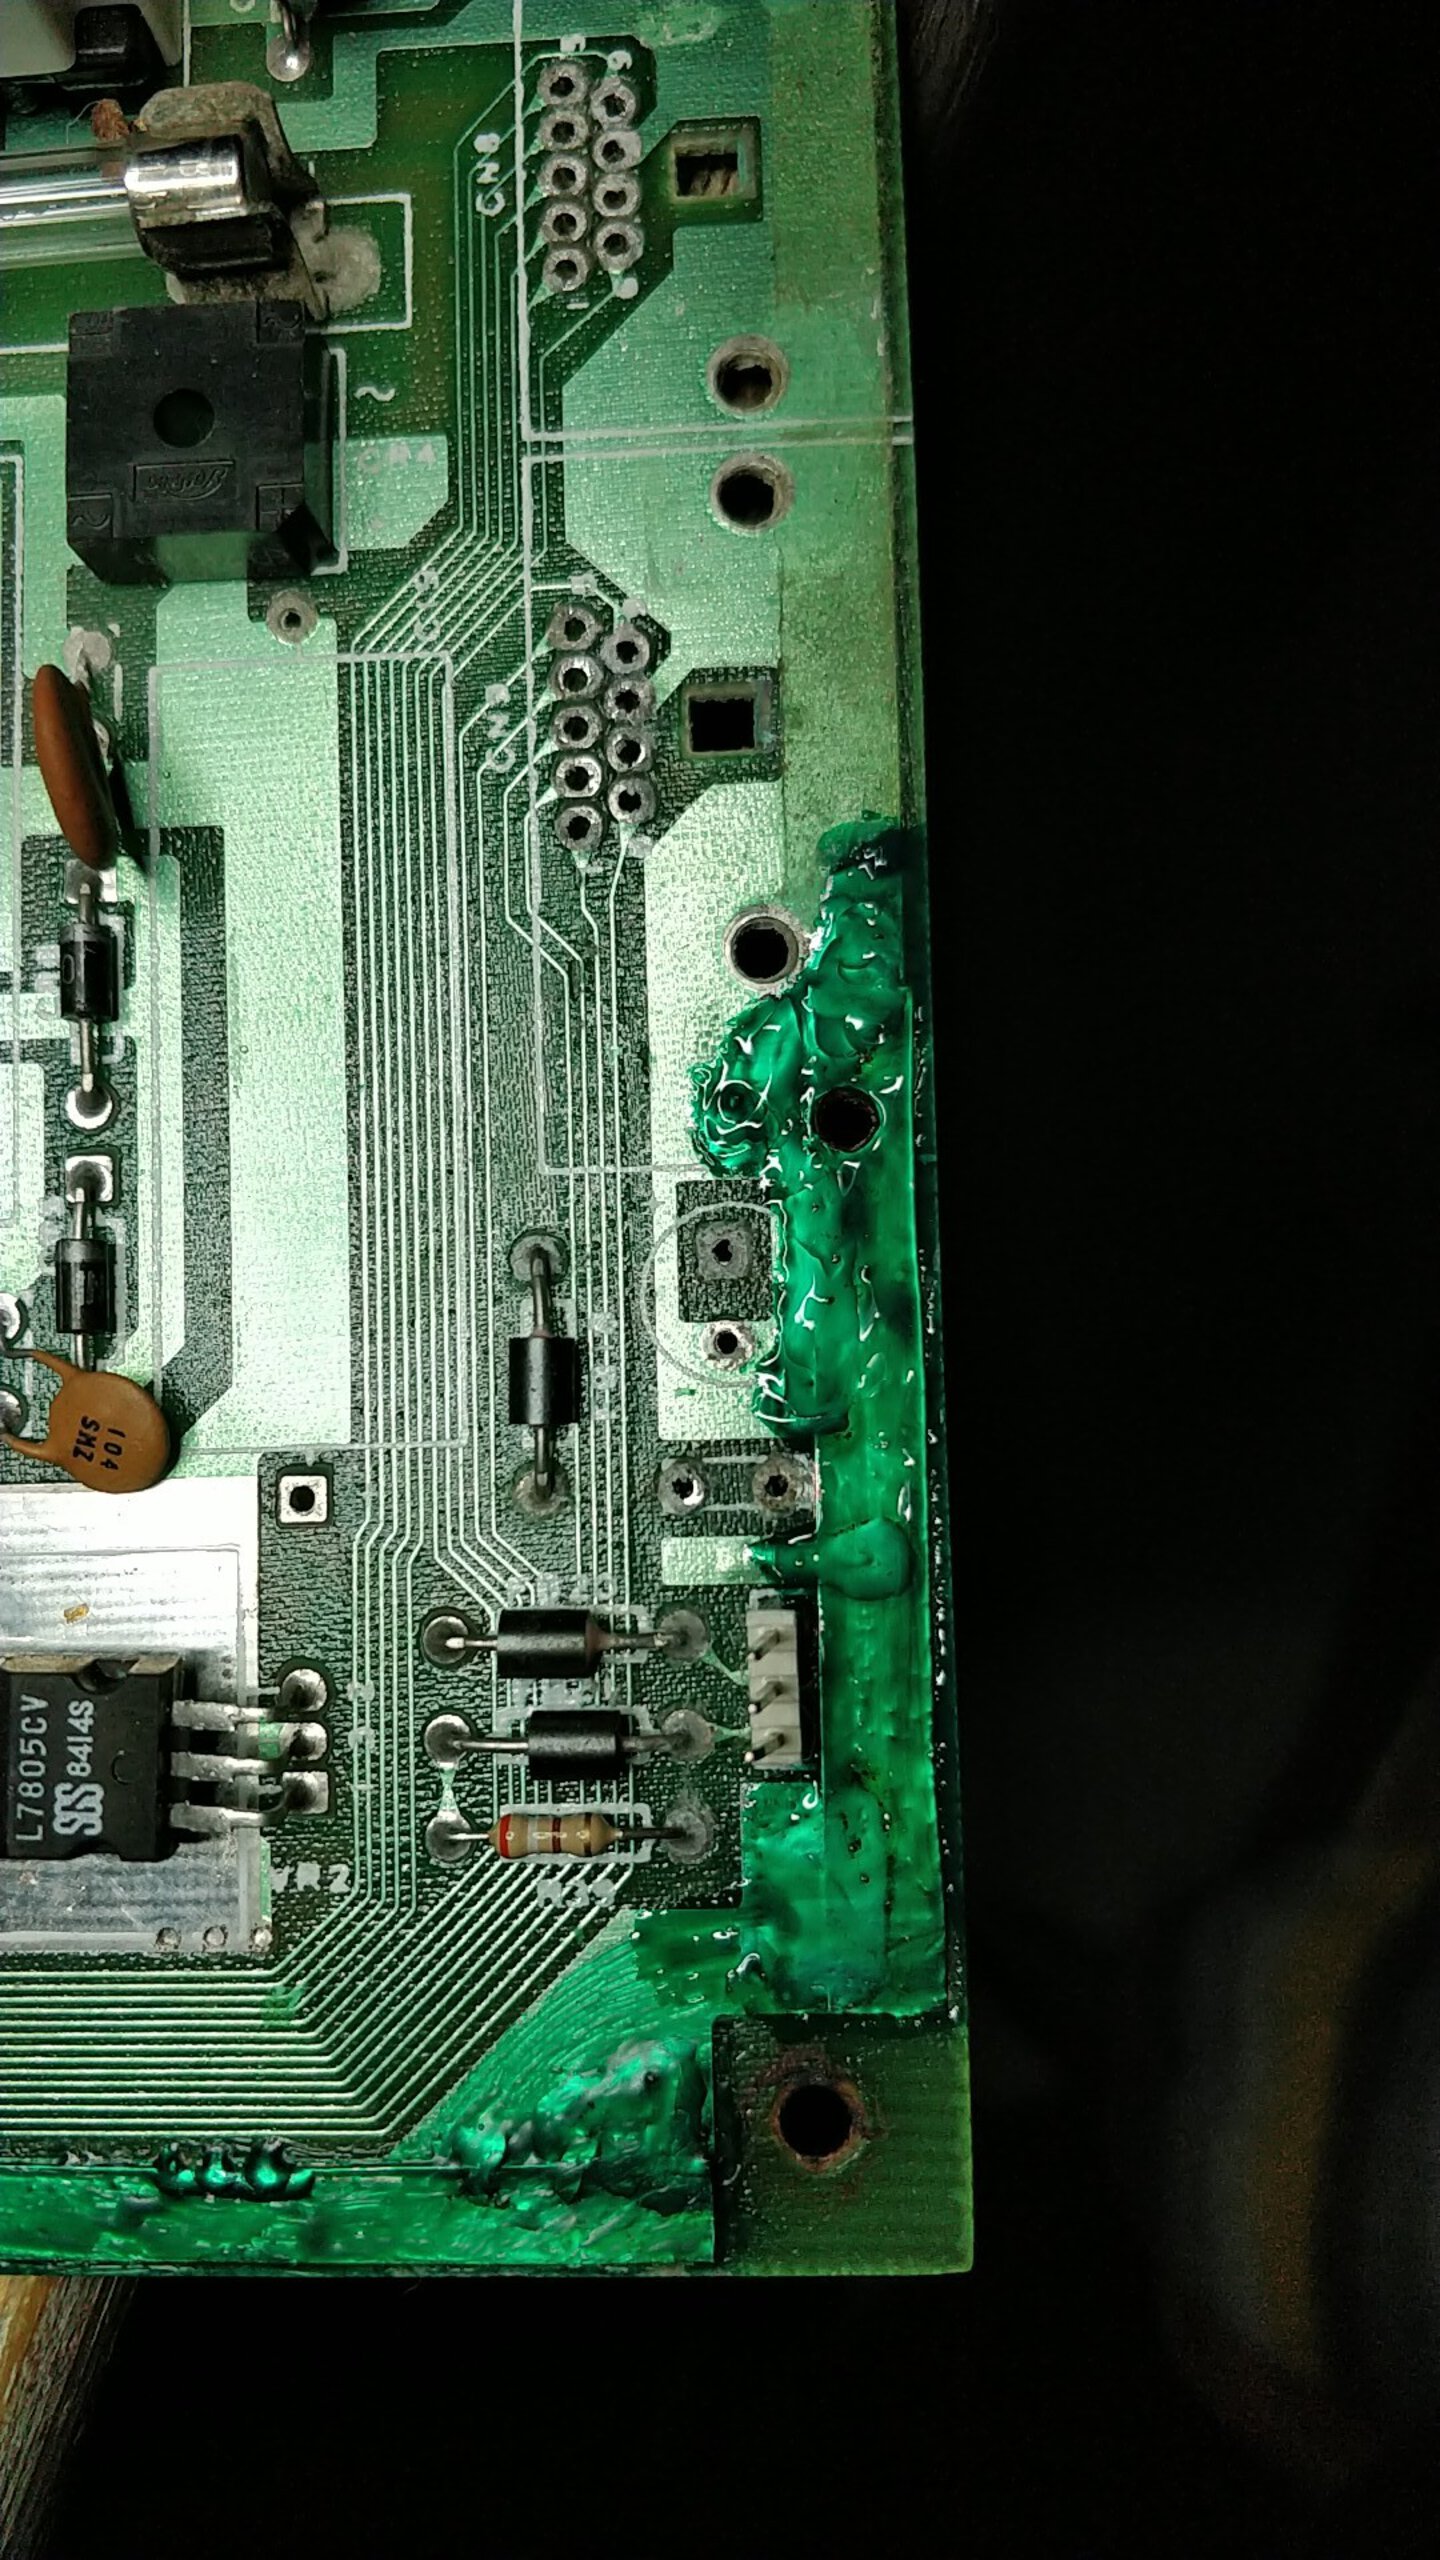
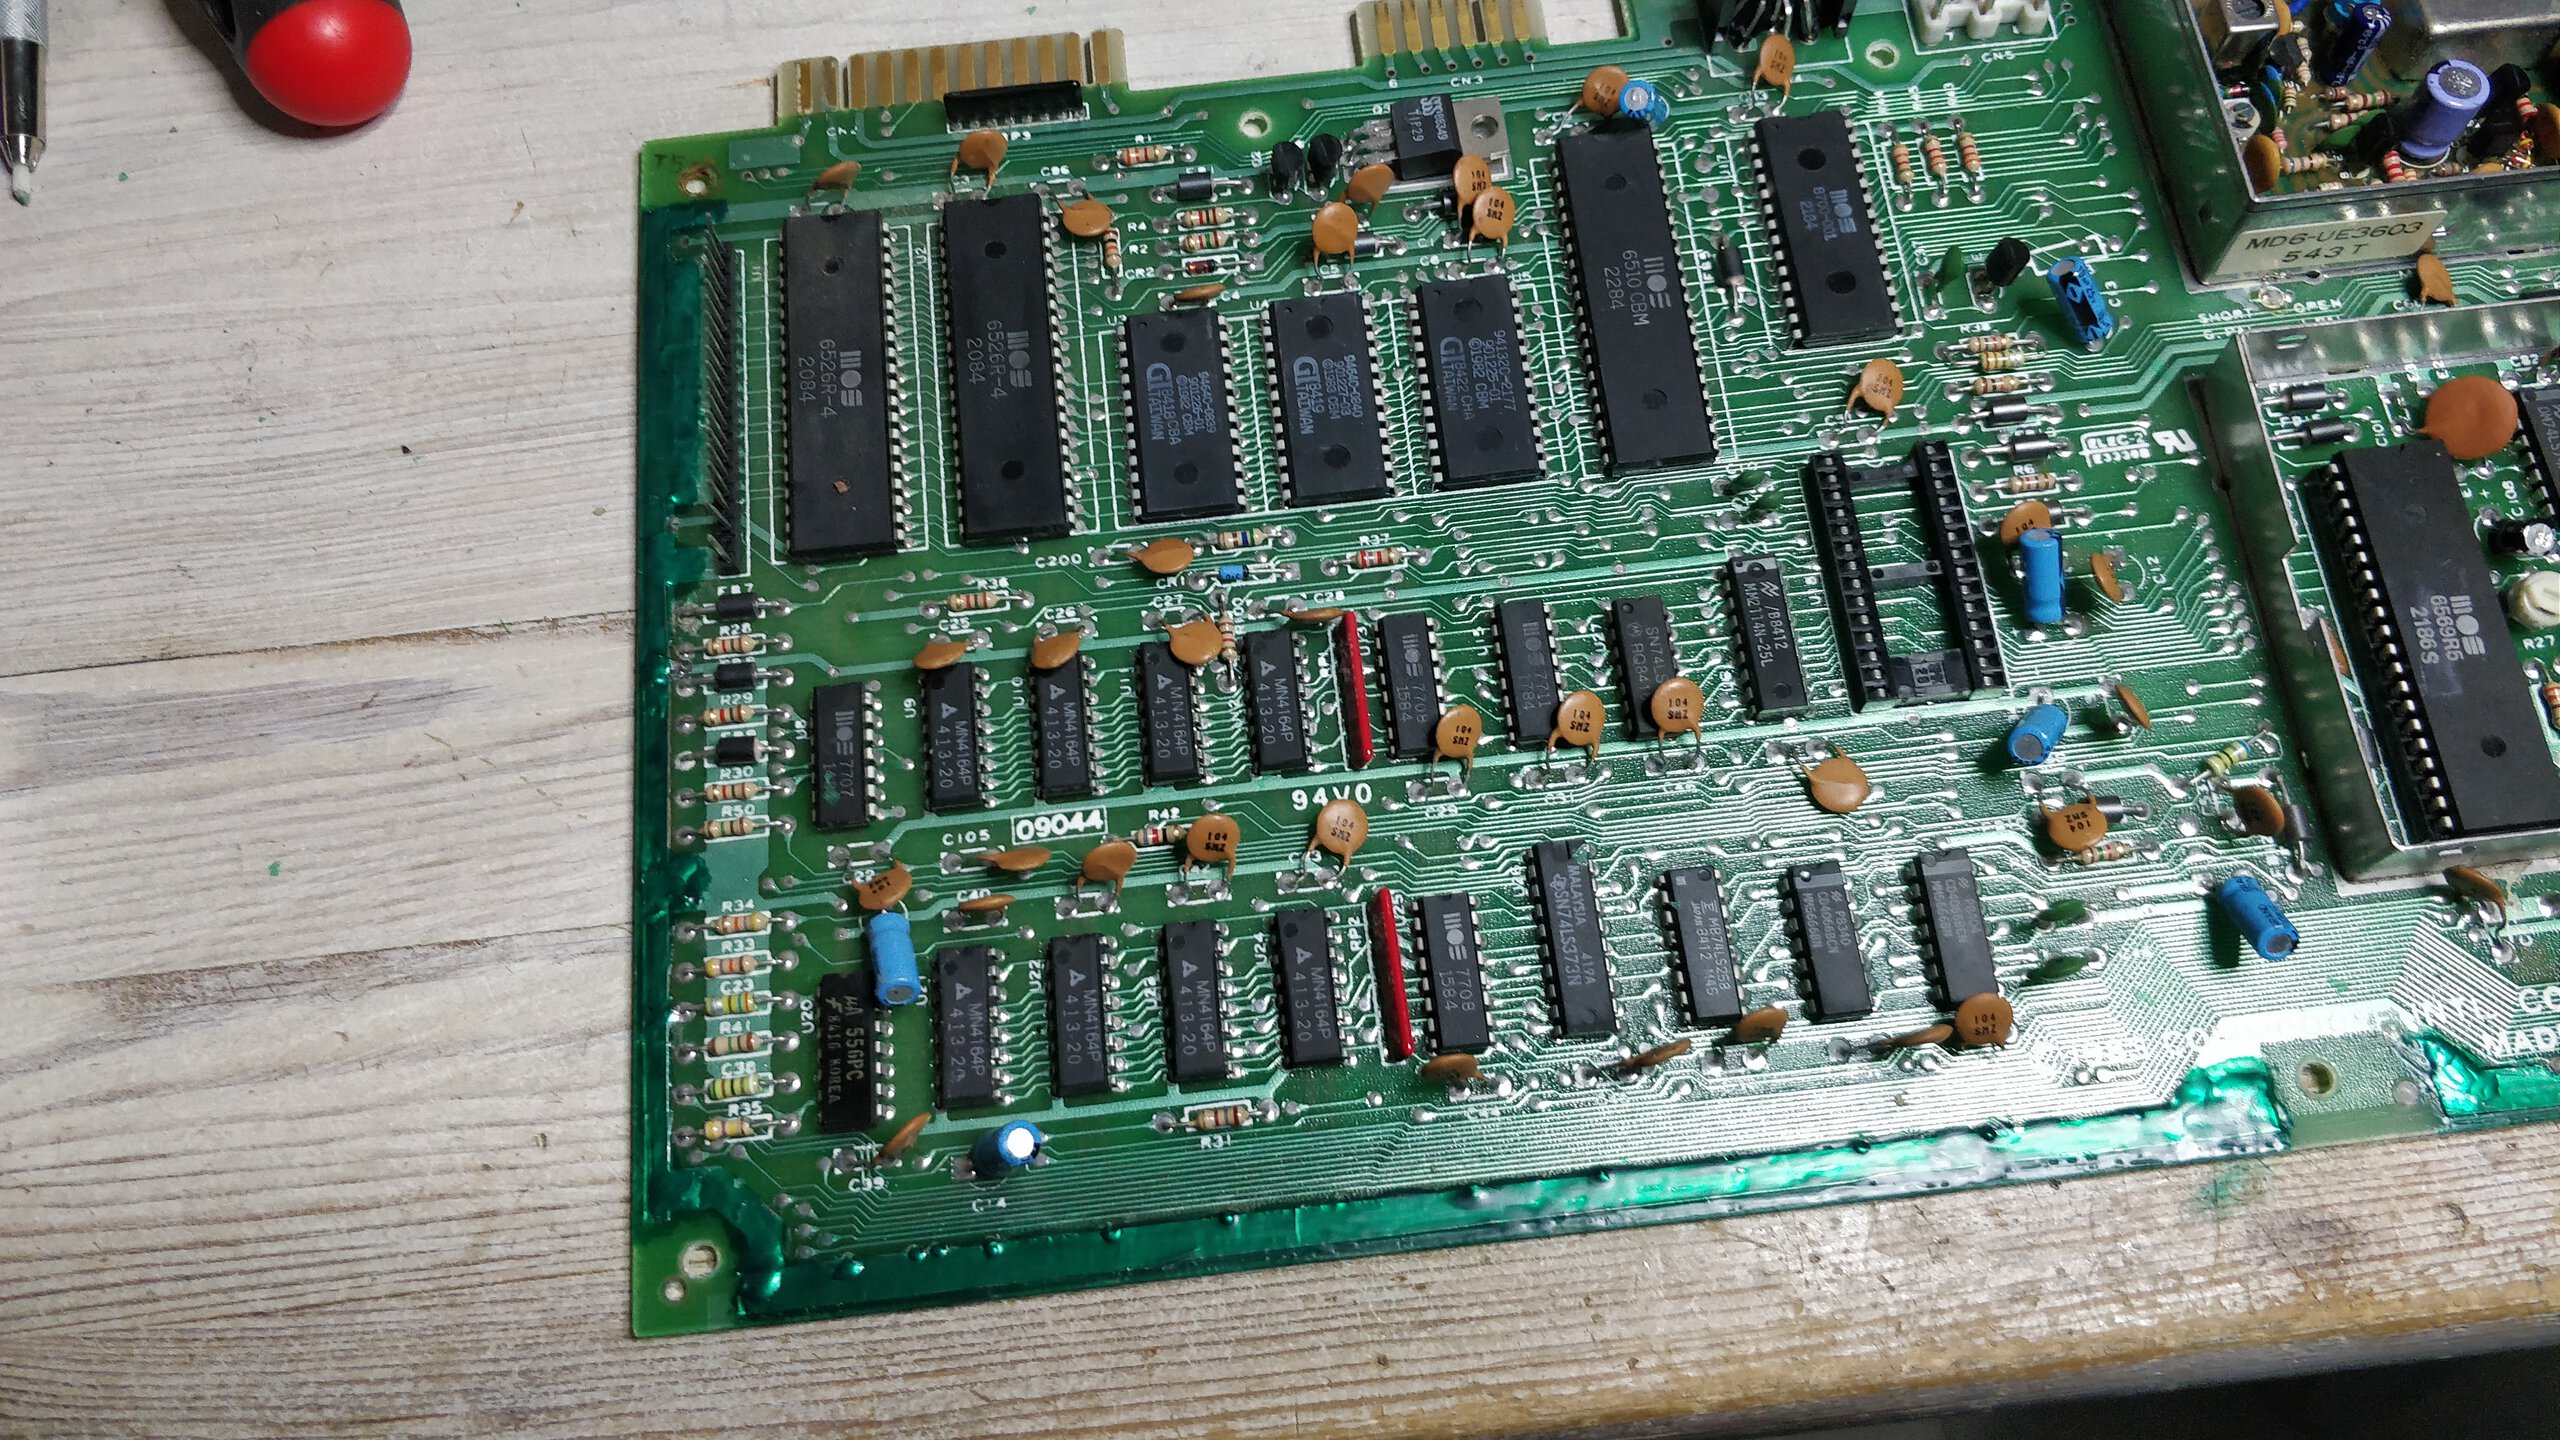
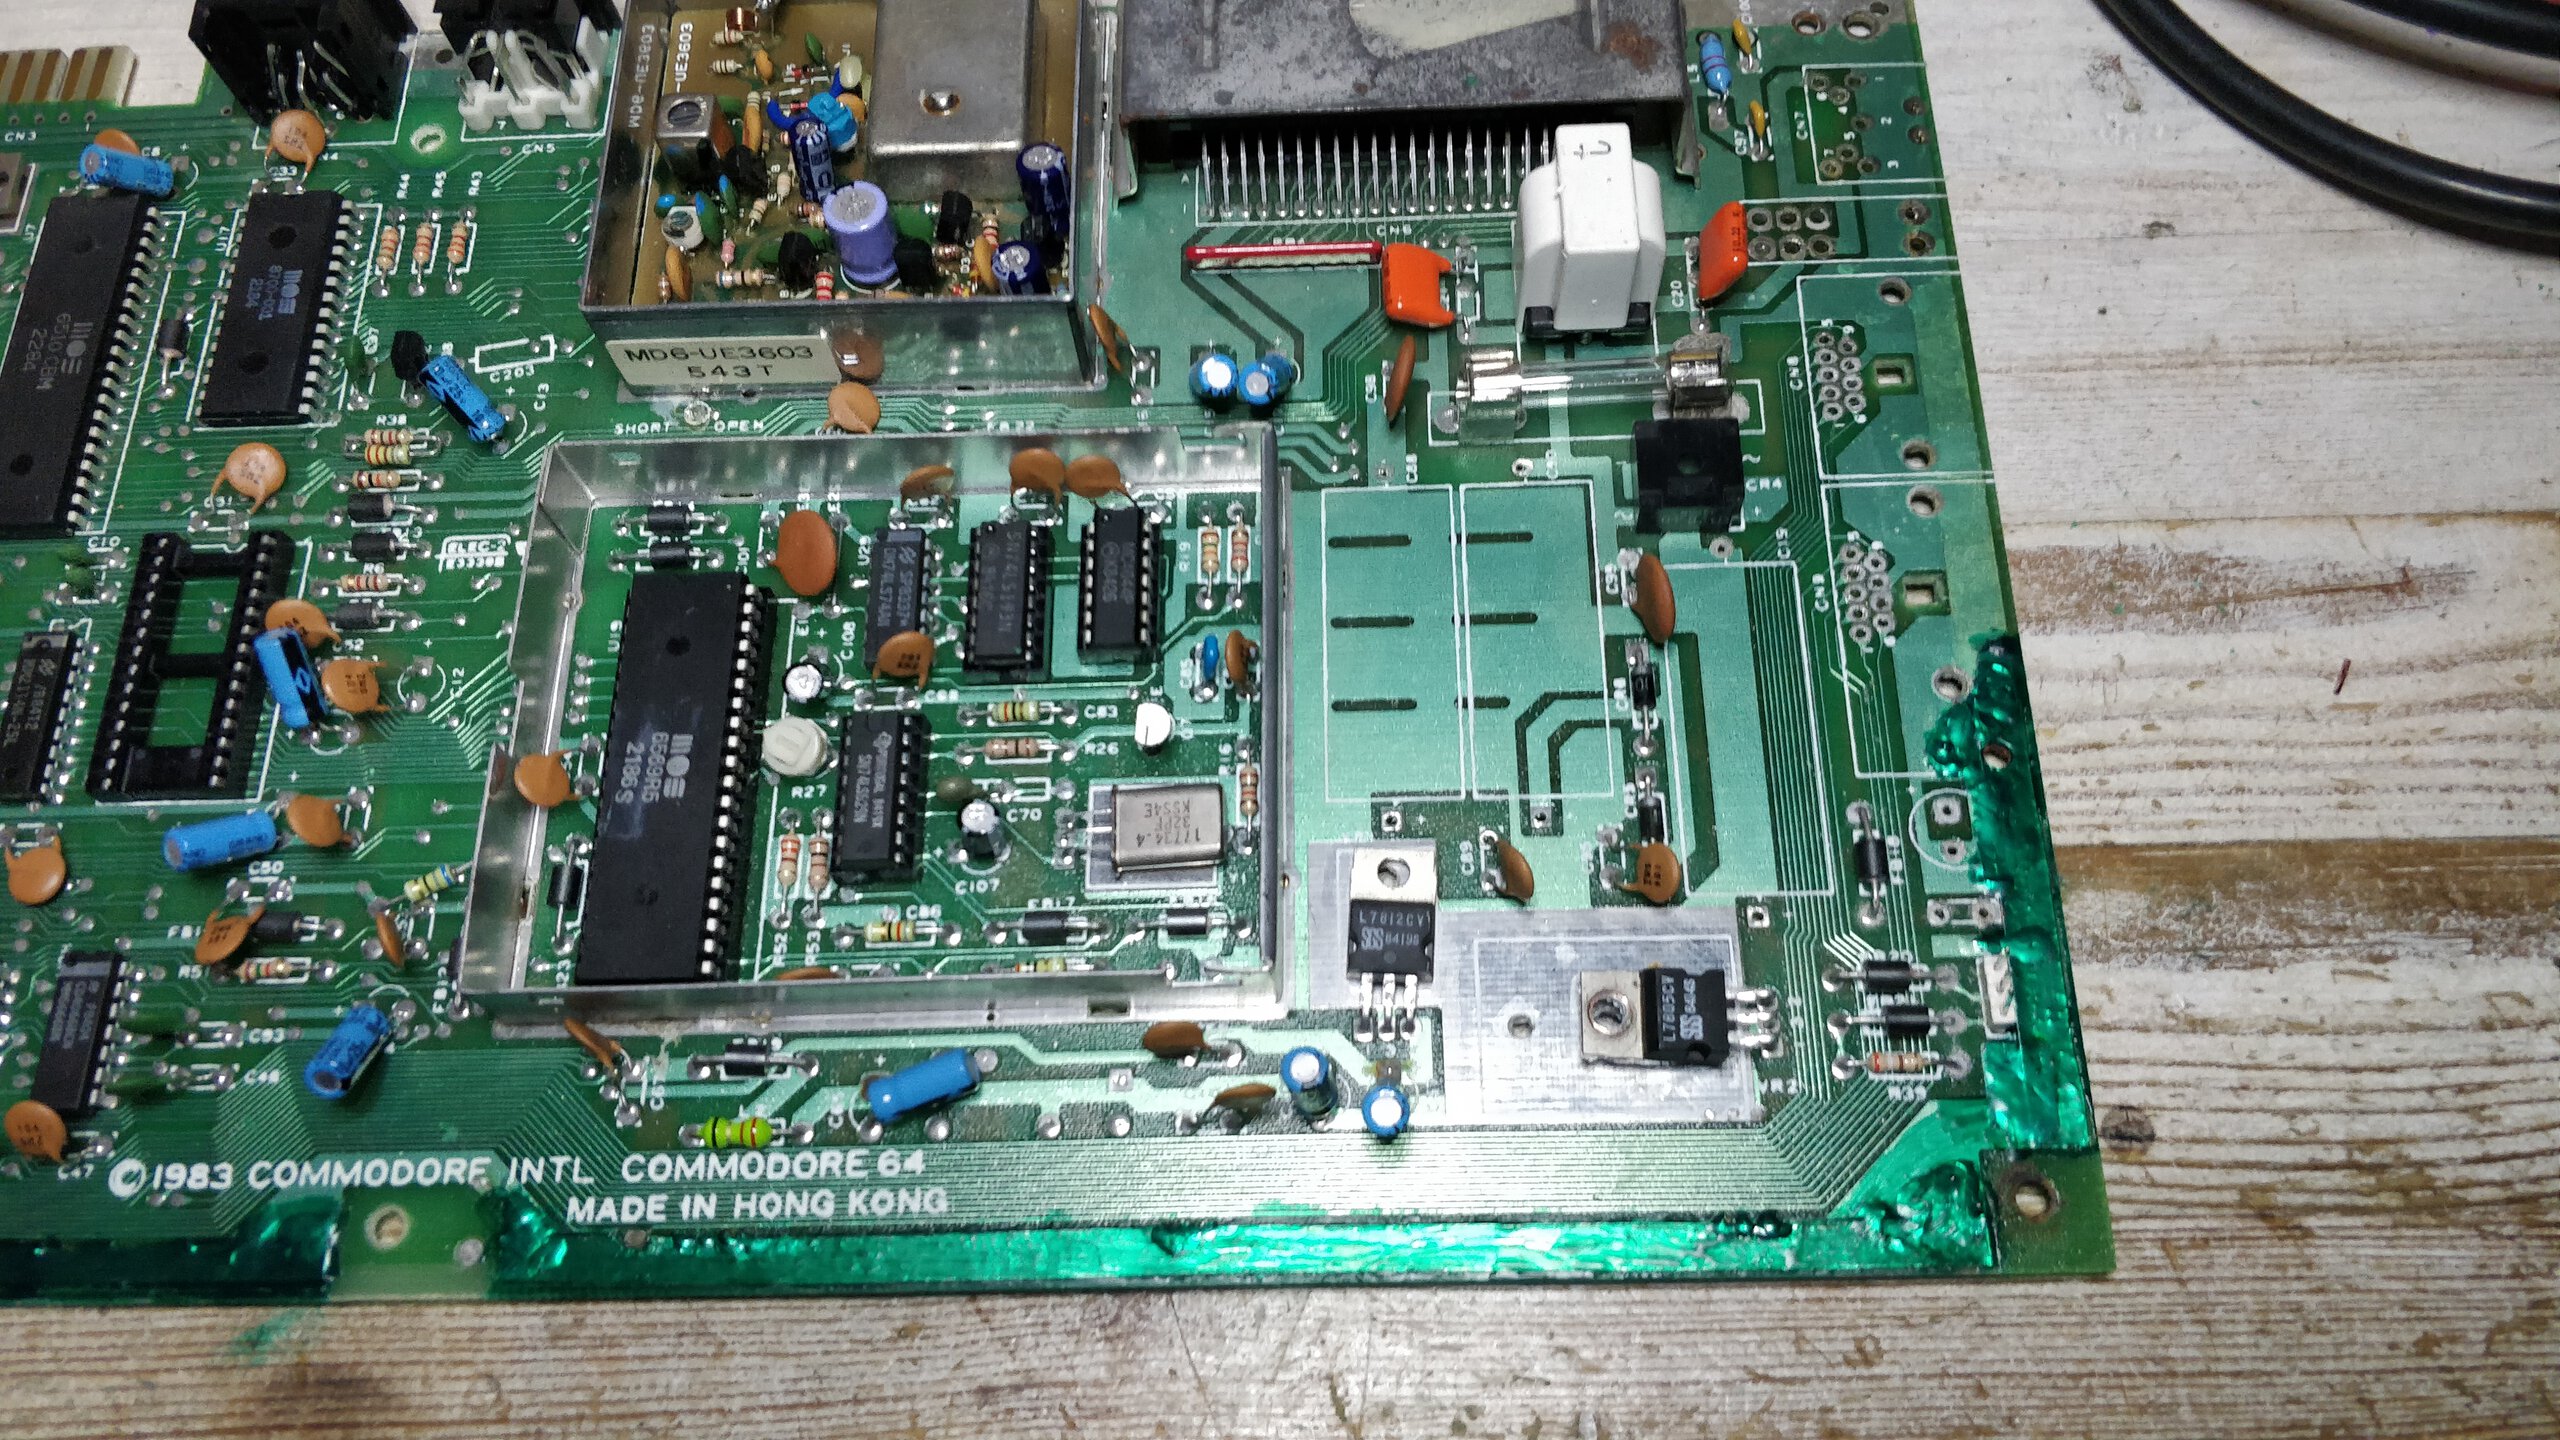
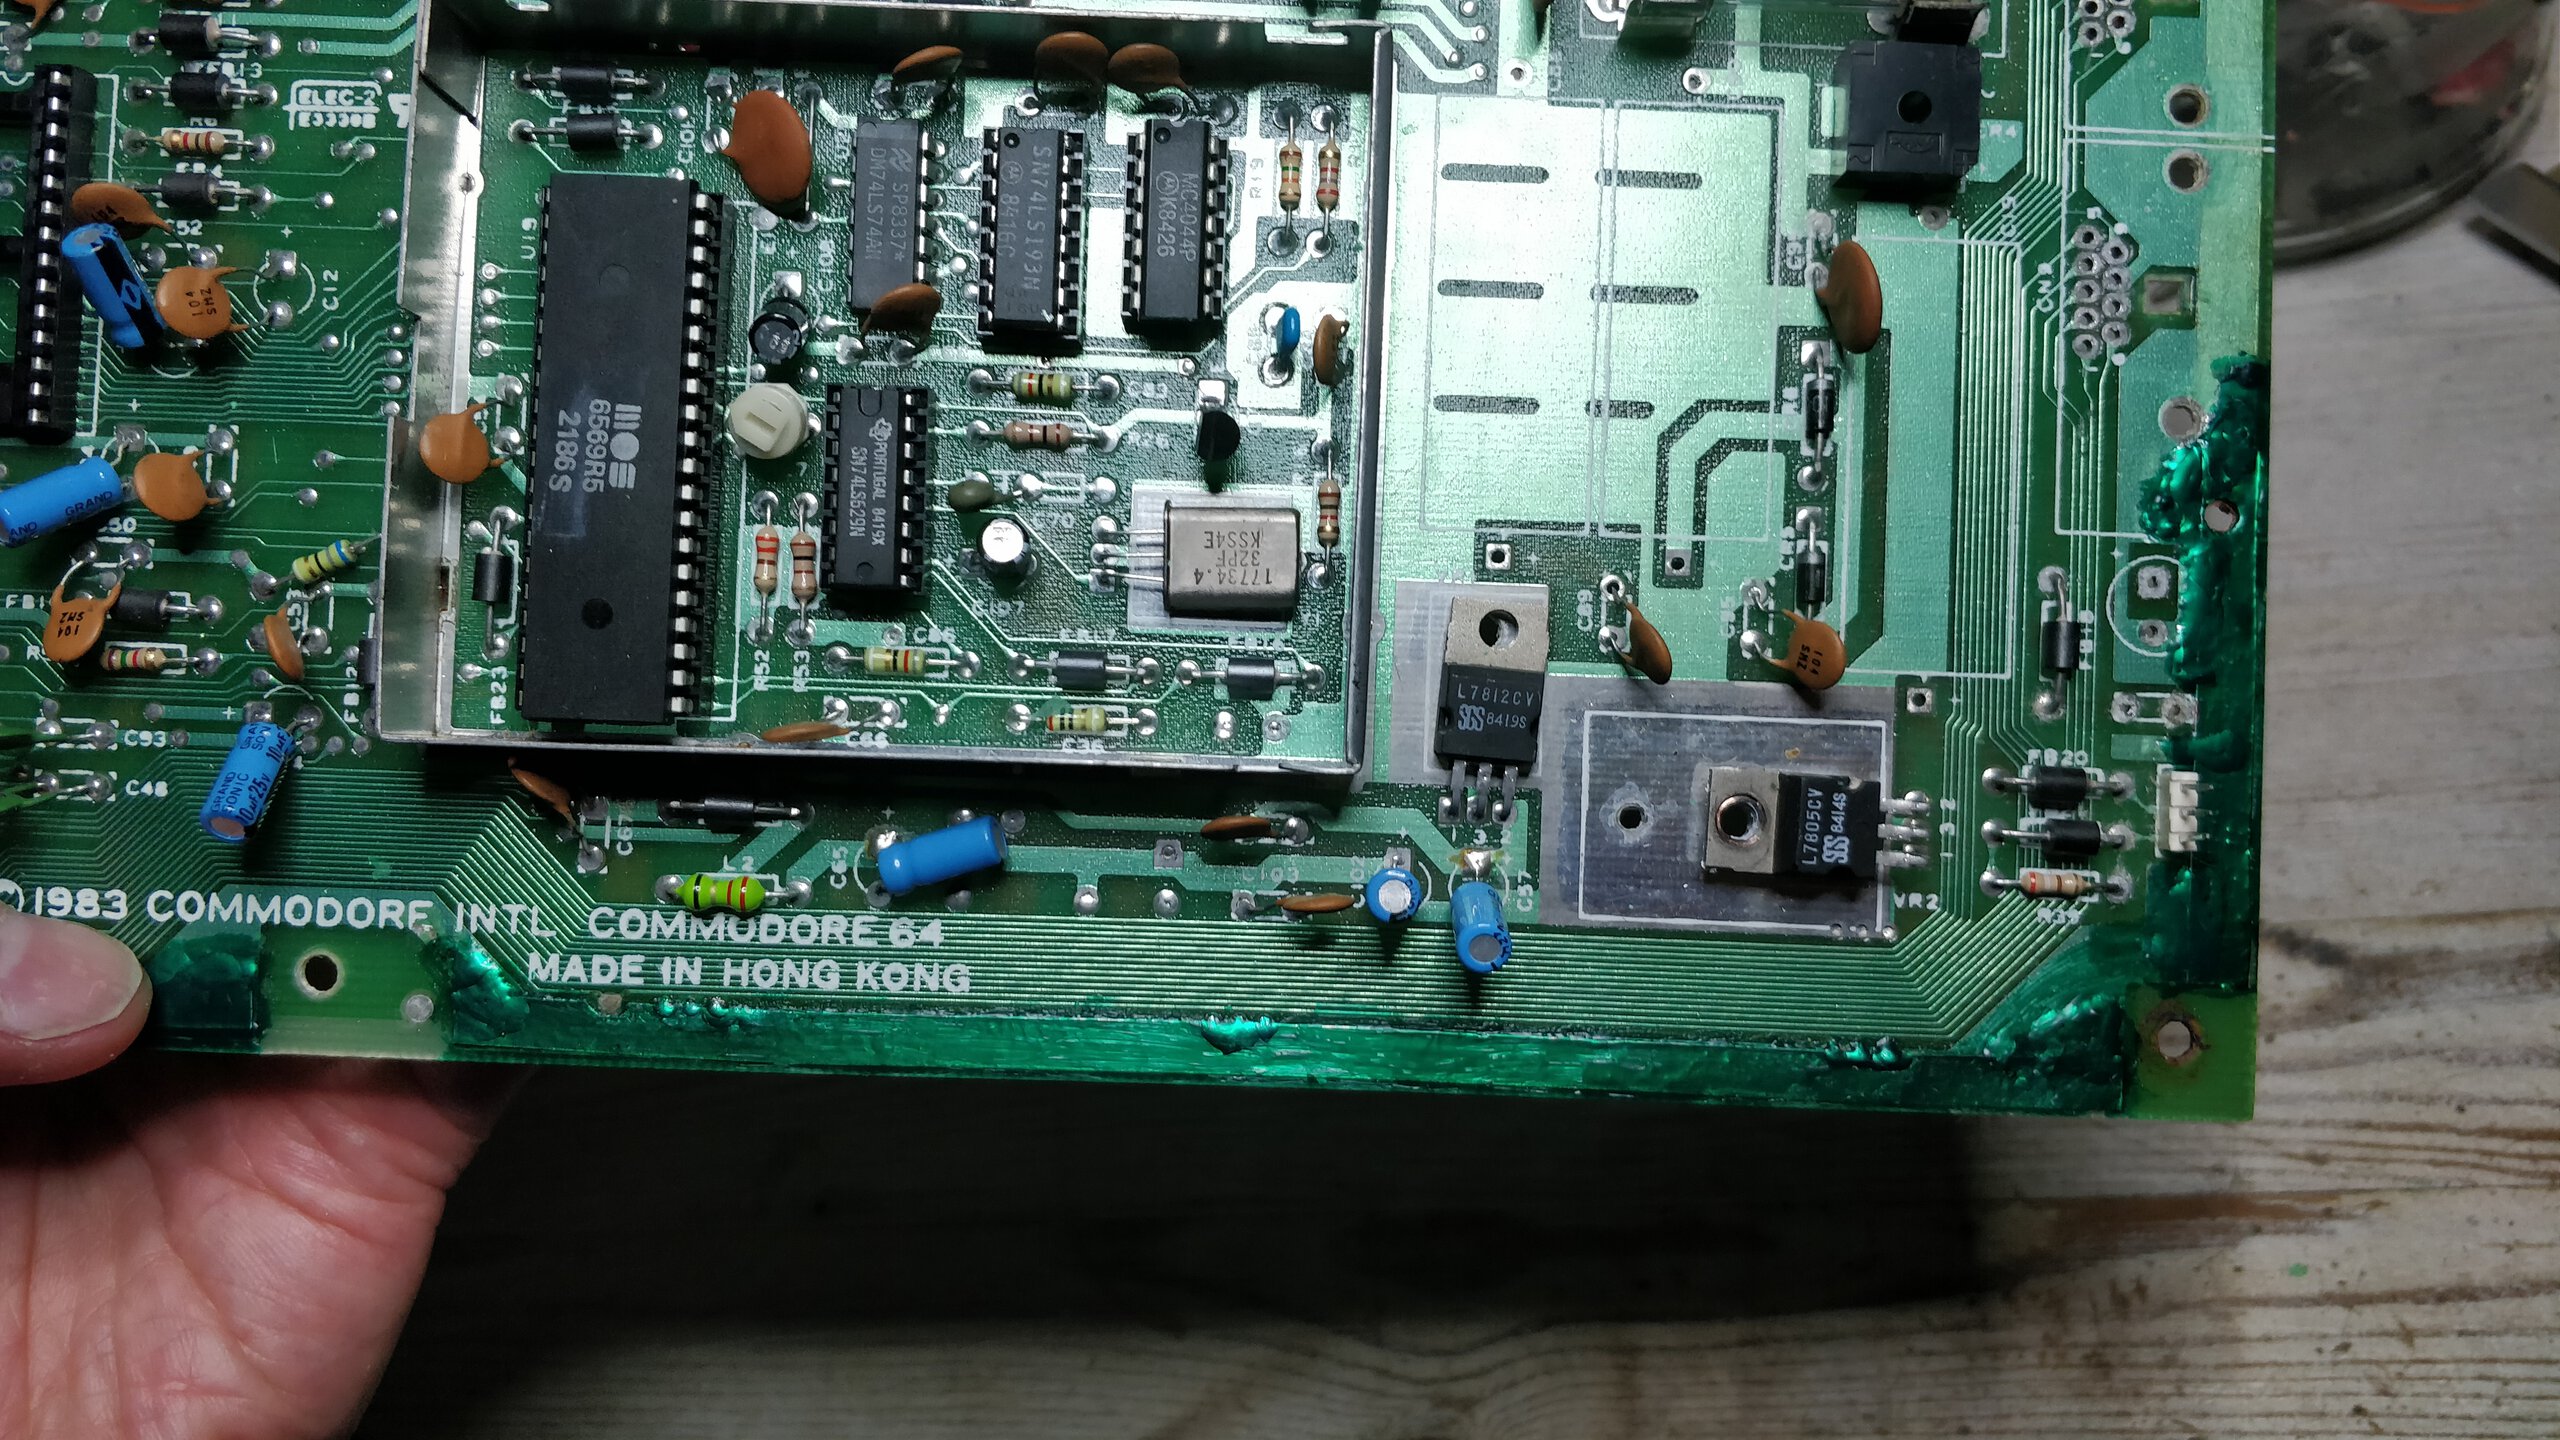
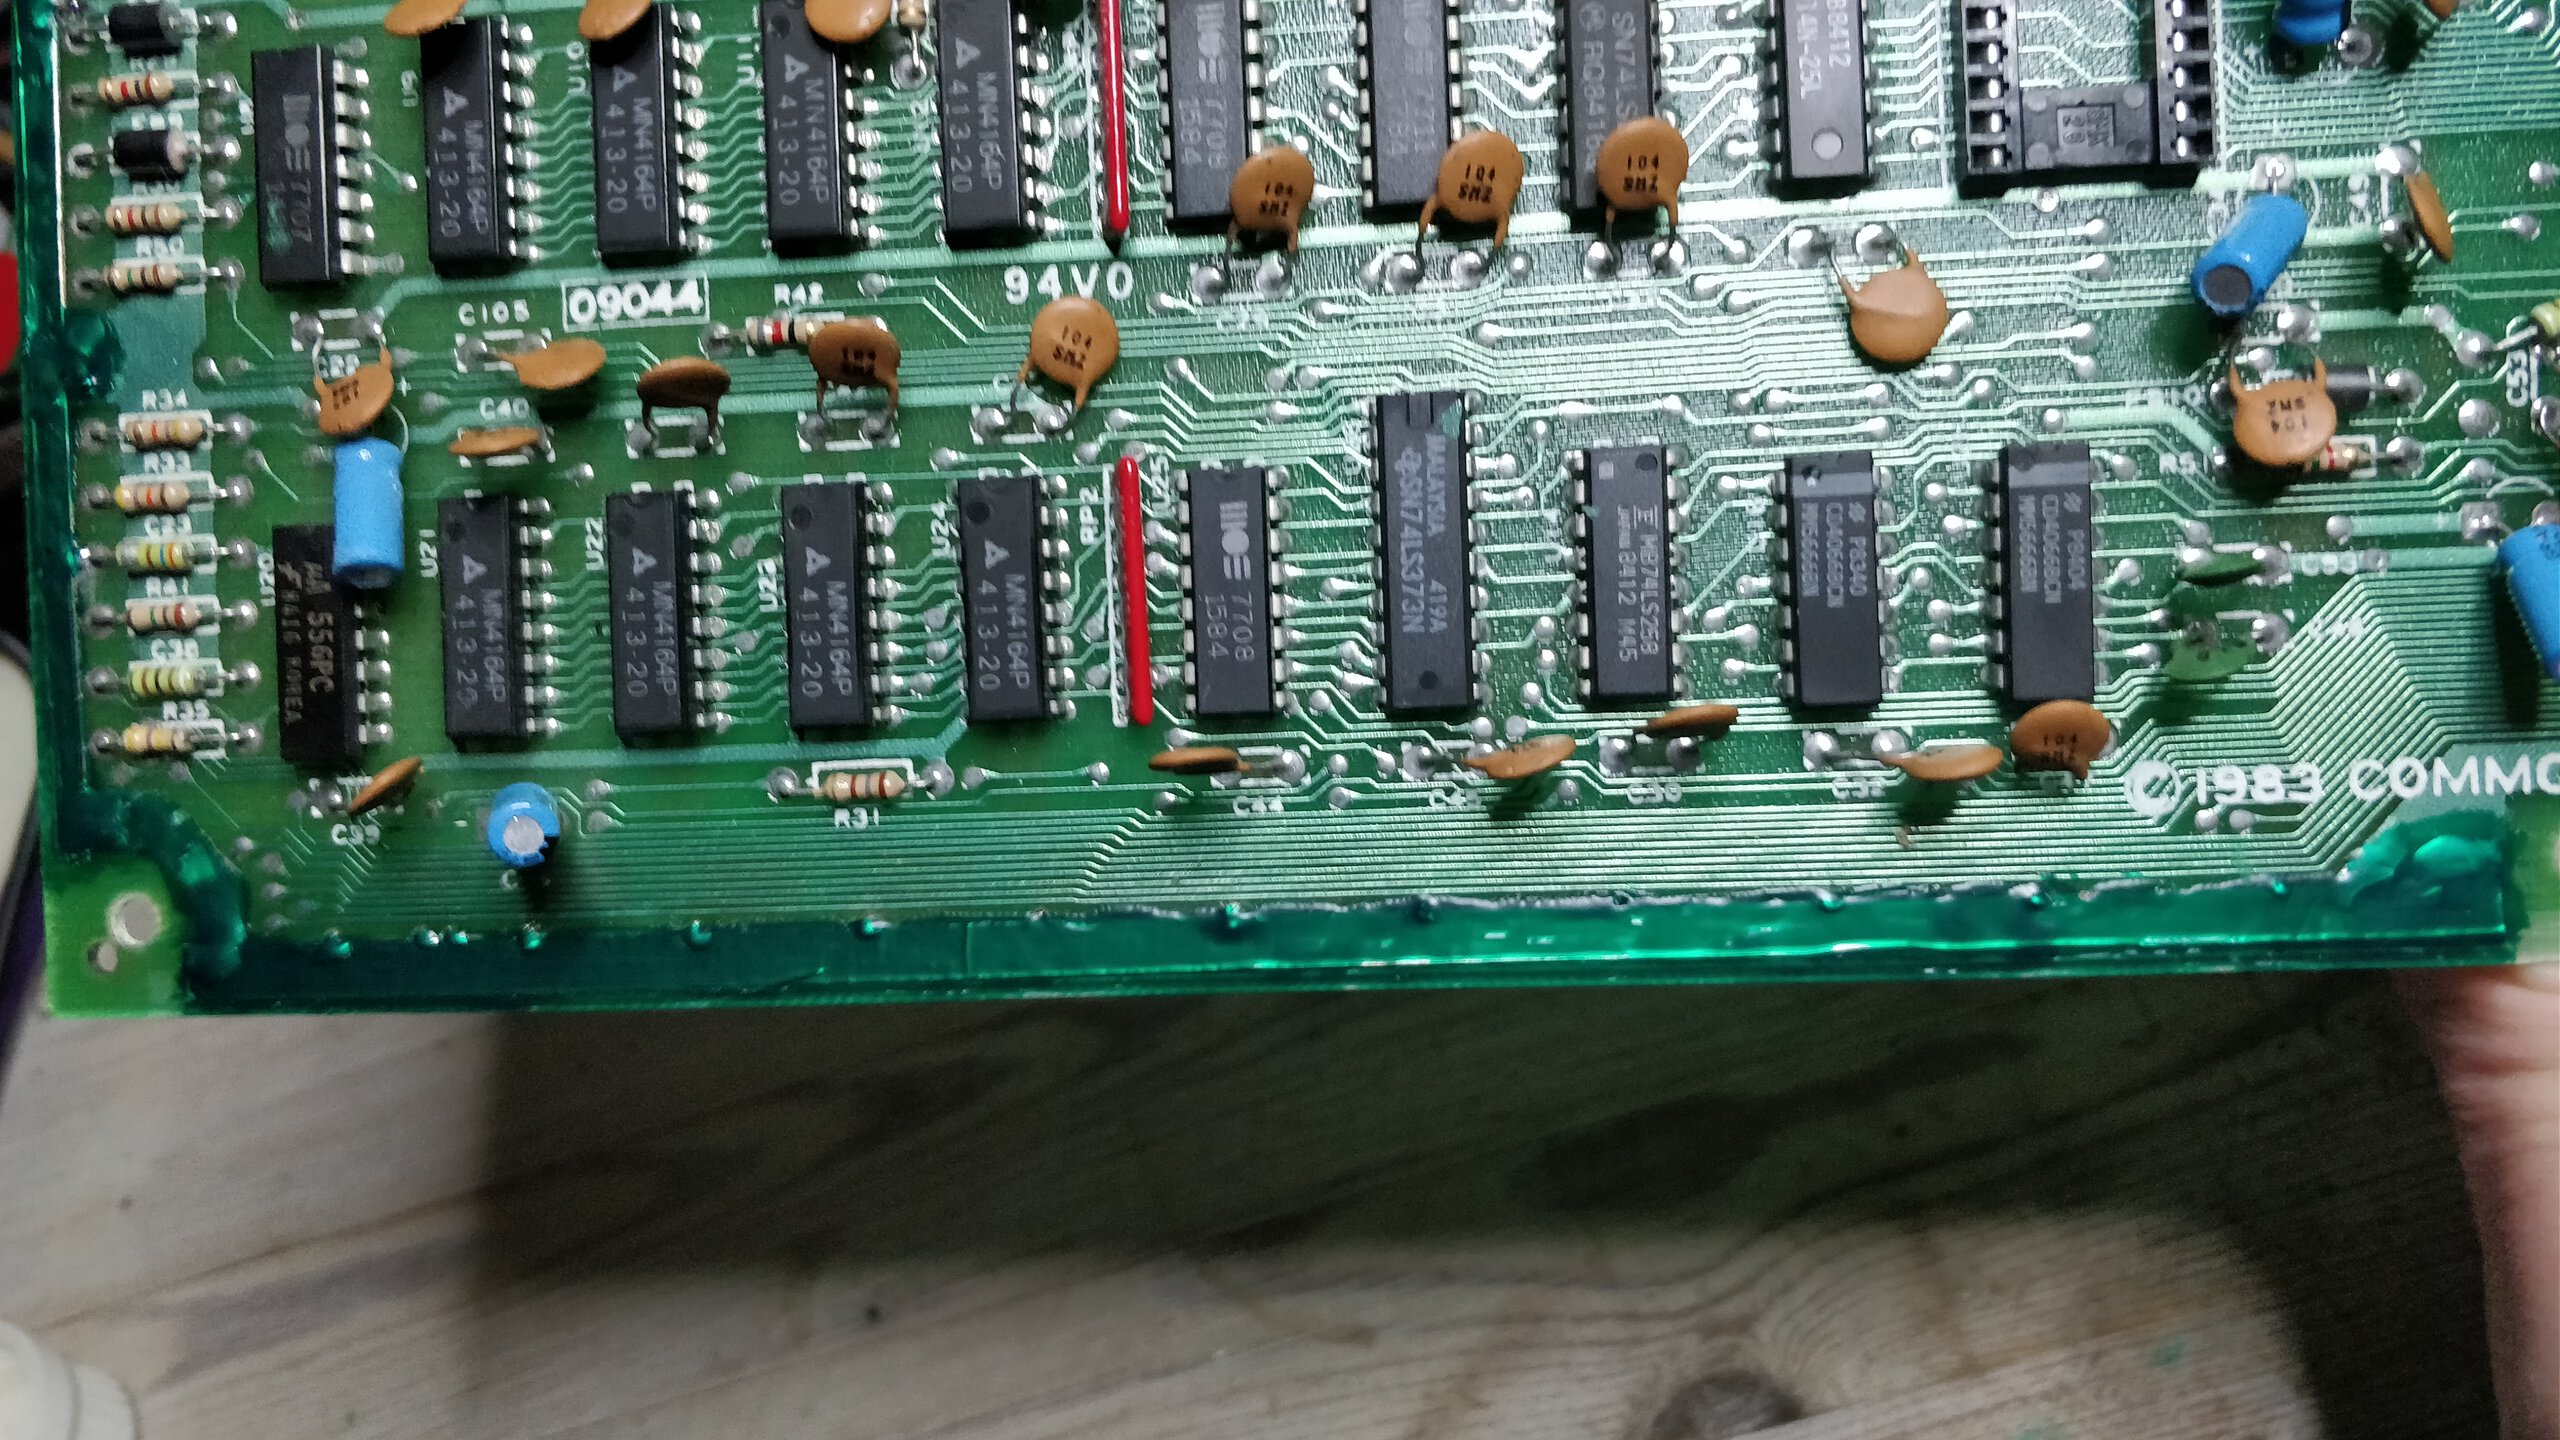
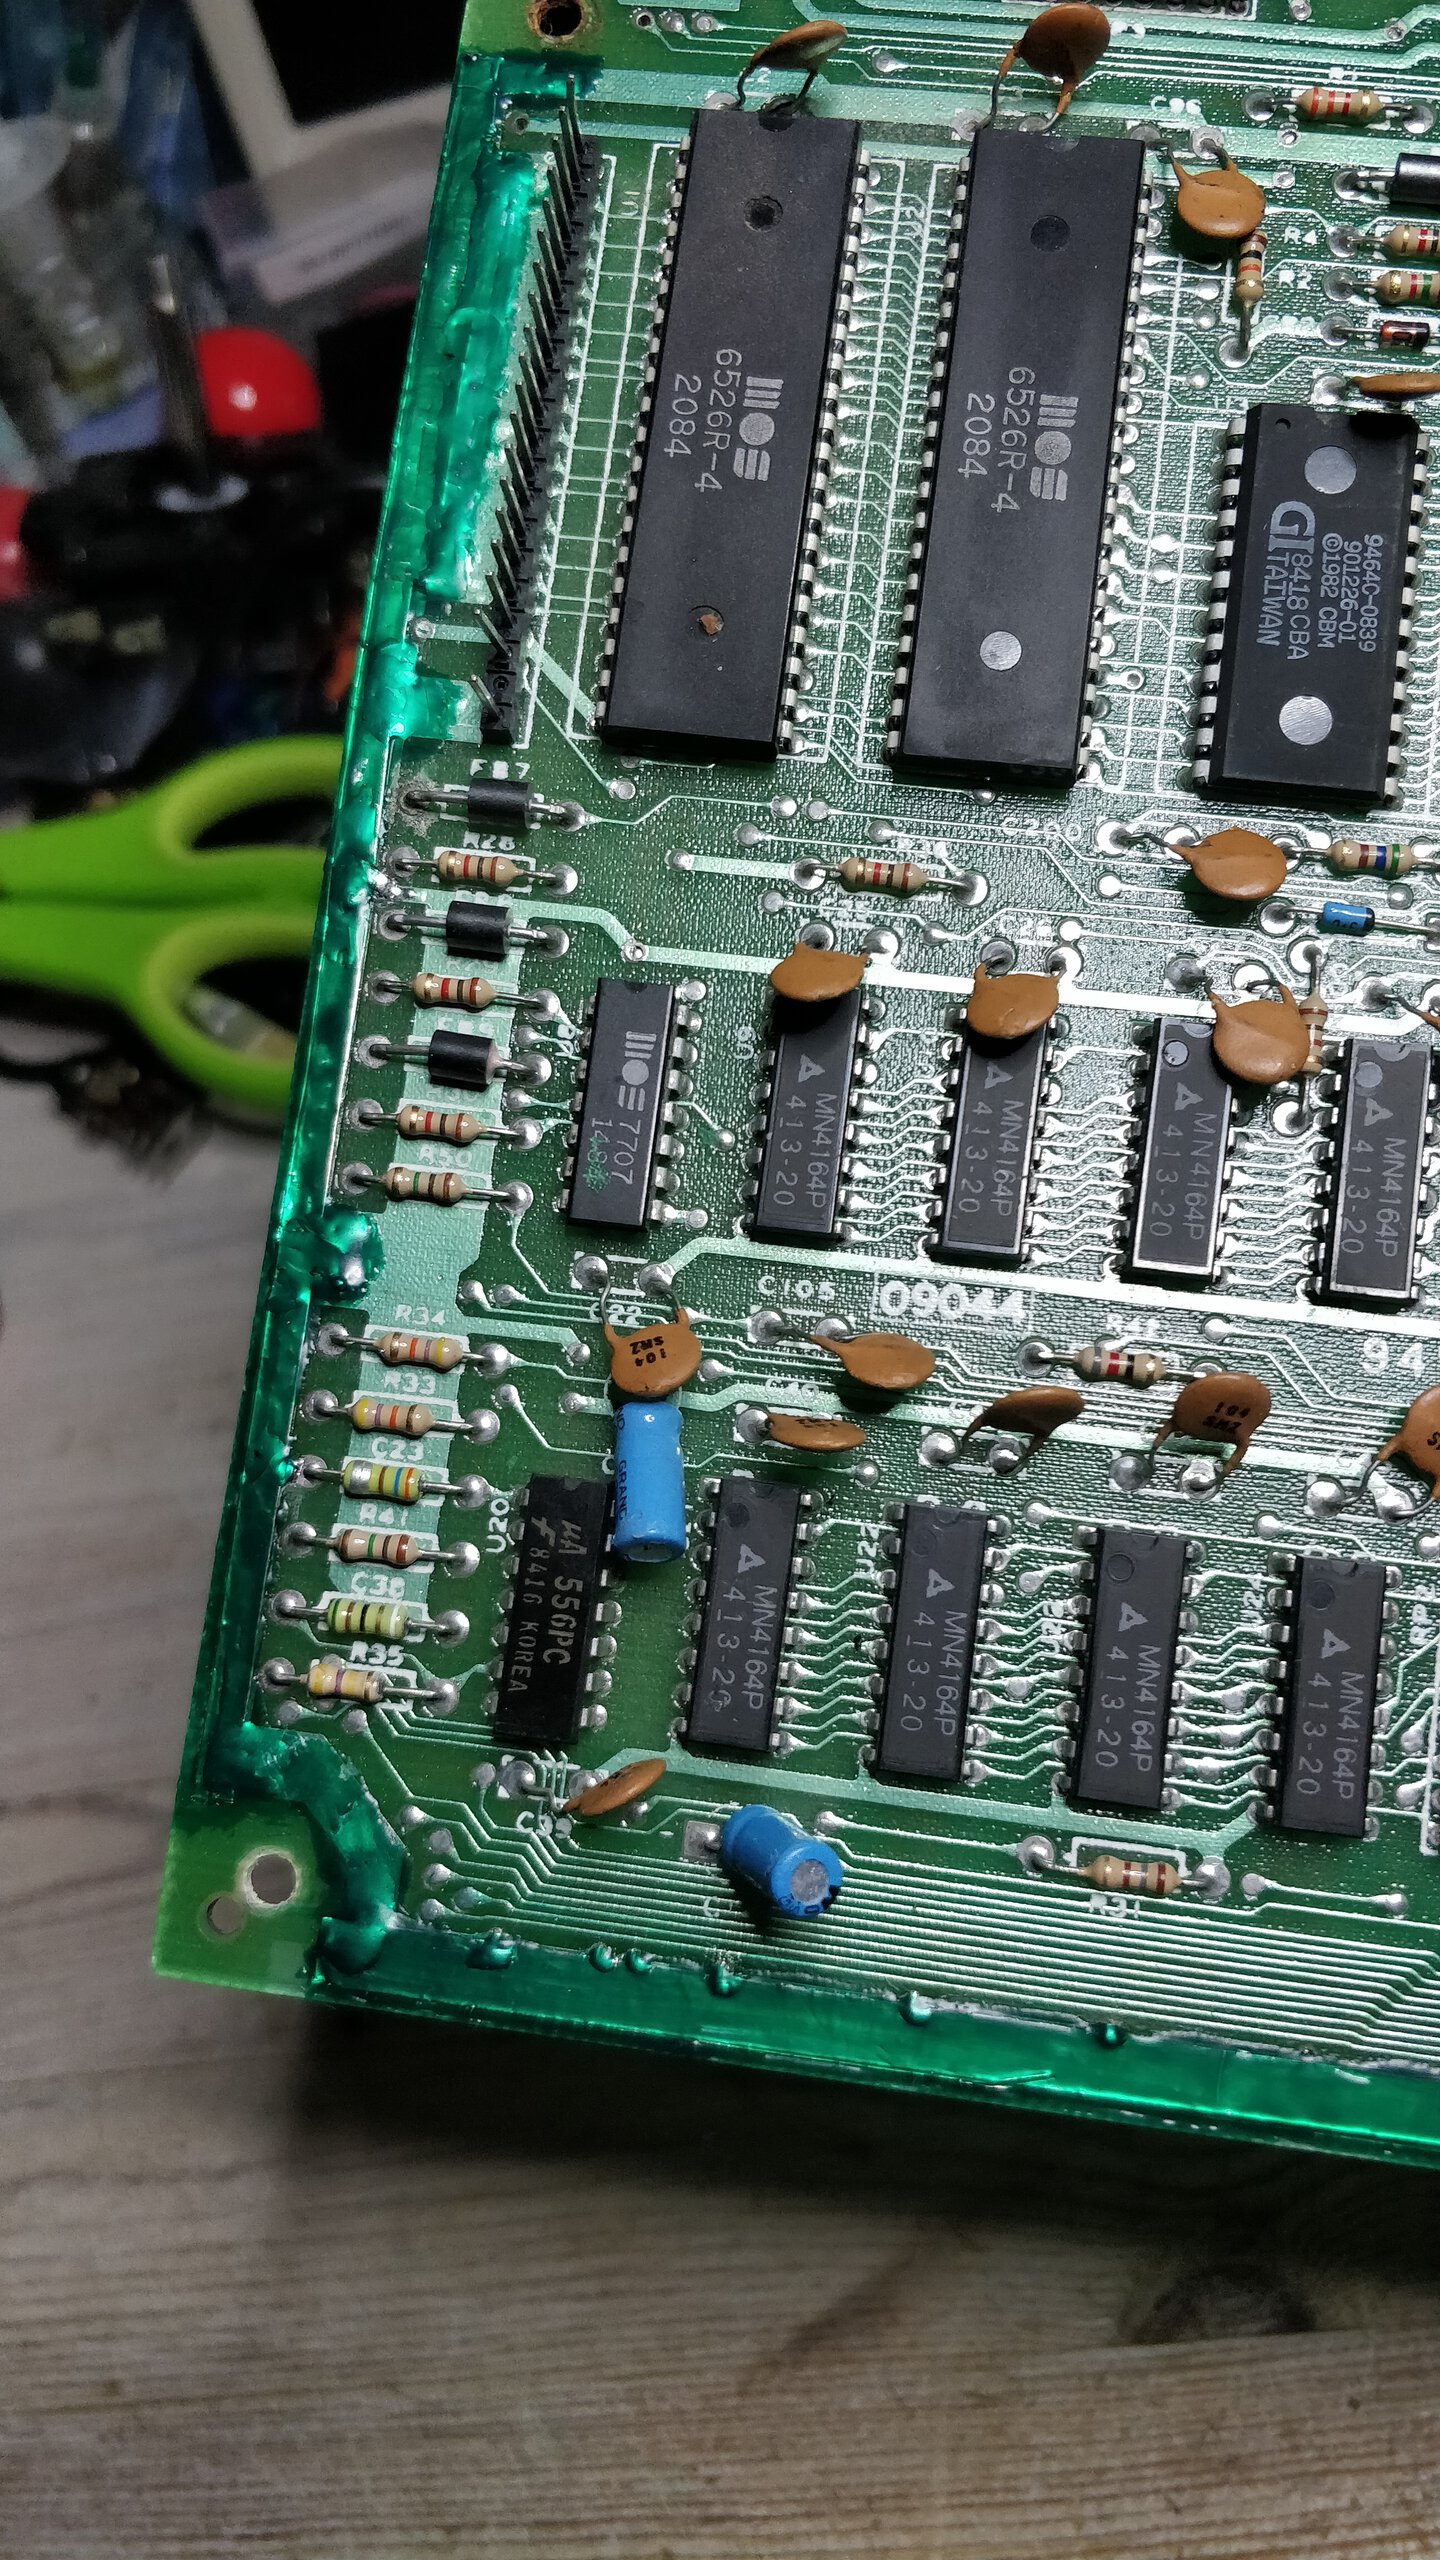
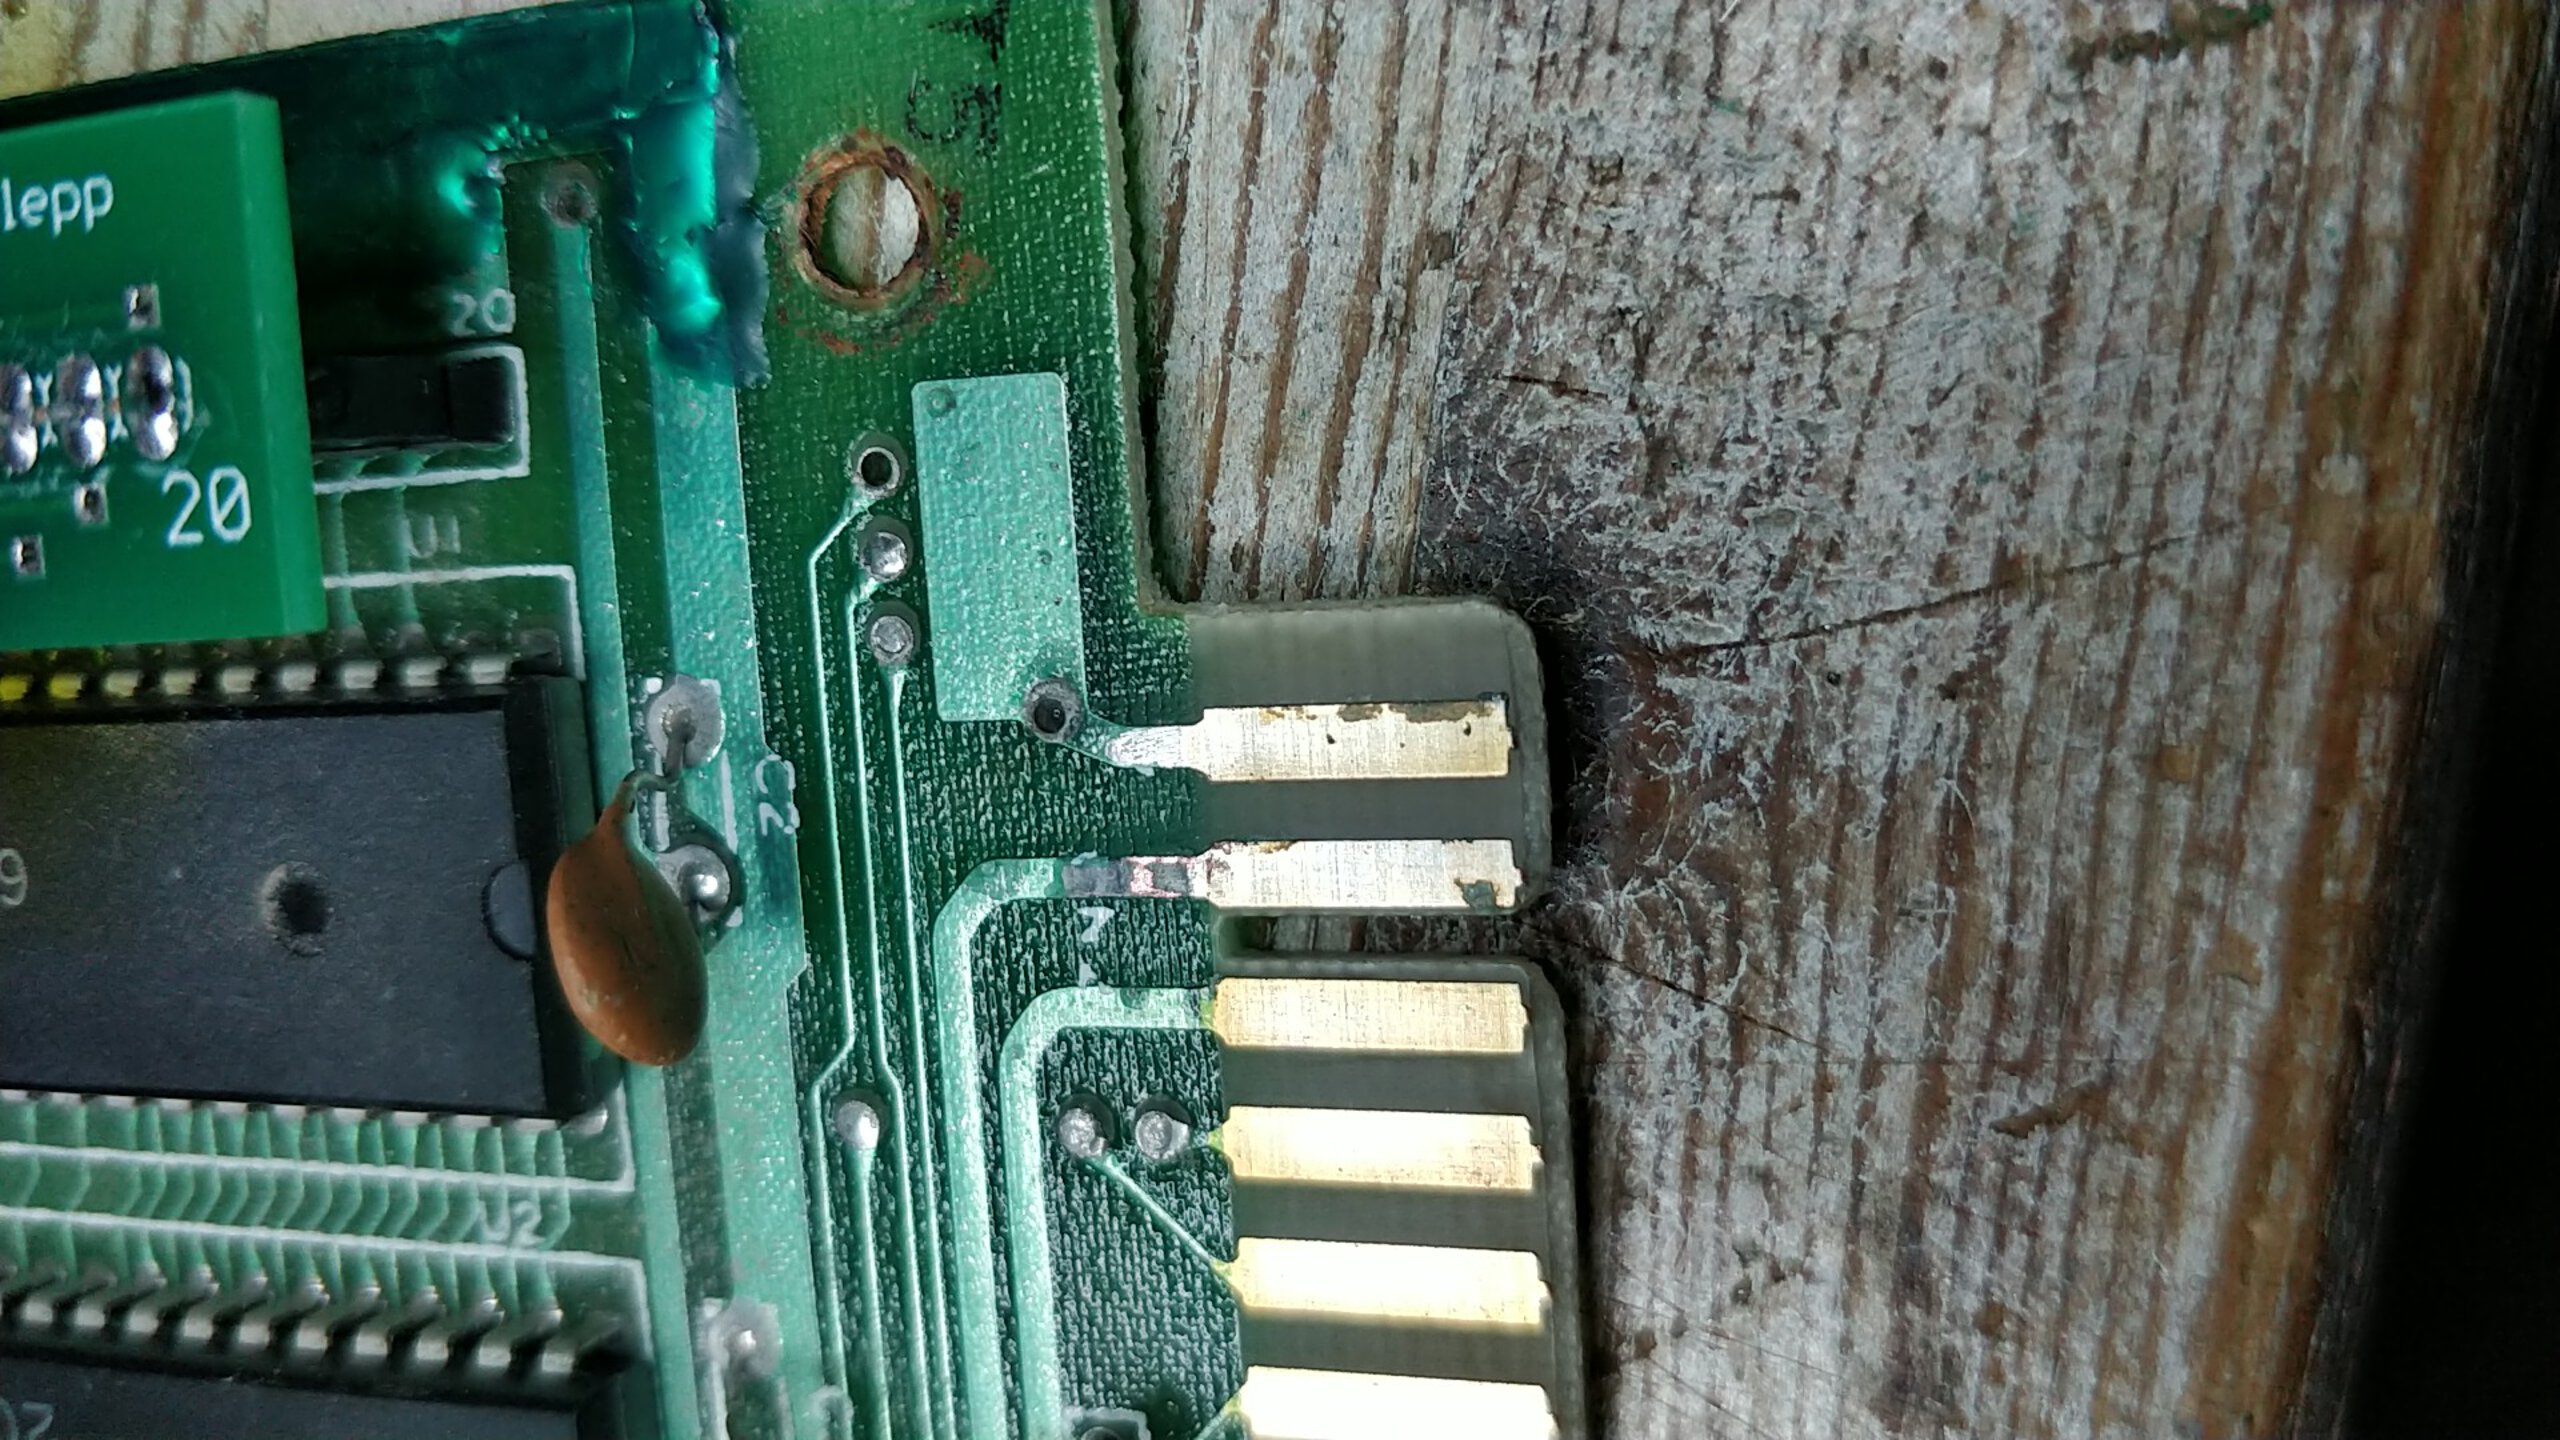
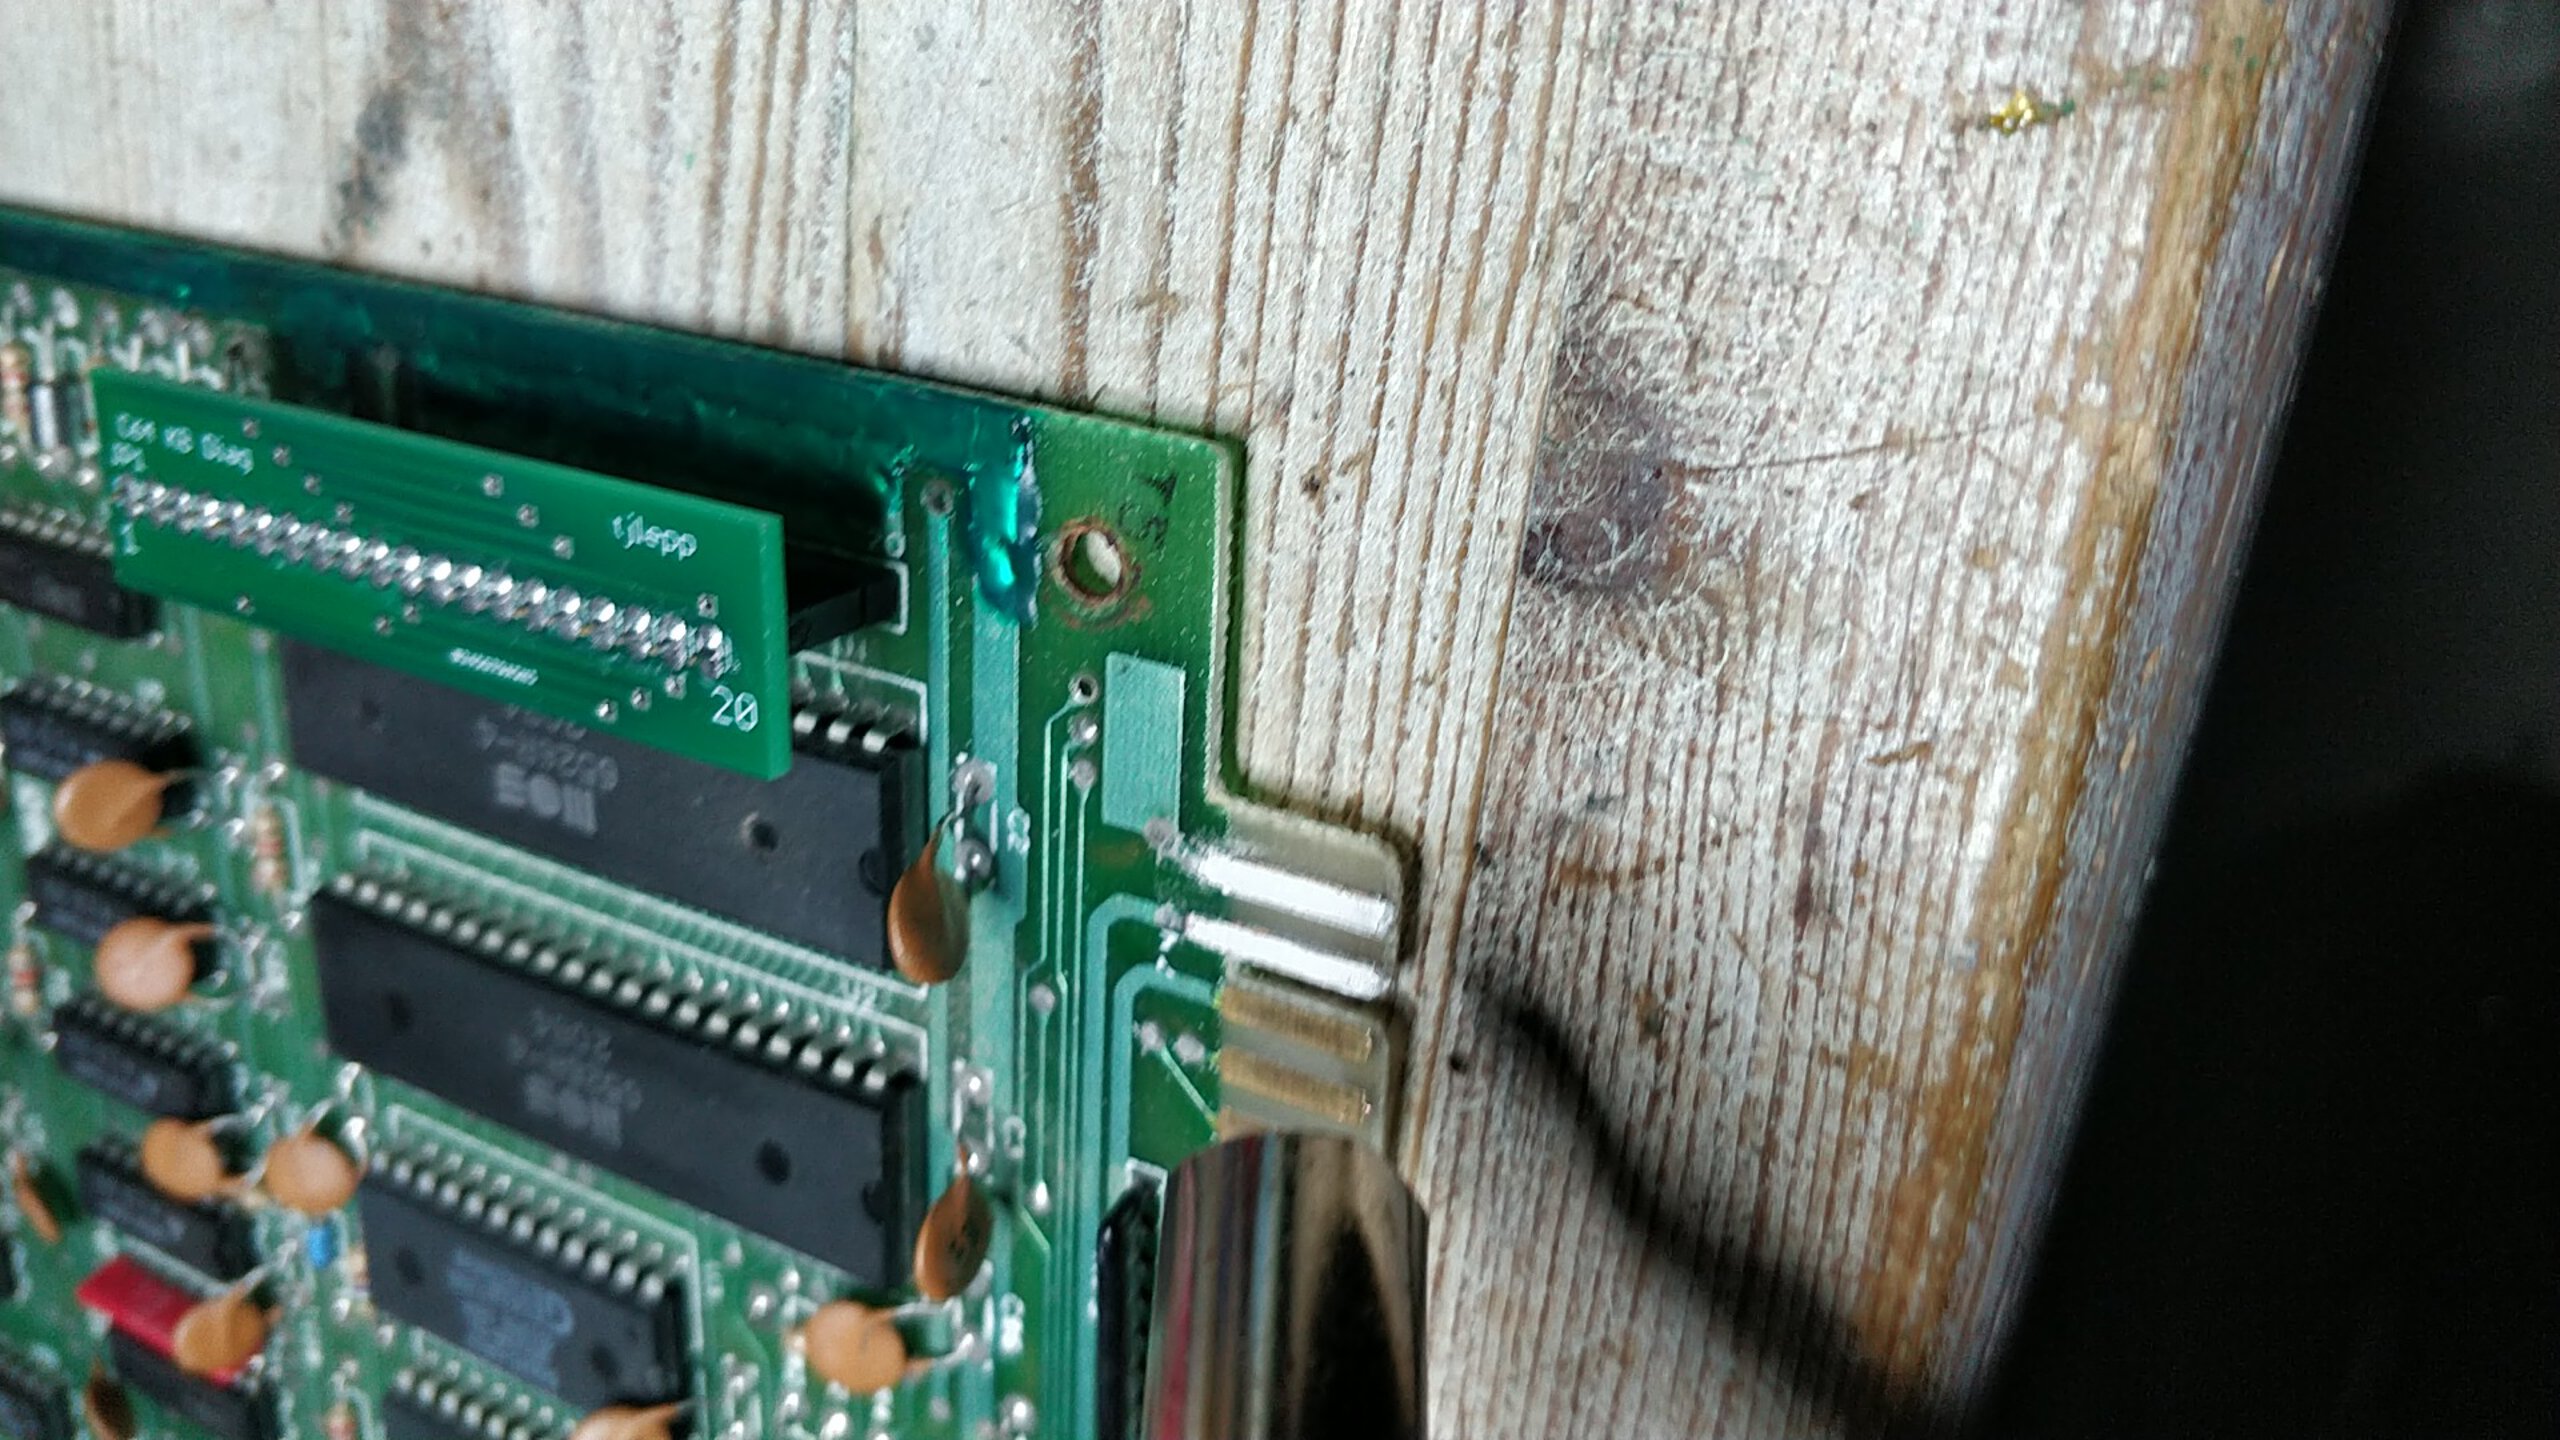
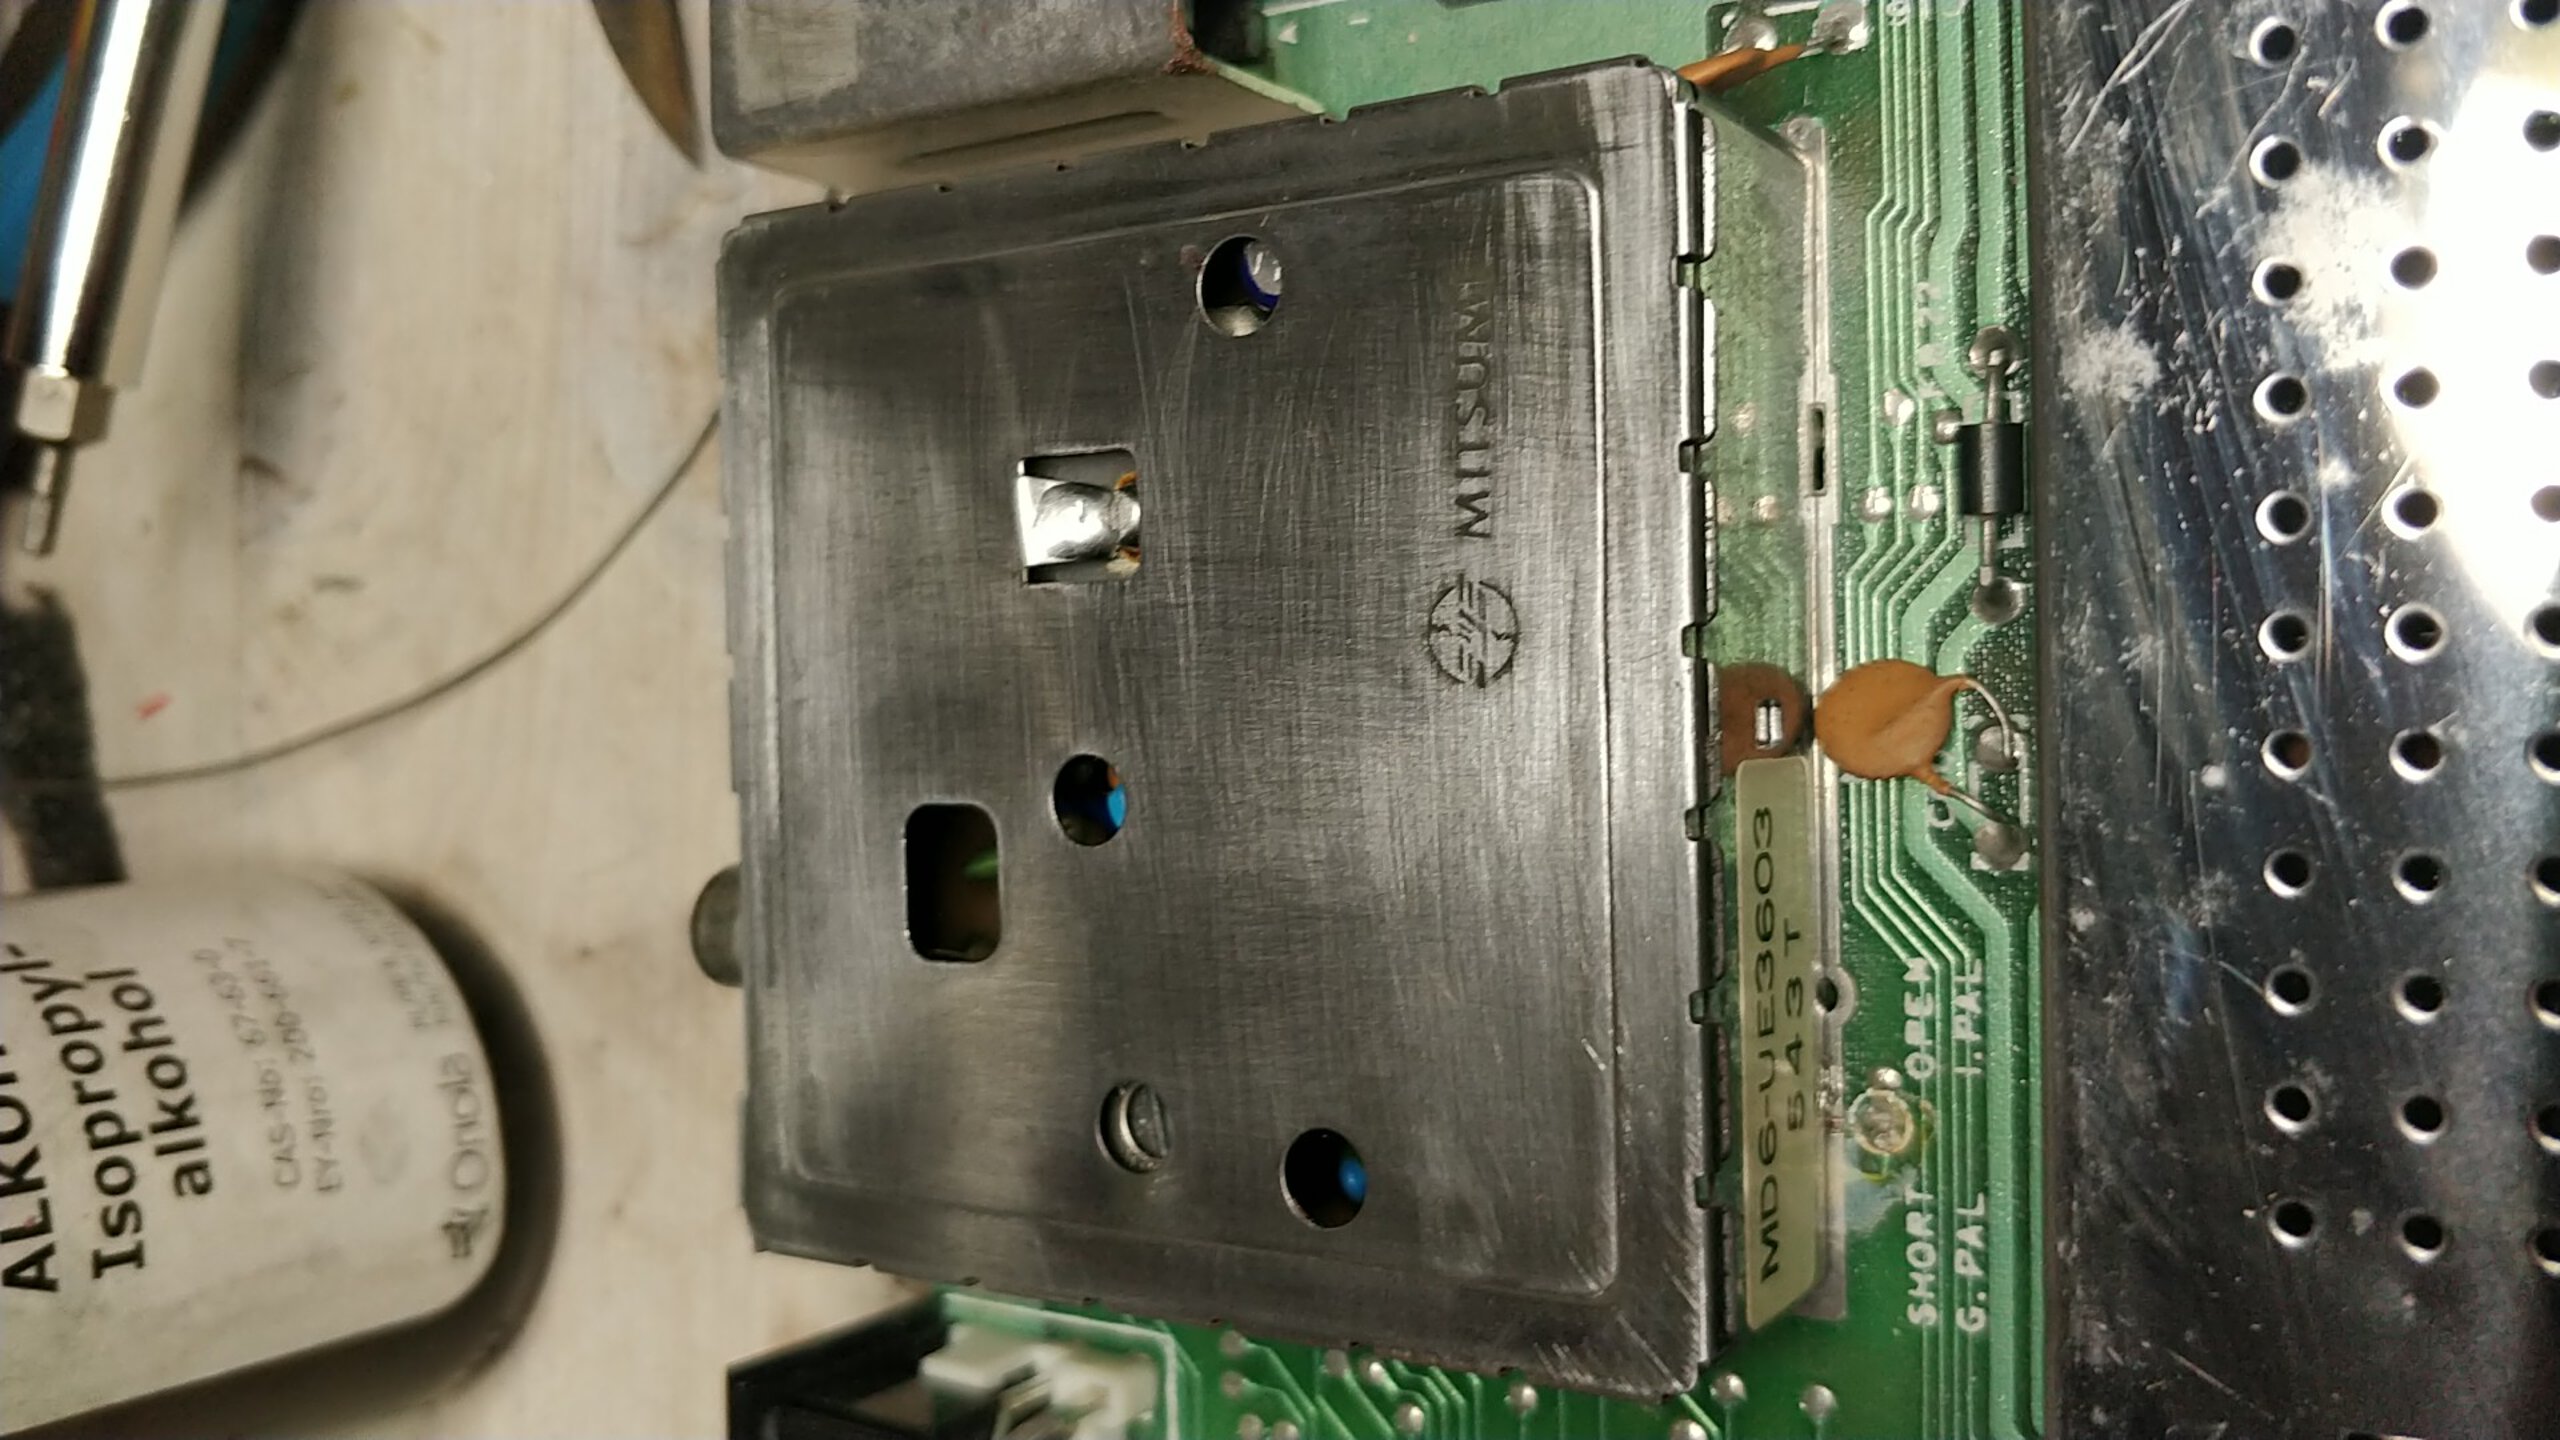
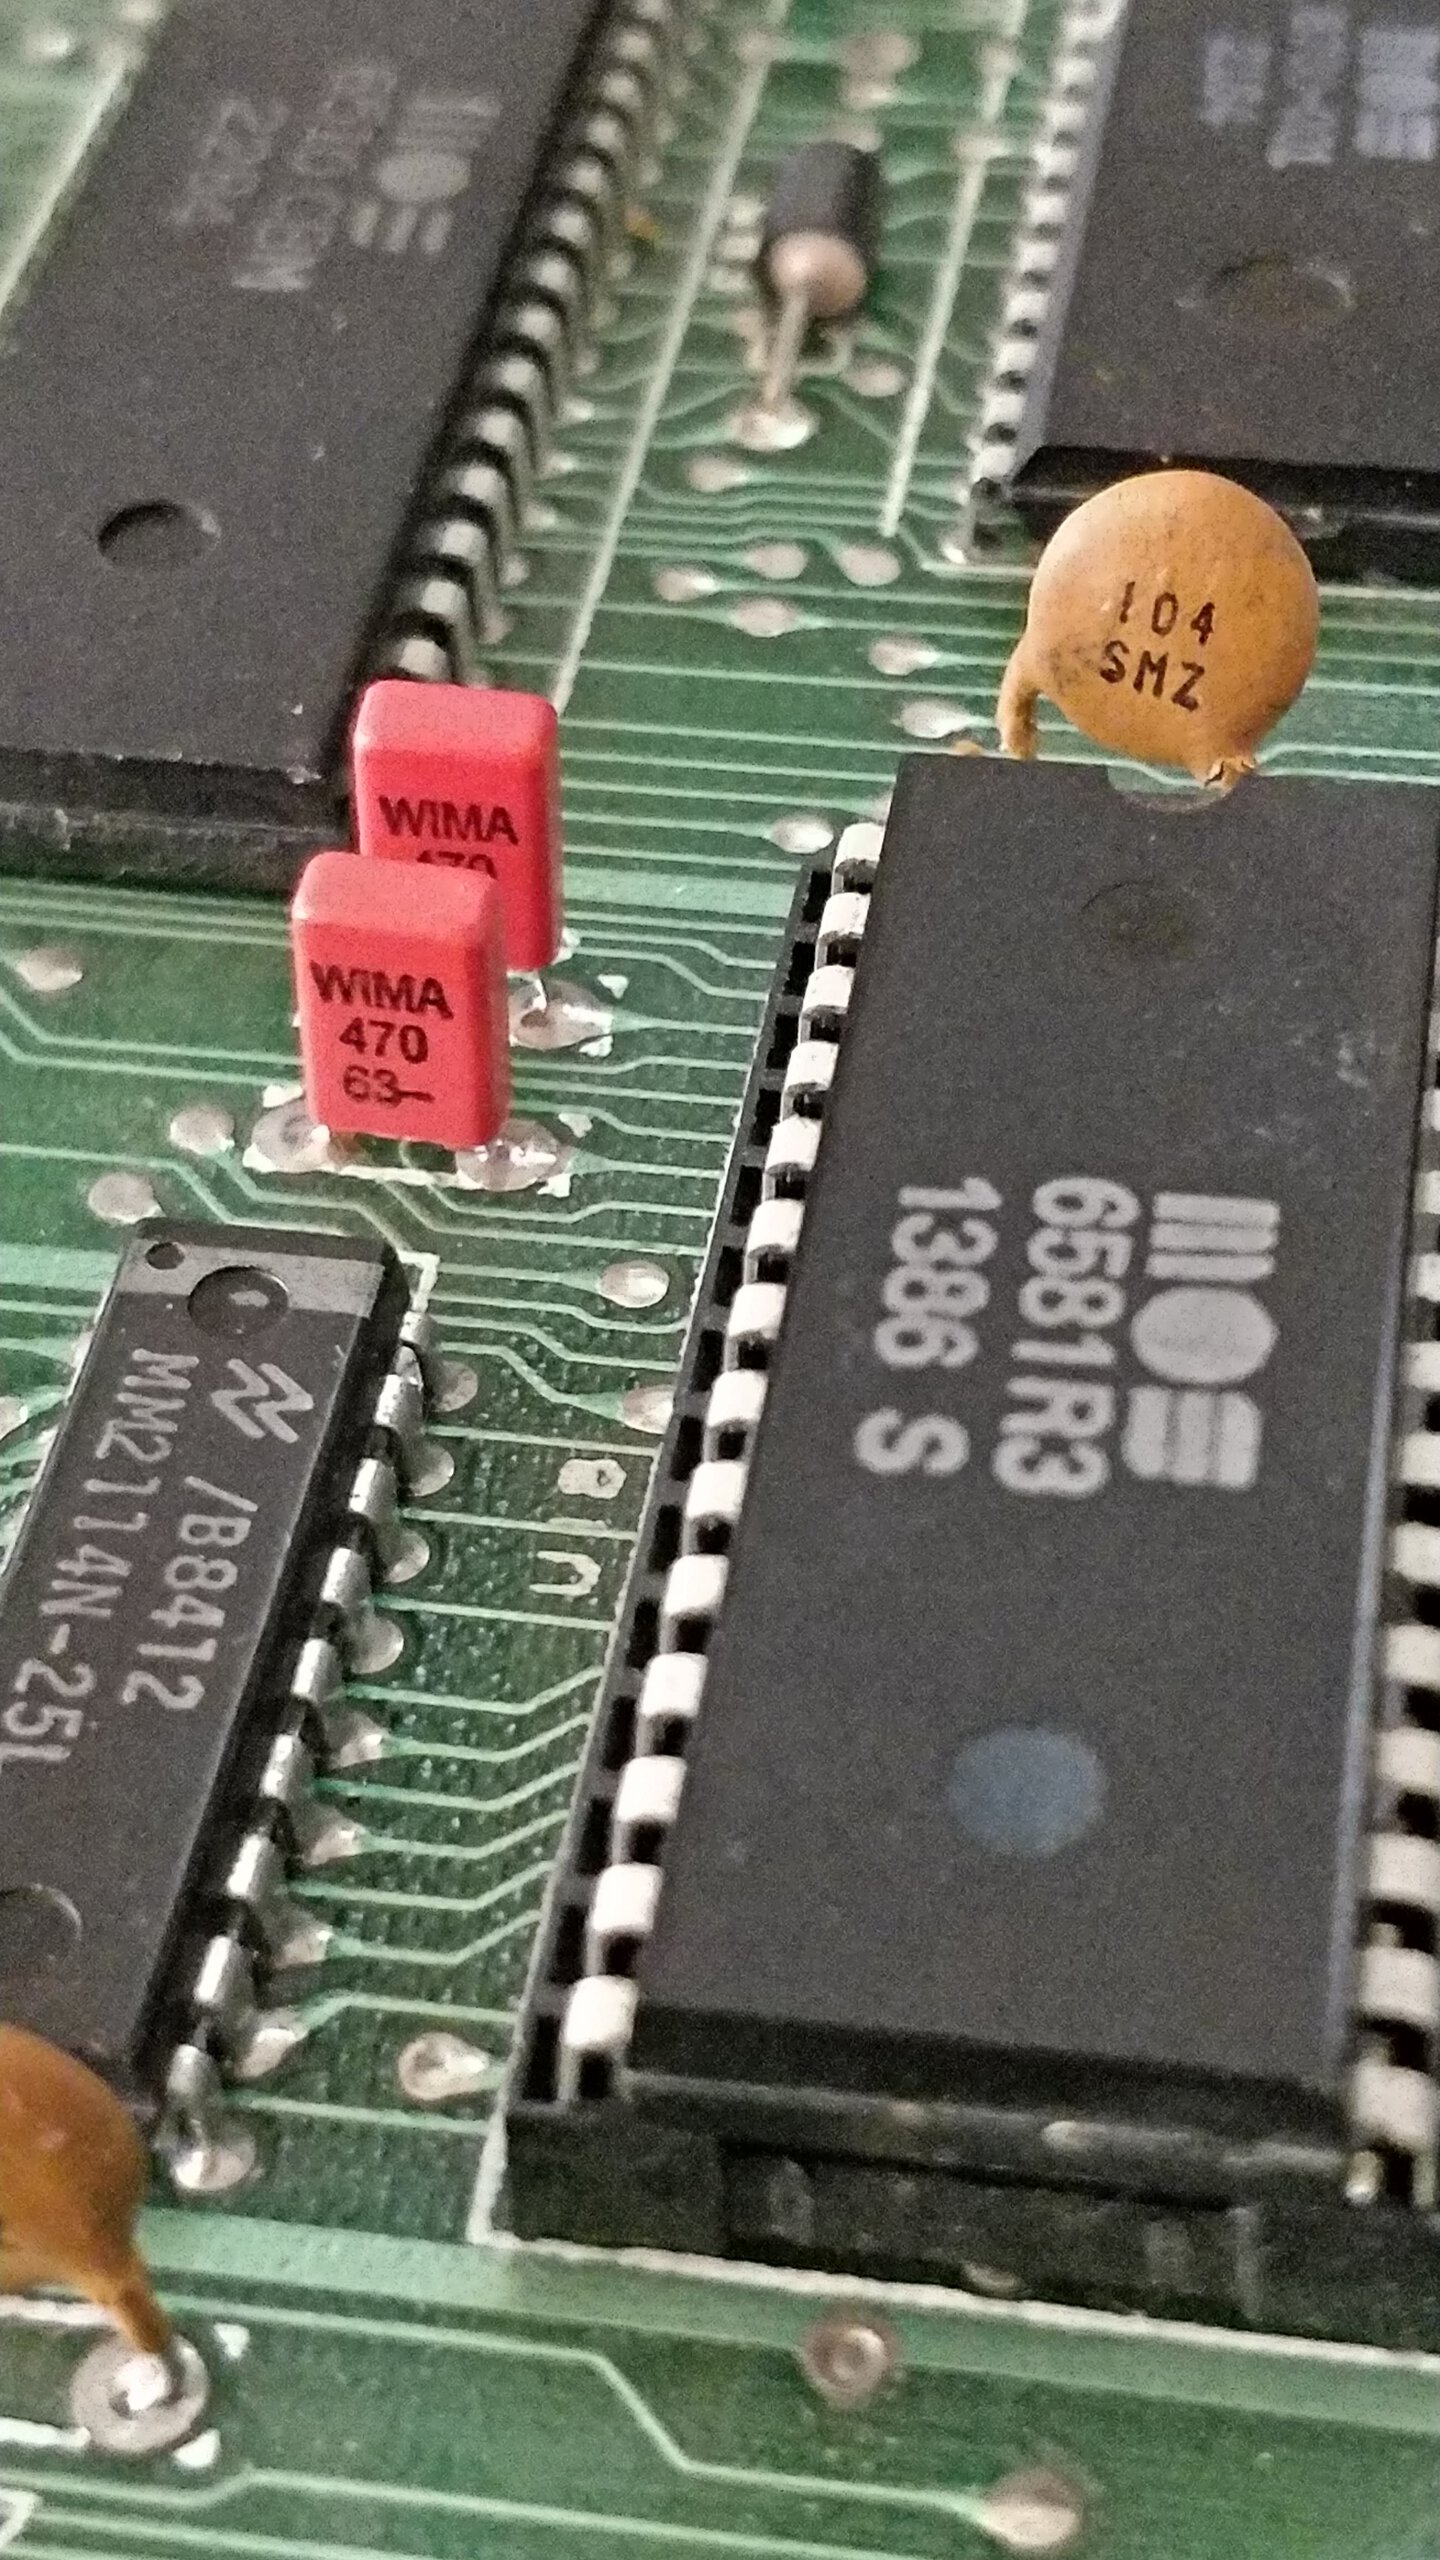
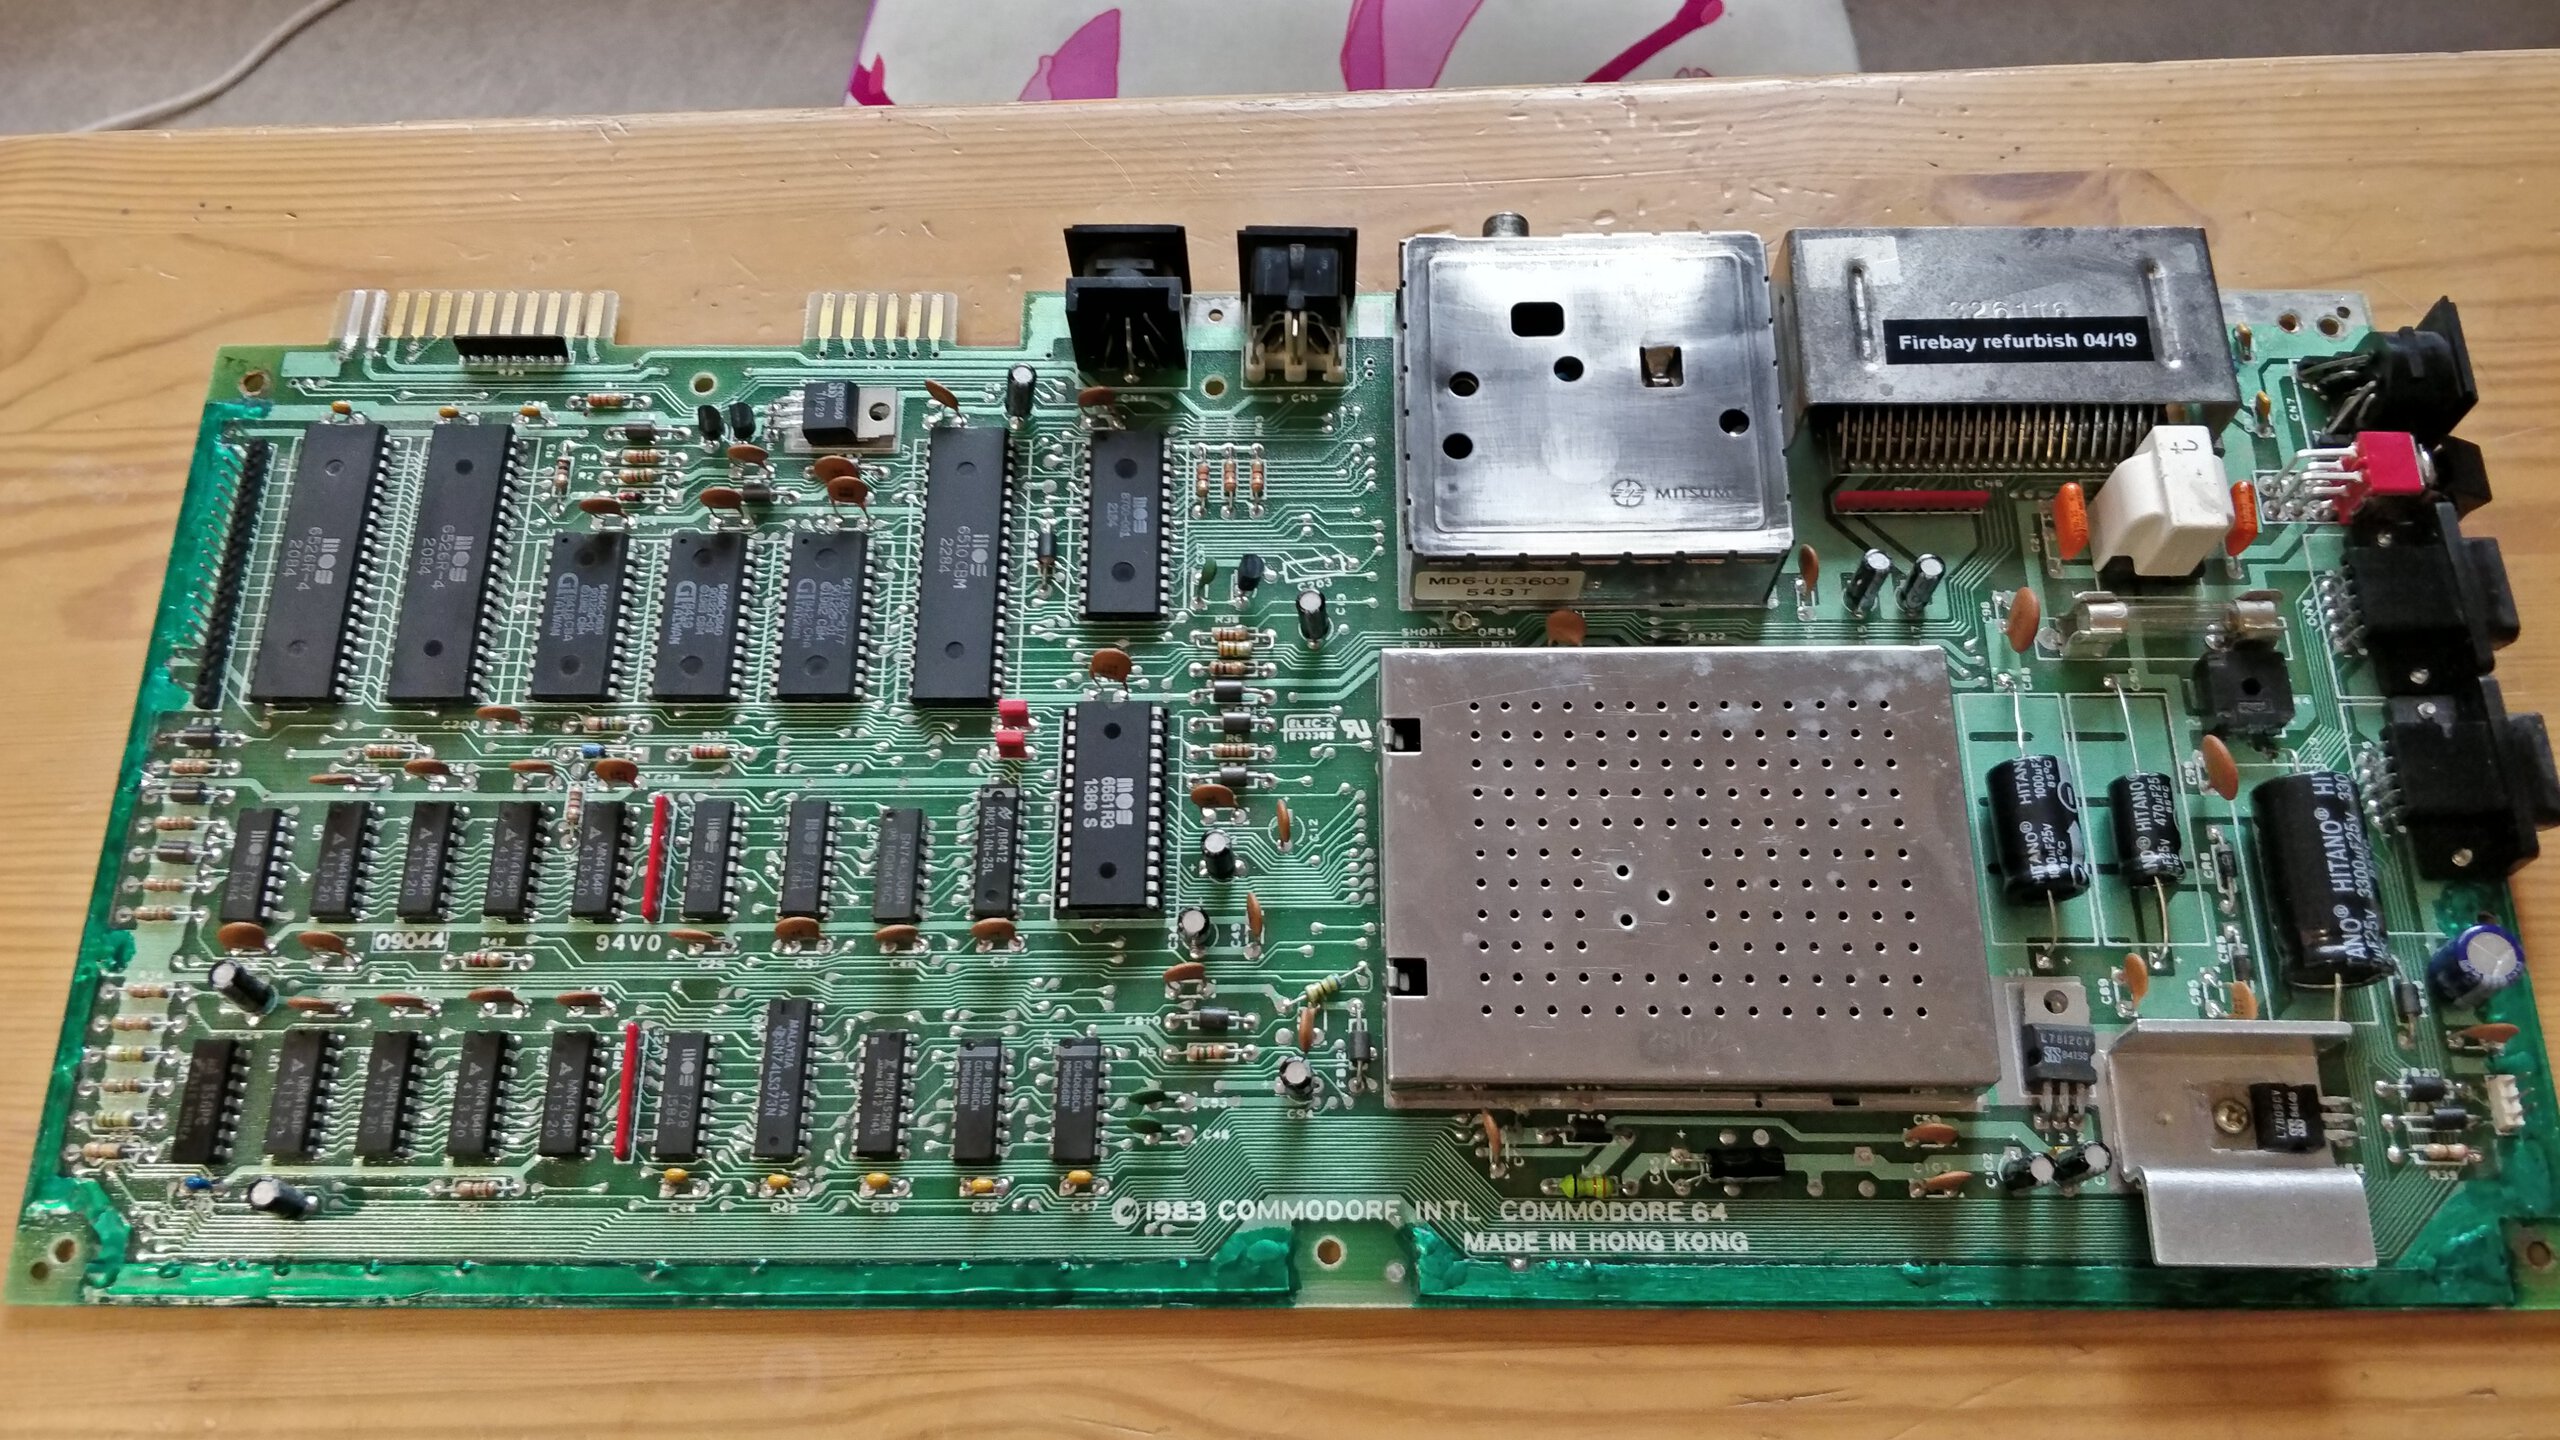
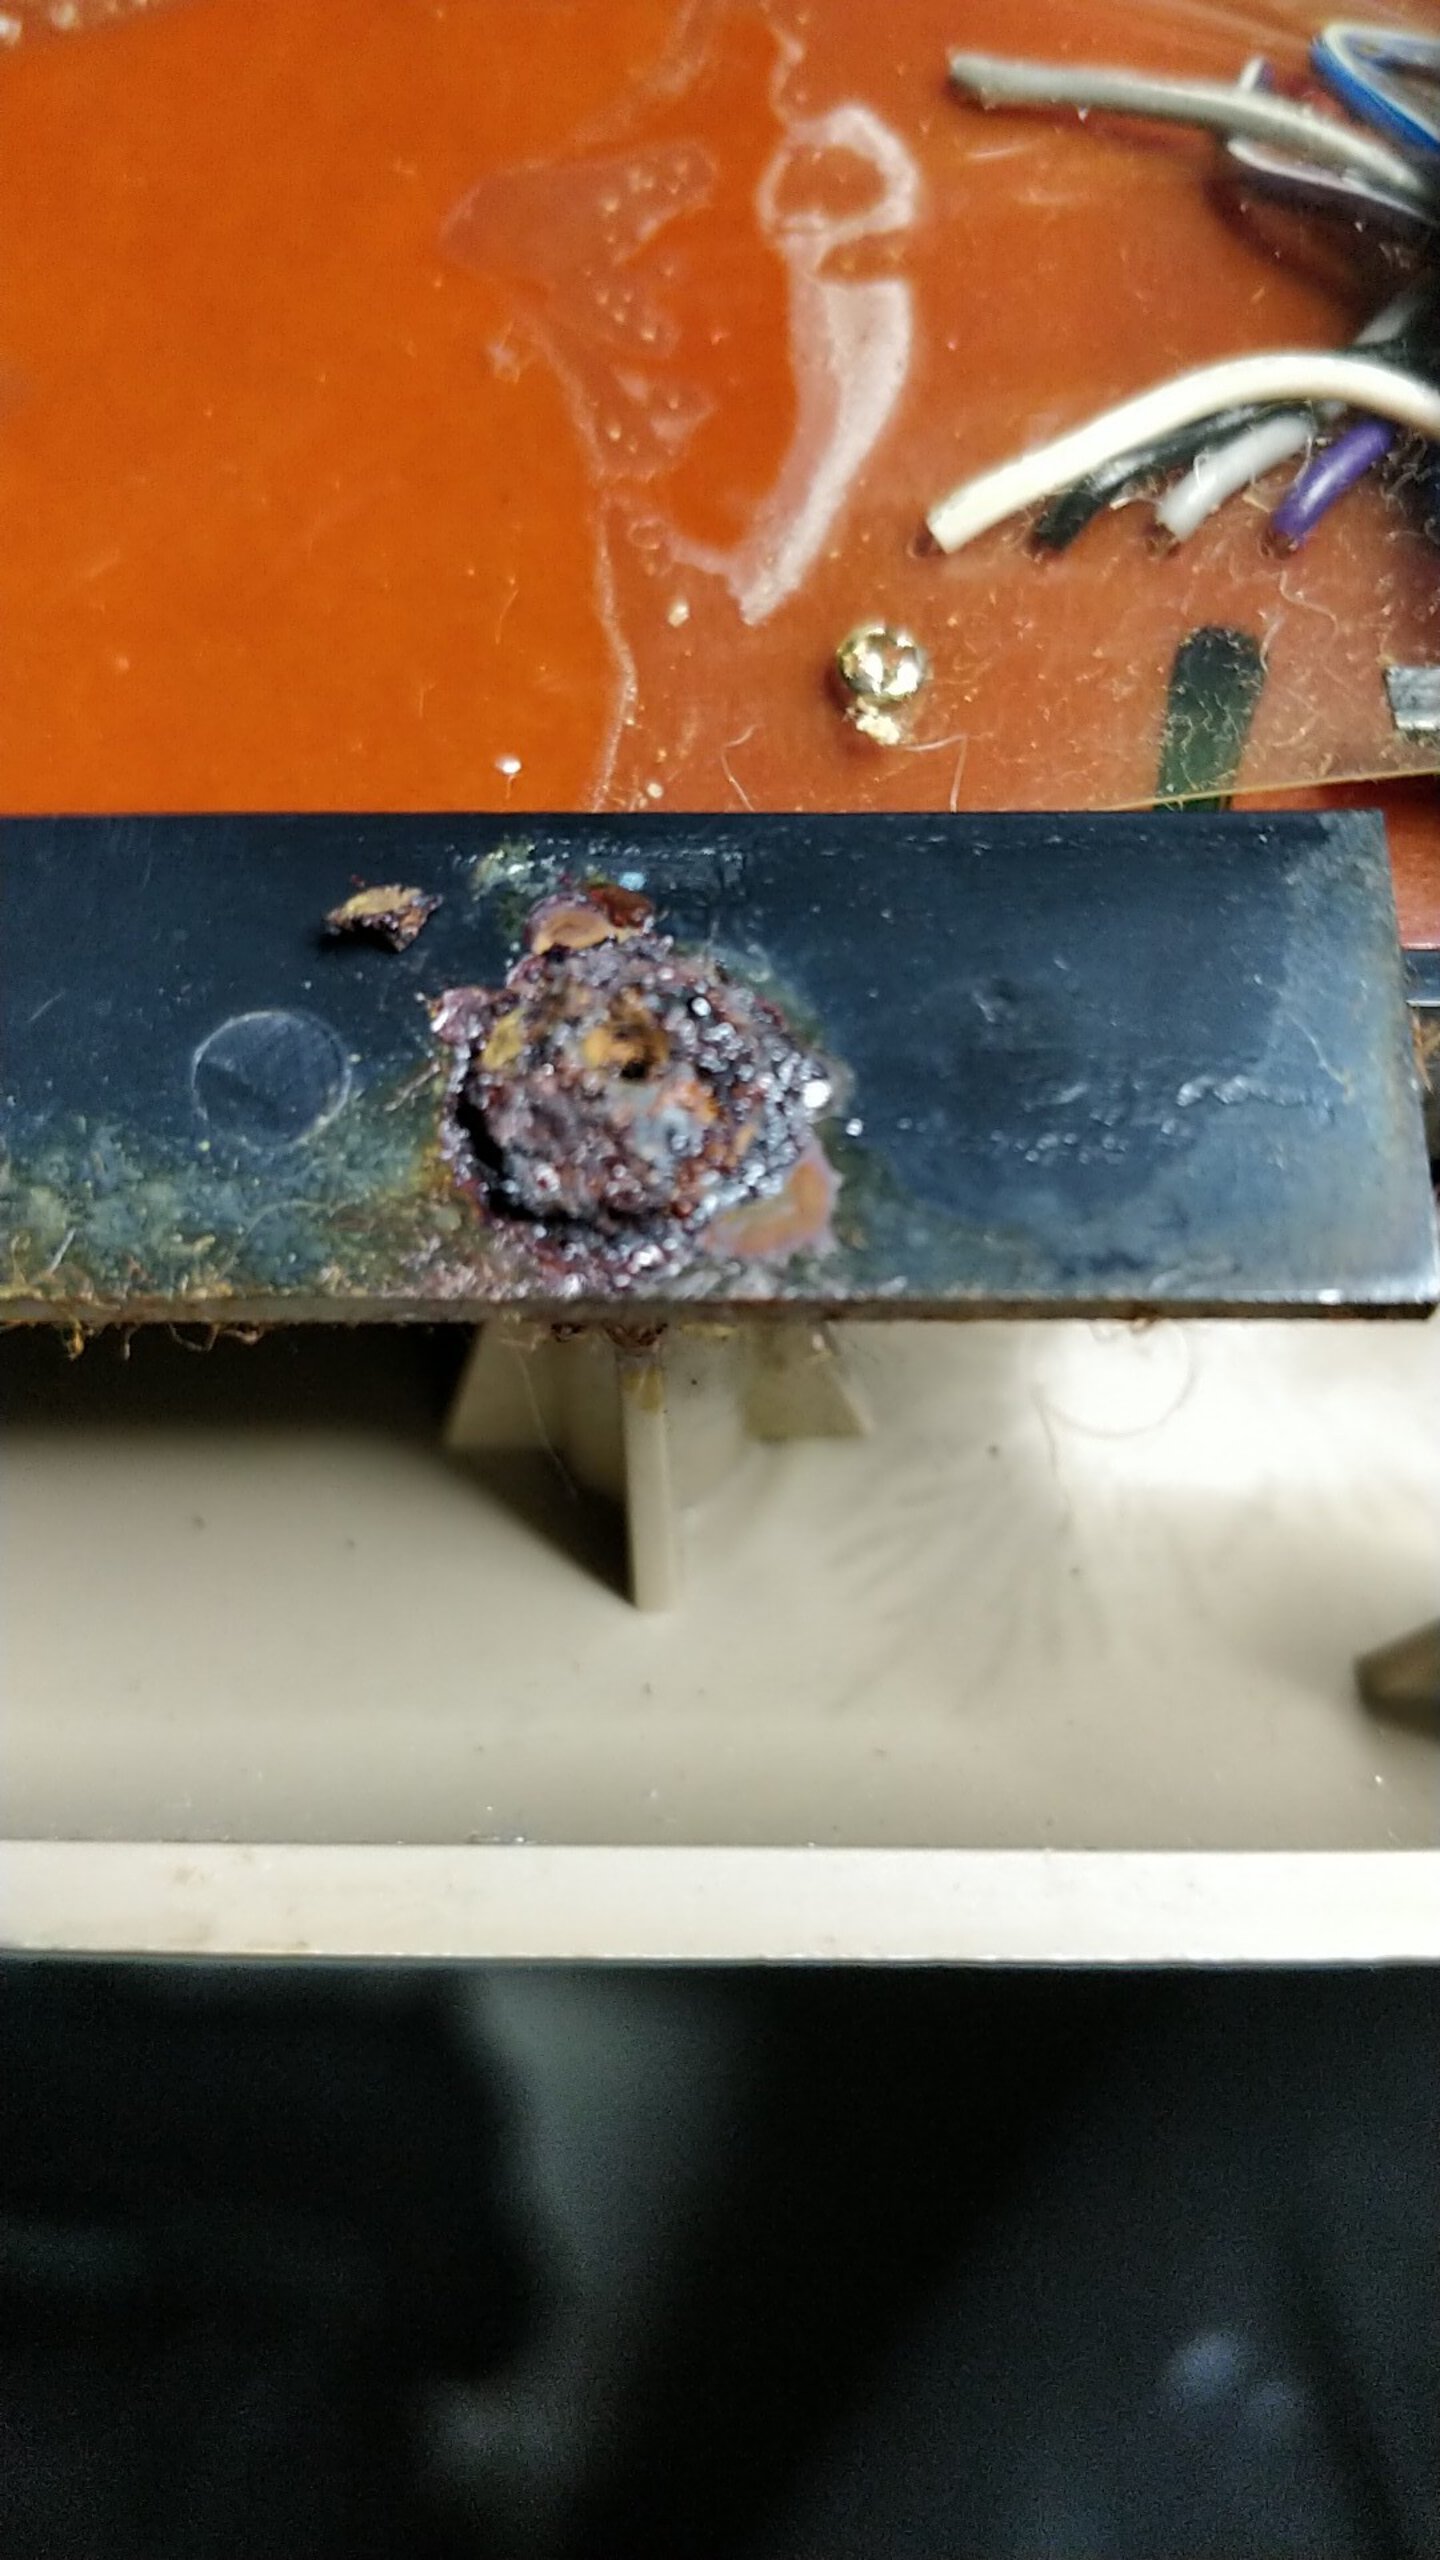
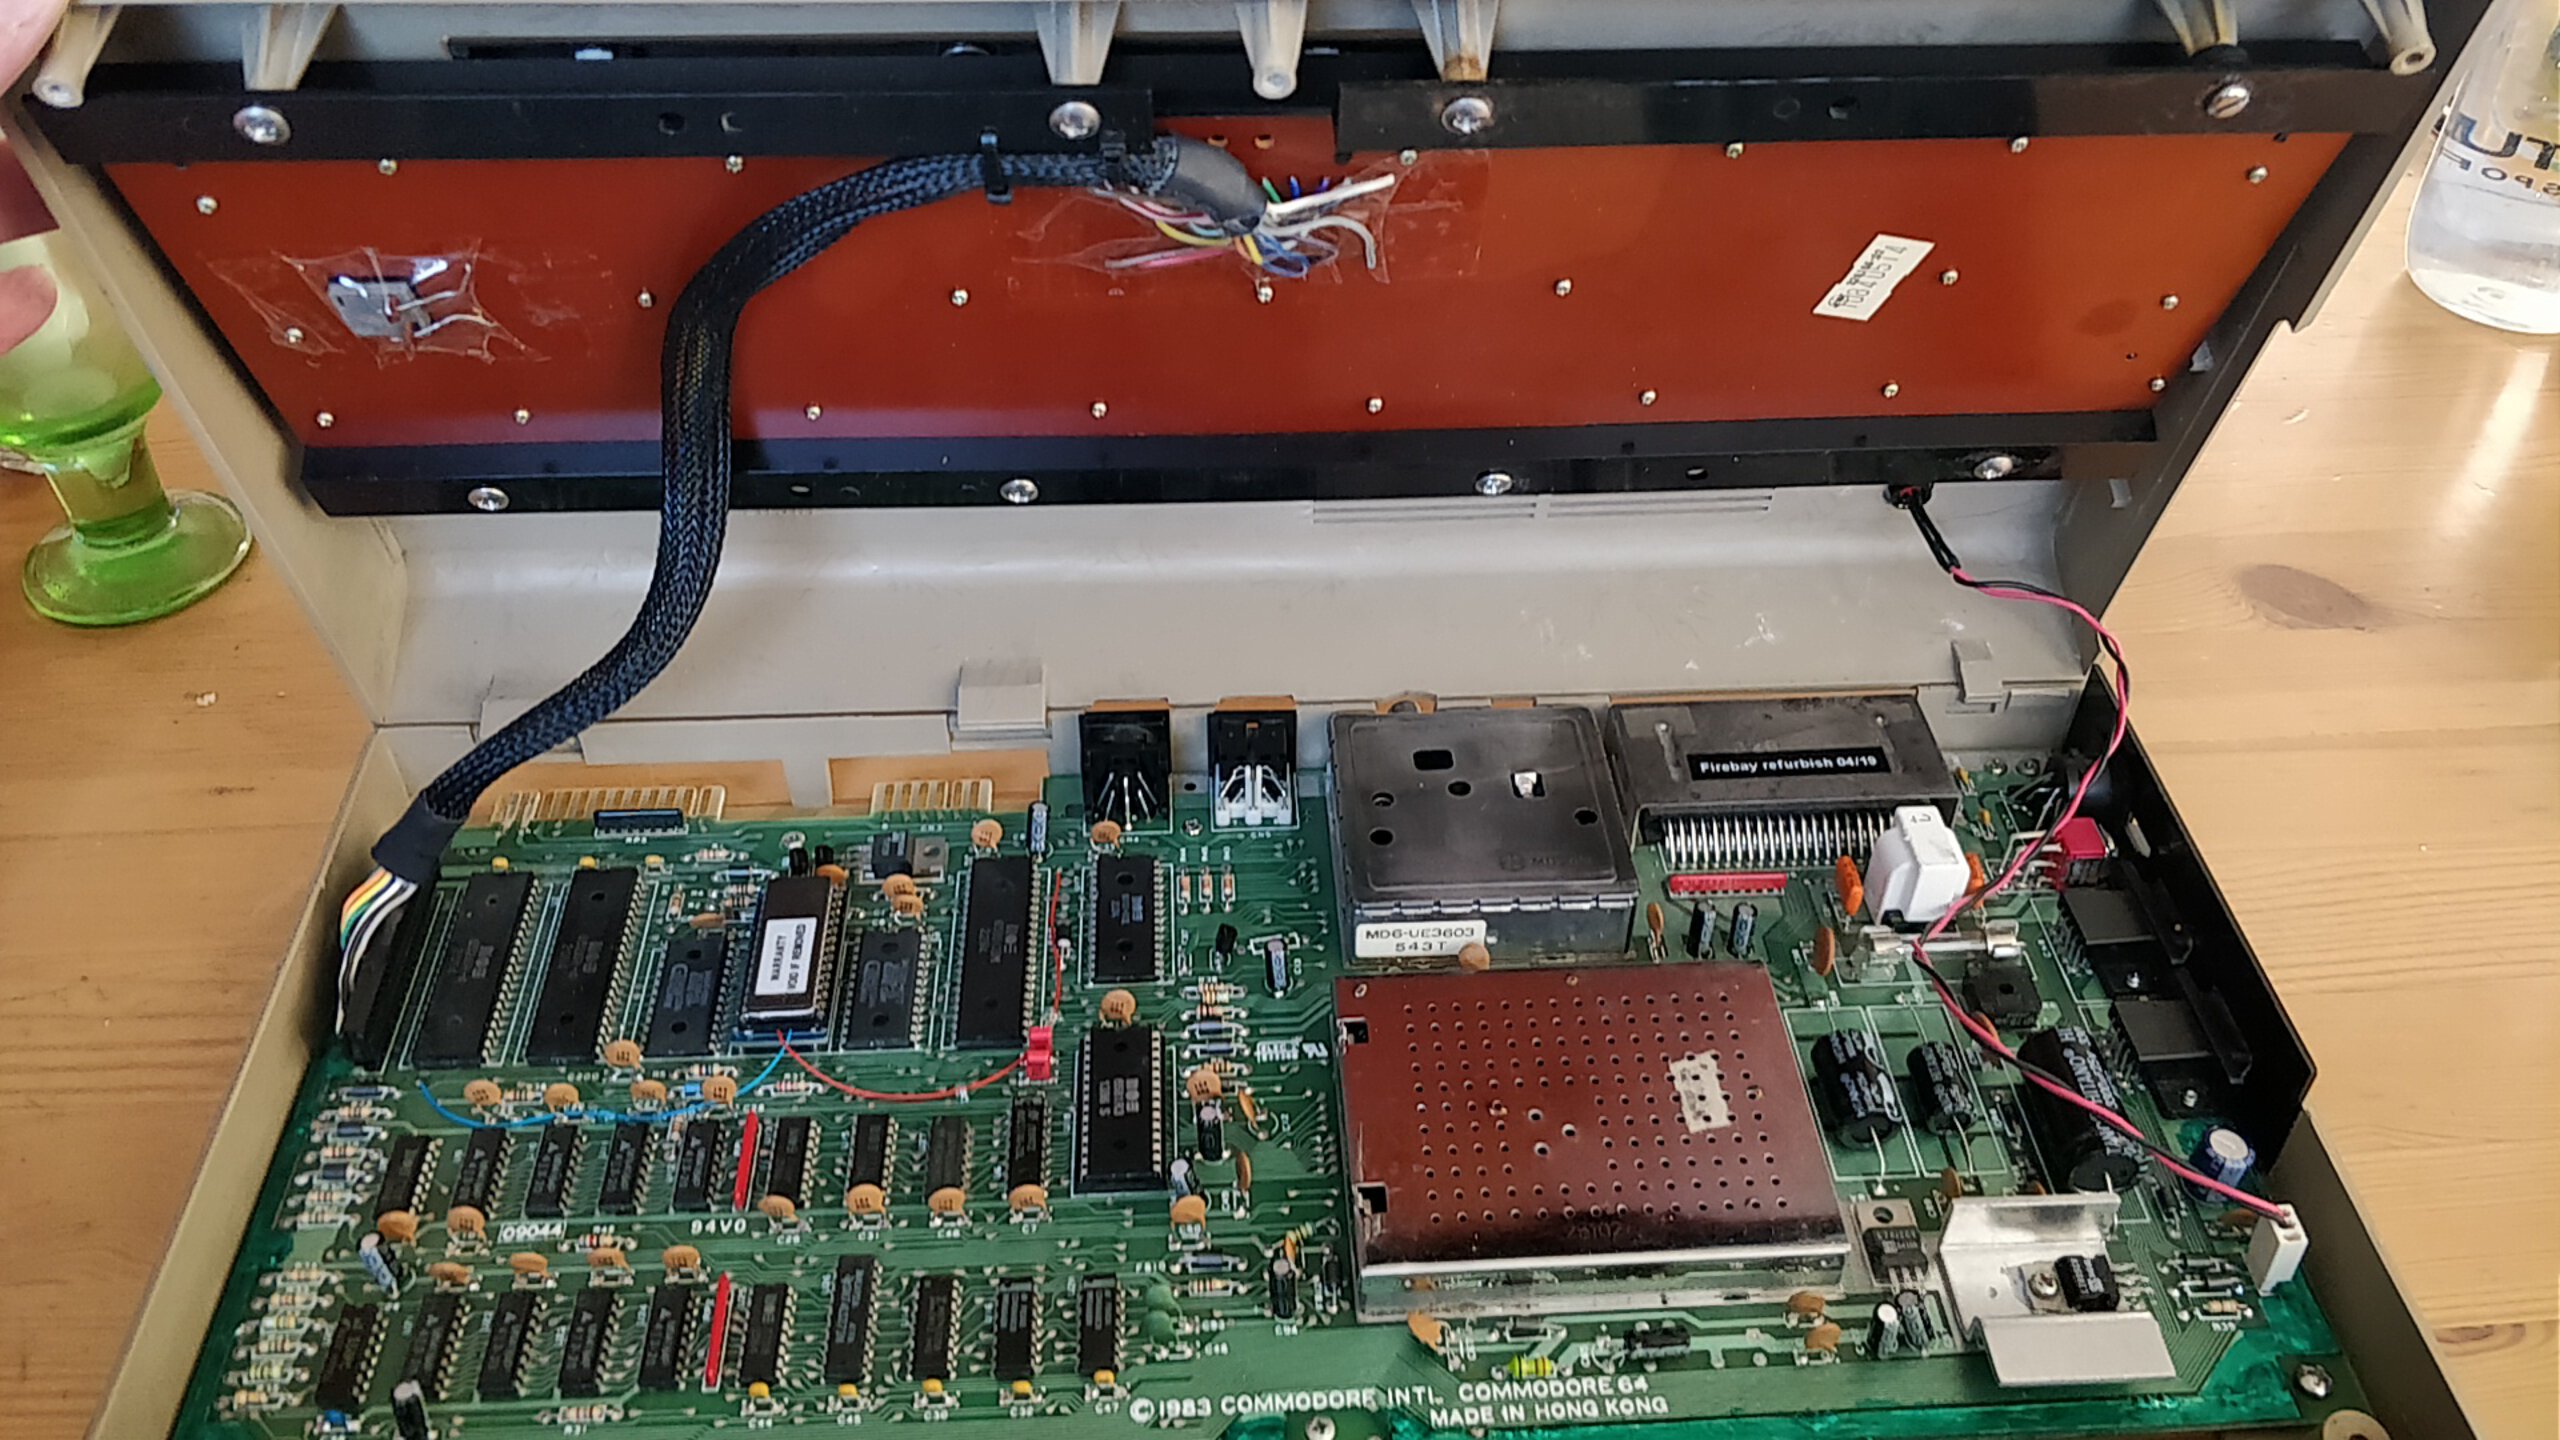
After getting the case open, I noticed heavy corrosion everywhere on board, RF-modulator case was heavily brown, there was oxidation everywhere and all the screws were also rusted inside the machine. All chips were in place and SID (6581) had date code later than rest of the machine and as the bottom case had some kind of torn-off repair sticker still in place, I assume SID had been changed earlier. Especially ground plane showed heavy signs of oxidation. Probably enlightened person would’ve just scavenged the working chips and thrown the rest of the board to trash. I’m not that enlightened myself, you may call me stubborn instead 😄


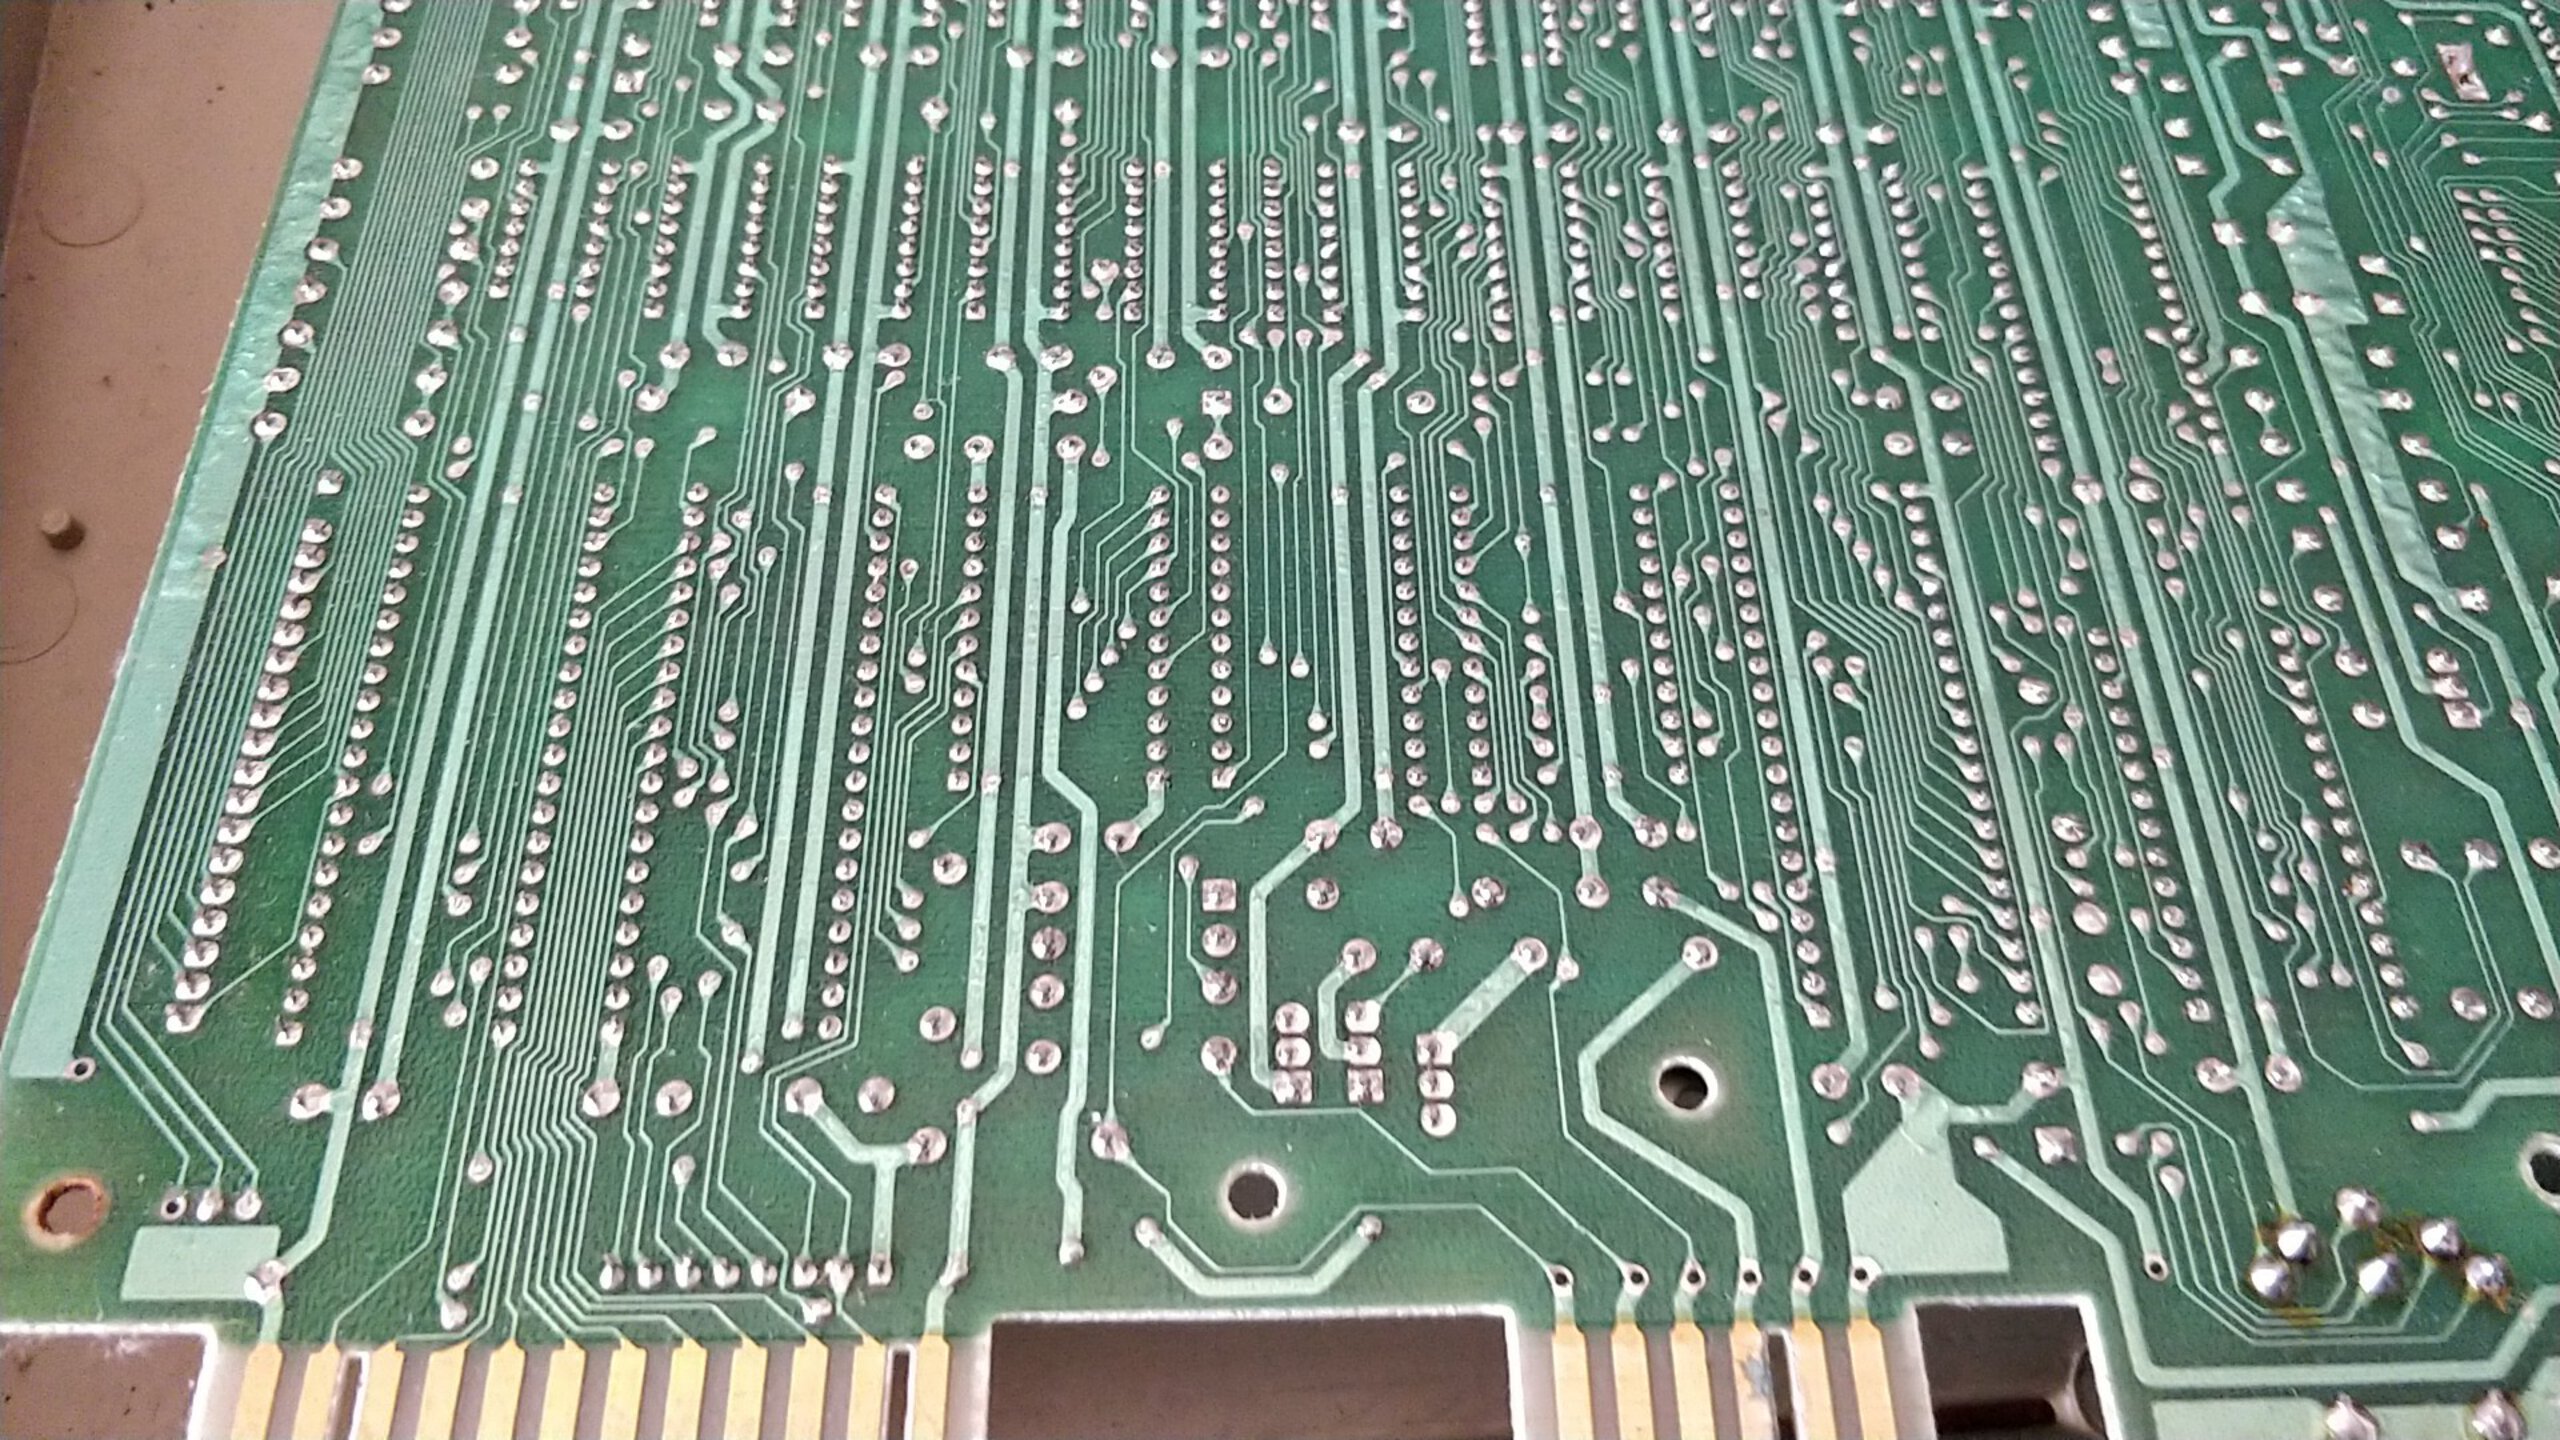
Because oxidation was all over, I decided just to give the motherboard warm bath in heavily vinegar-enriched water. After around 30 minutes I gave board a nice rinse, wash with dish washing detergent, and a good drying with hairdryer and finished with sprayed IPA. It was time to give board a closer look.
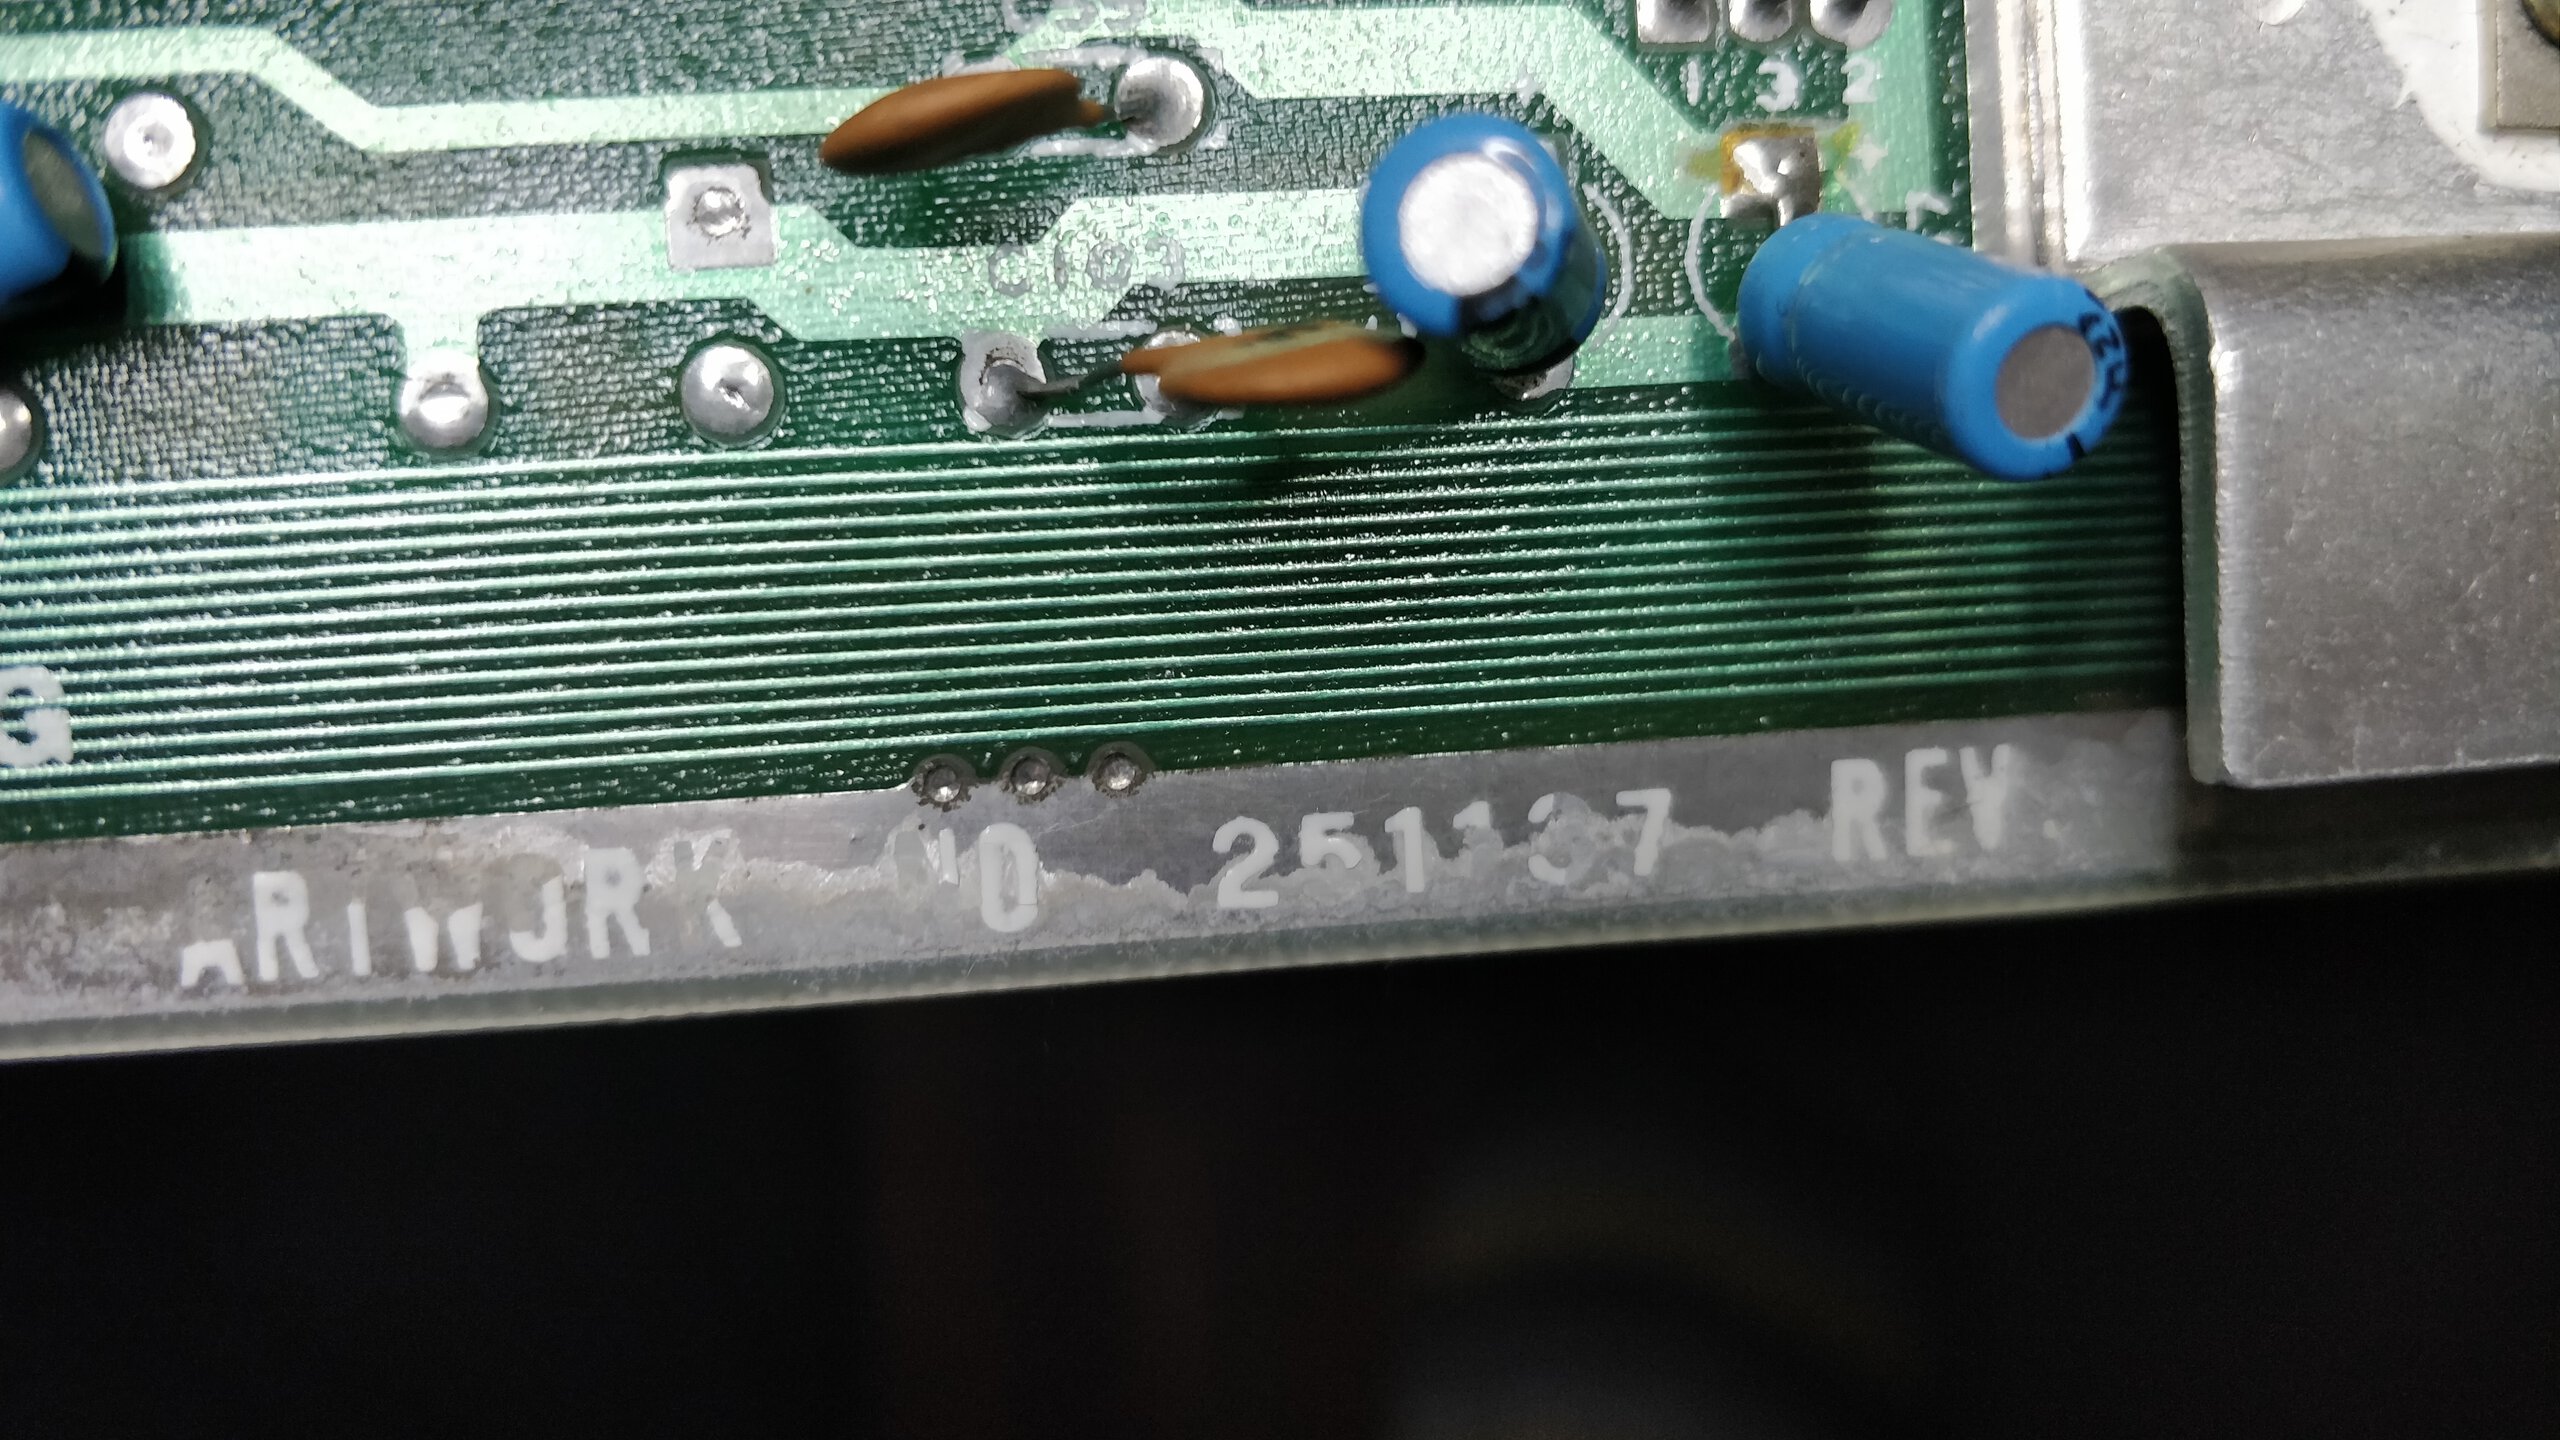
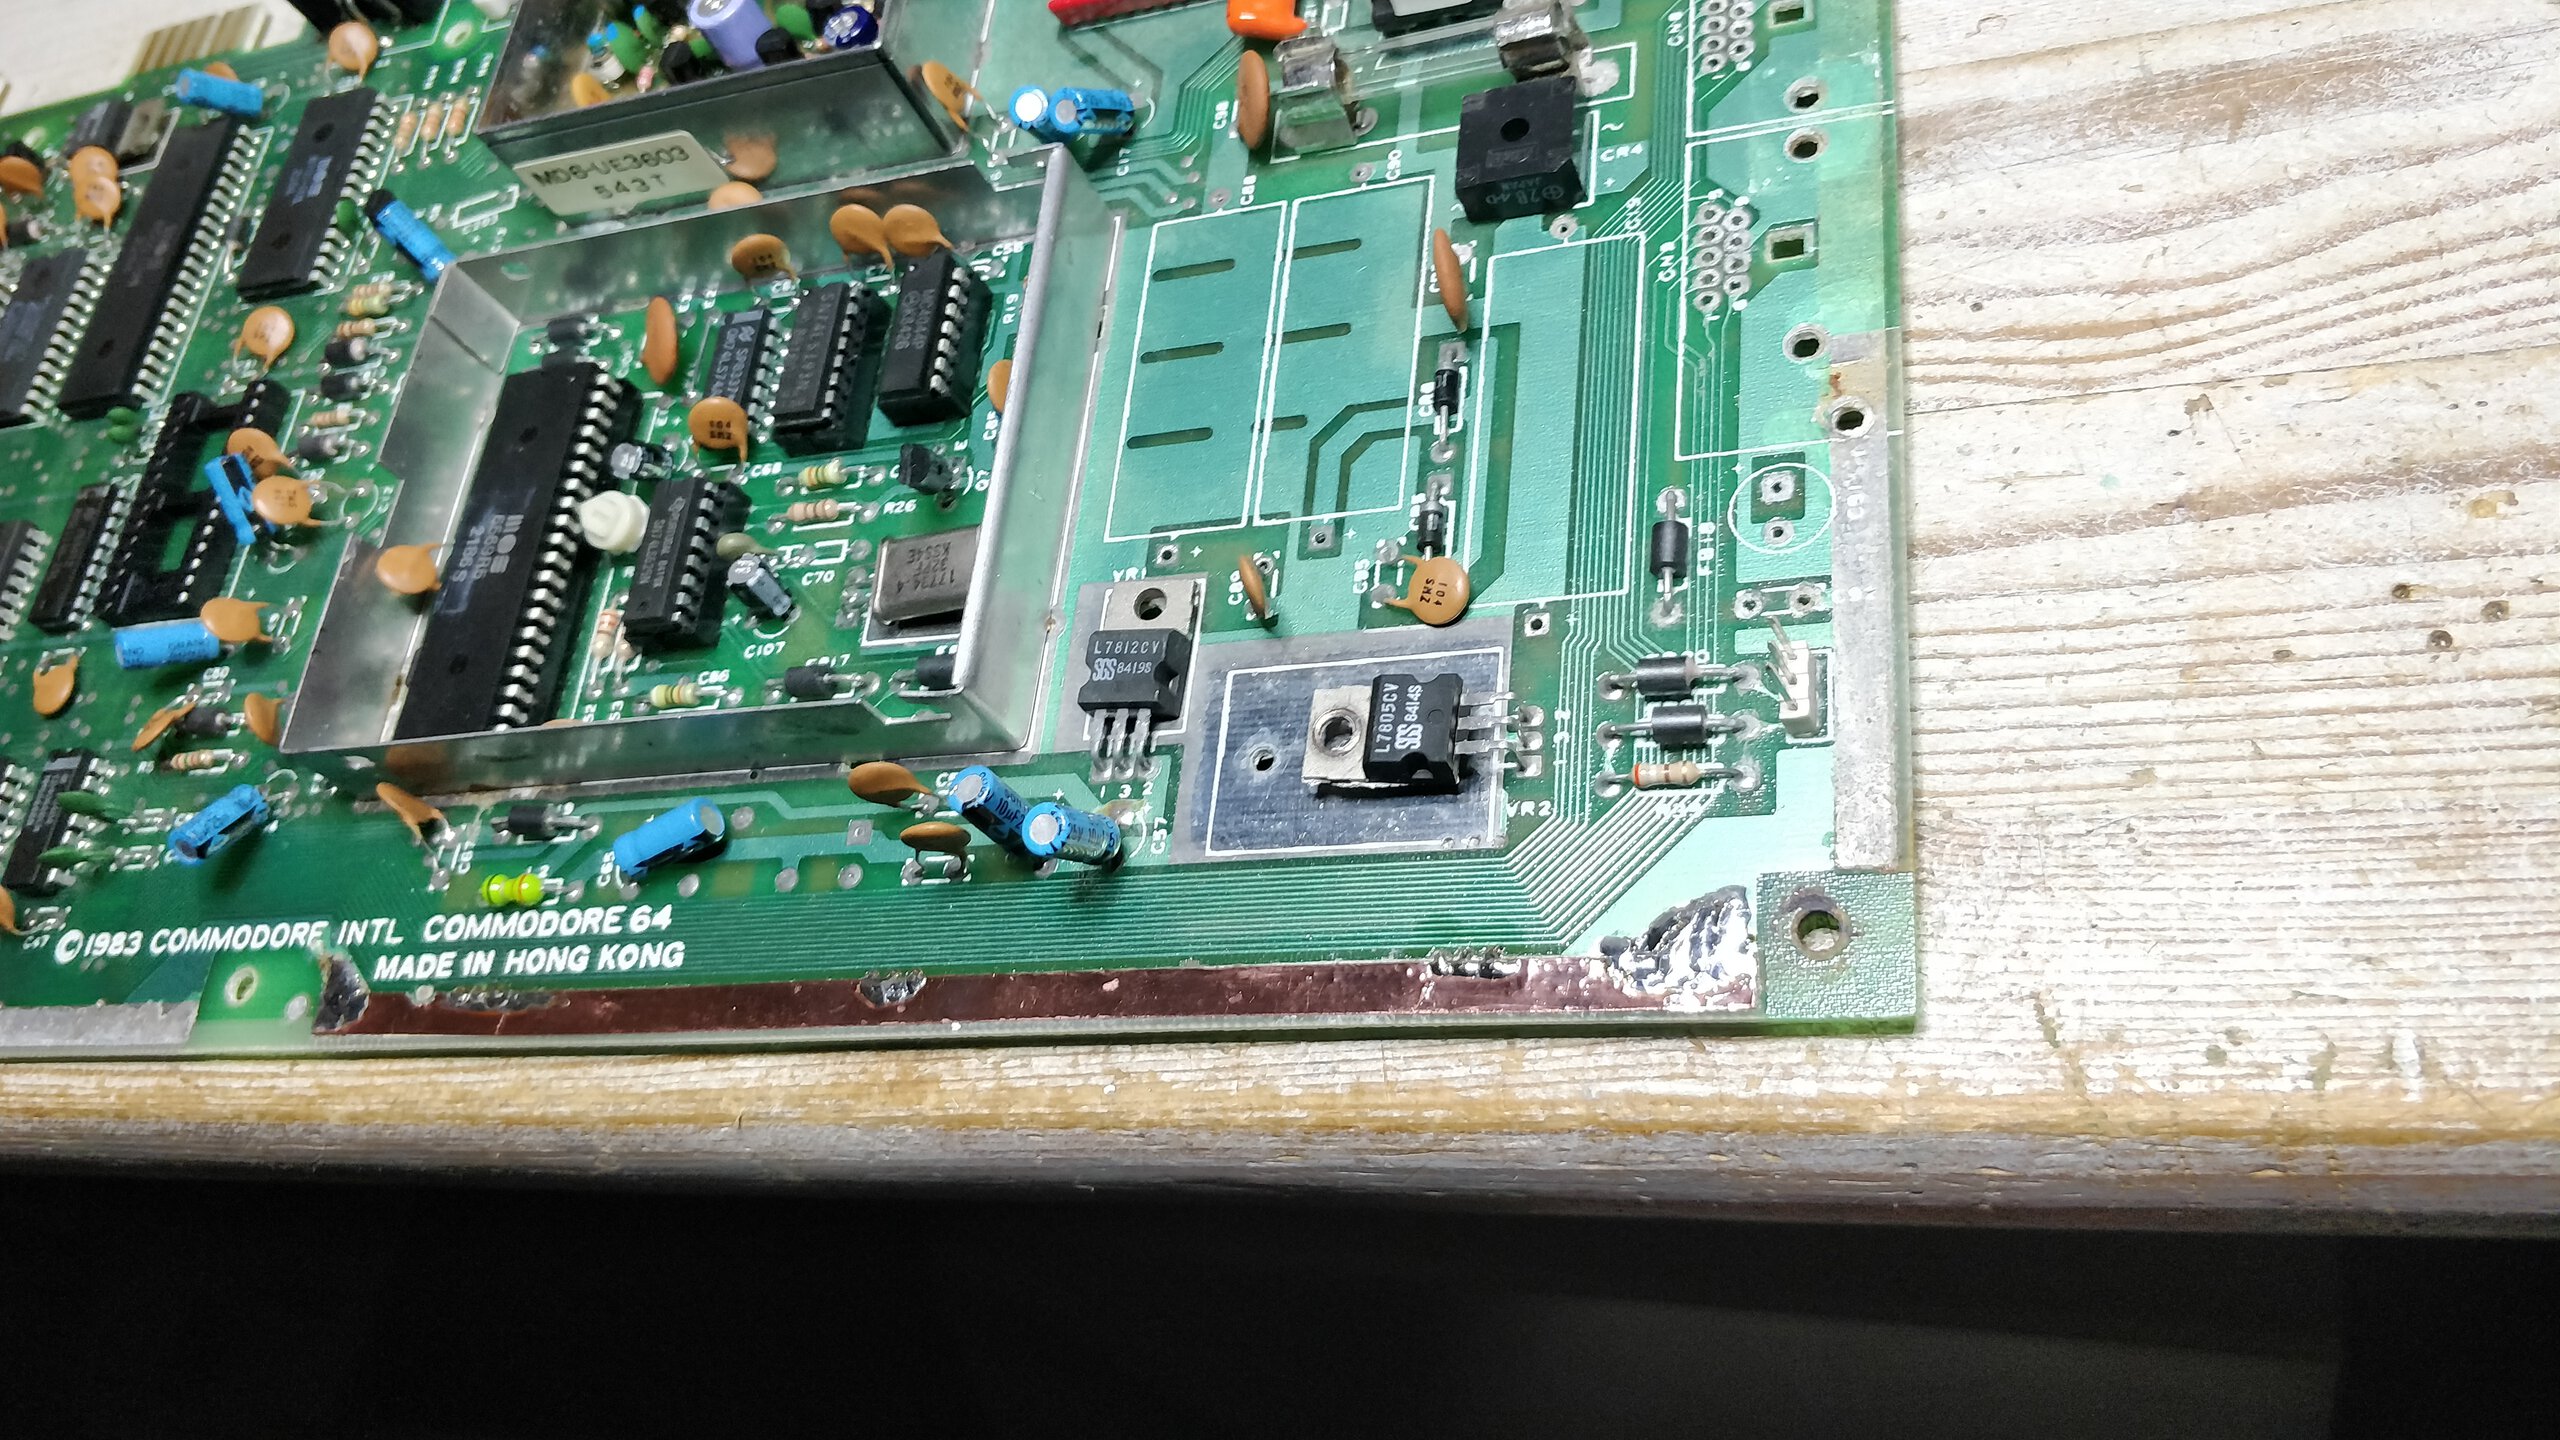
Vinegar did seem to remove oxidation… and also most of the oxidized ground planes. Oopsie 😄


PCB Repair
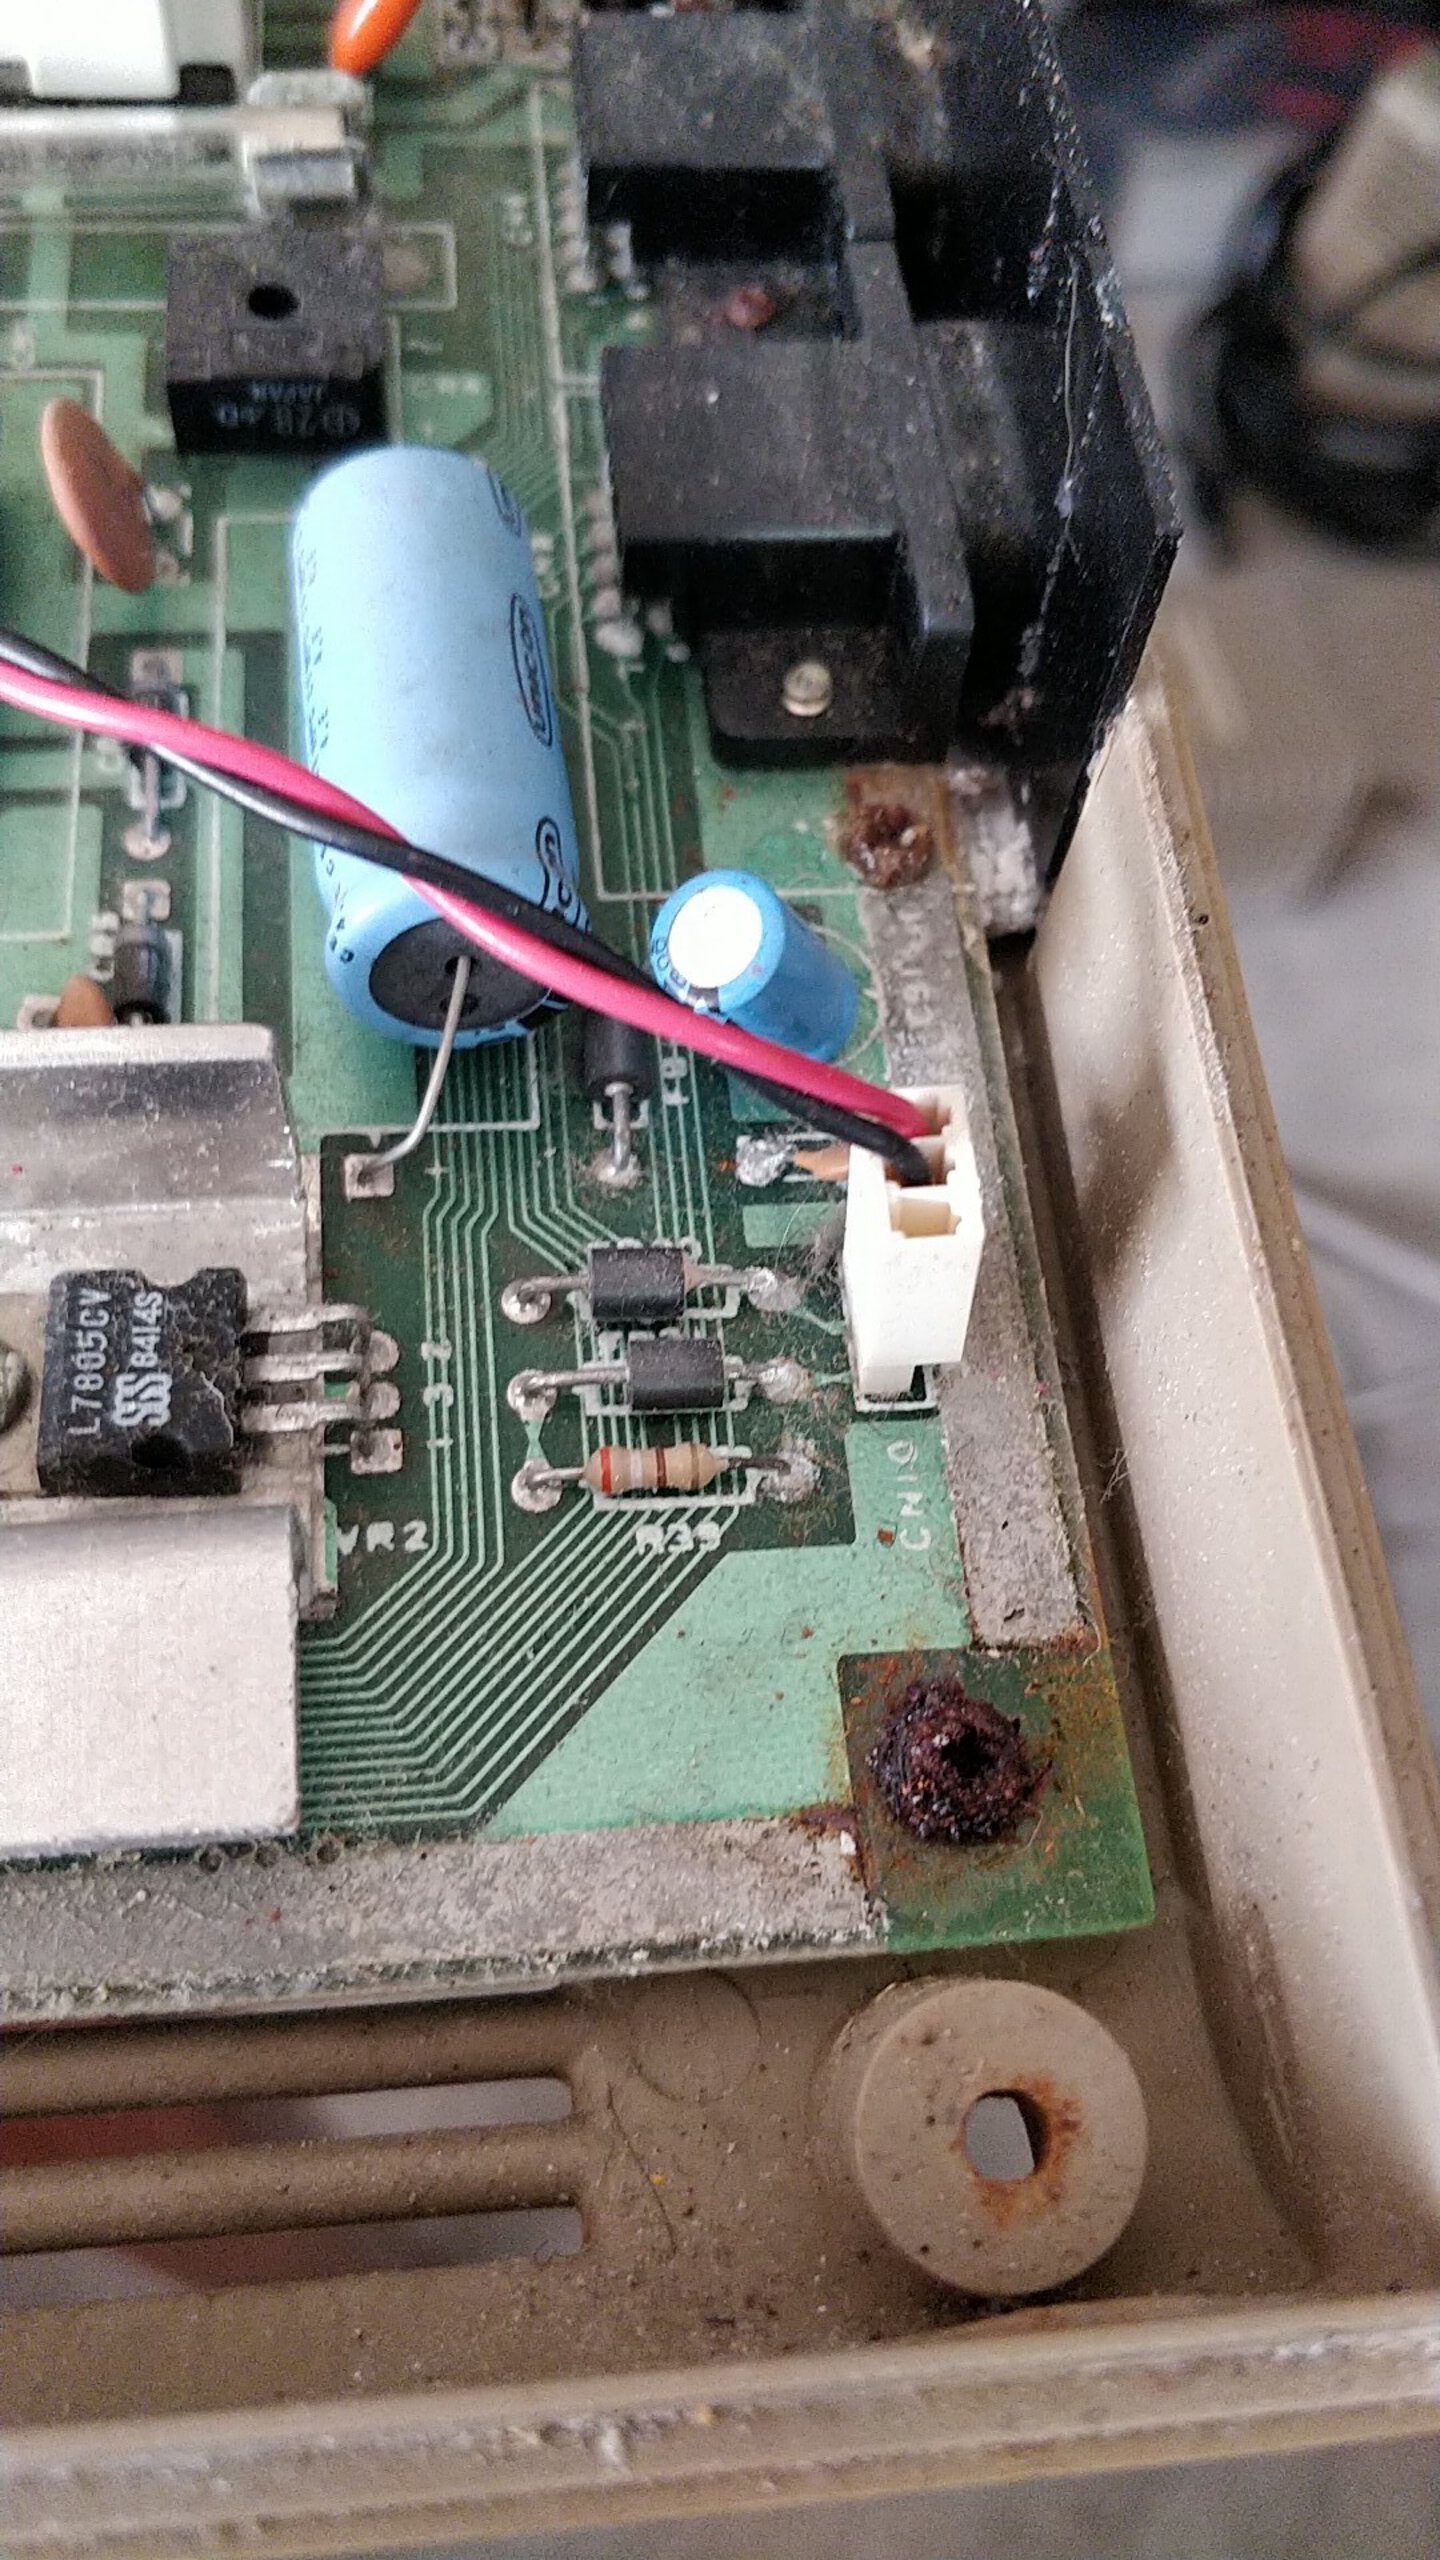
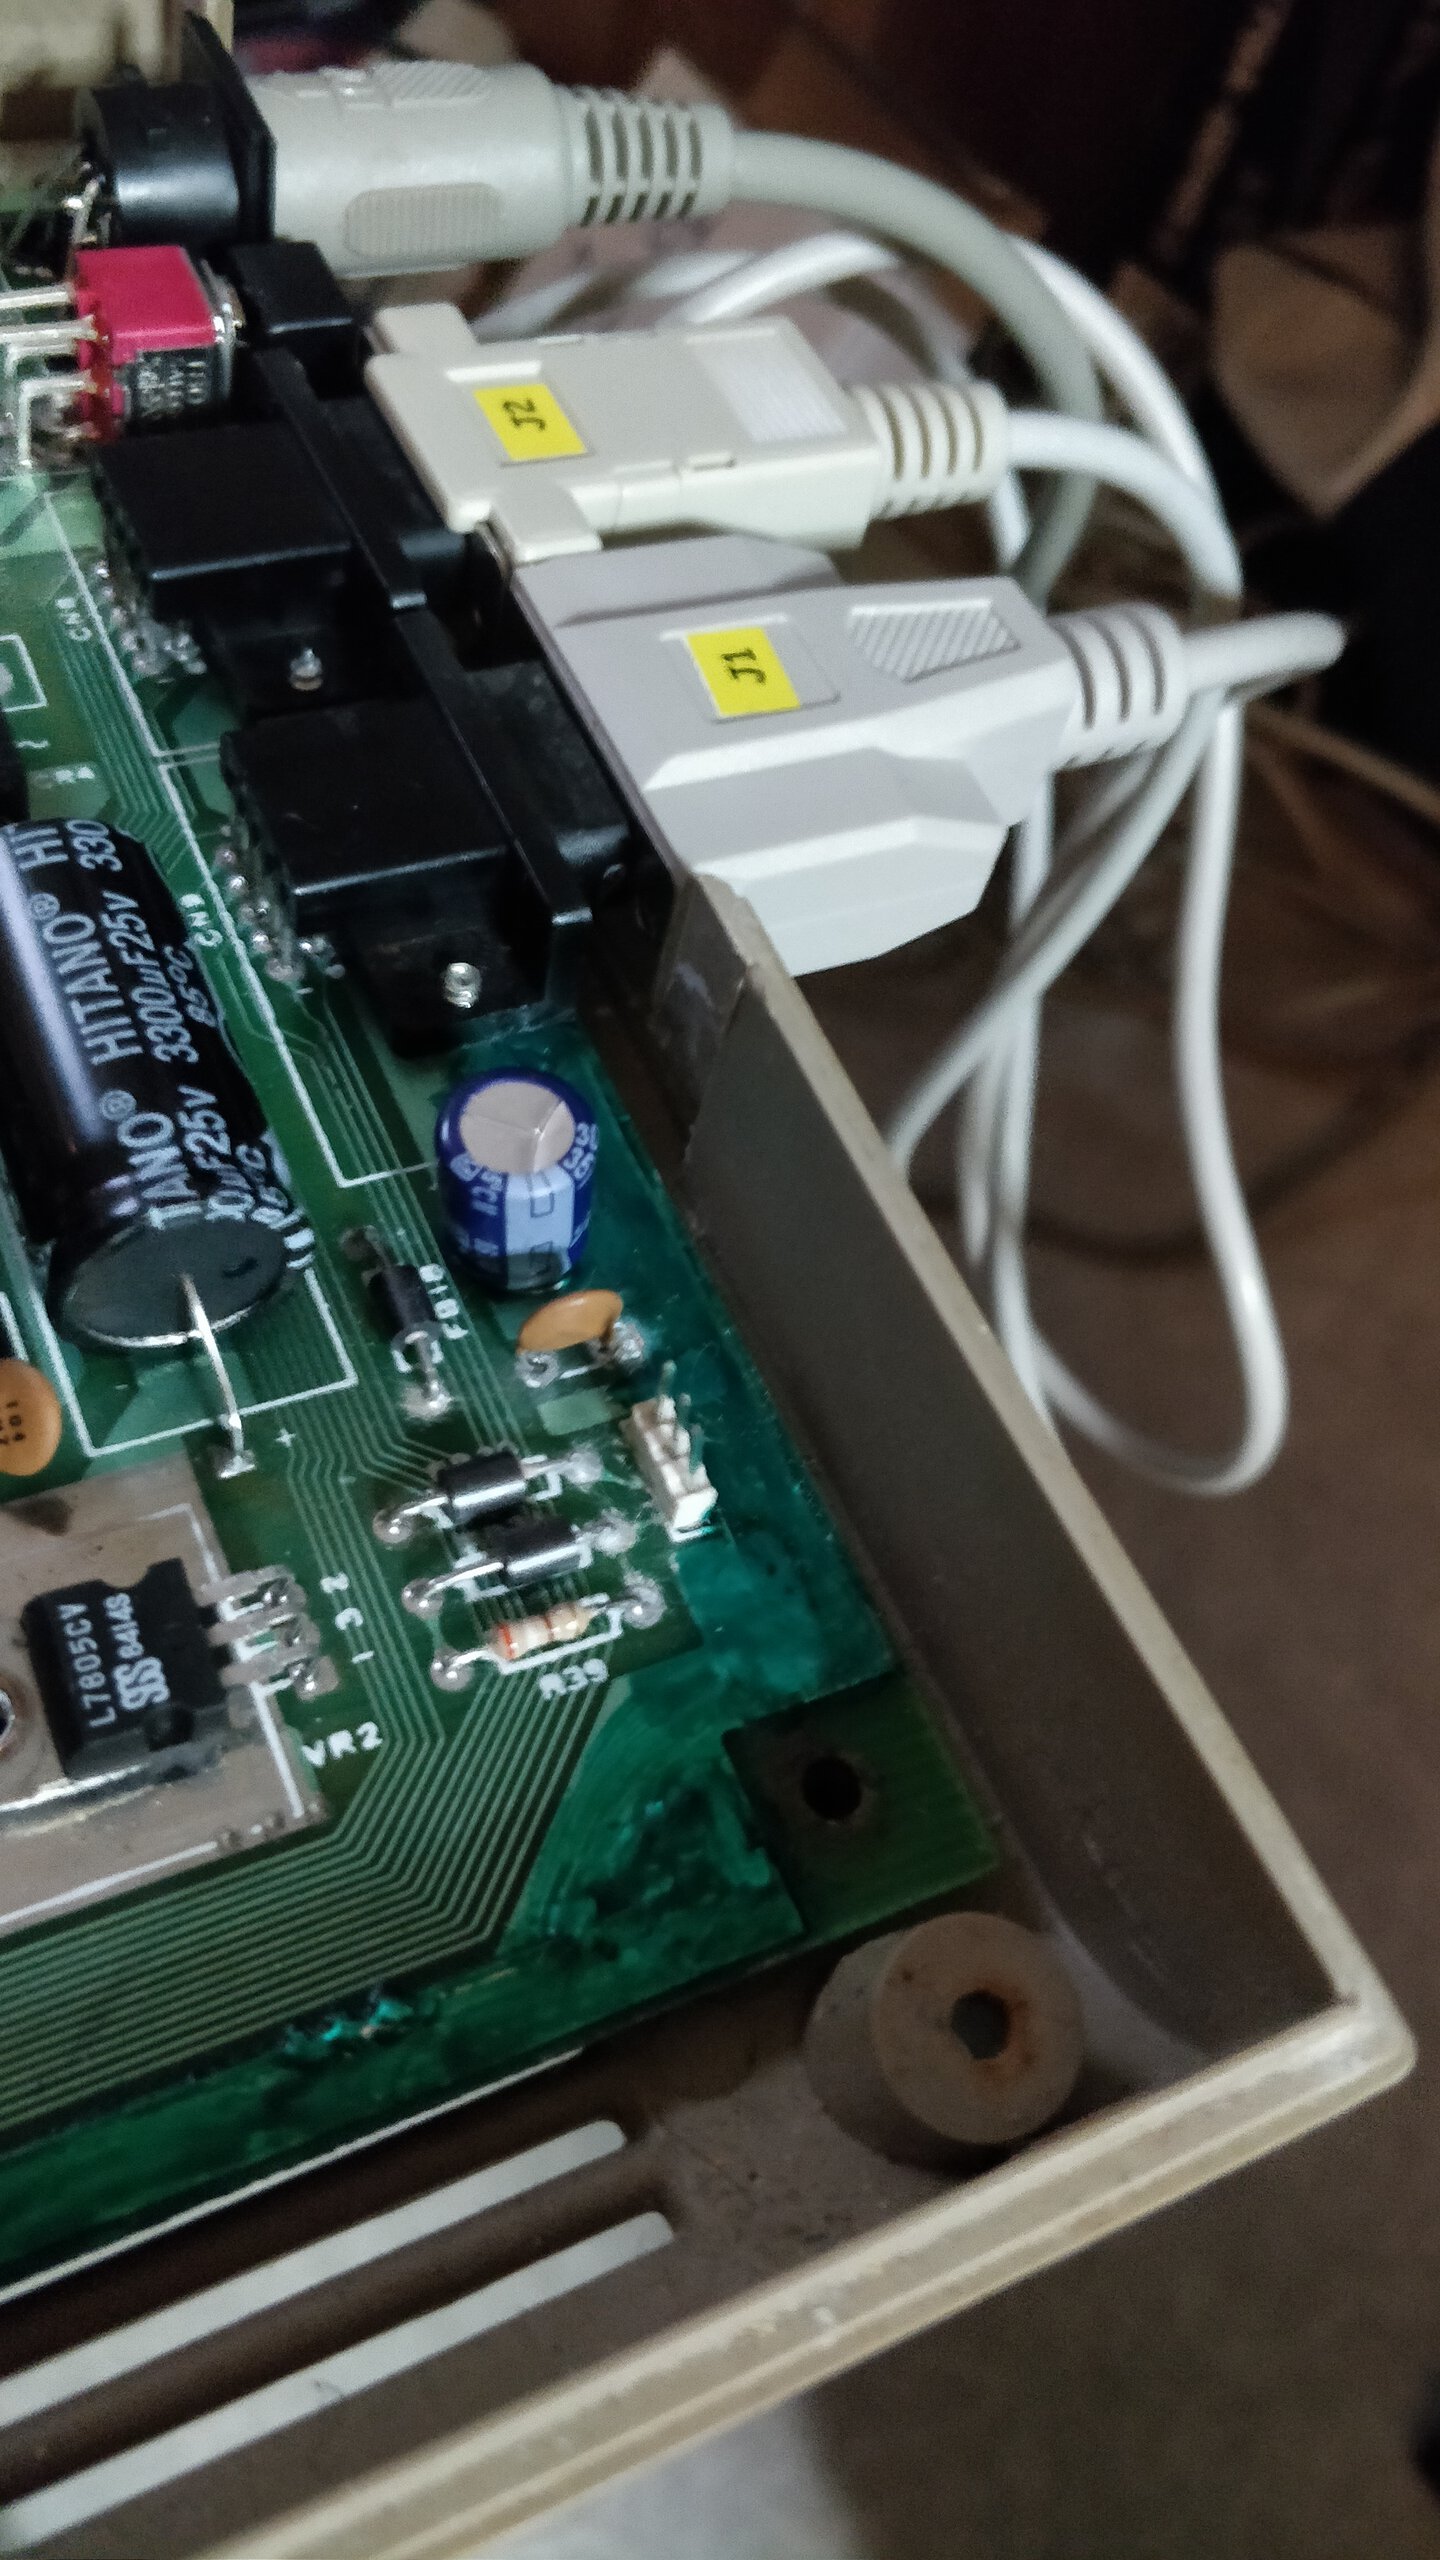
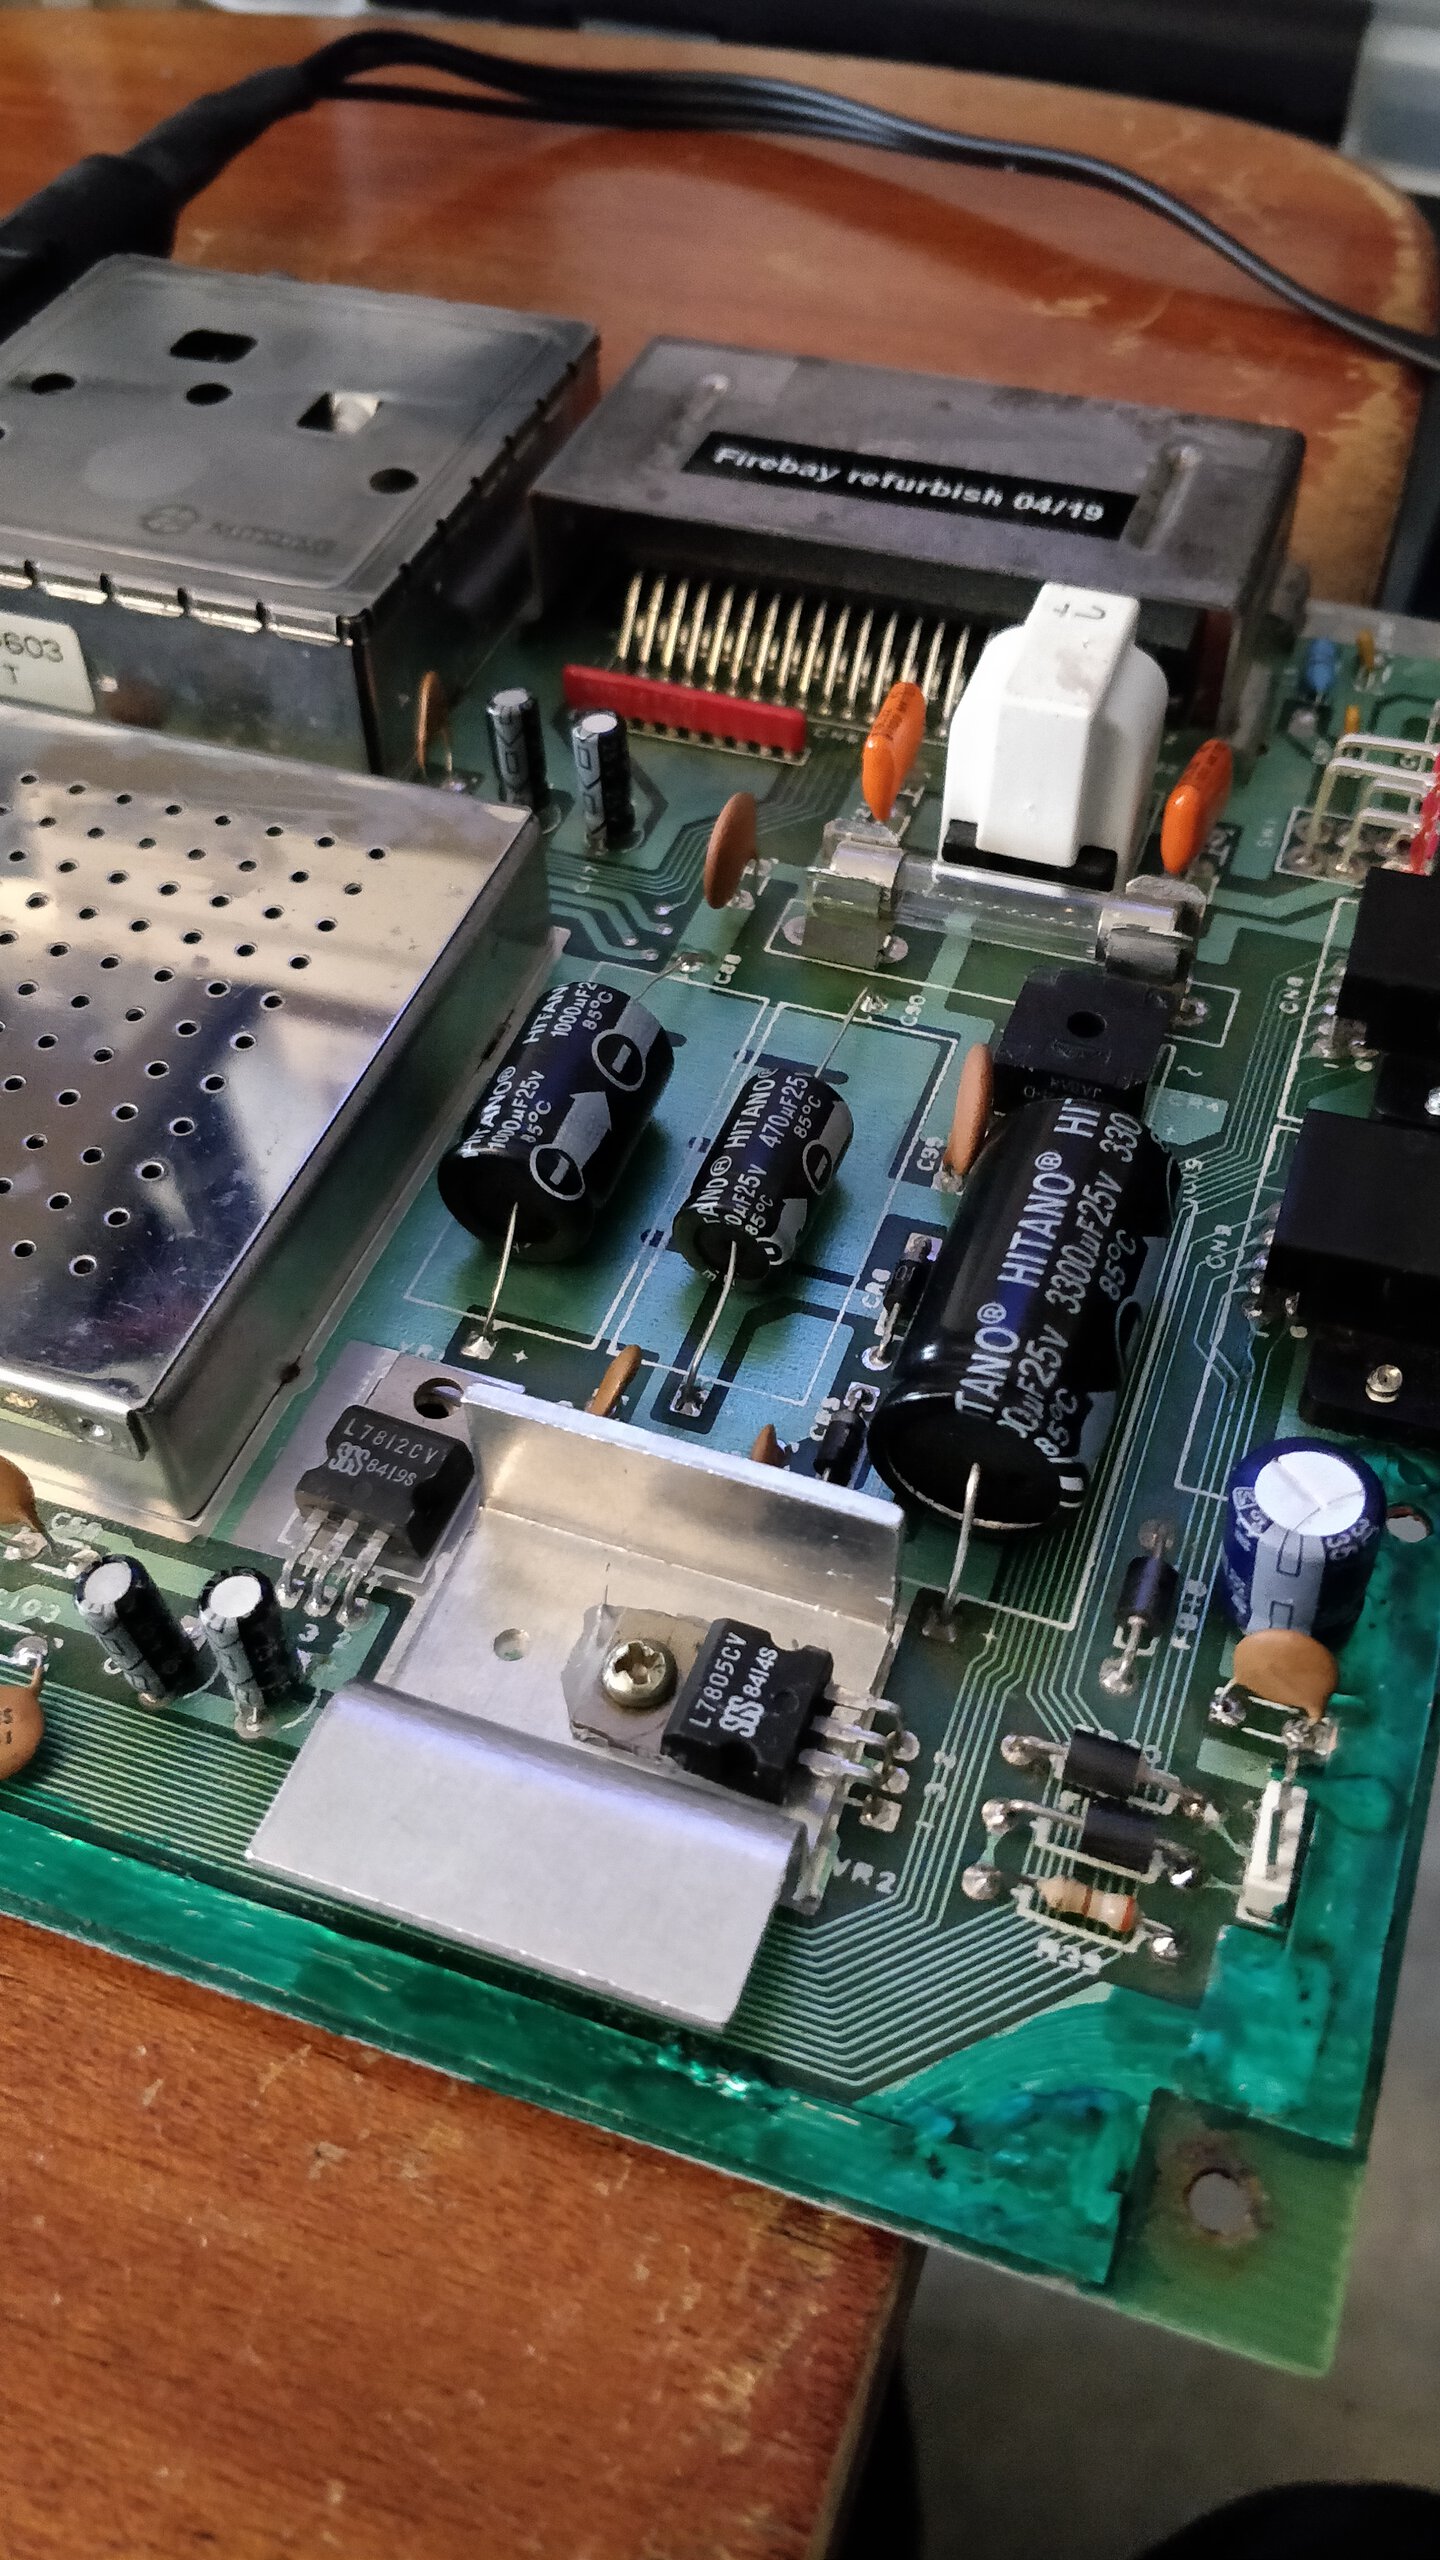
After bath, IPA-cleaning and drying, power switch wasn’t still working and the big caps measured almost no capacitance and close to 0 ohms of resistance, so I started by replacing the big caps and power switch, I also desoldered the power connector, gave it another good de-oxit and cleaning before soldering it back to board.
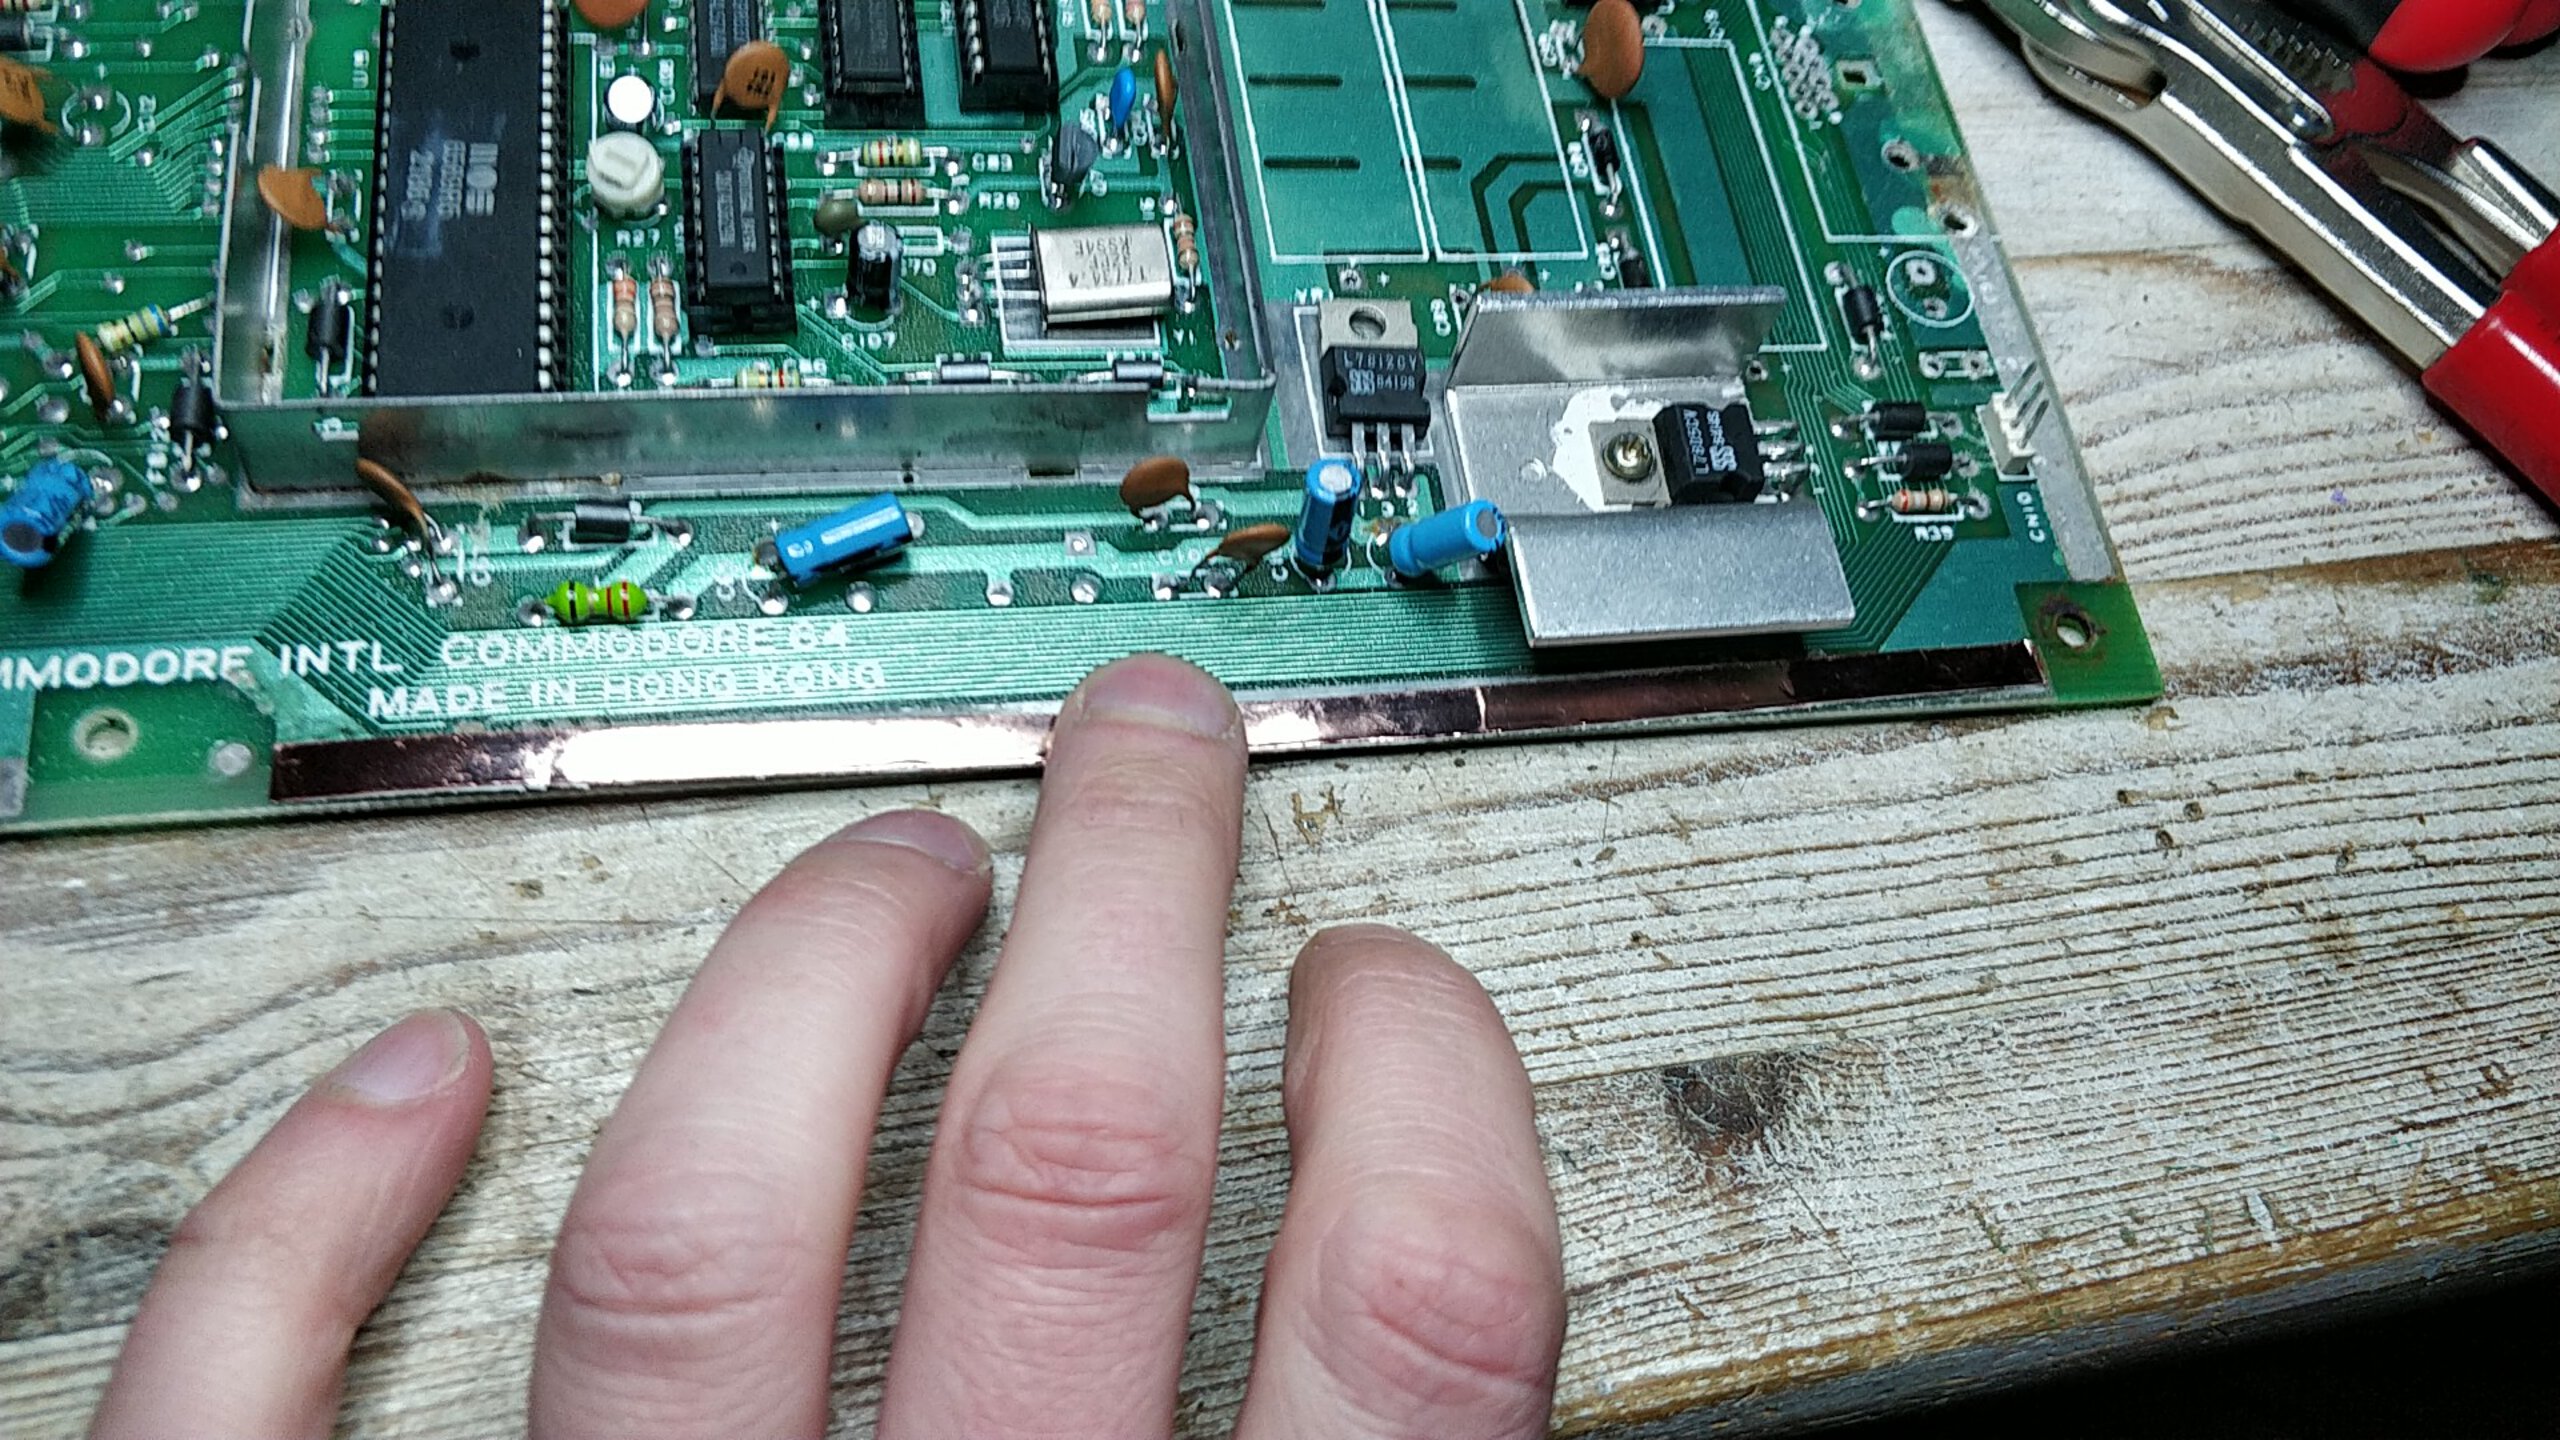
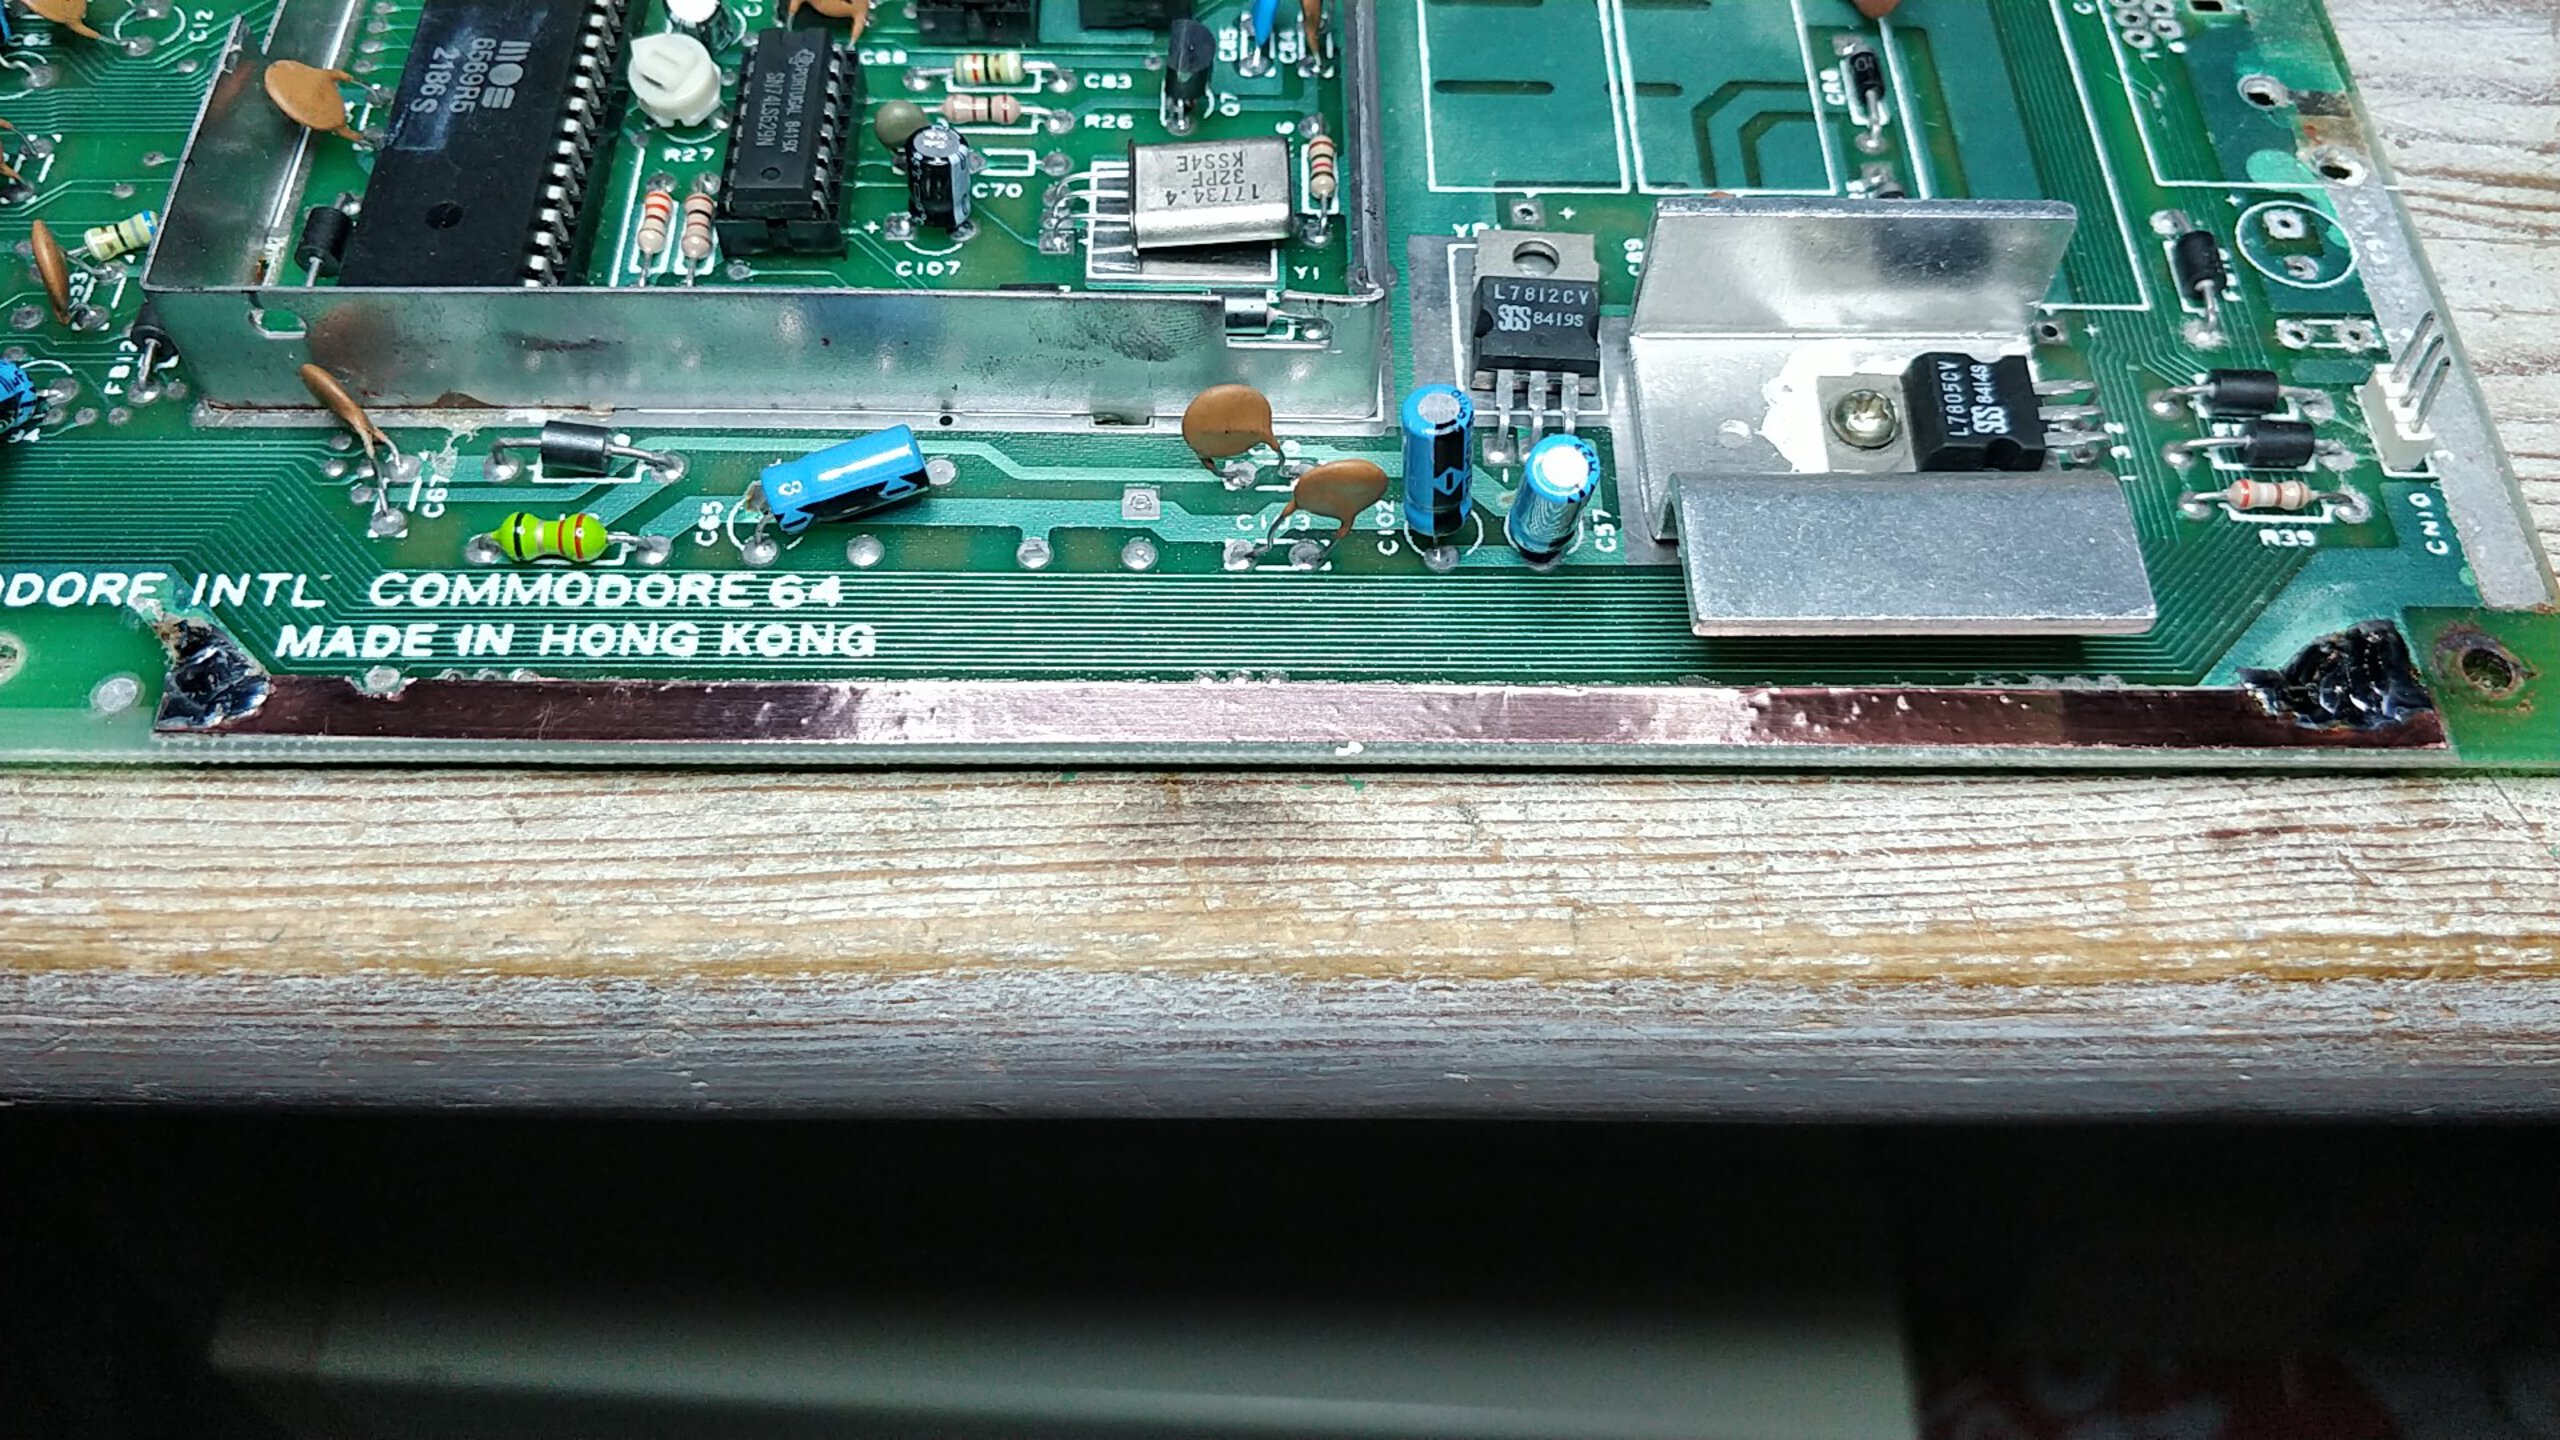
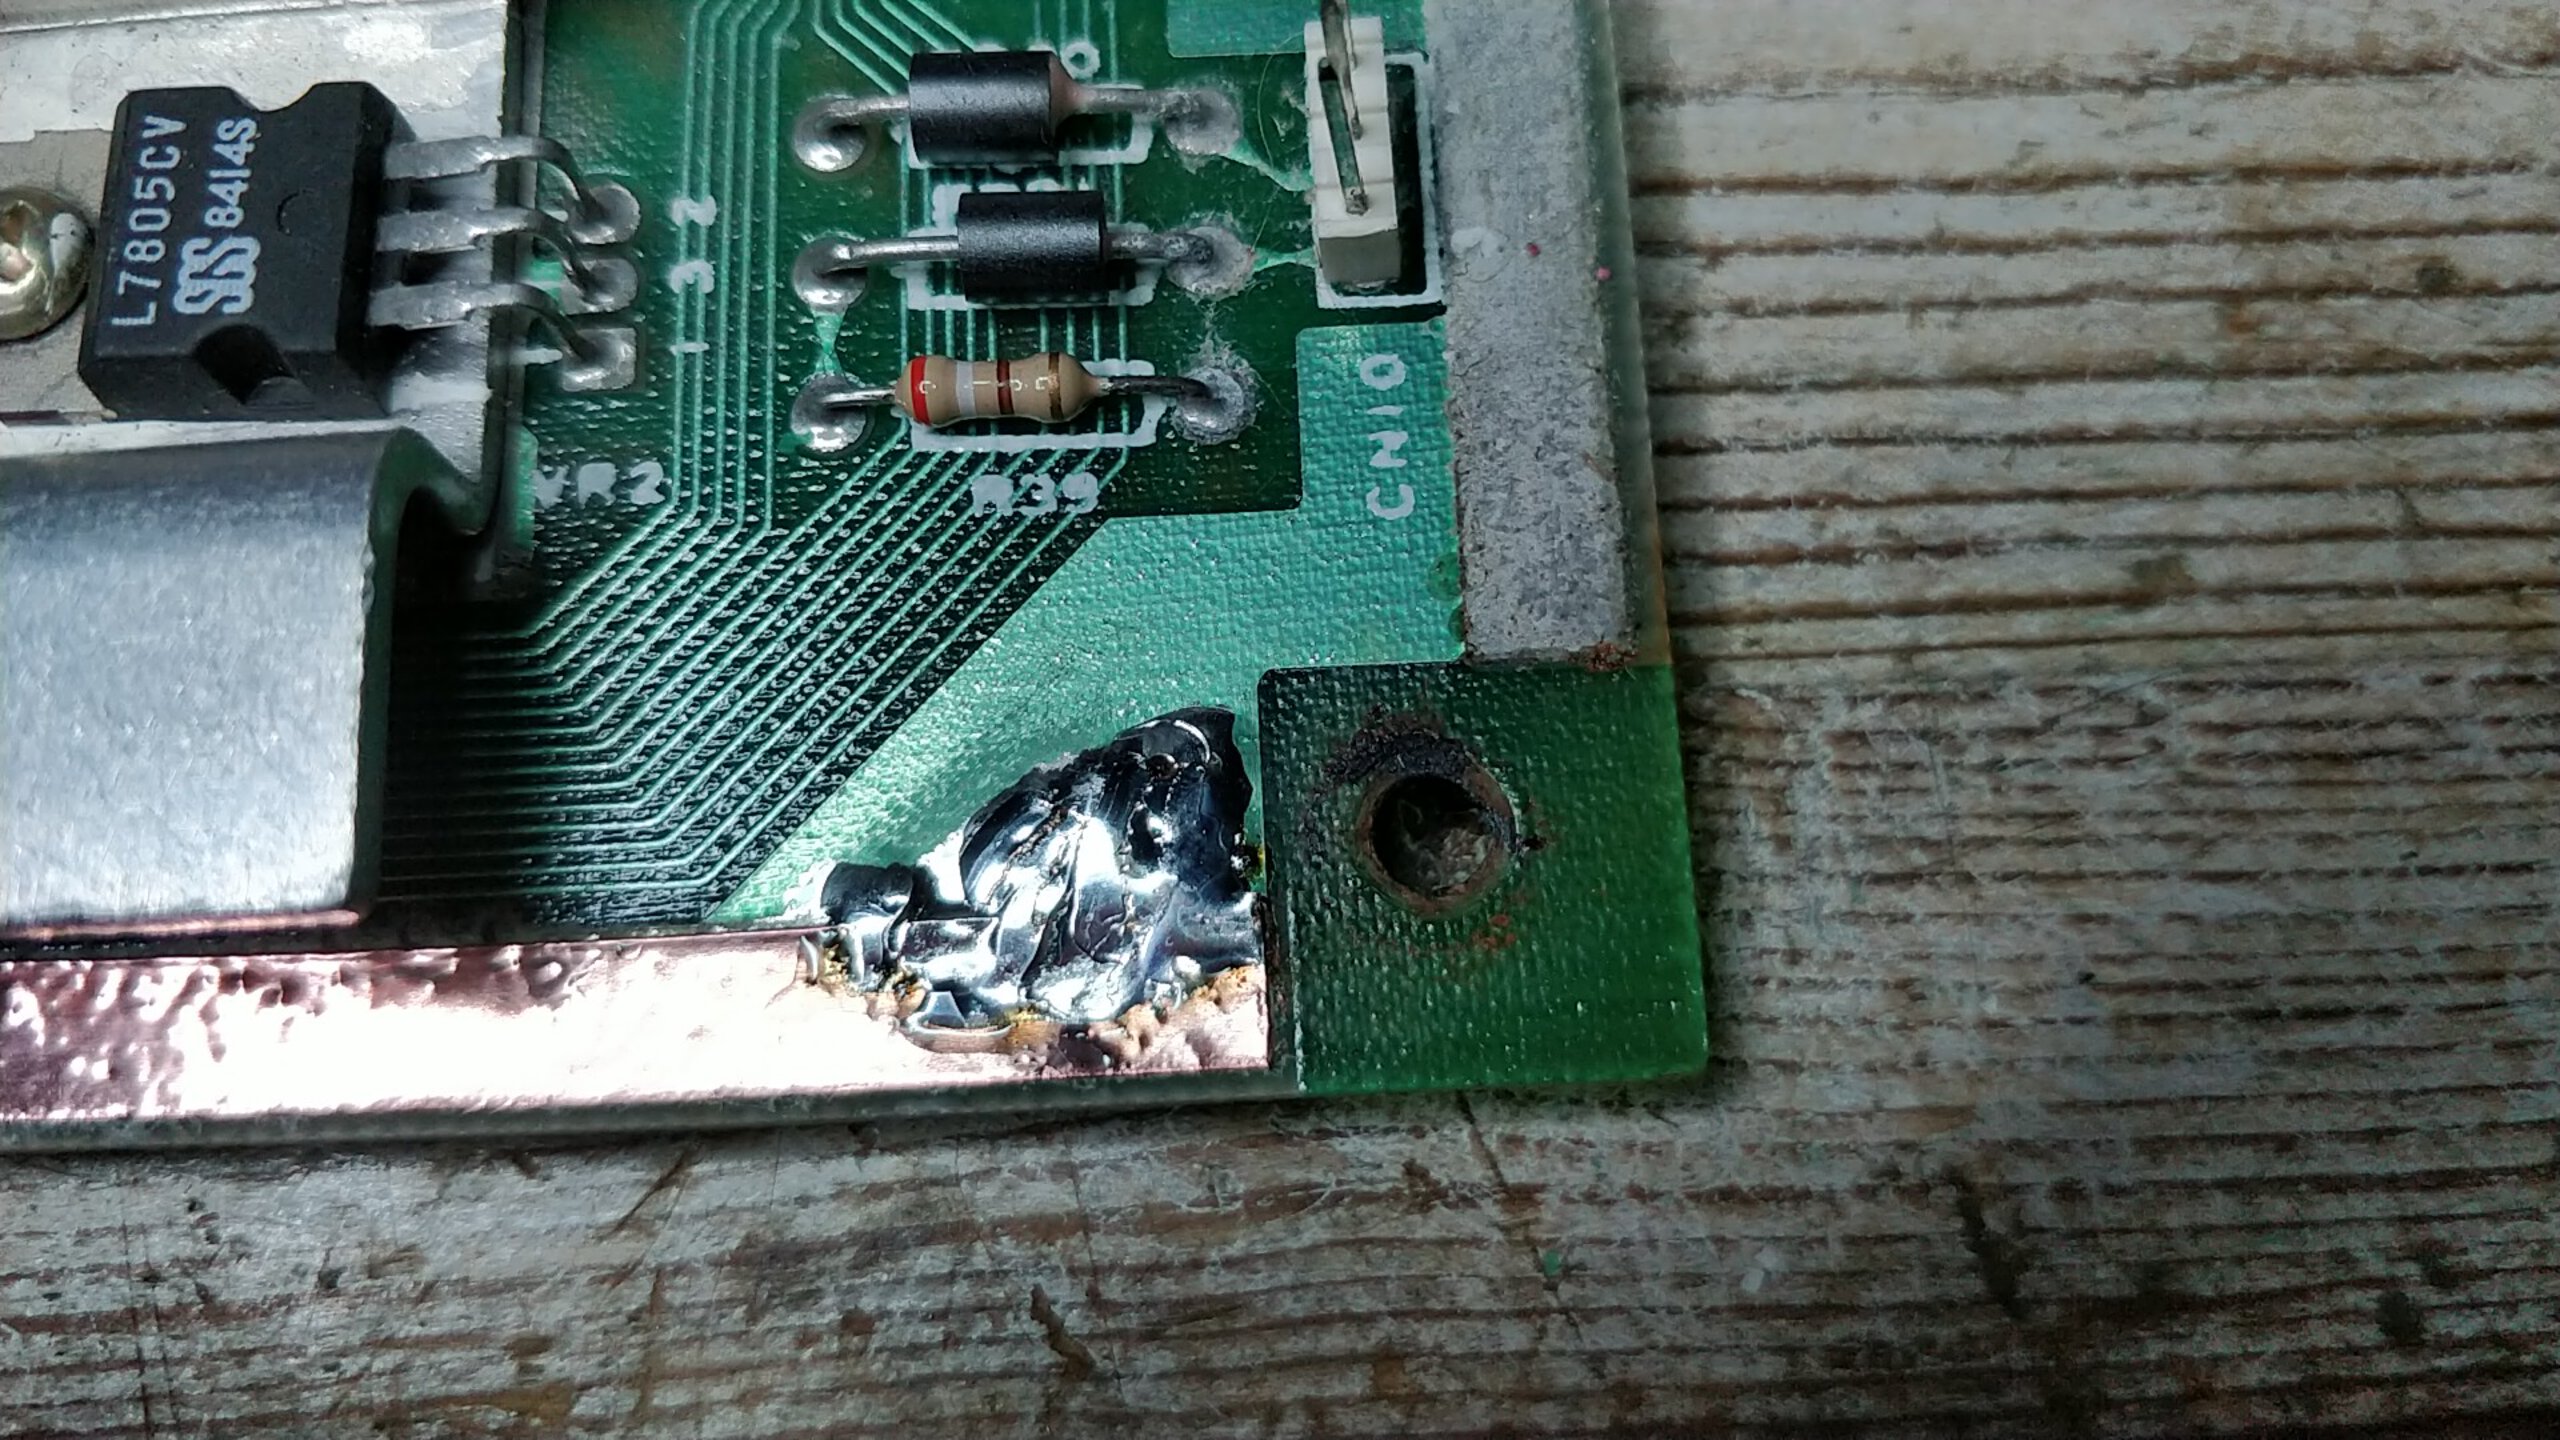
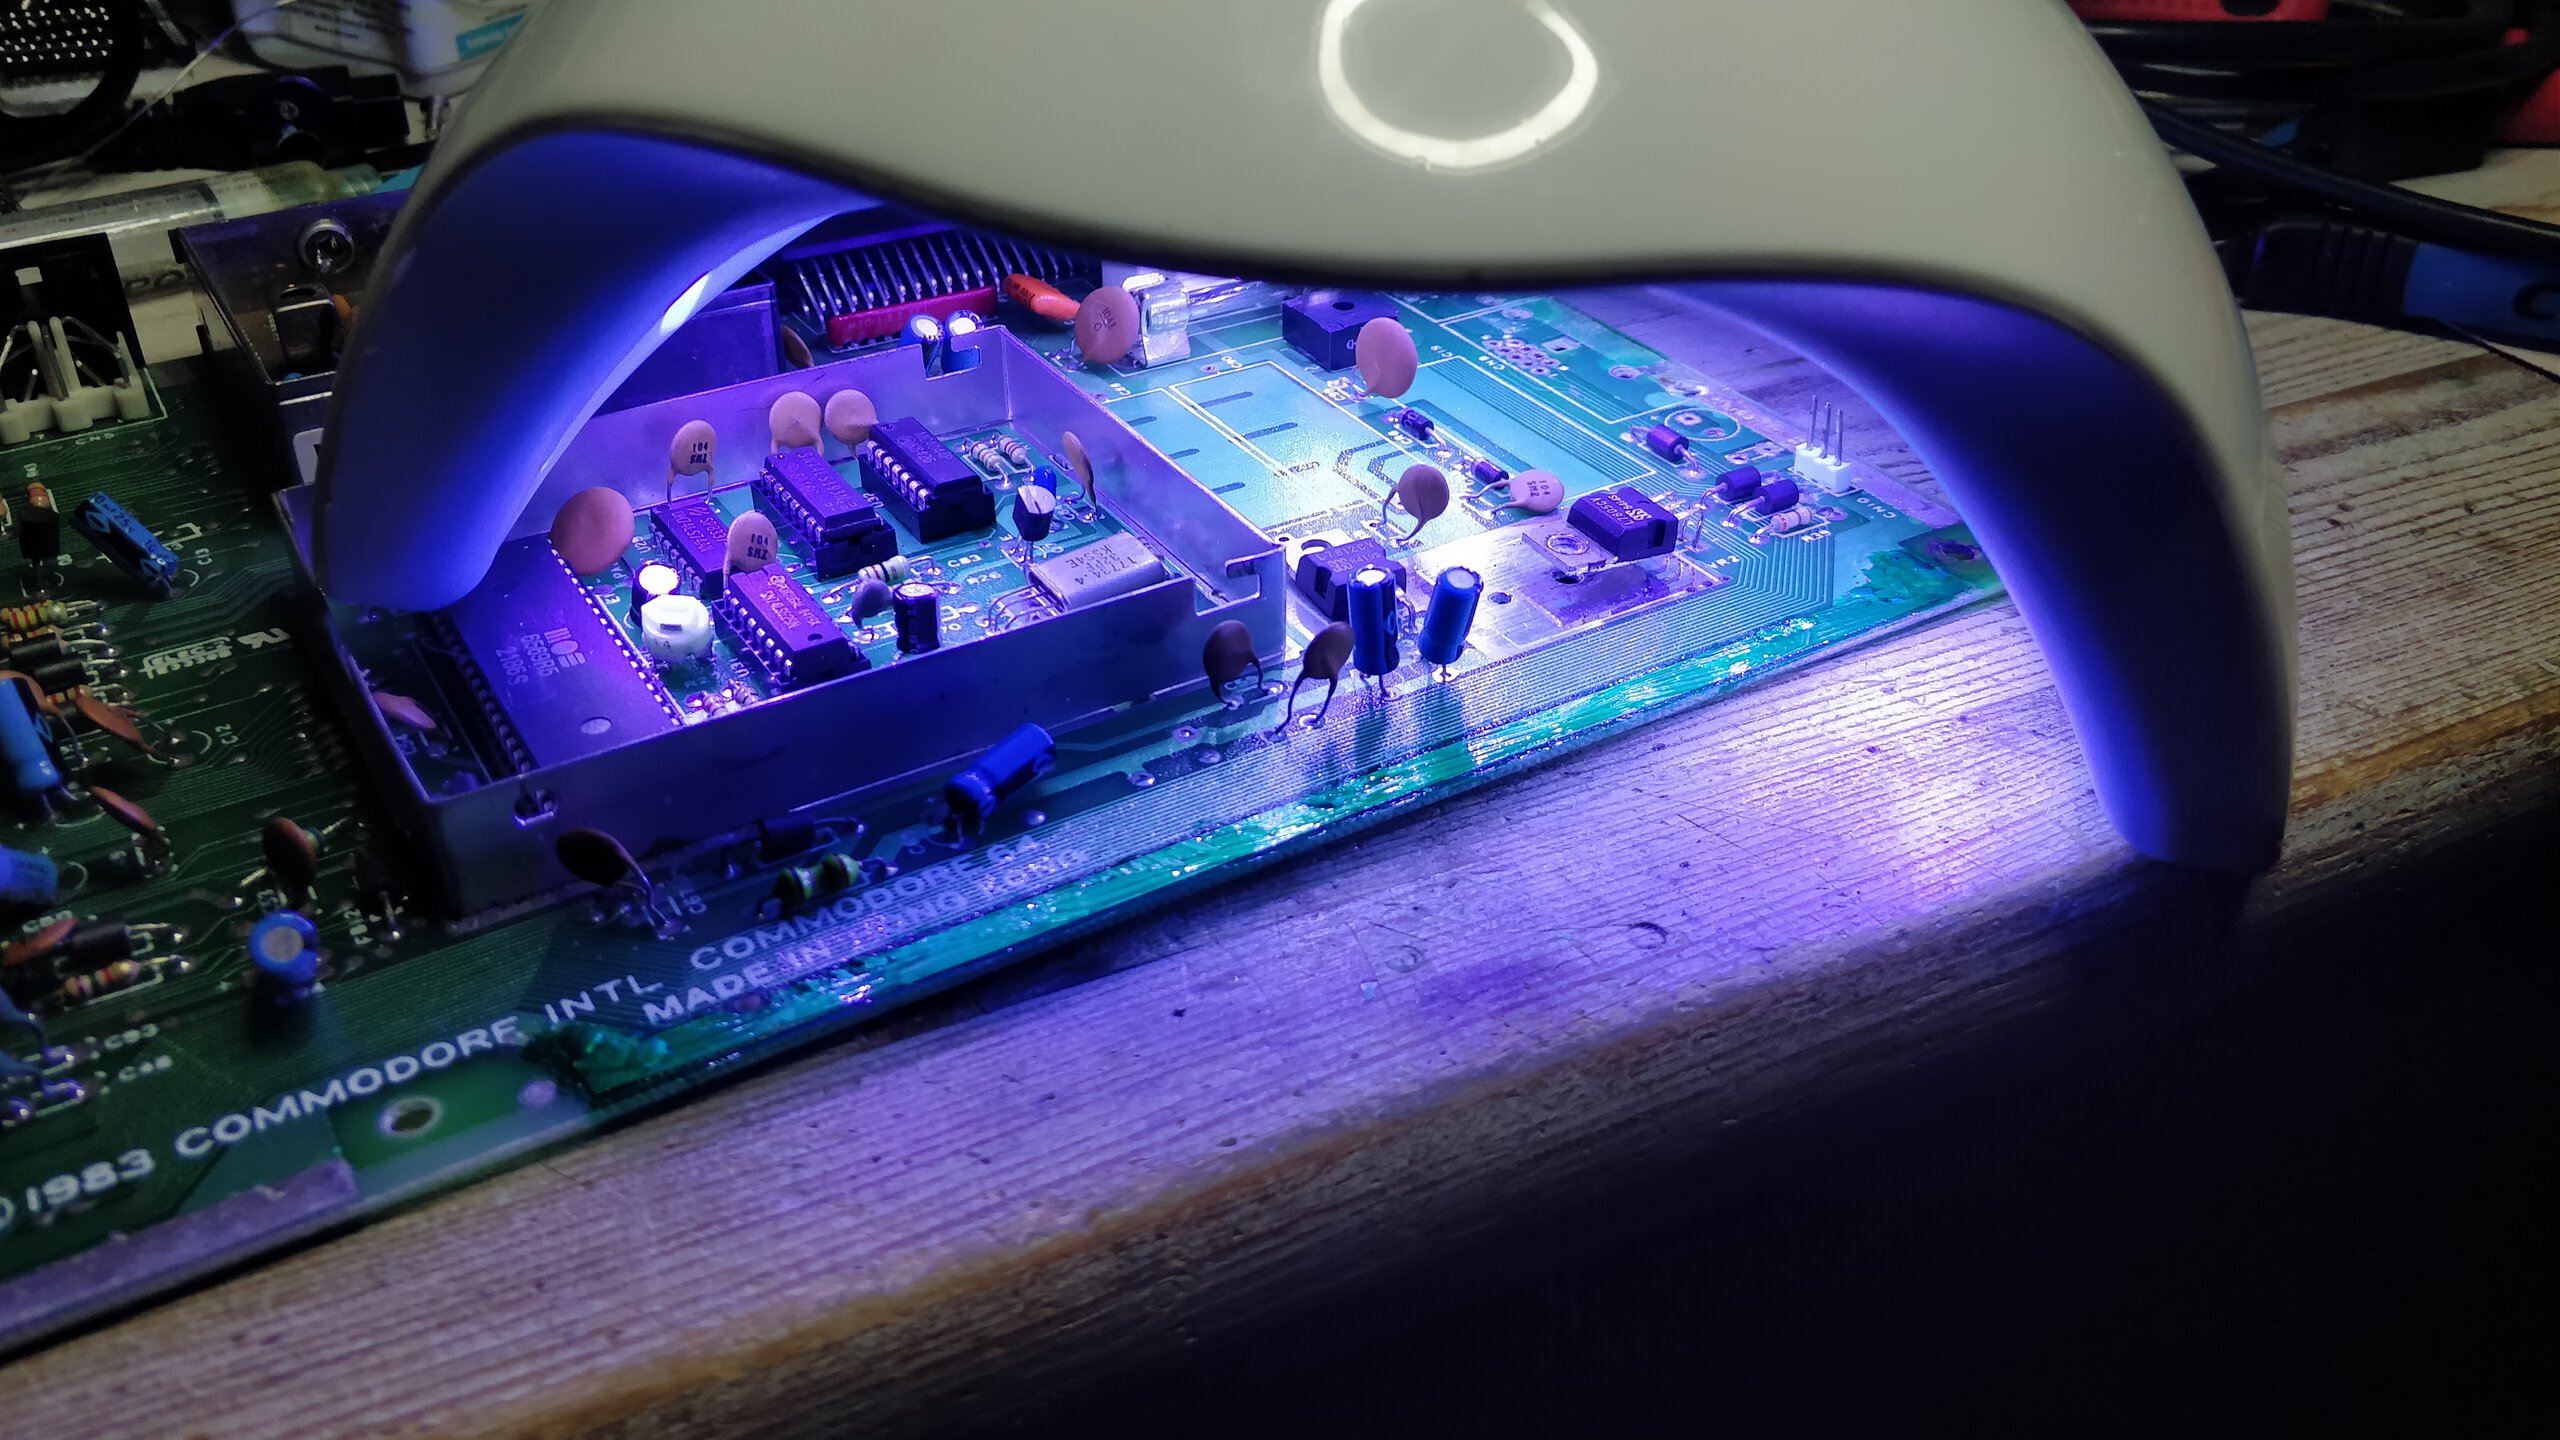
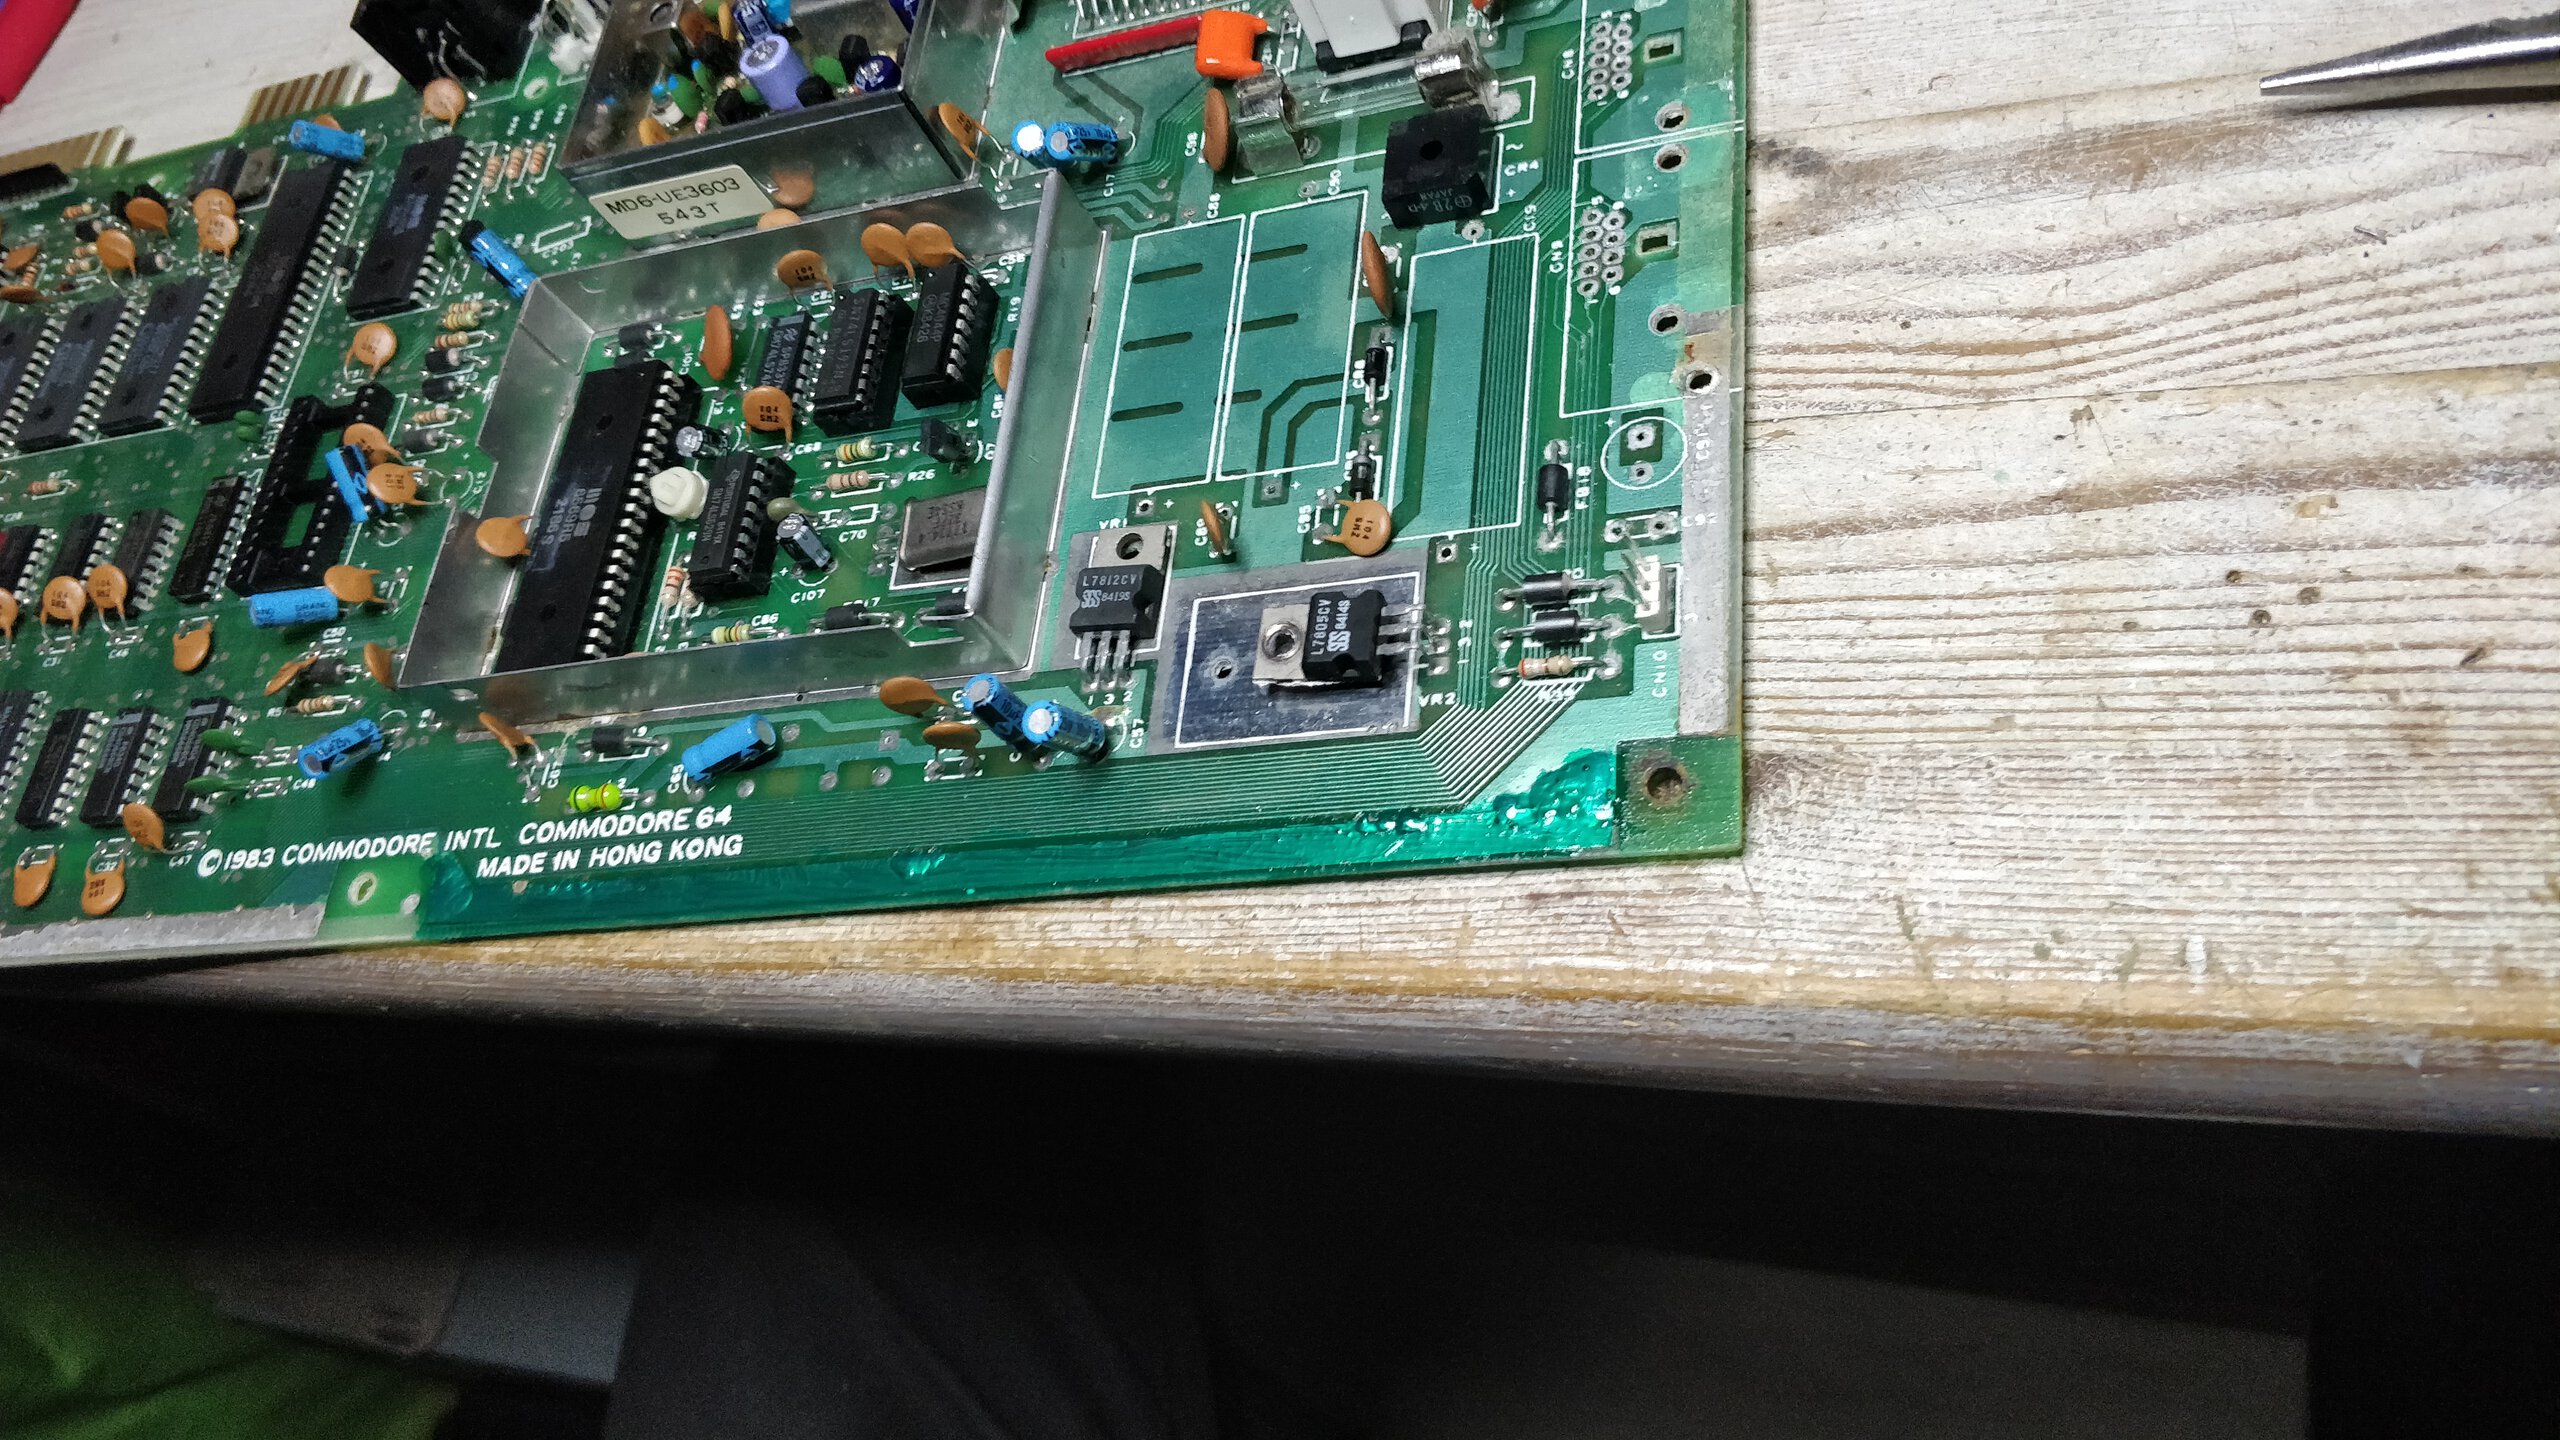
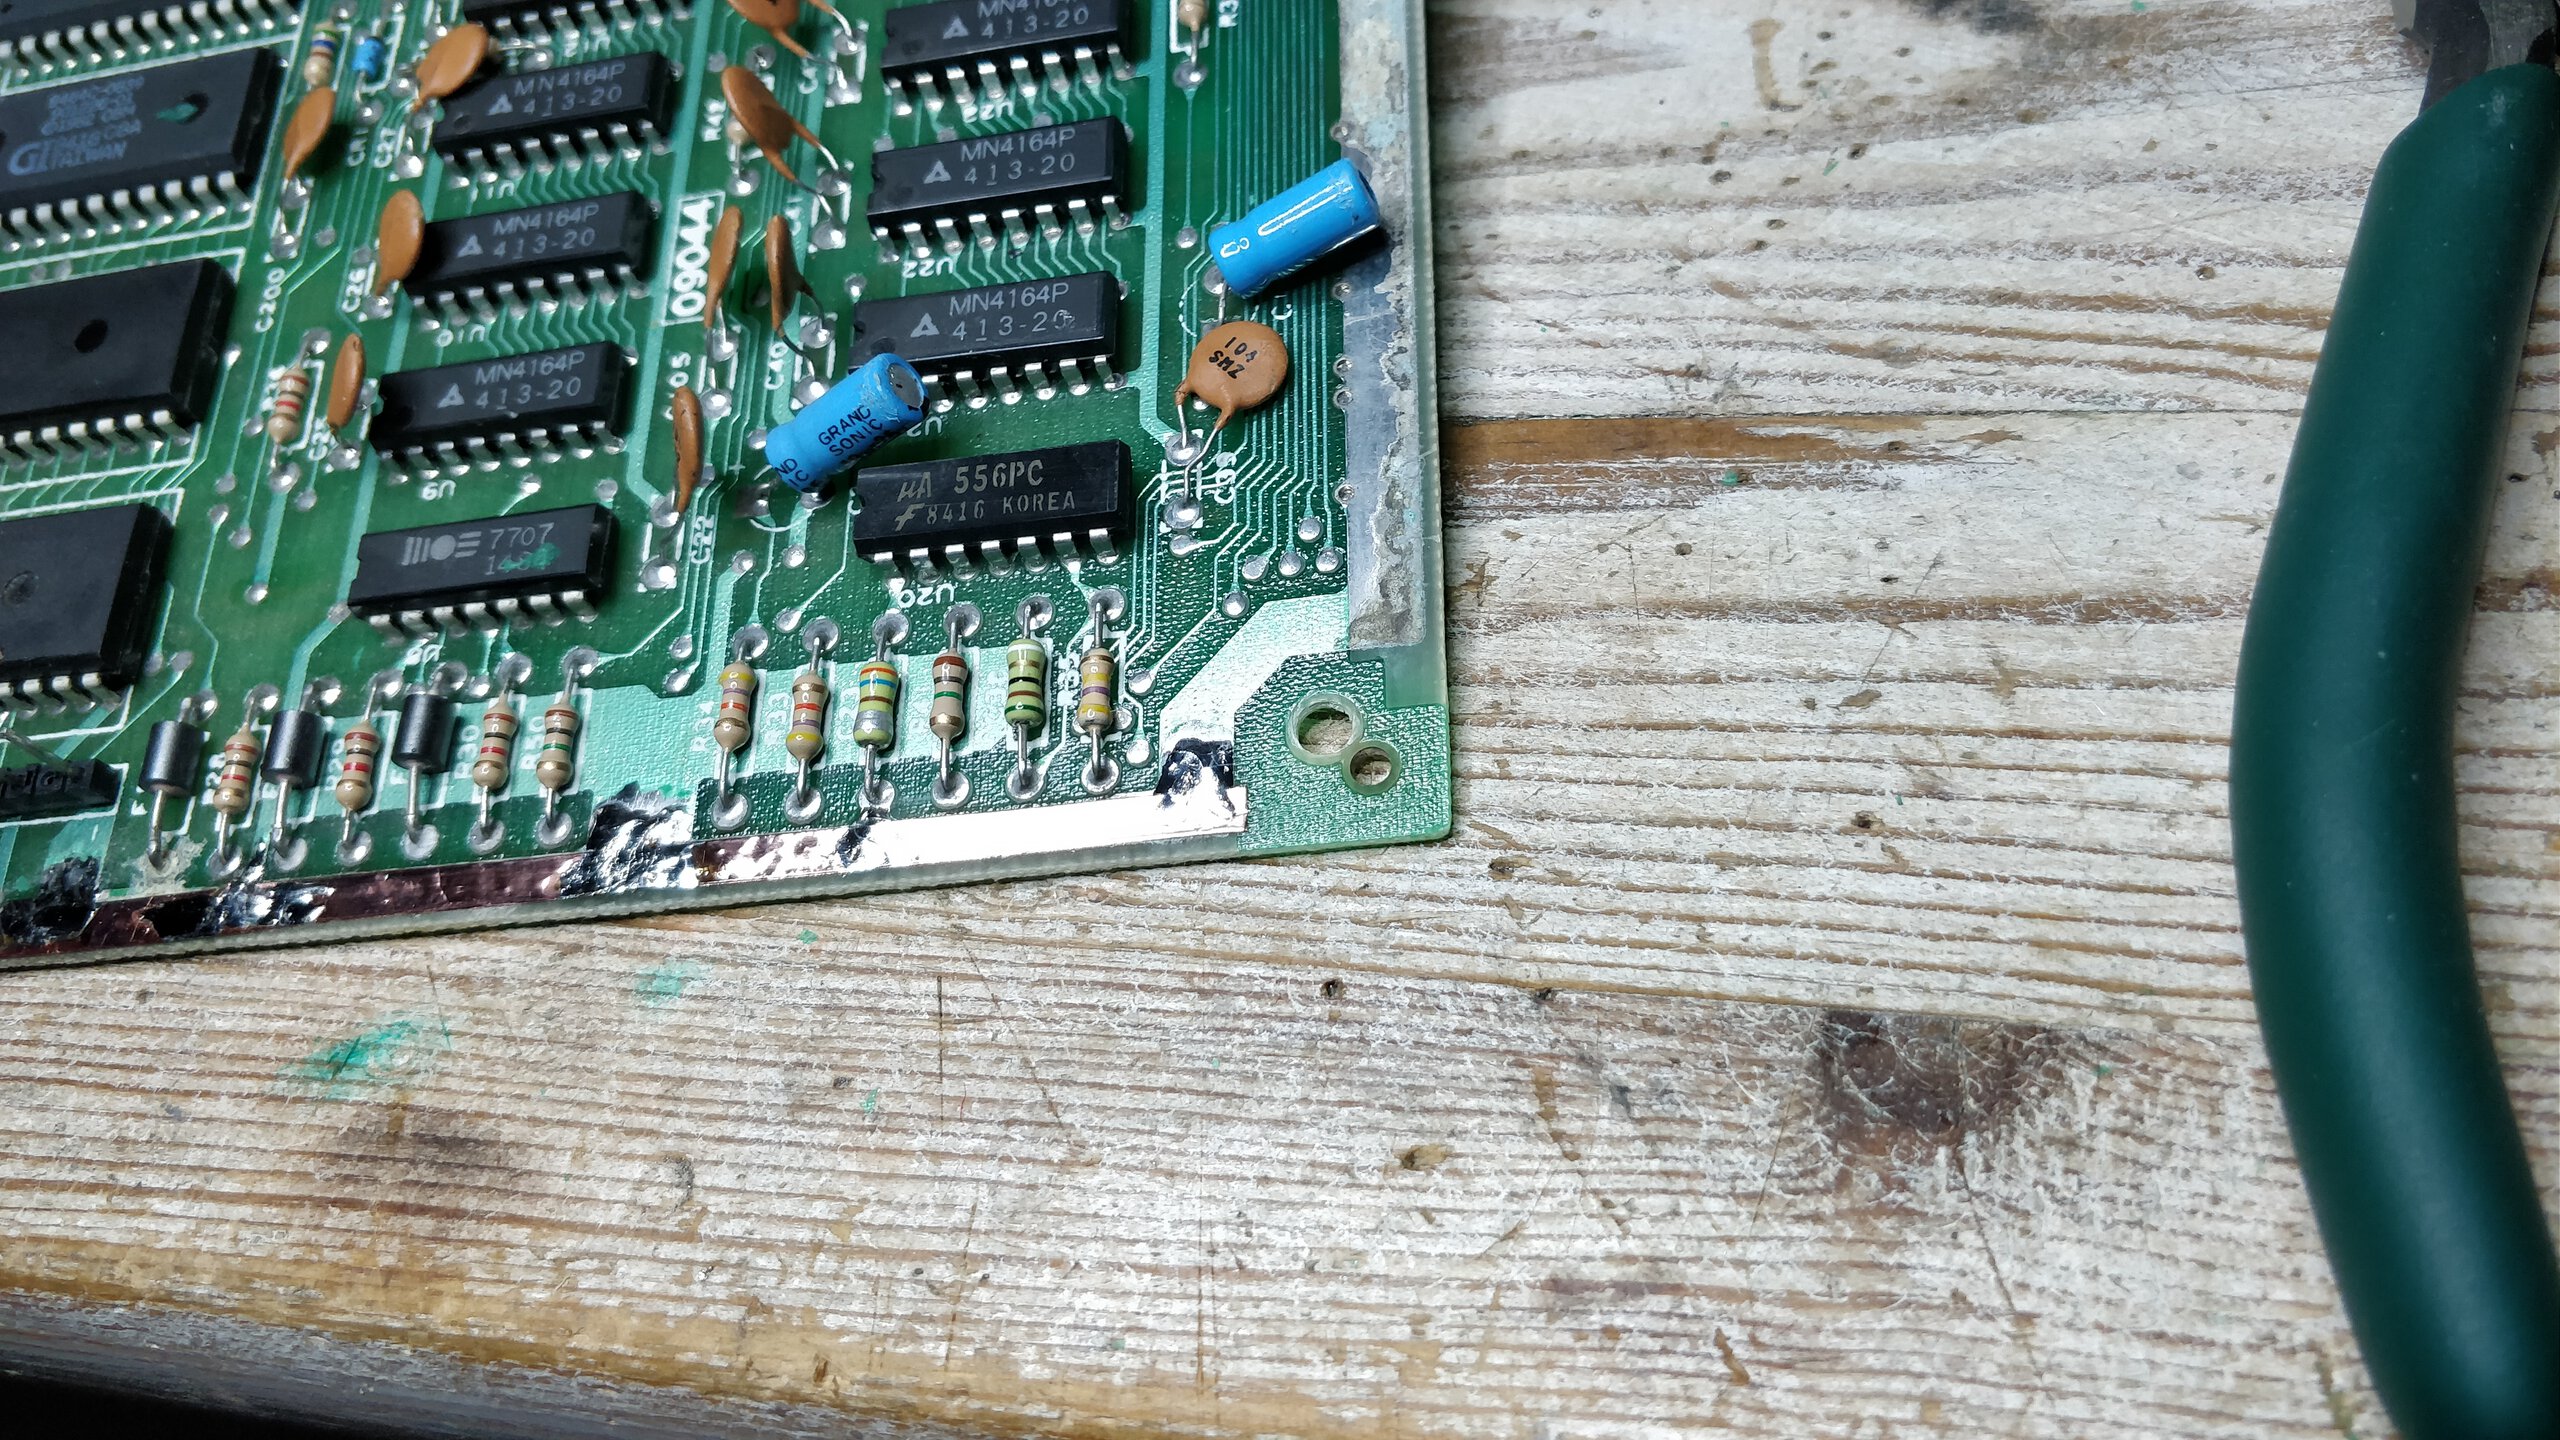
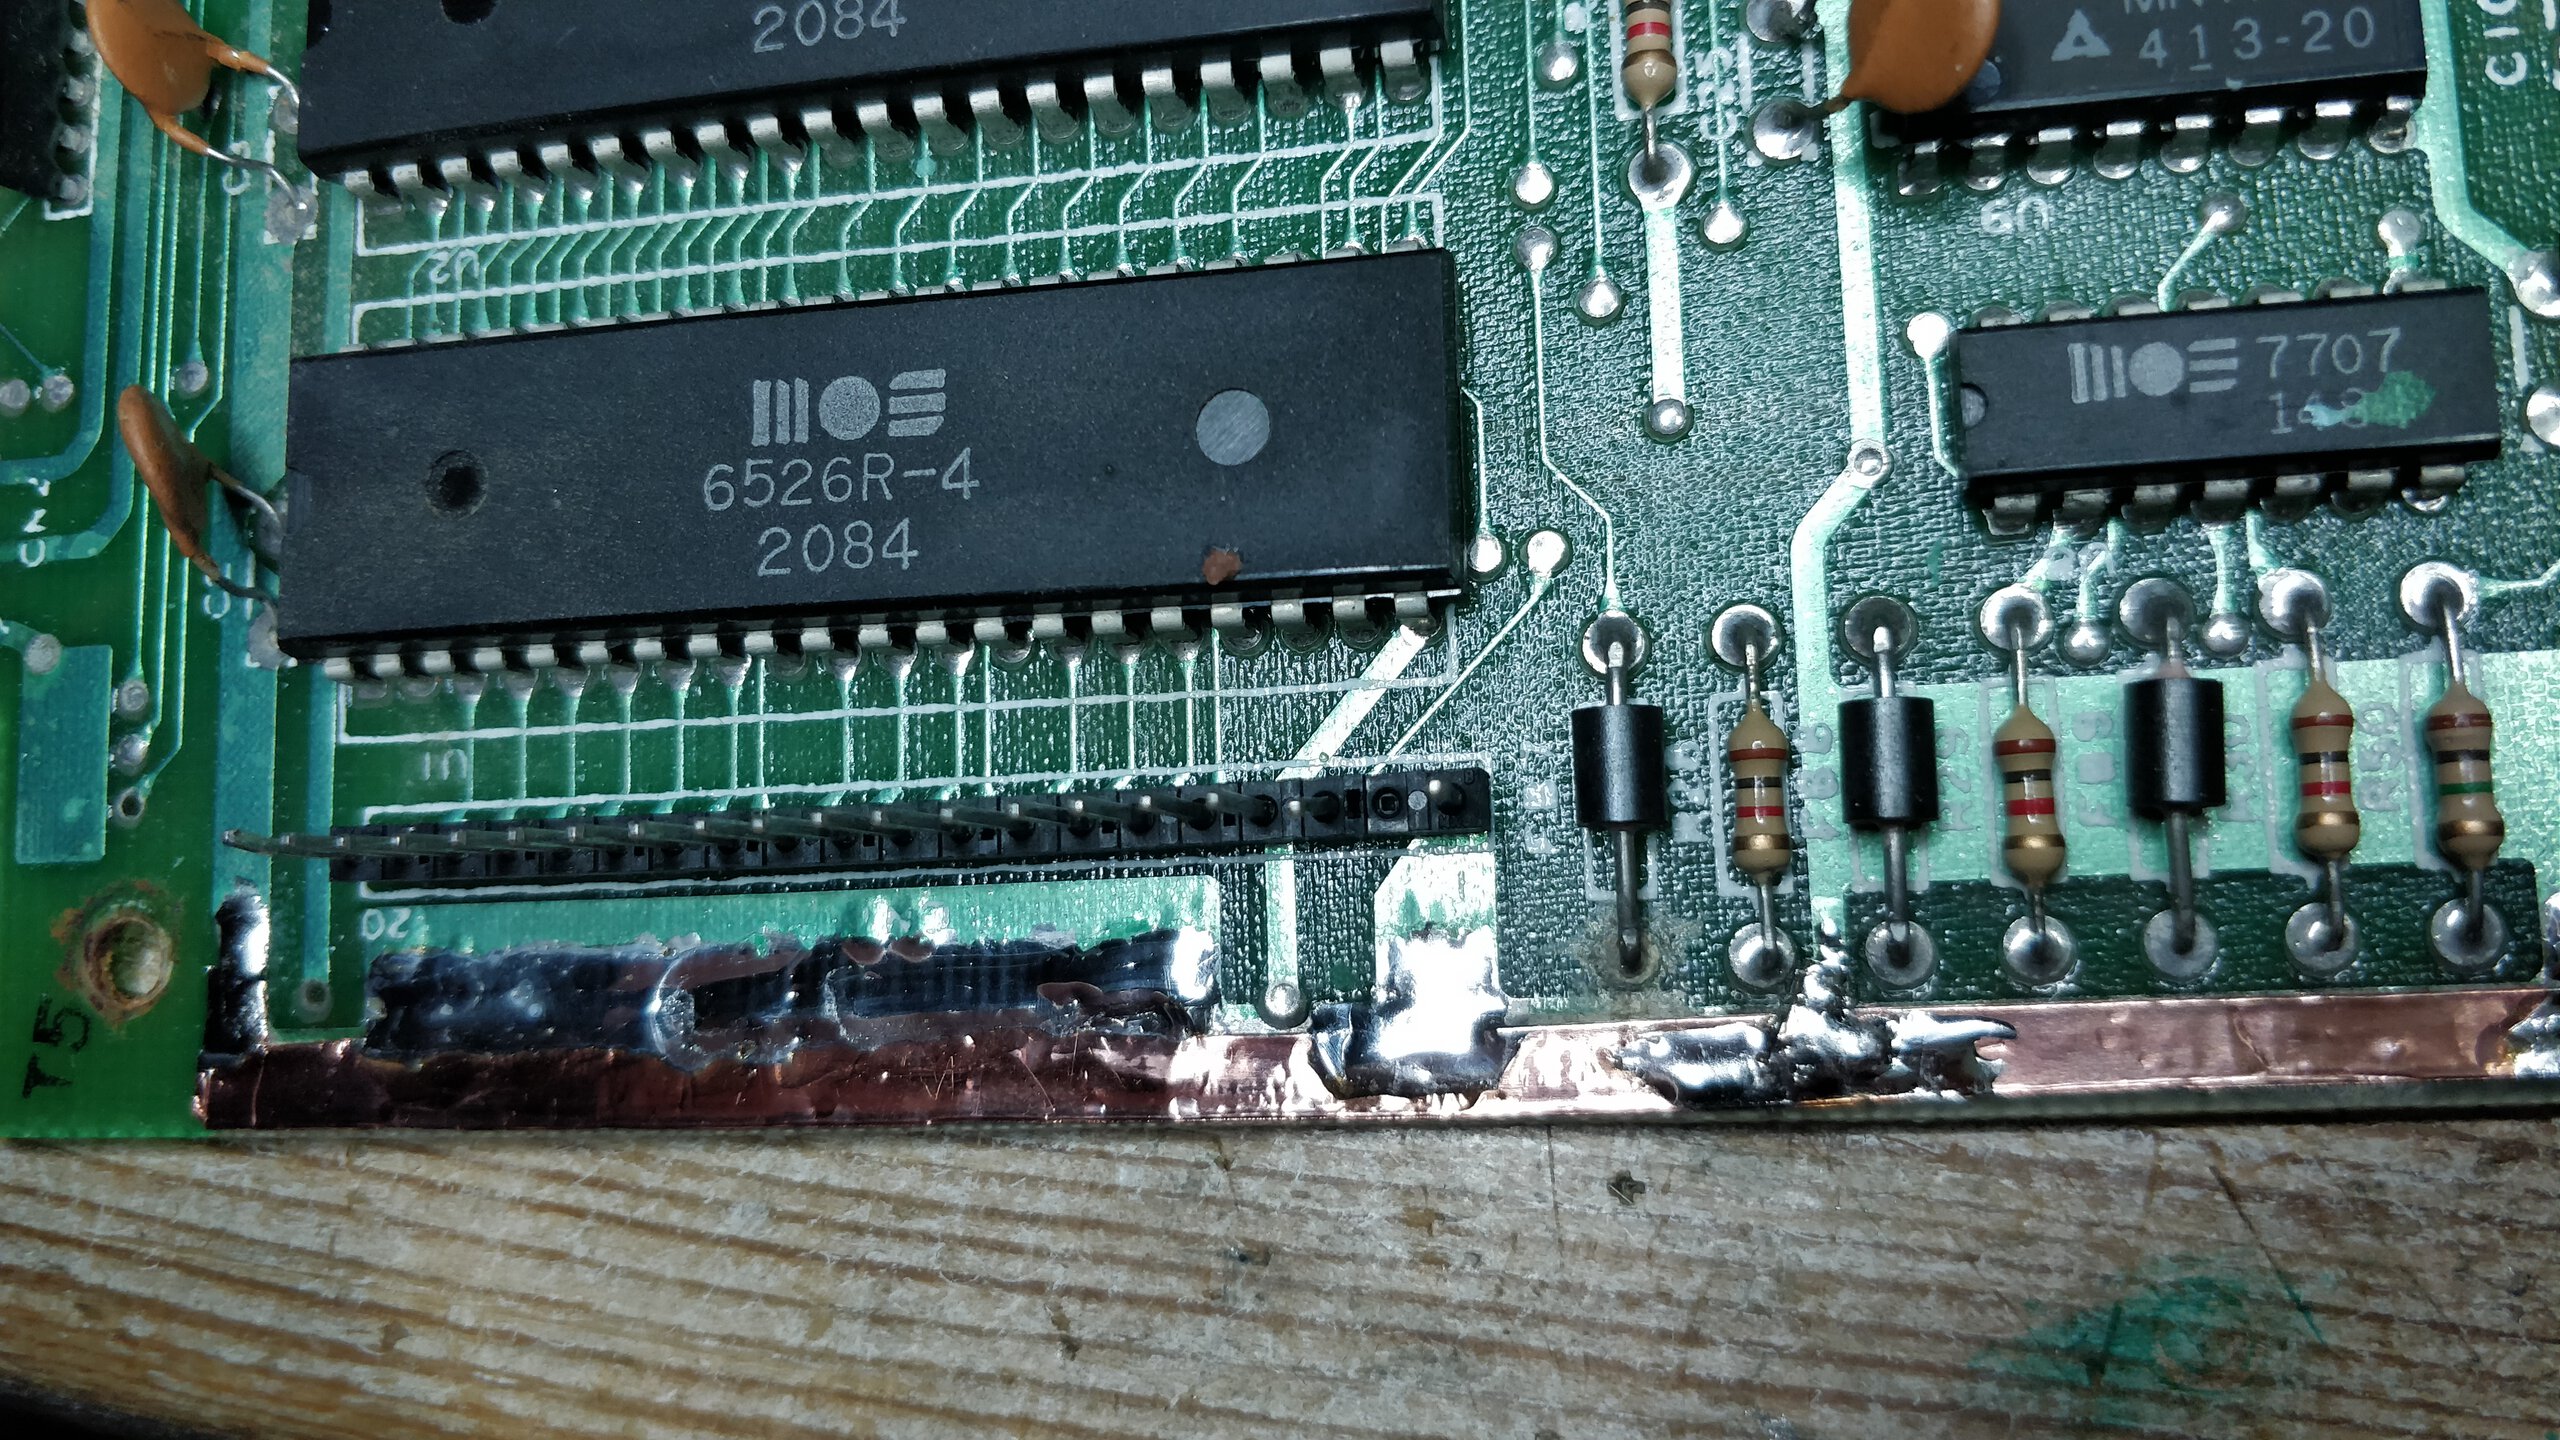
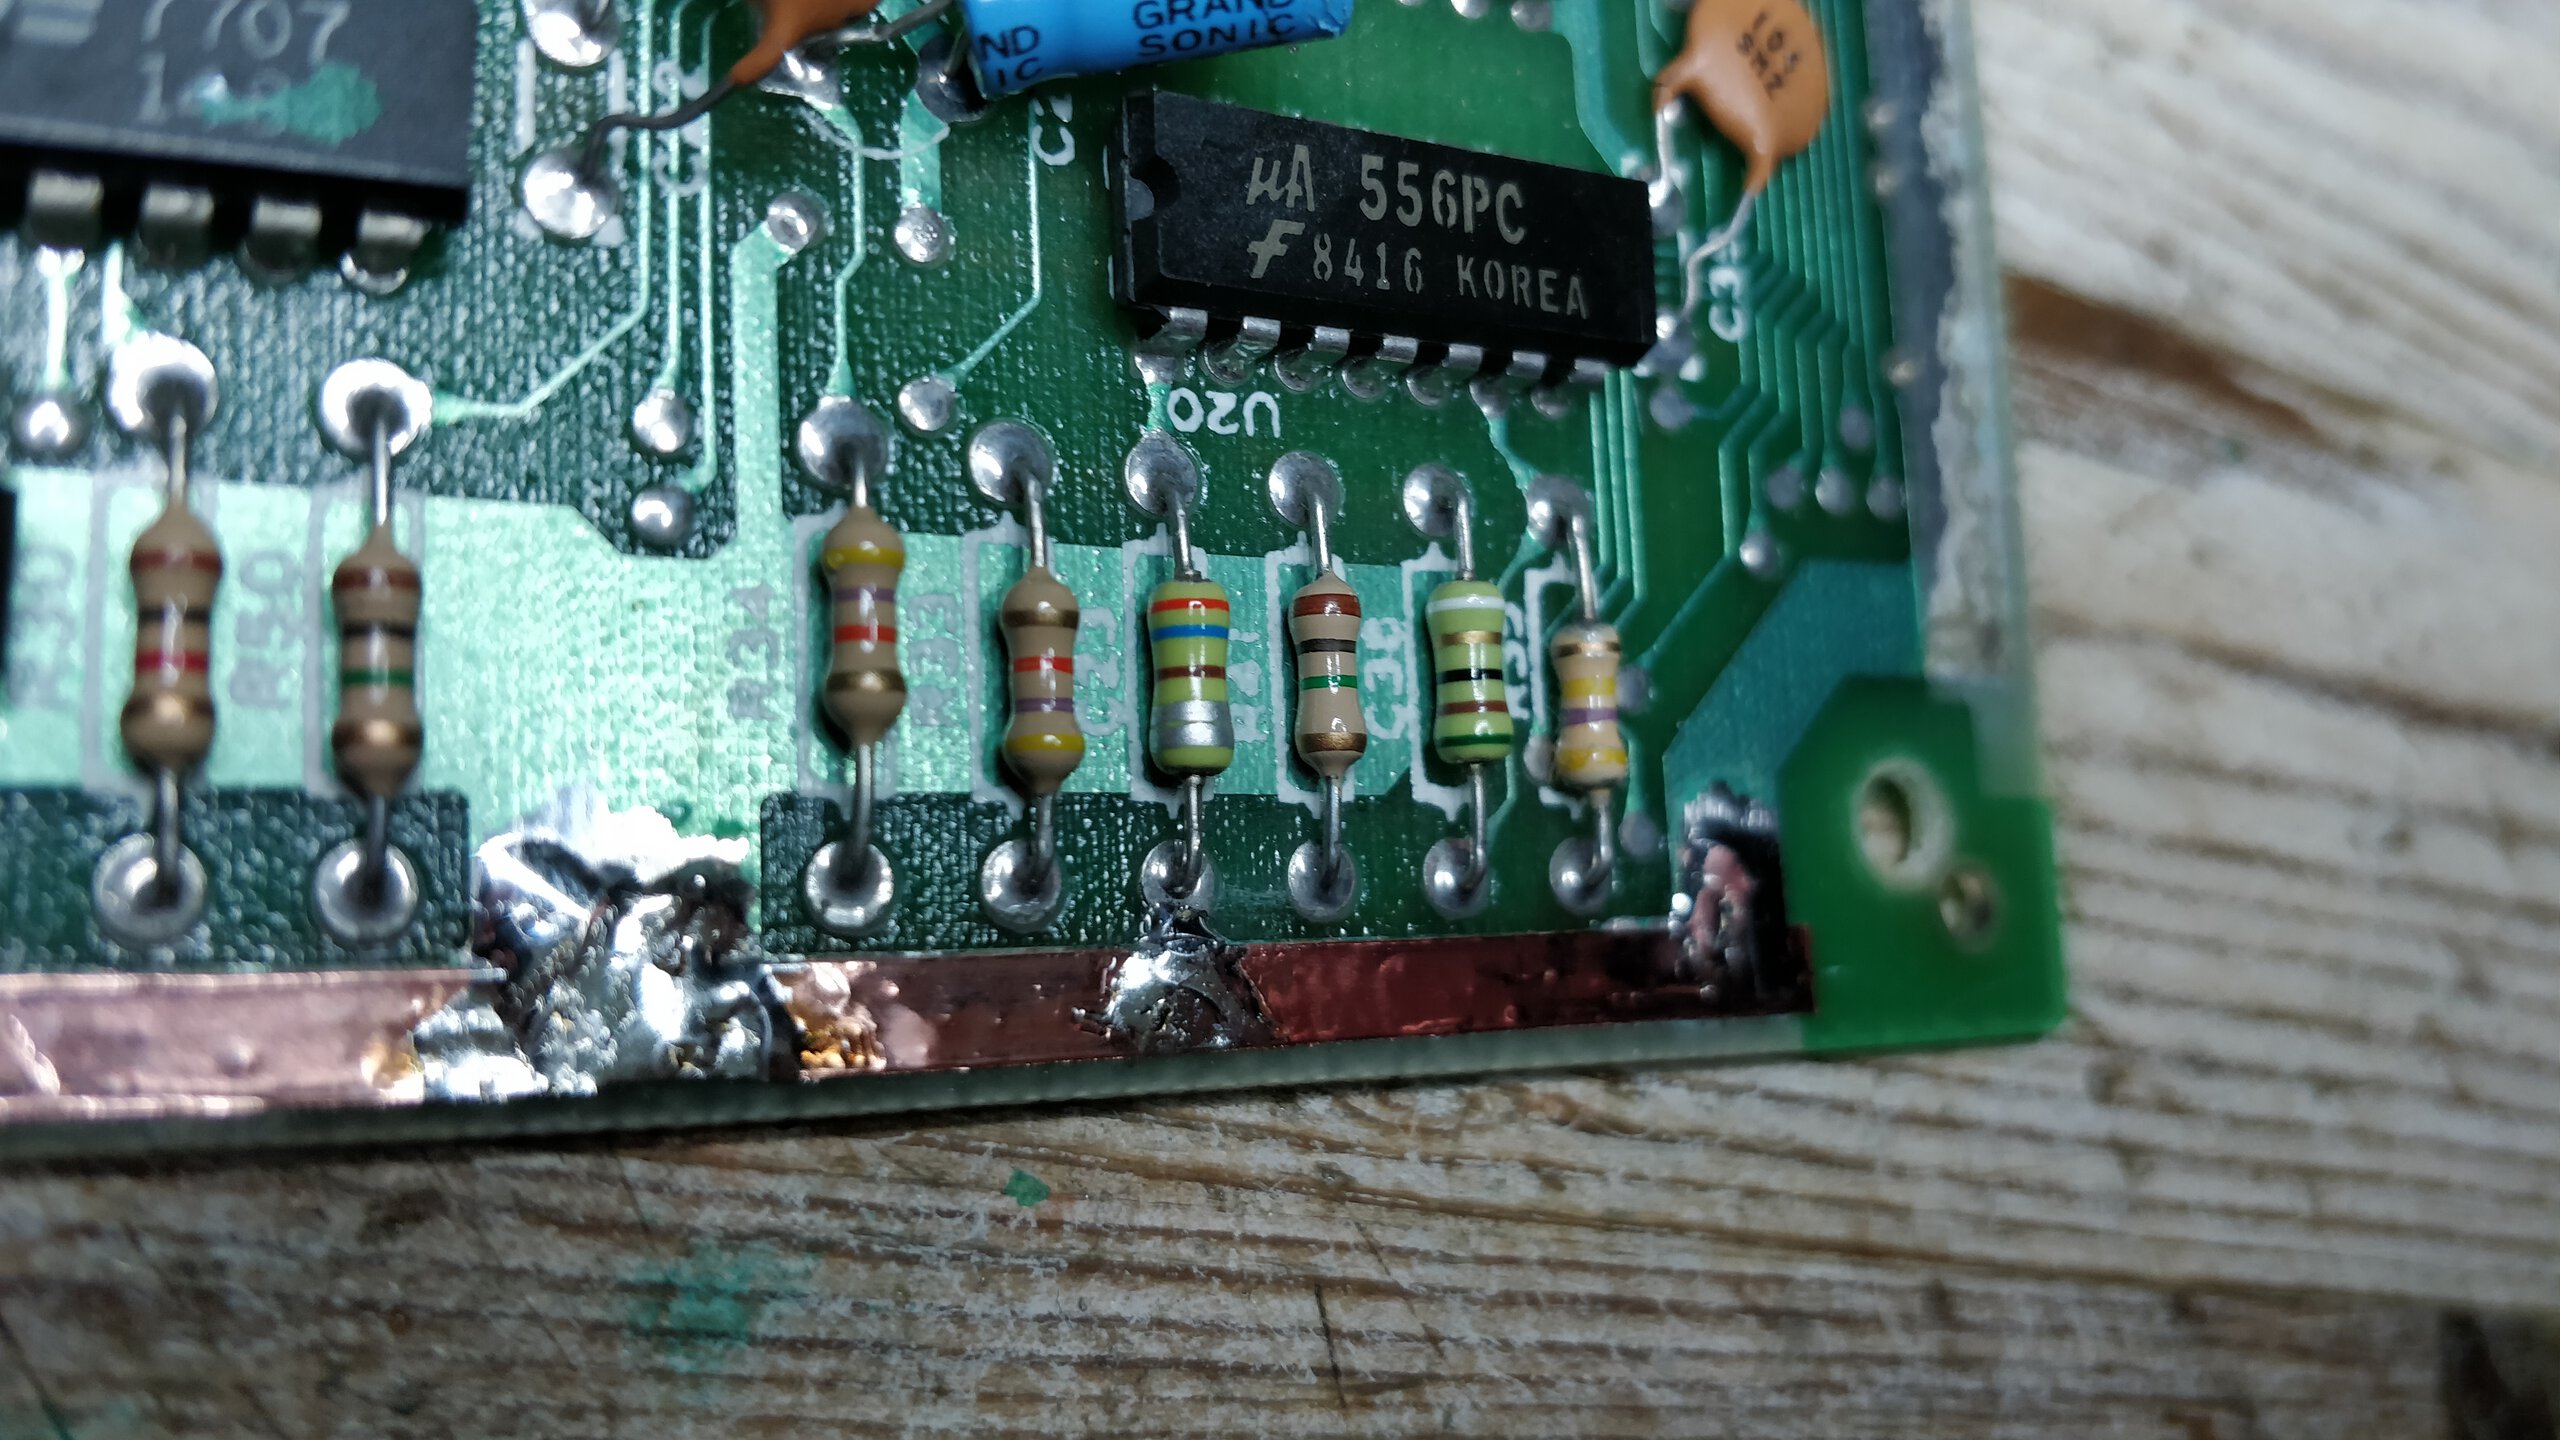
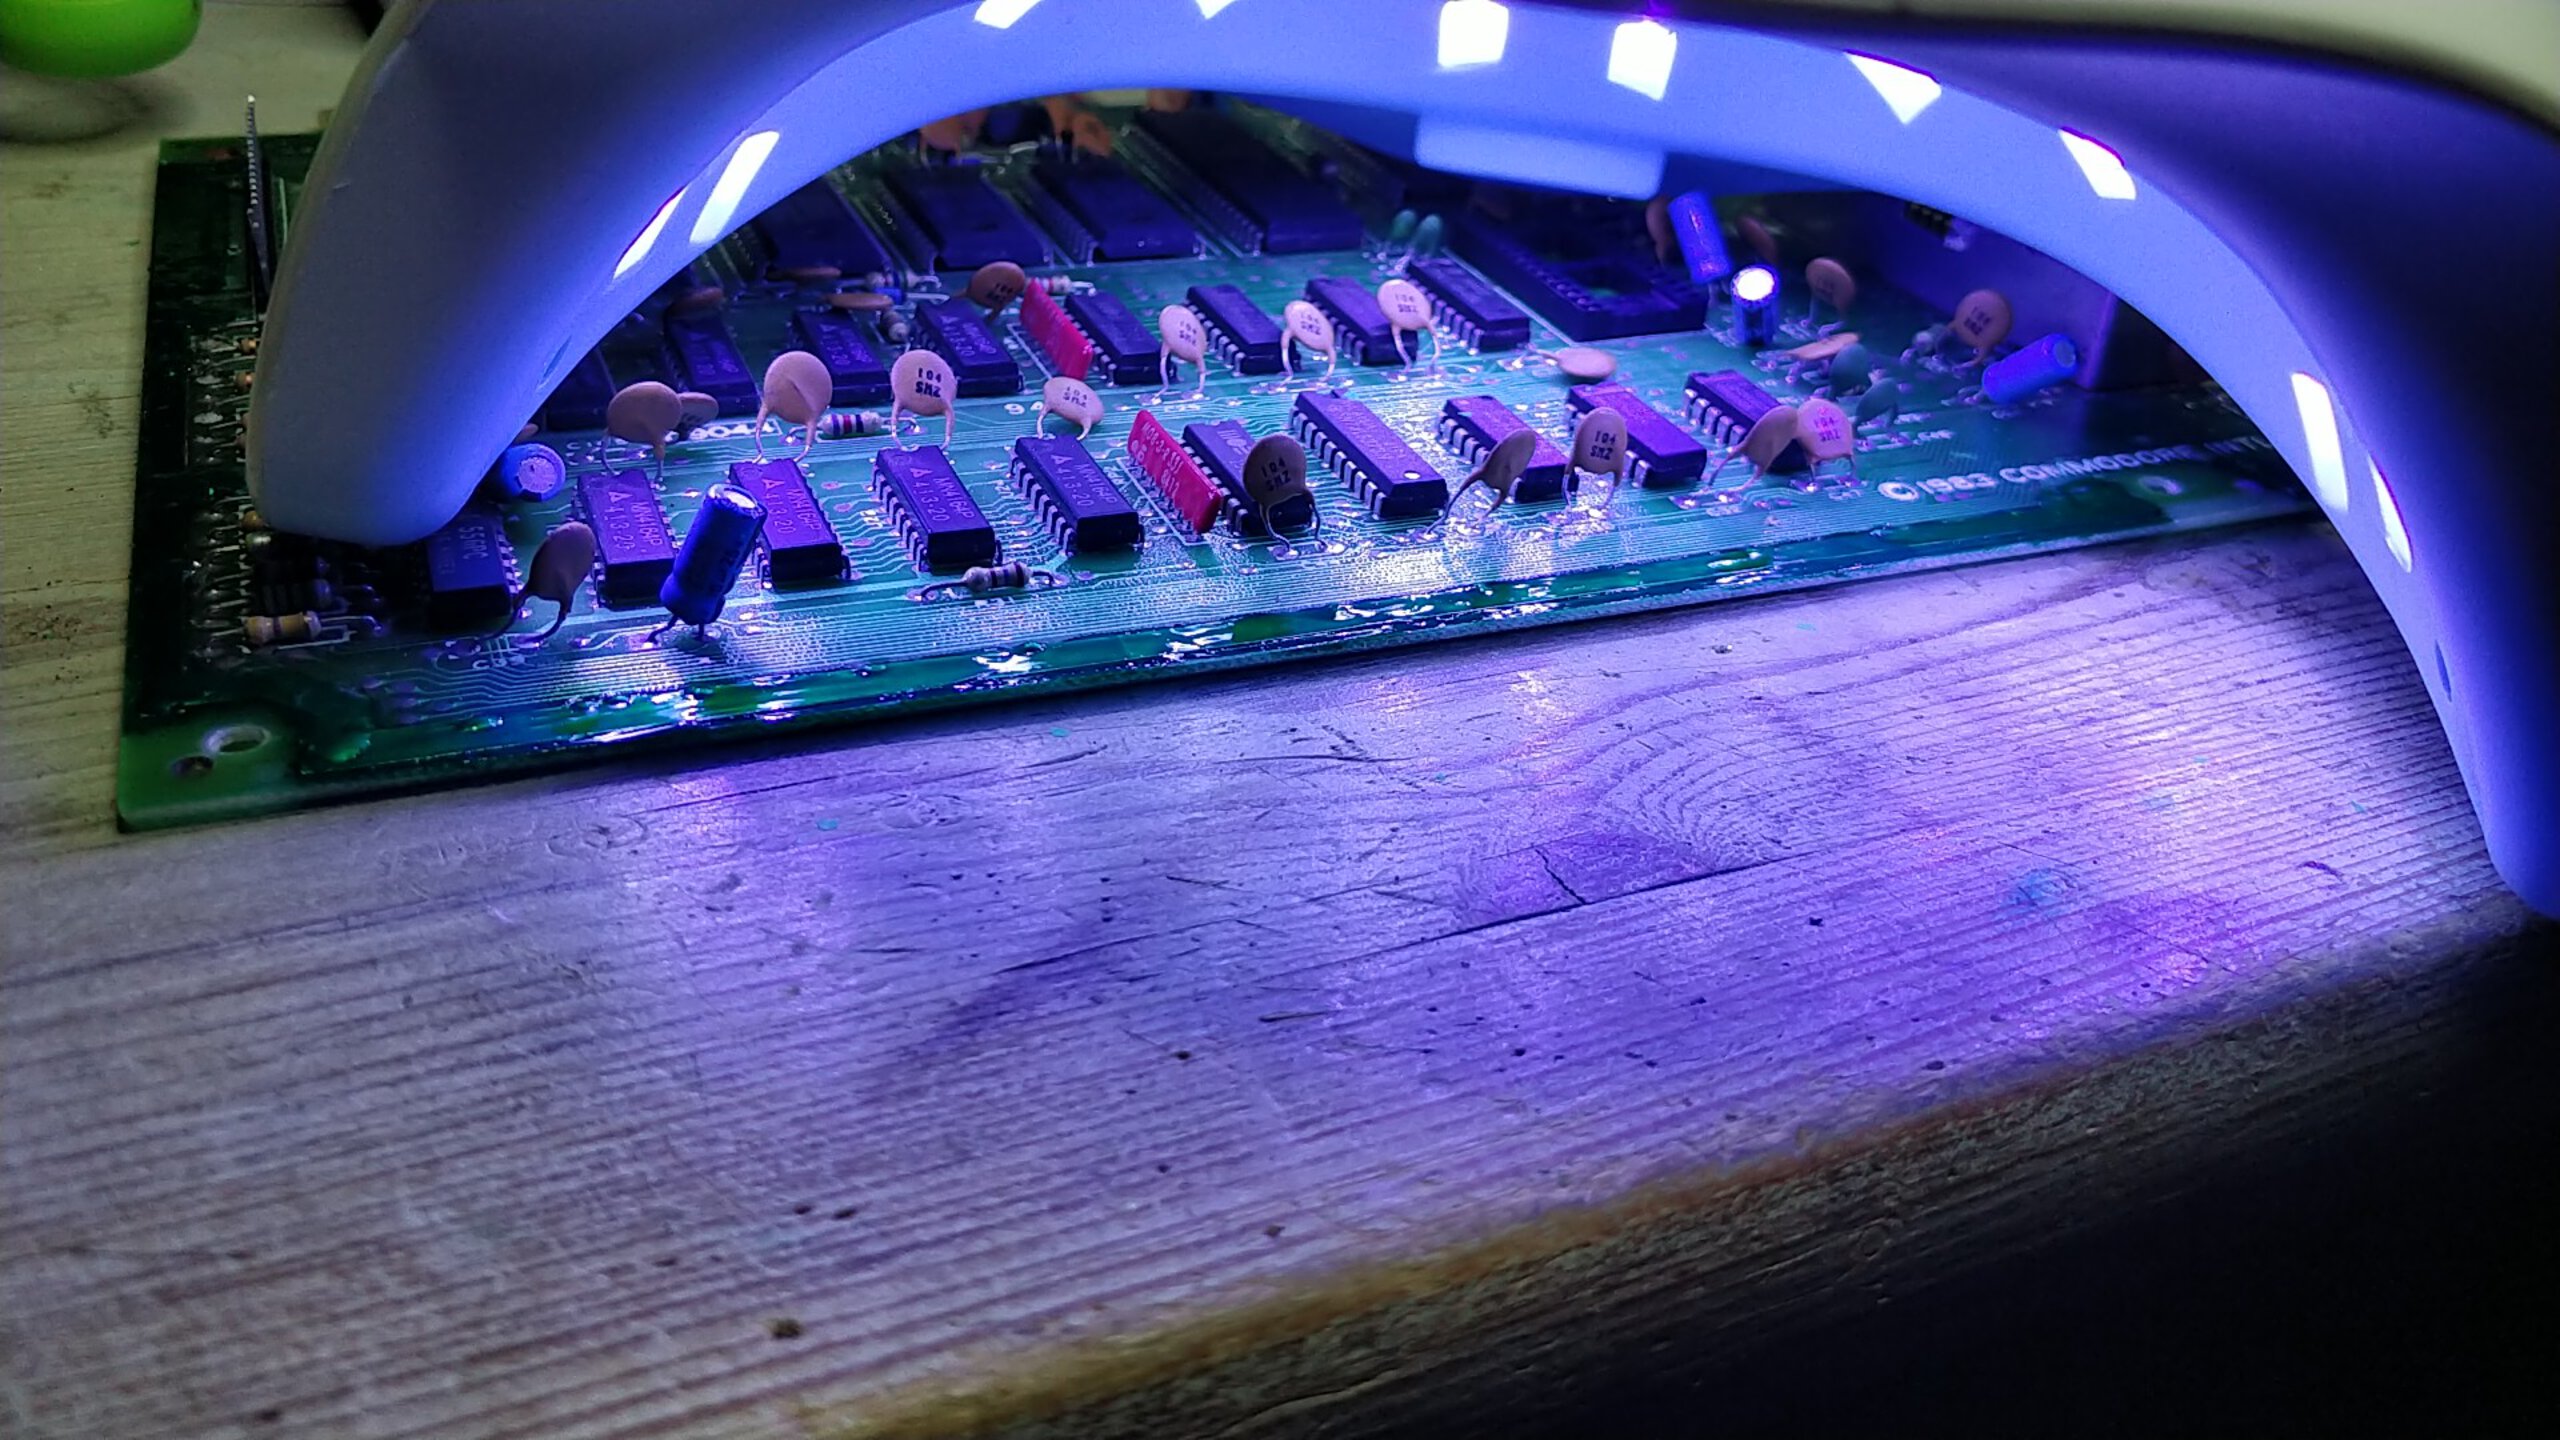
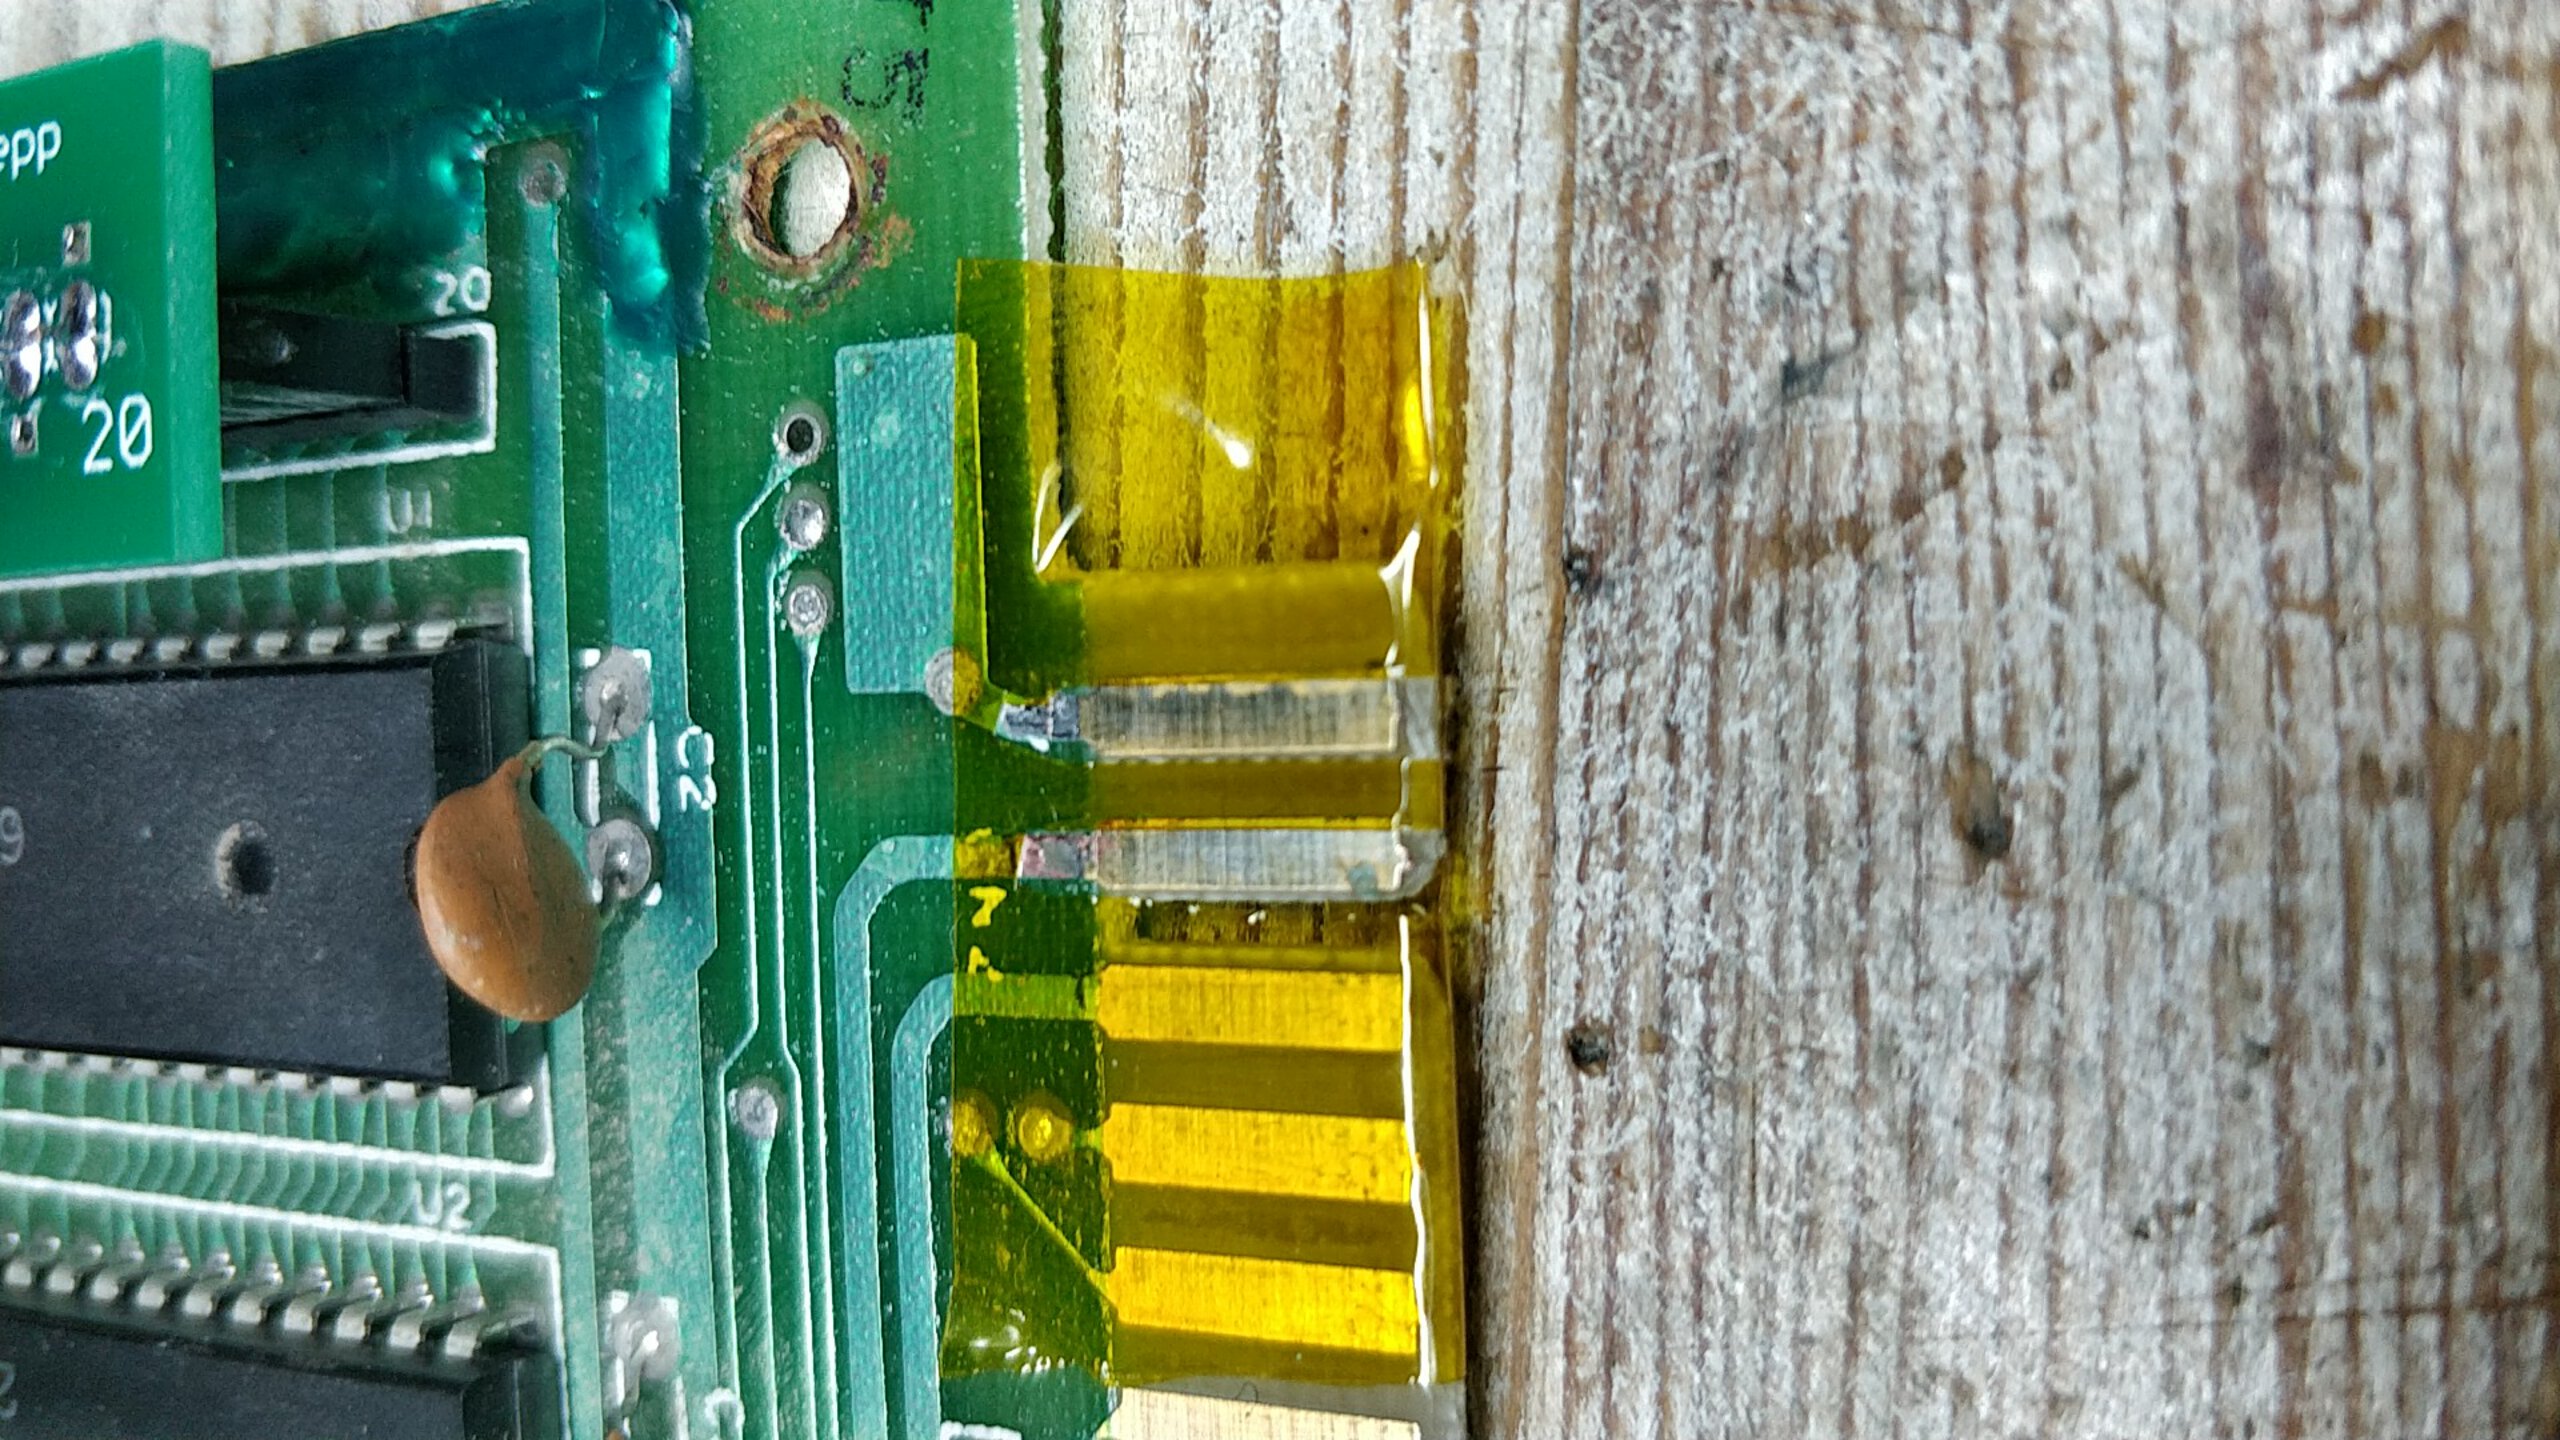
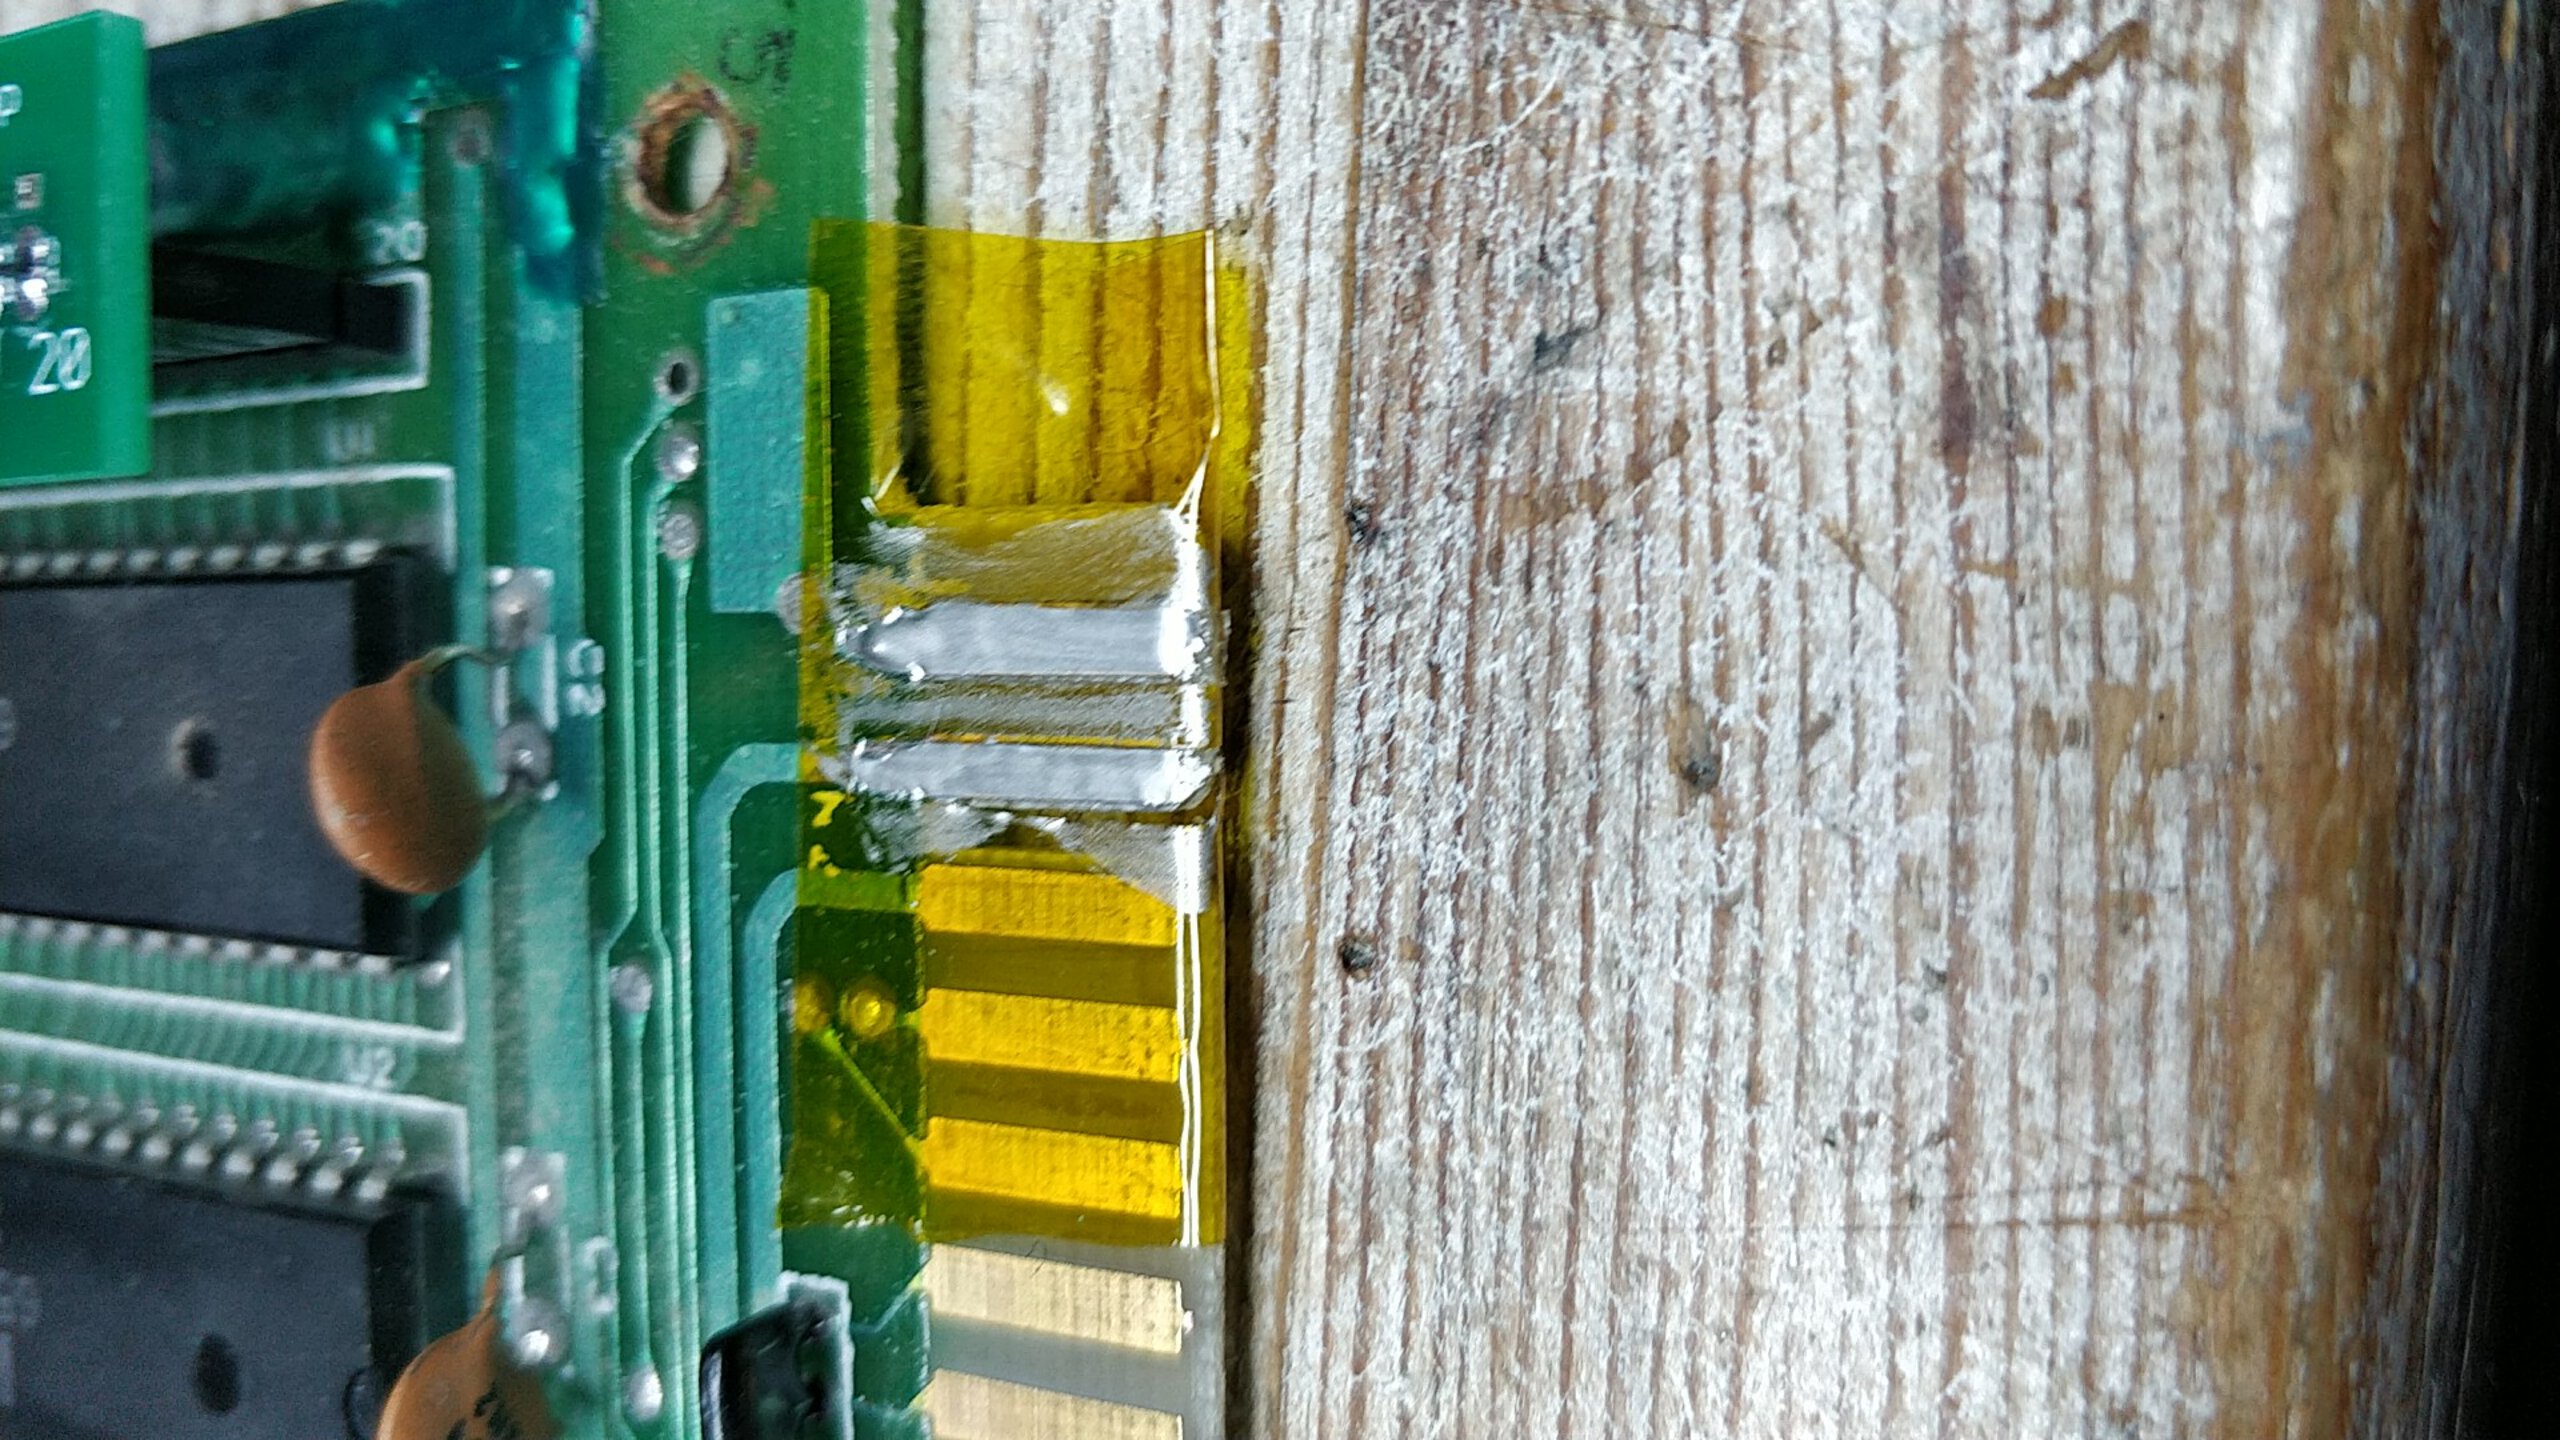
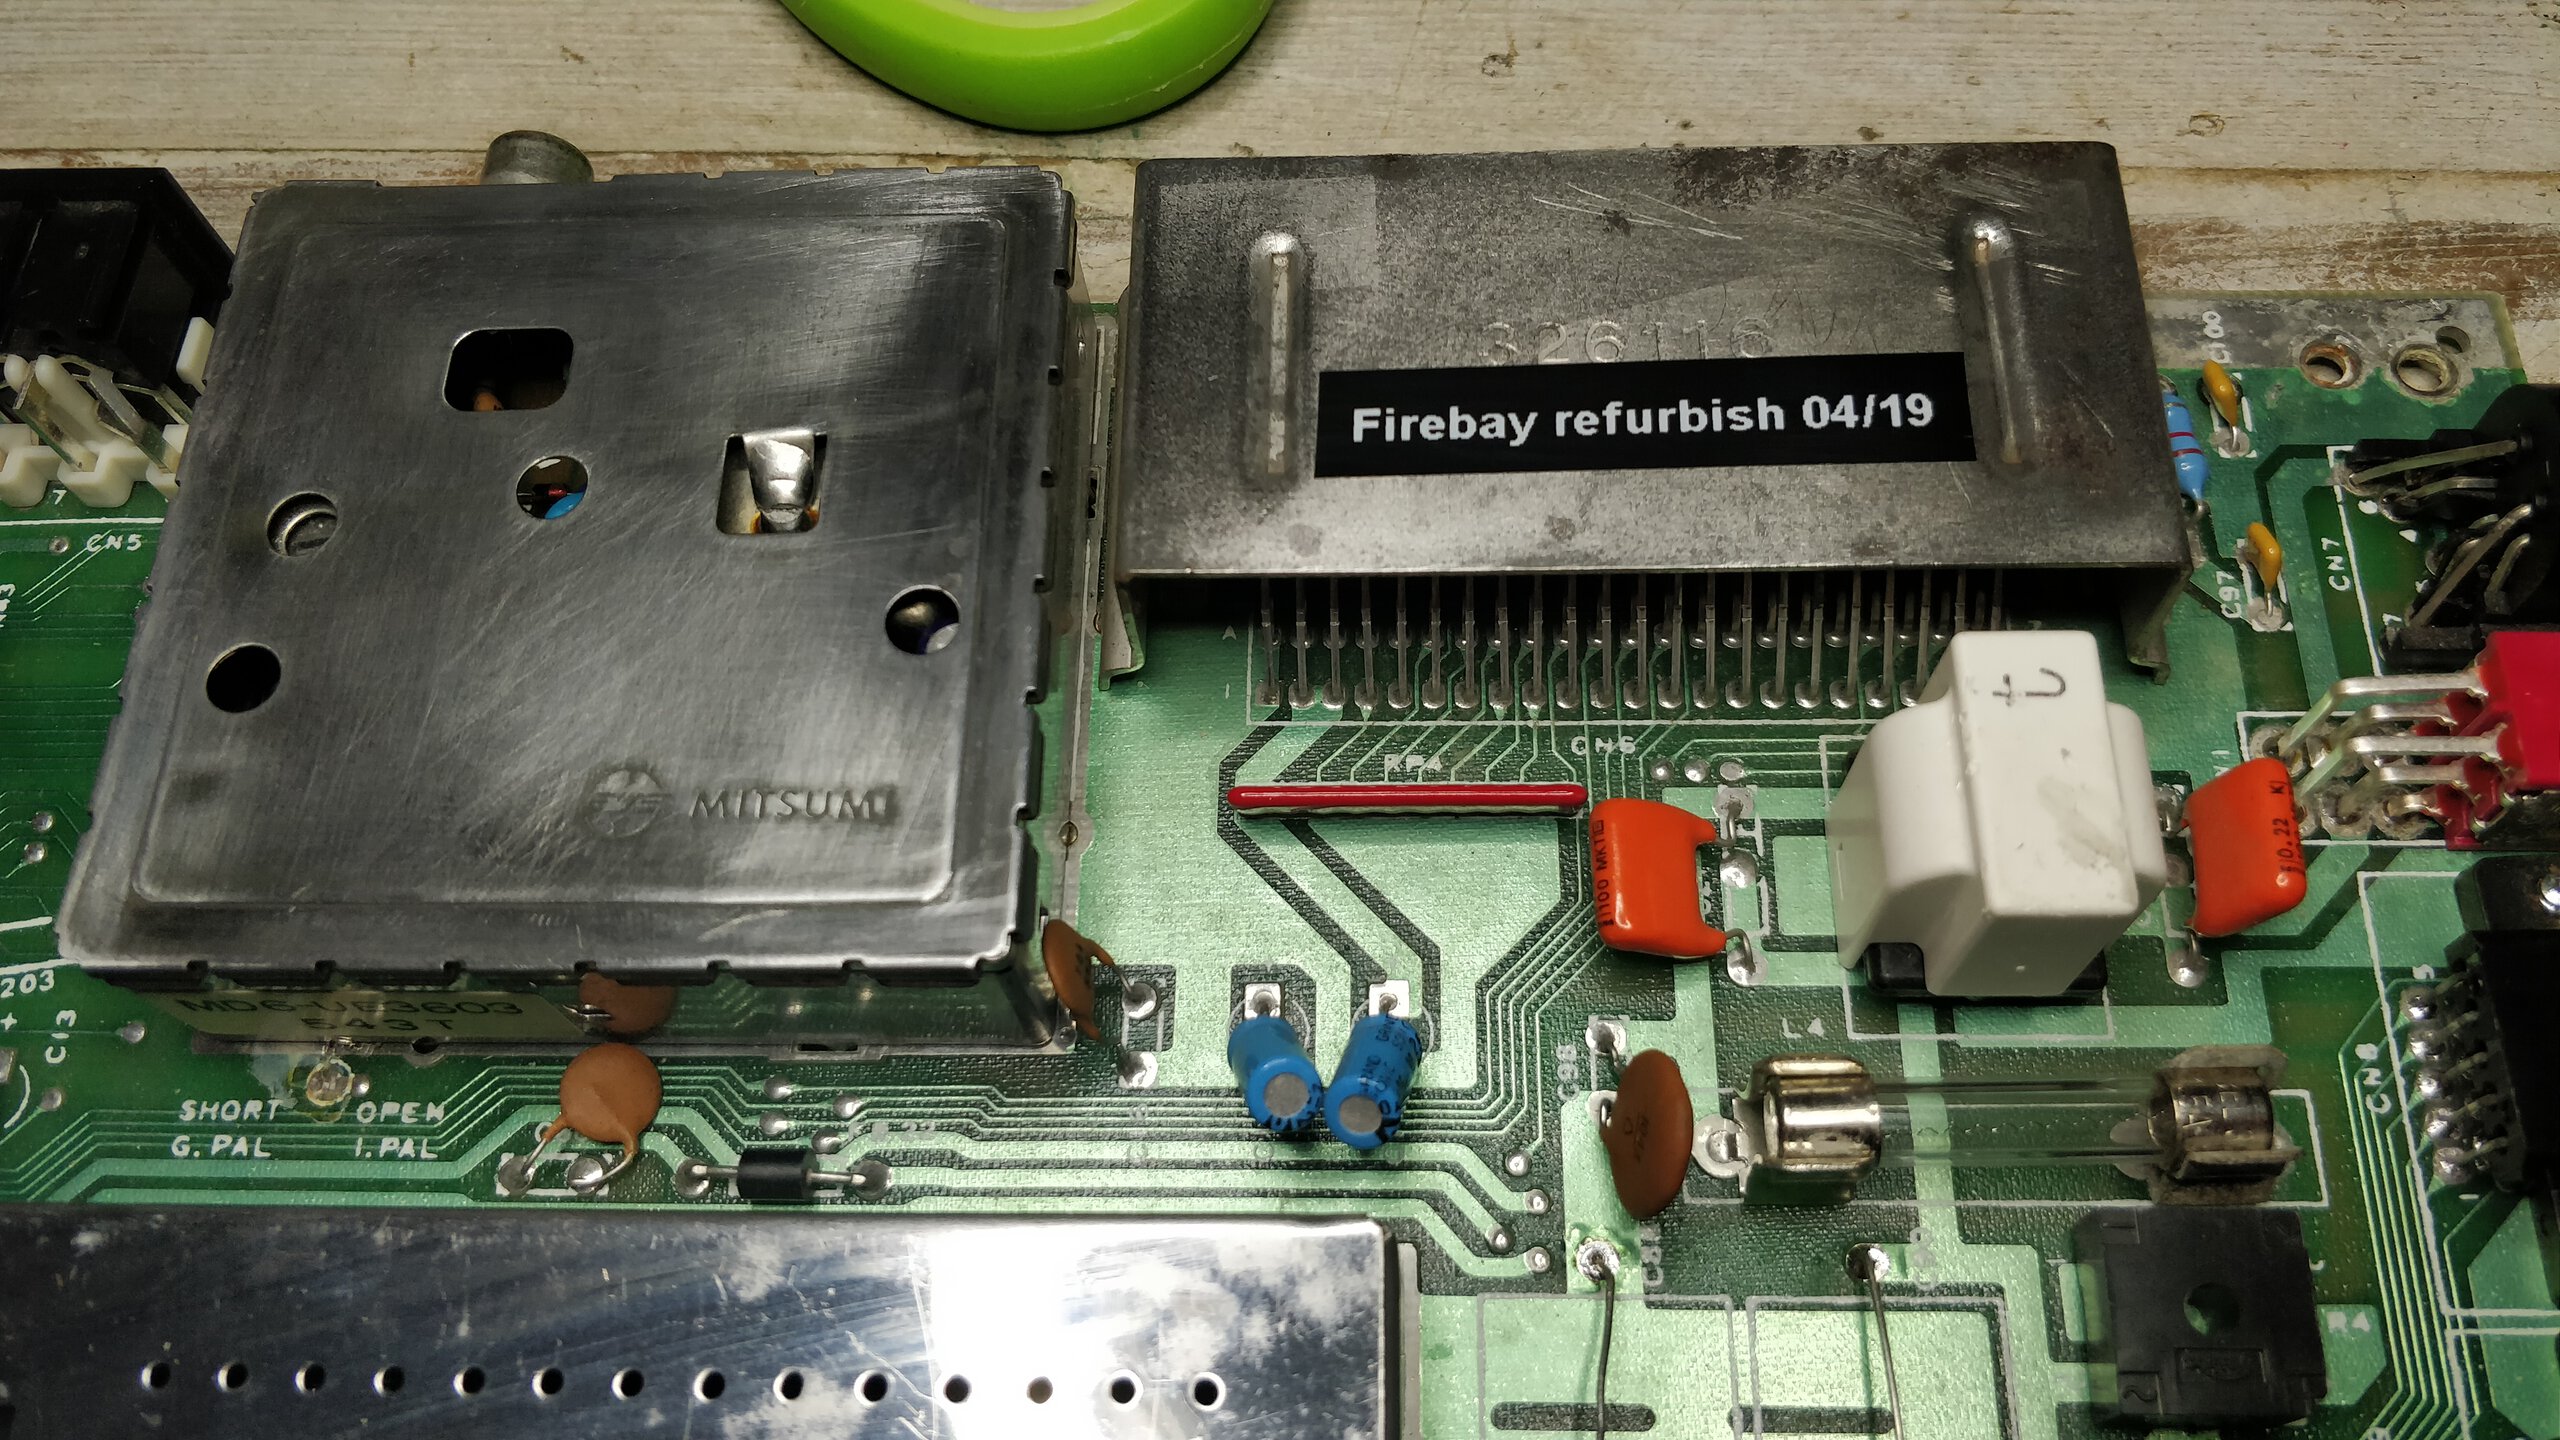
Then I took my trusty old 3M copper tape roll and exacto knife and started cutting new ground planes to replace old ones. After placing correct size copper on board, I scraped away some solder mask from existing ground to solder the copper firmly to it, then soldered ground trace to each via using lot of flux (to get rid of any oxidation hiding inside via), and also used plenty of solder to connect those ground planes to still existing traces. Some vias required multiple rounds of soldering, fluxing and desoldering to get rid of all the oxidation. Then I covered the copper with green UV-curable solder mask paint and used nail hardening UV lamp to cure the paint. After ground plane traces were re-built and new solder mask had been cured, I replaced all of the rest of the electrolytic caps on board. This task took one evening.


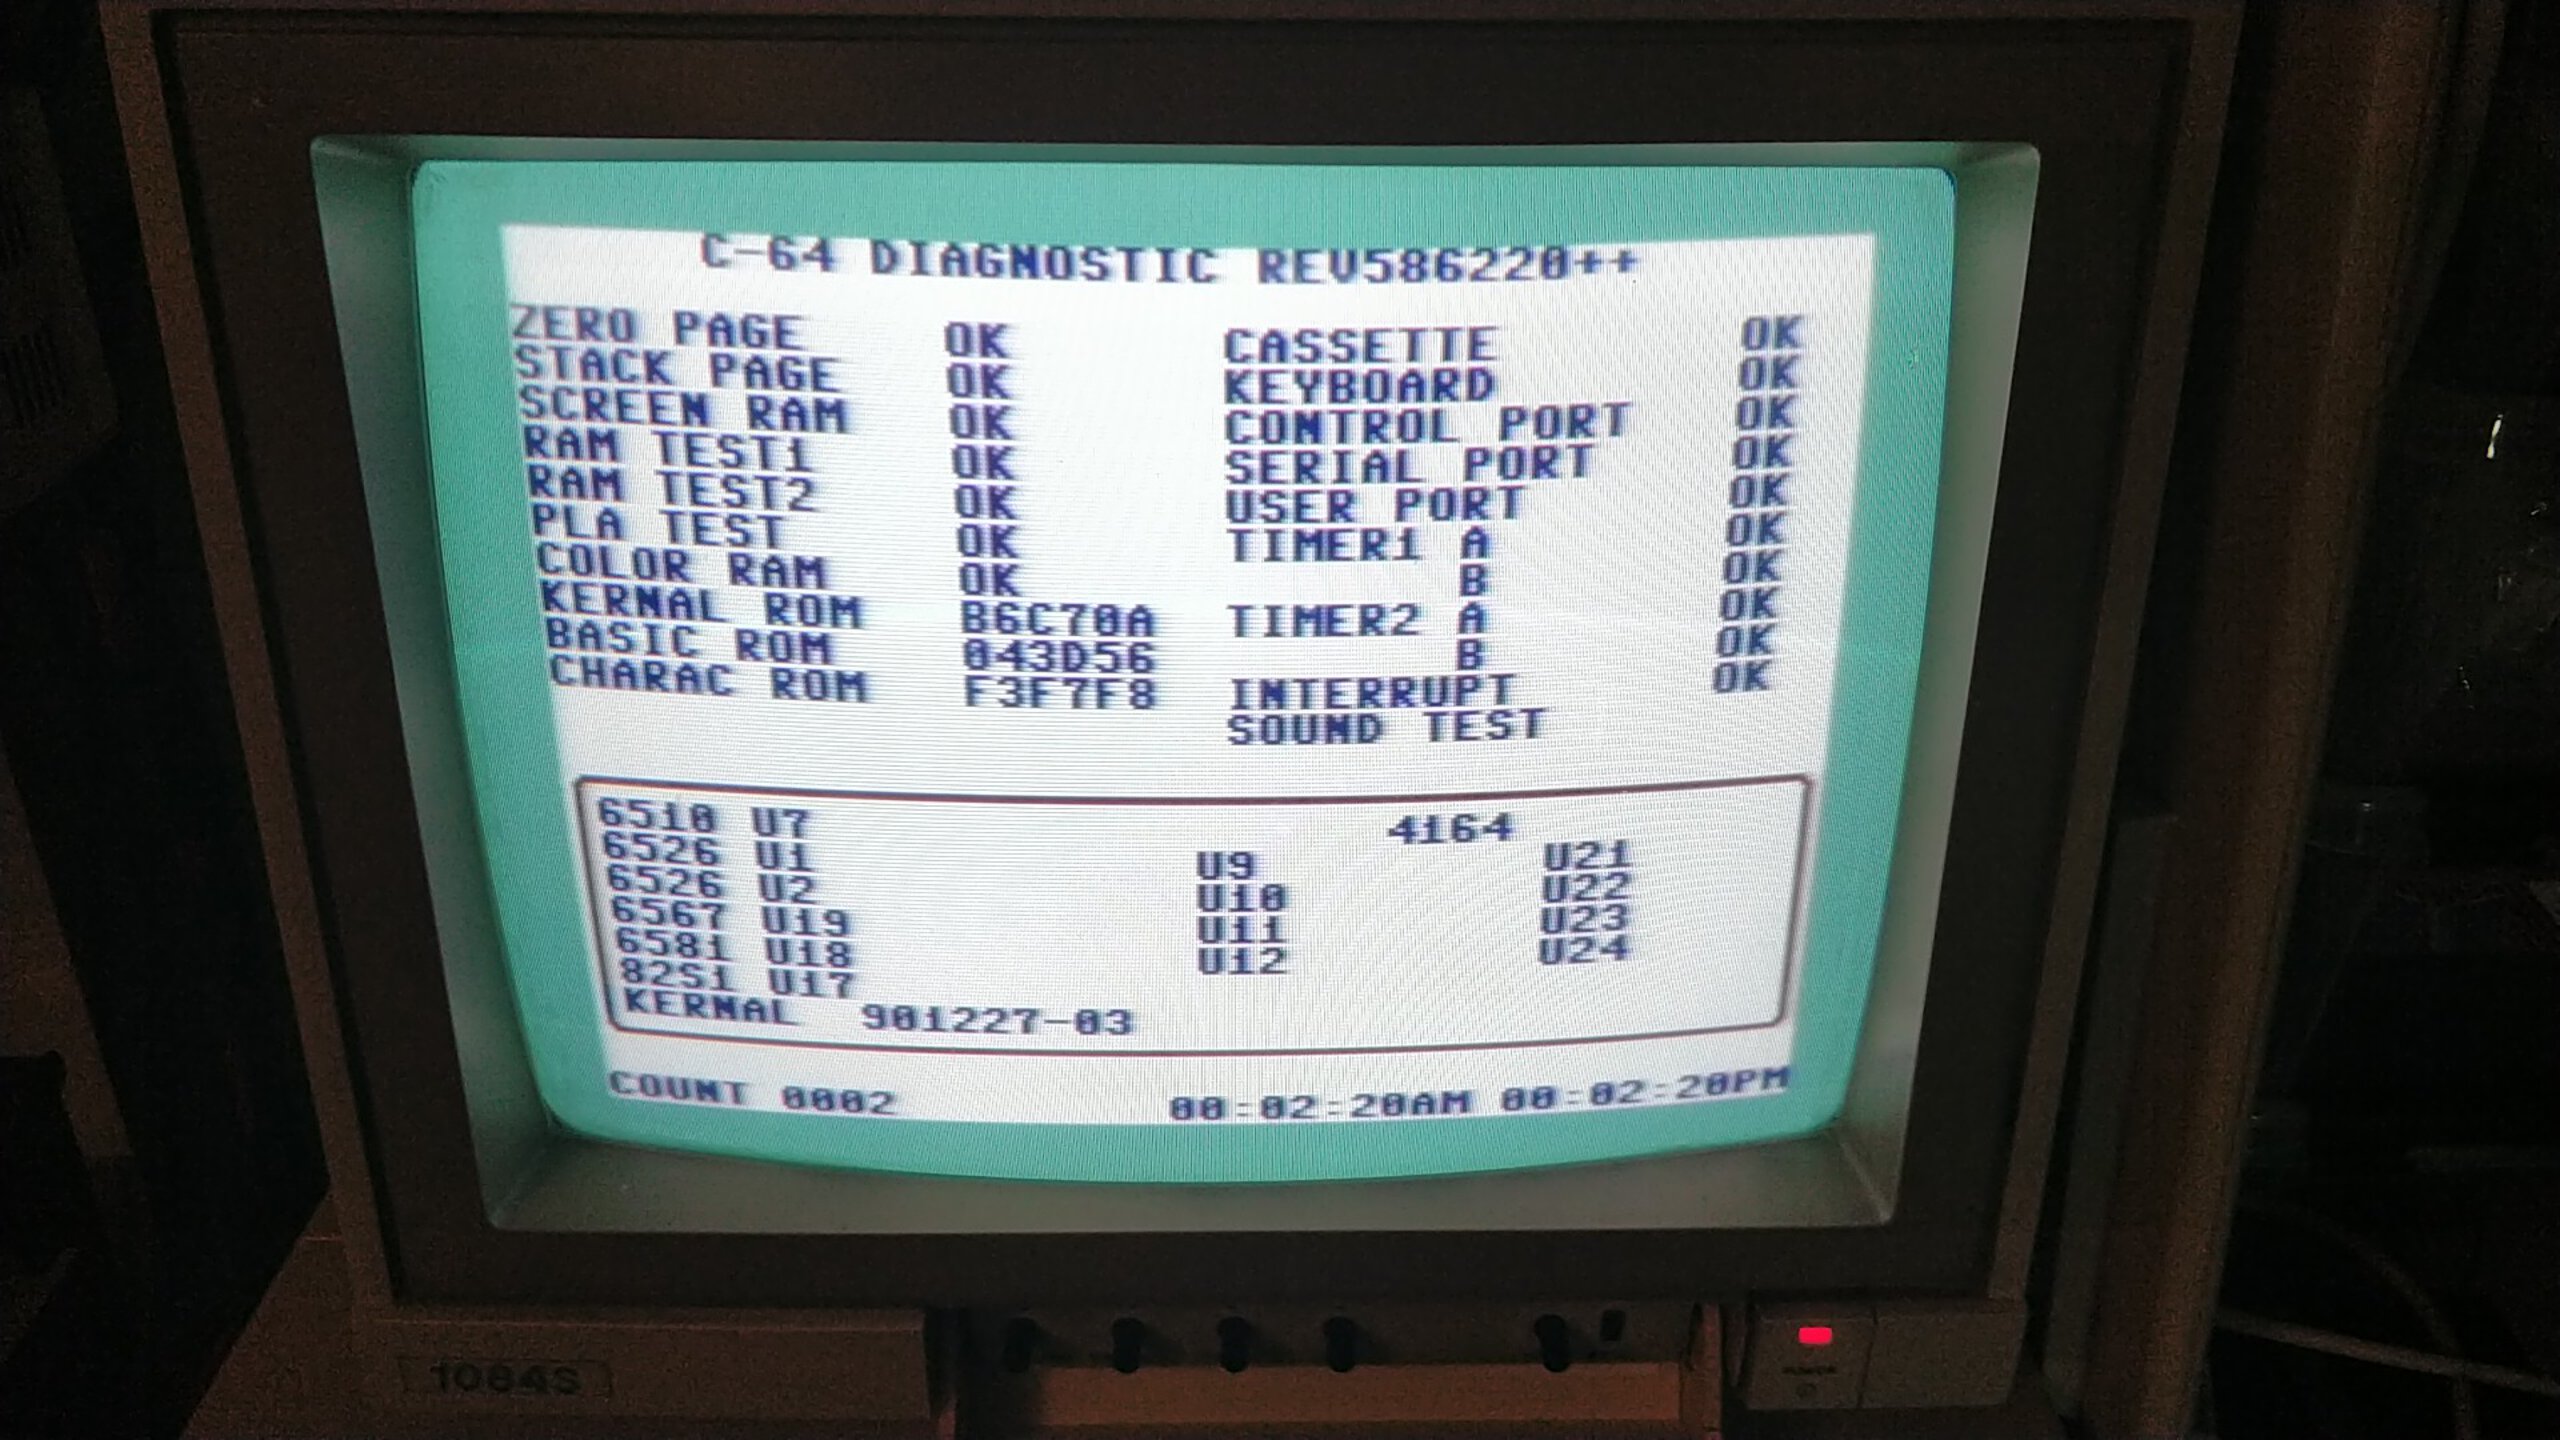
PCB Testing
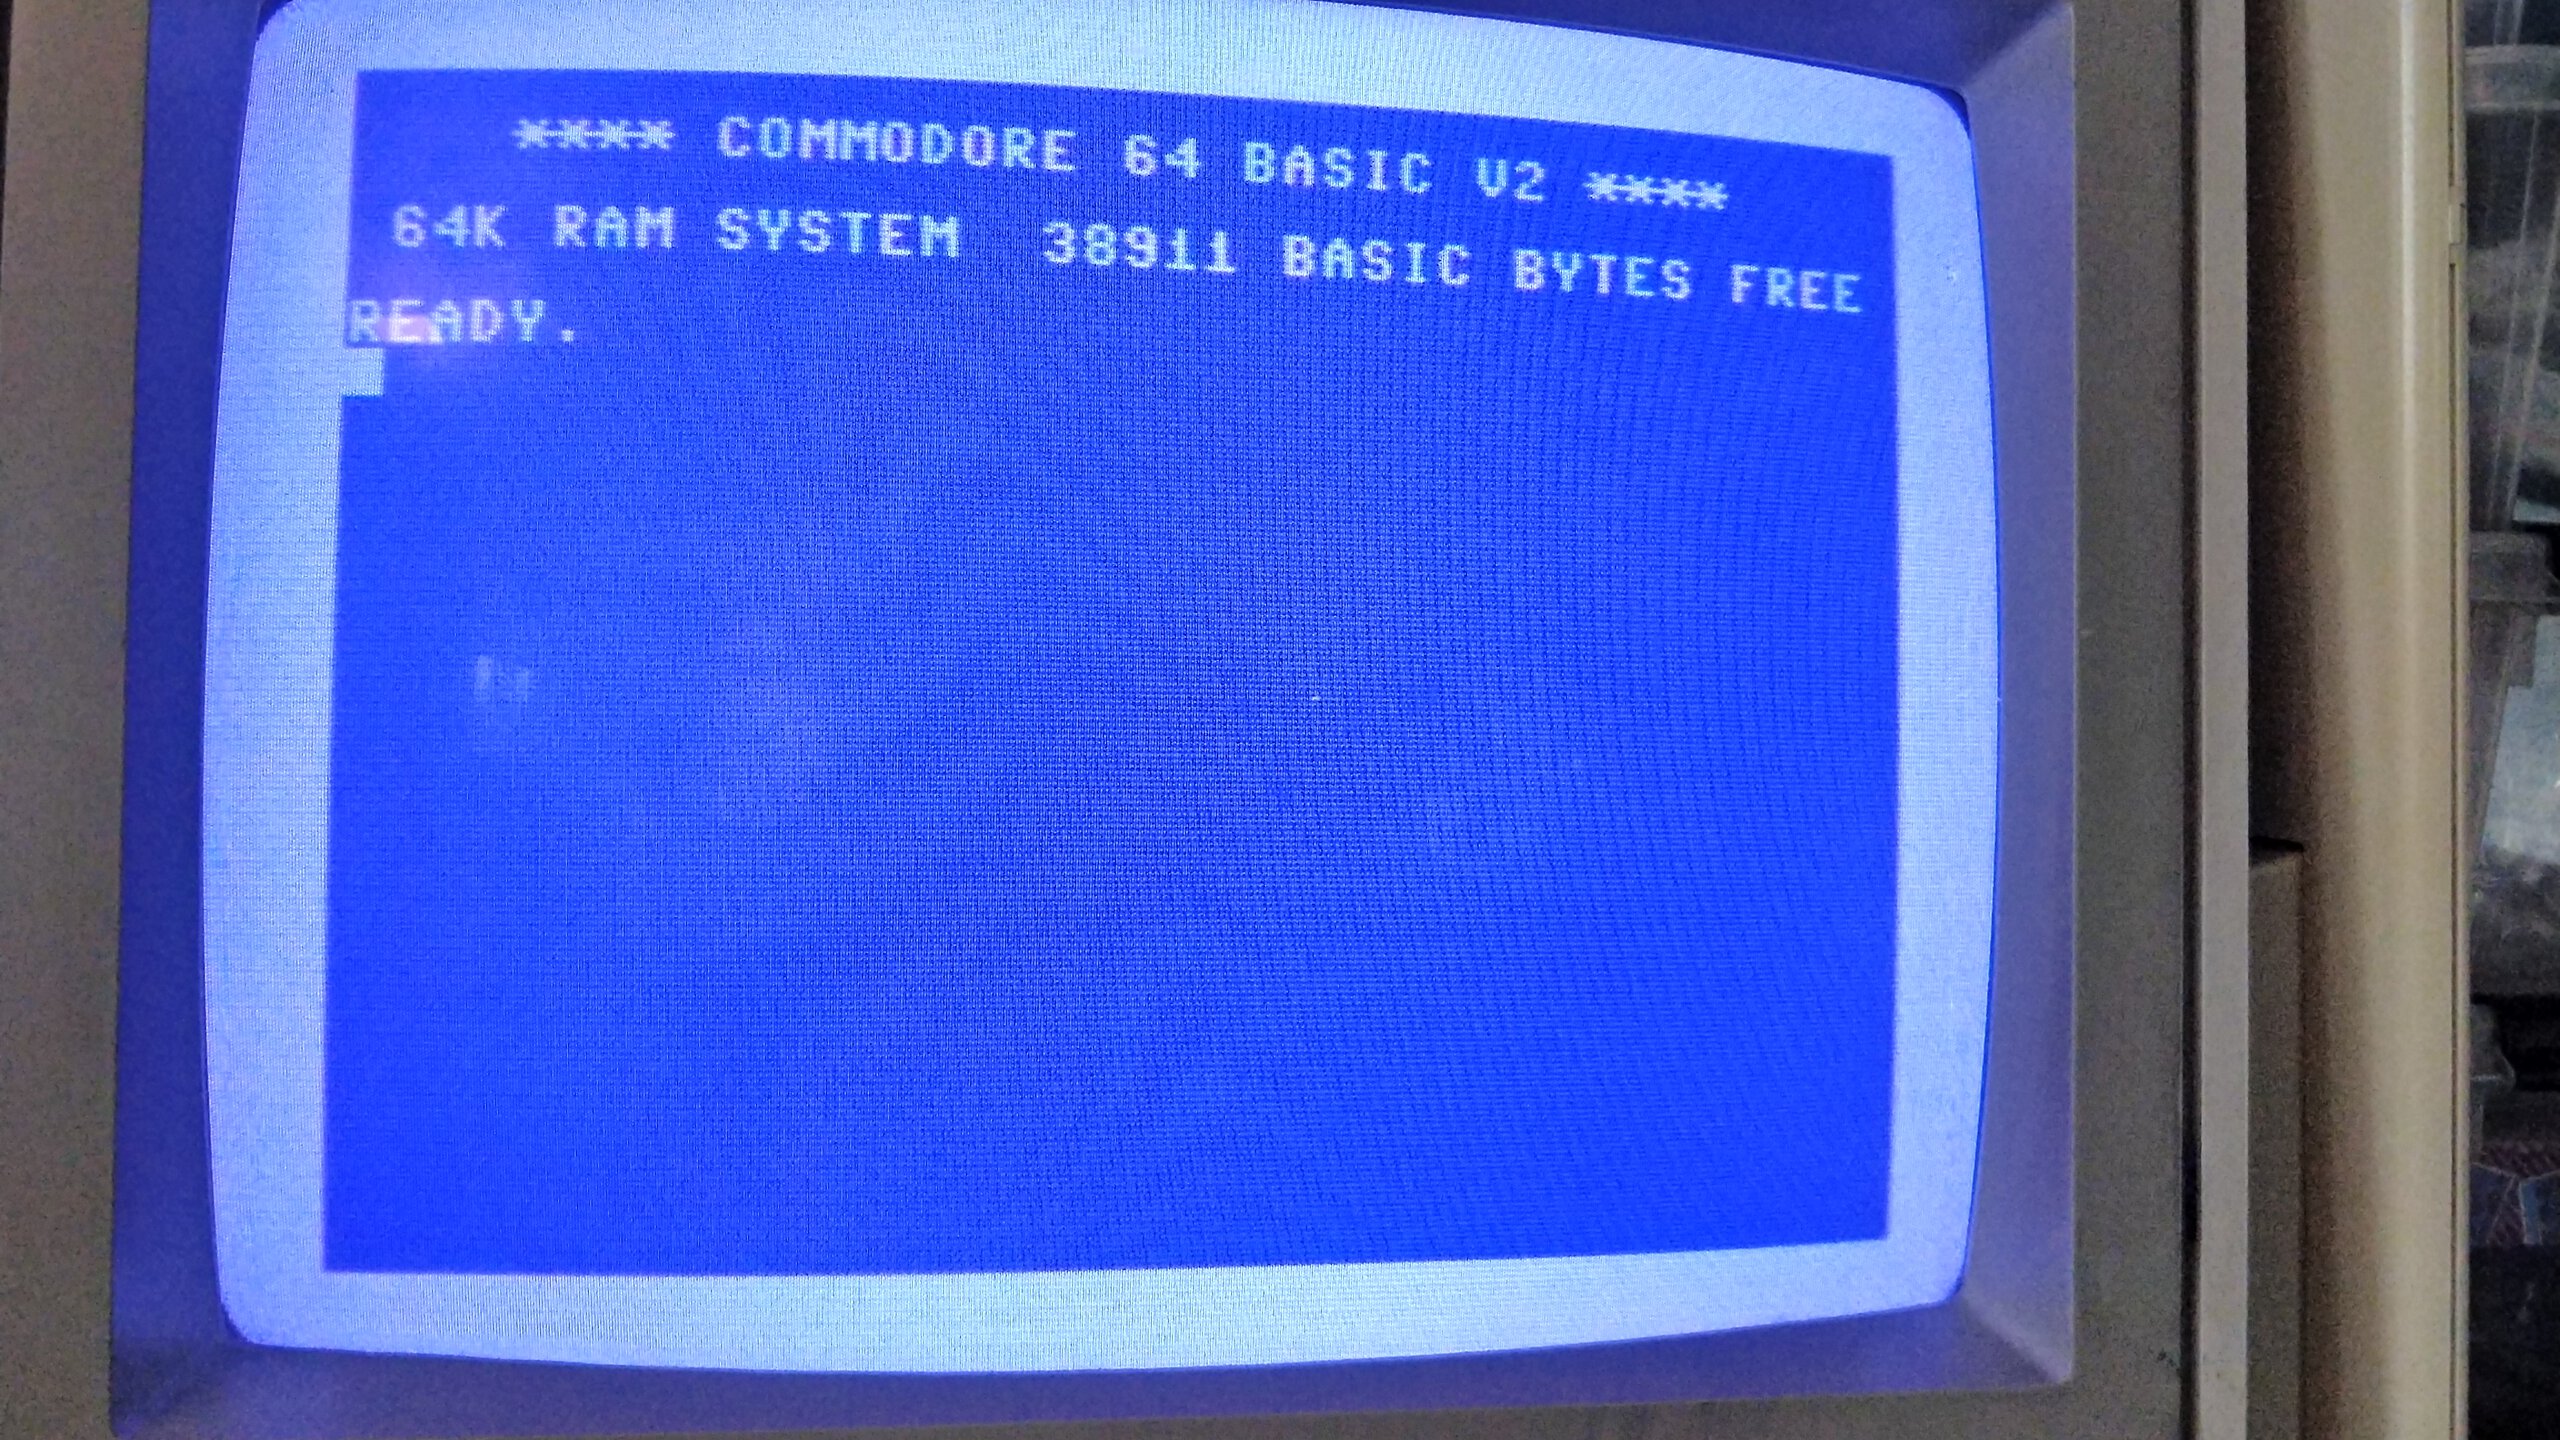
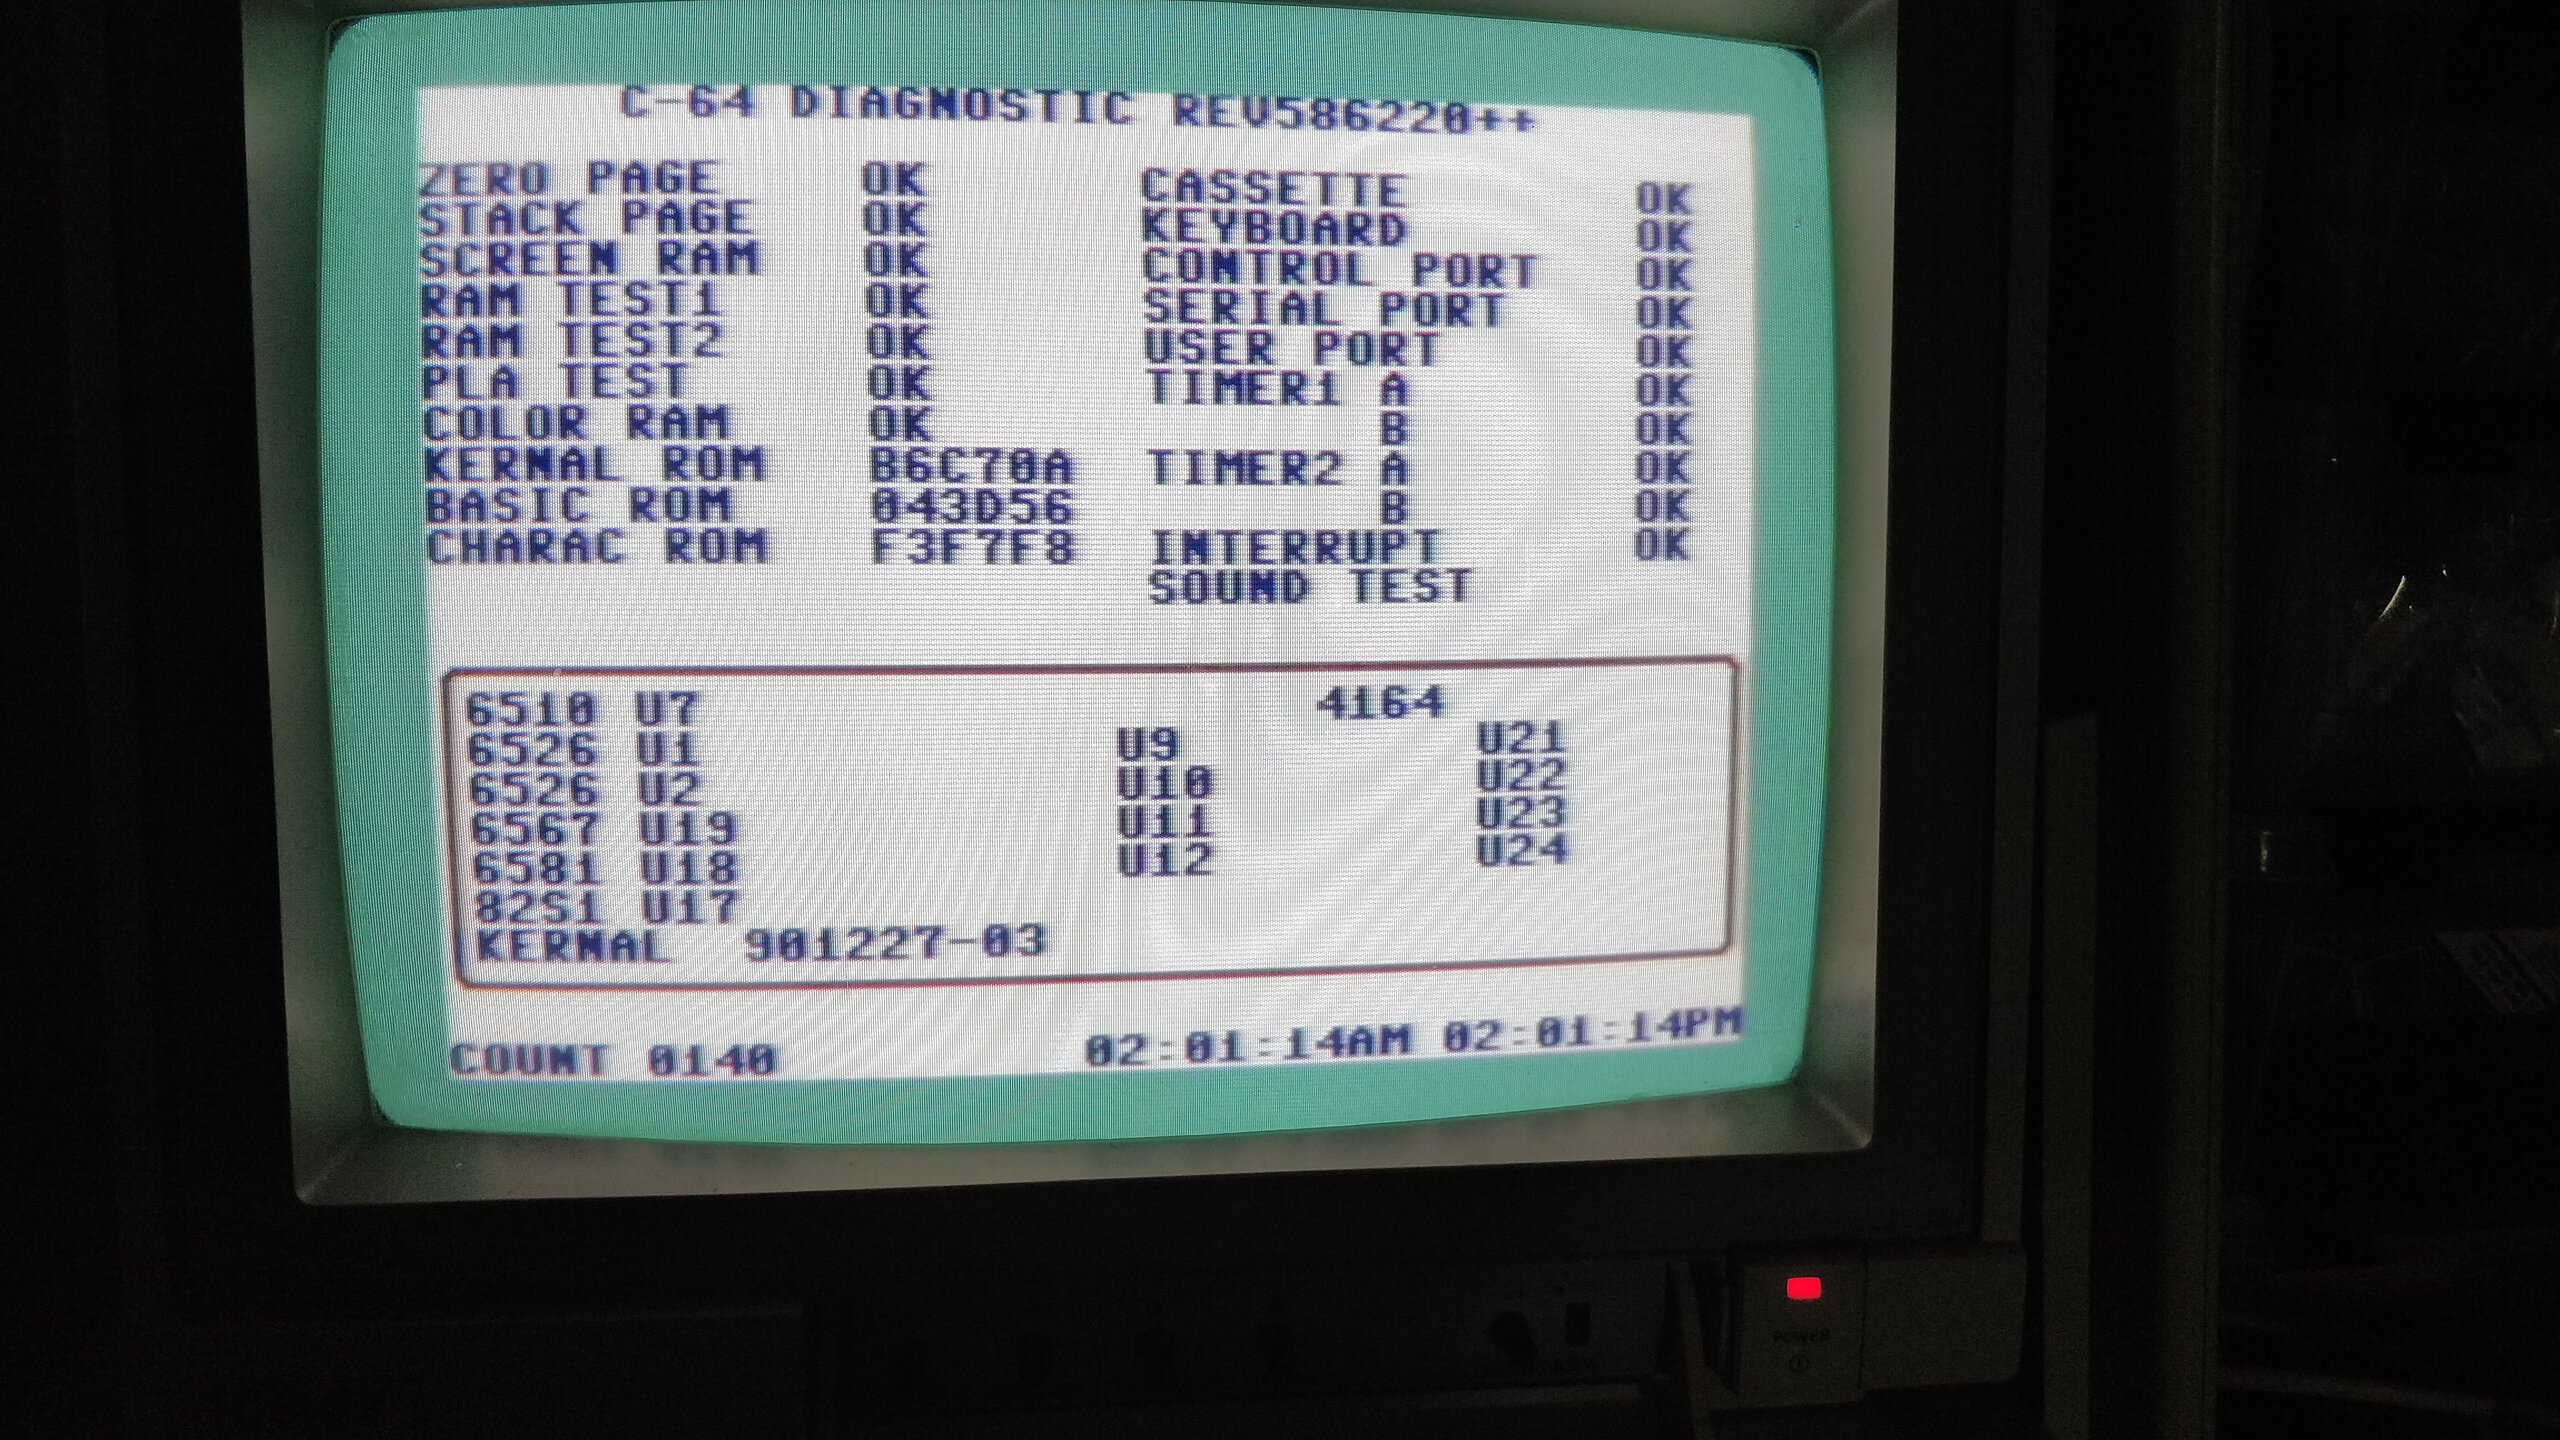
Now it was time to try how machine reacted to fixes and after plugging diagnostics harness and cartridge in, I actually got into diagnostics screen and everything looked to work again! Except occasionally I got fails in cassette port and user port. I used glass fiber scratch pen to clean up the ports once more and those problems seemed to dissolve, together with few pins on user port. Those pins were easily repaired with heat curable silver paint. Also occasional memory errors were reported, took a good look and noticed that some bypass caps for memories were cracked, so replaced those too. After those fixes, I ran diagnostics successfully 4 hours without any issues.
Tried also some games and while the SID did also work and all channels had sound, the audio was sometimes really harsh especially in songs where heavy filters were used. I replaced the filter caps of SID to polymer ones and also SID got back into action.
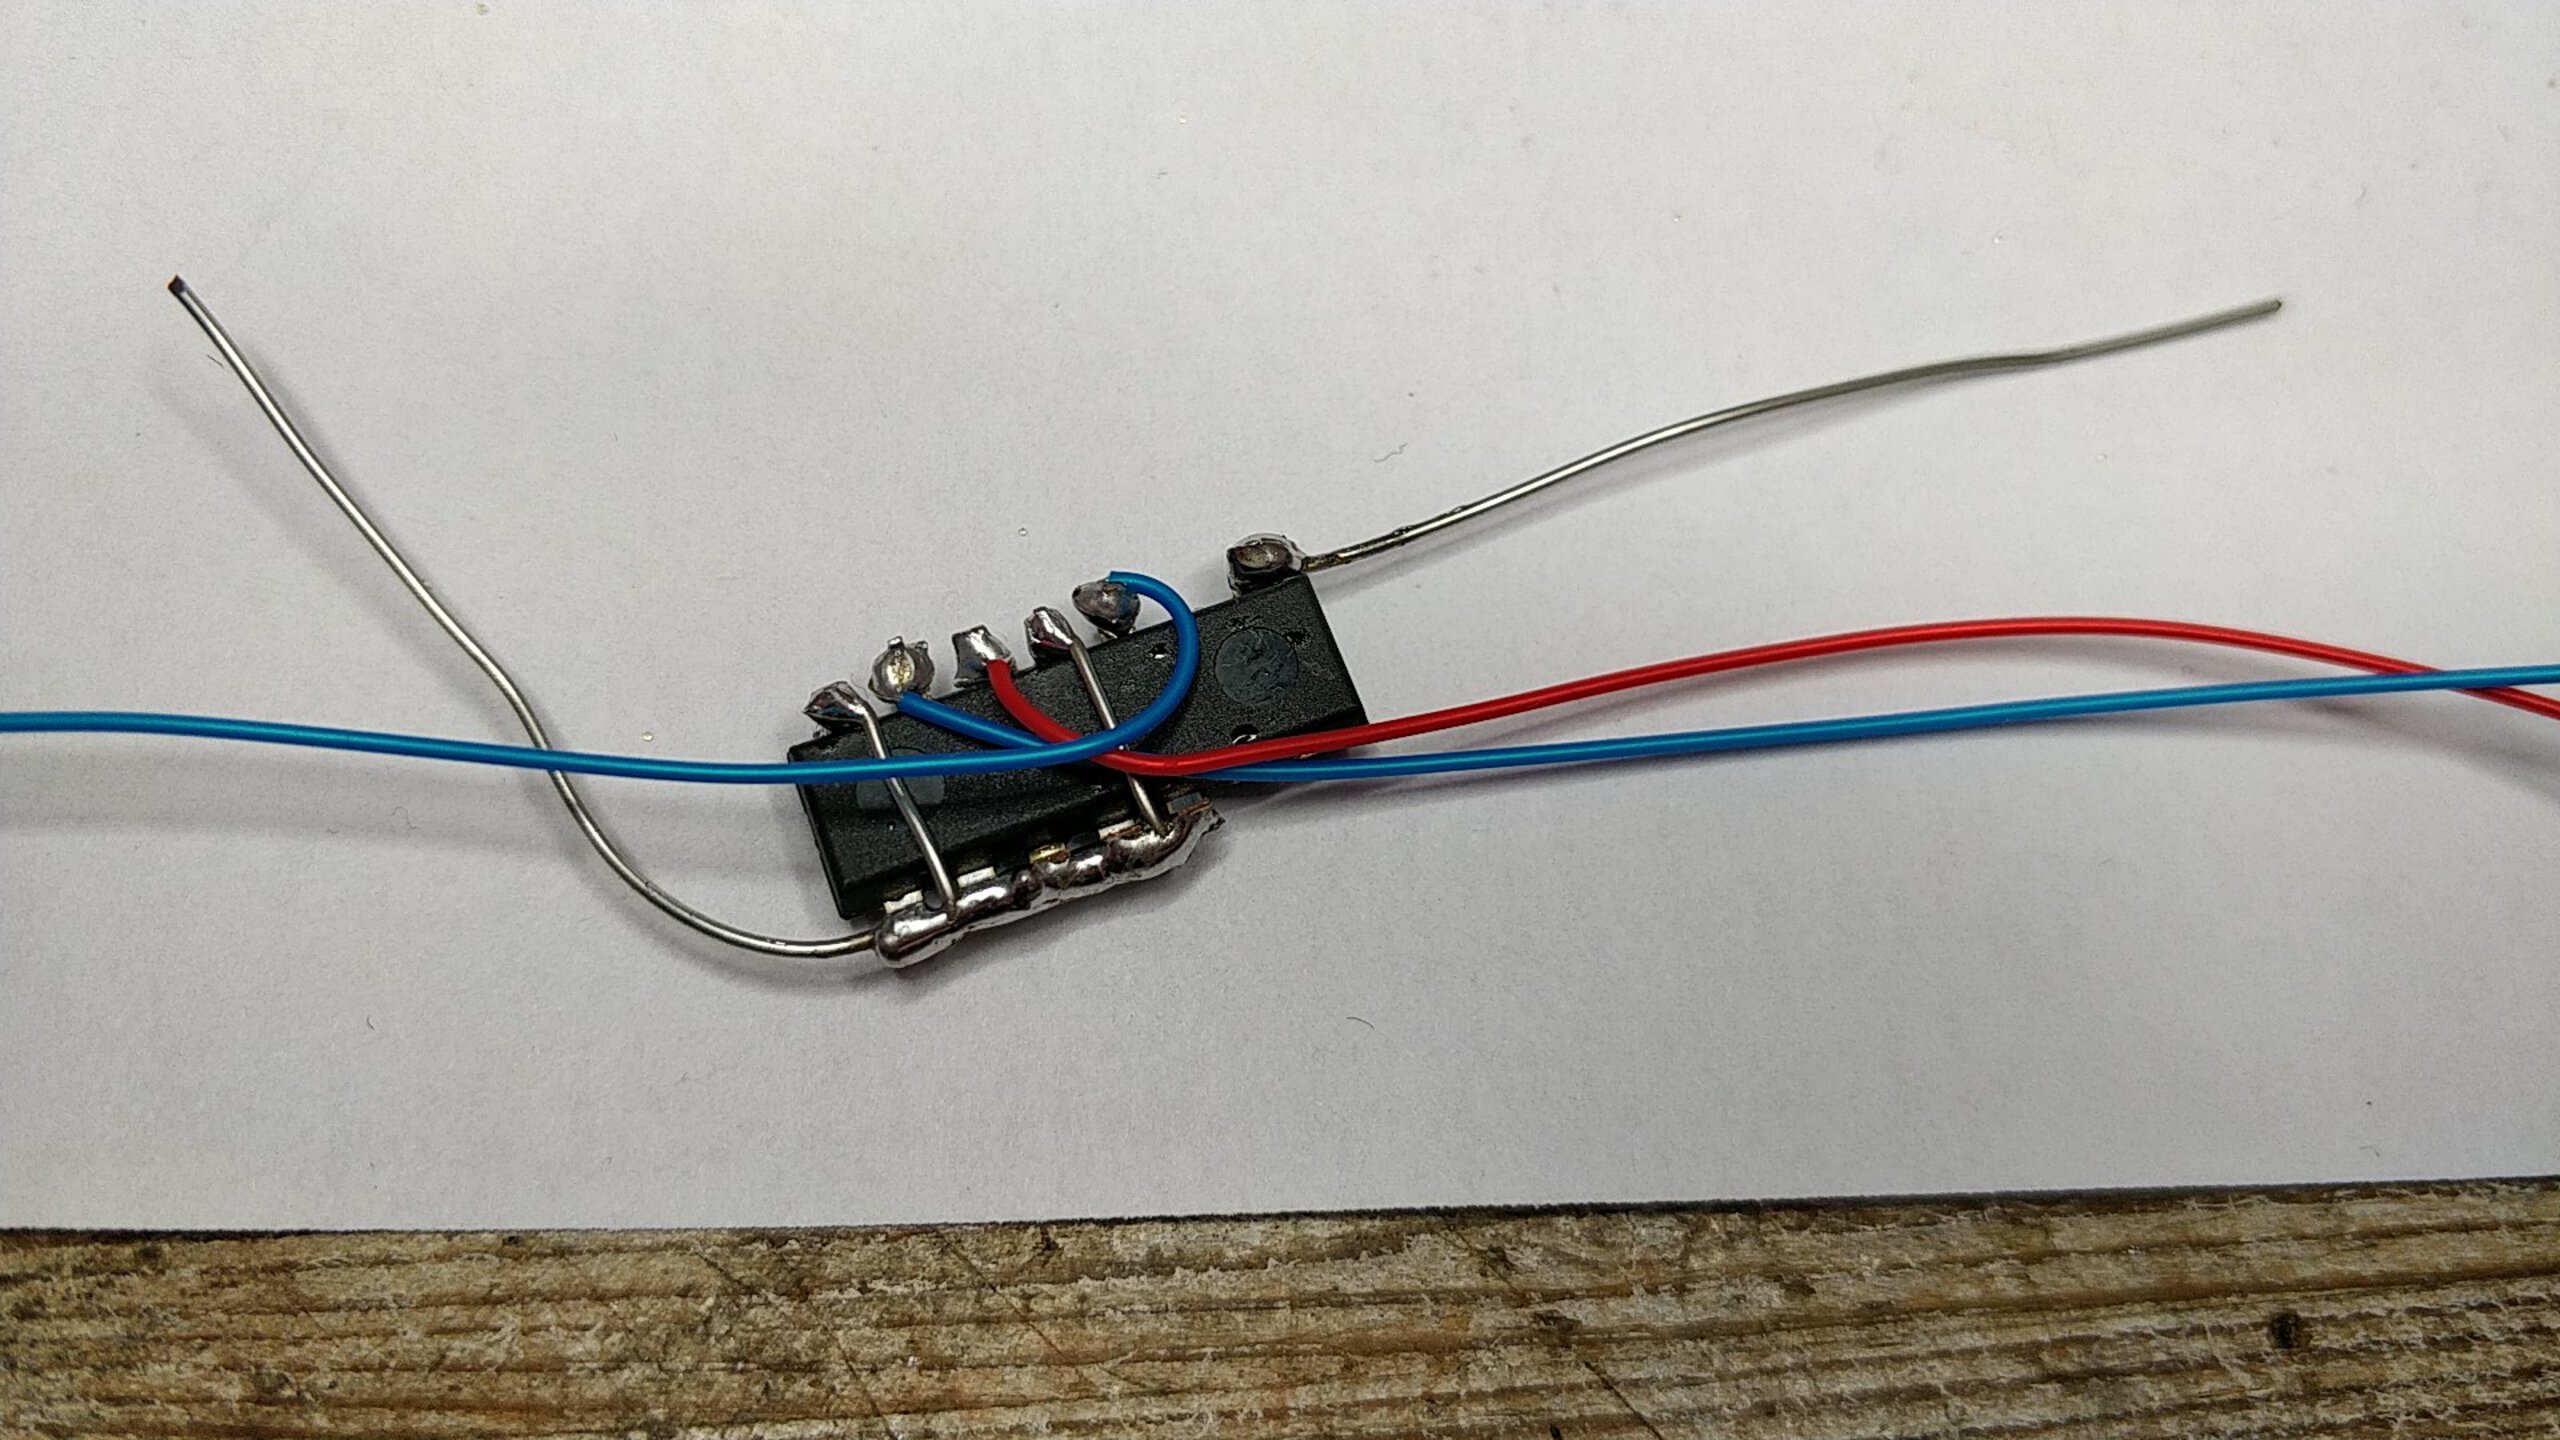
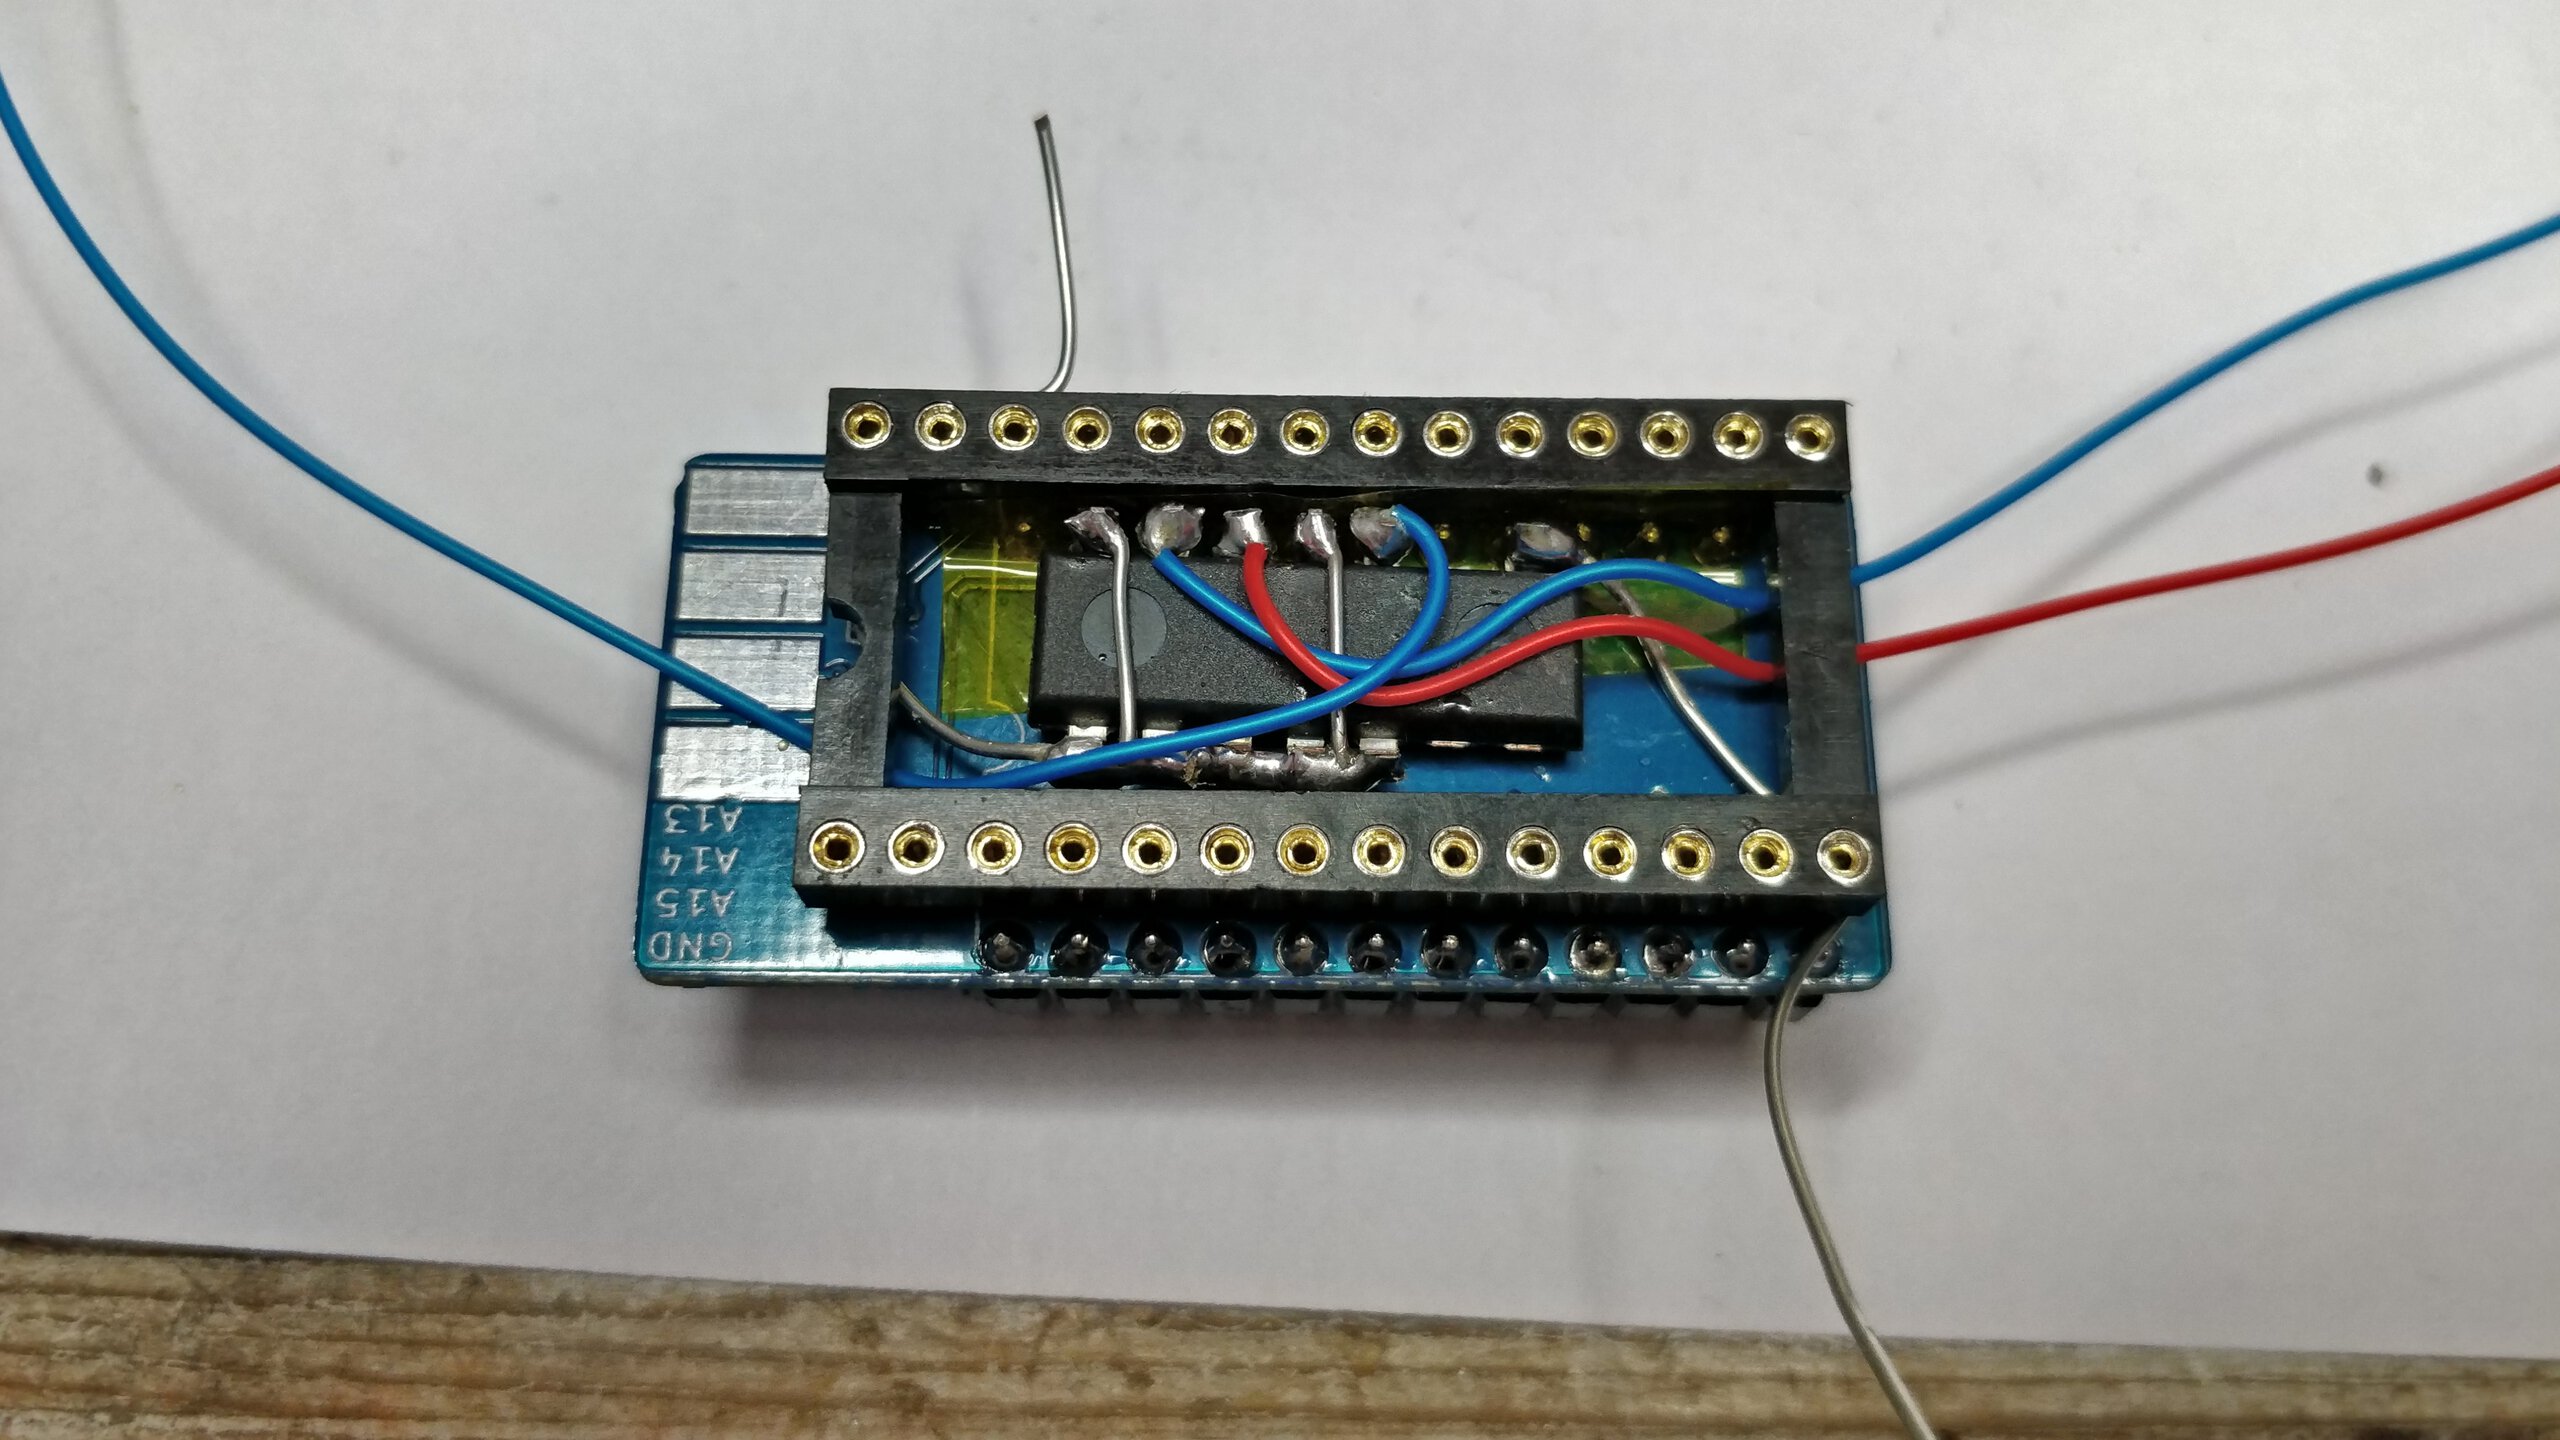
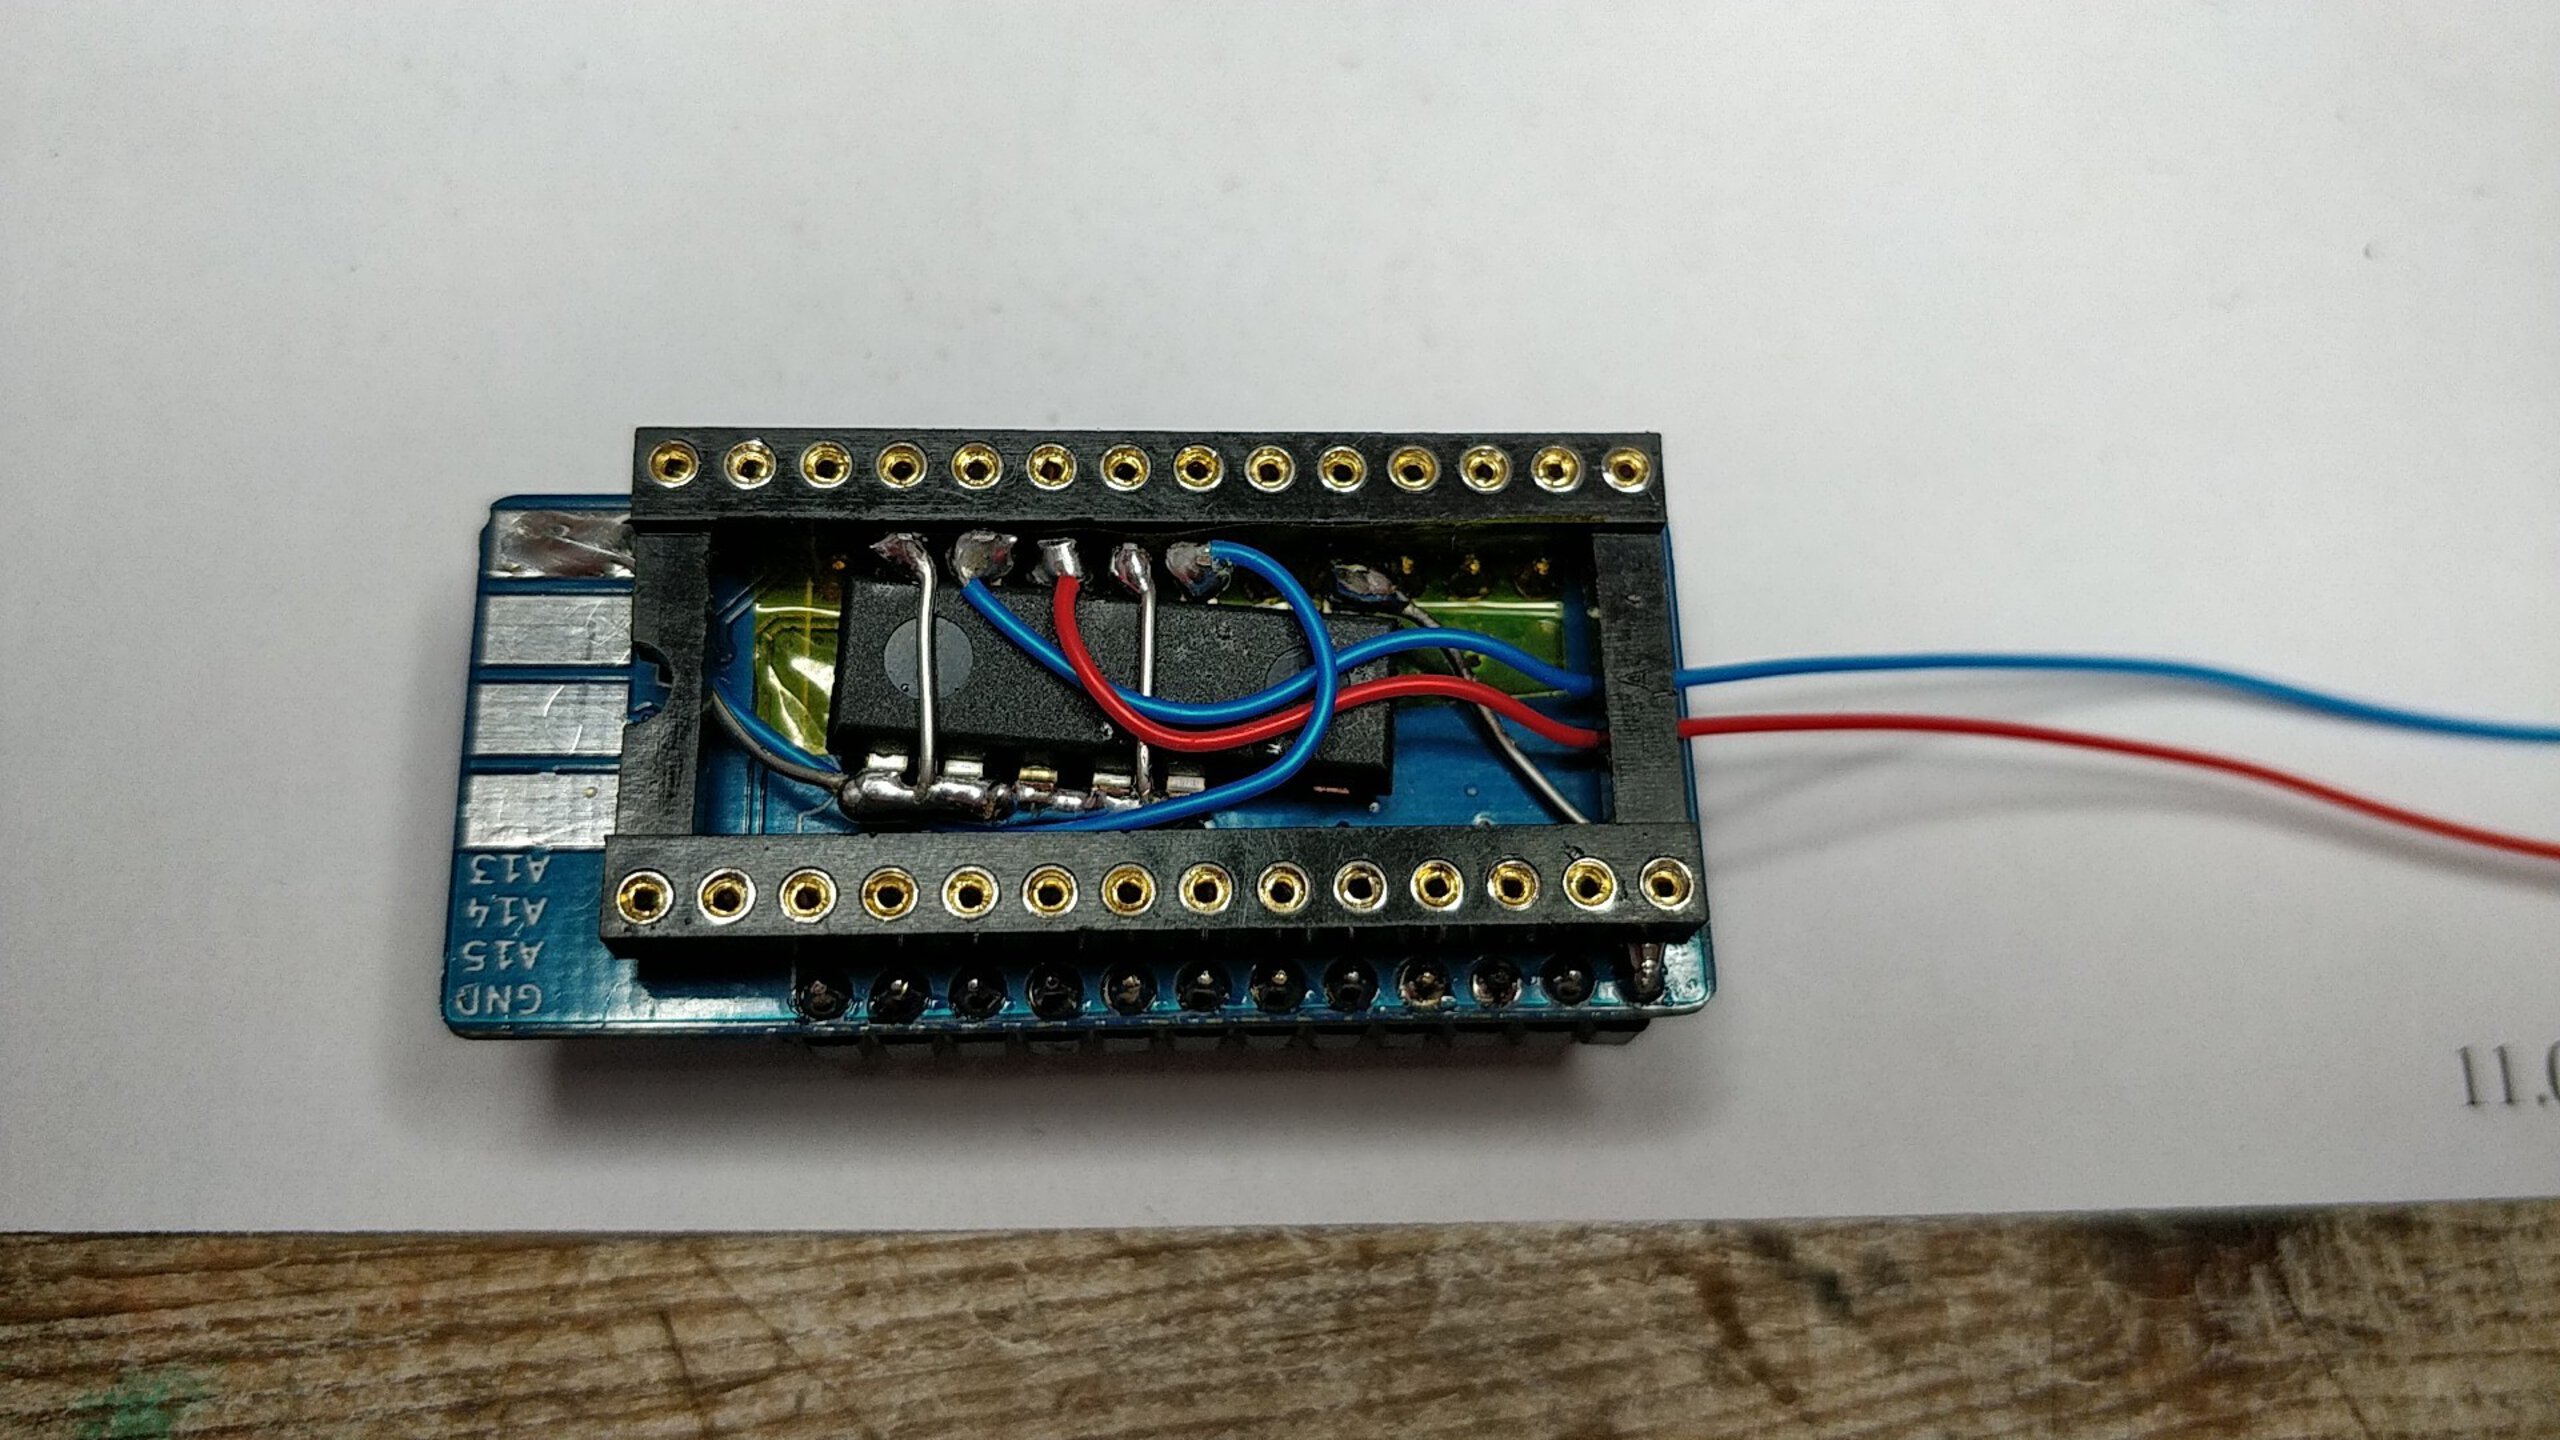
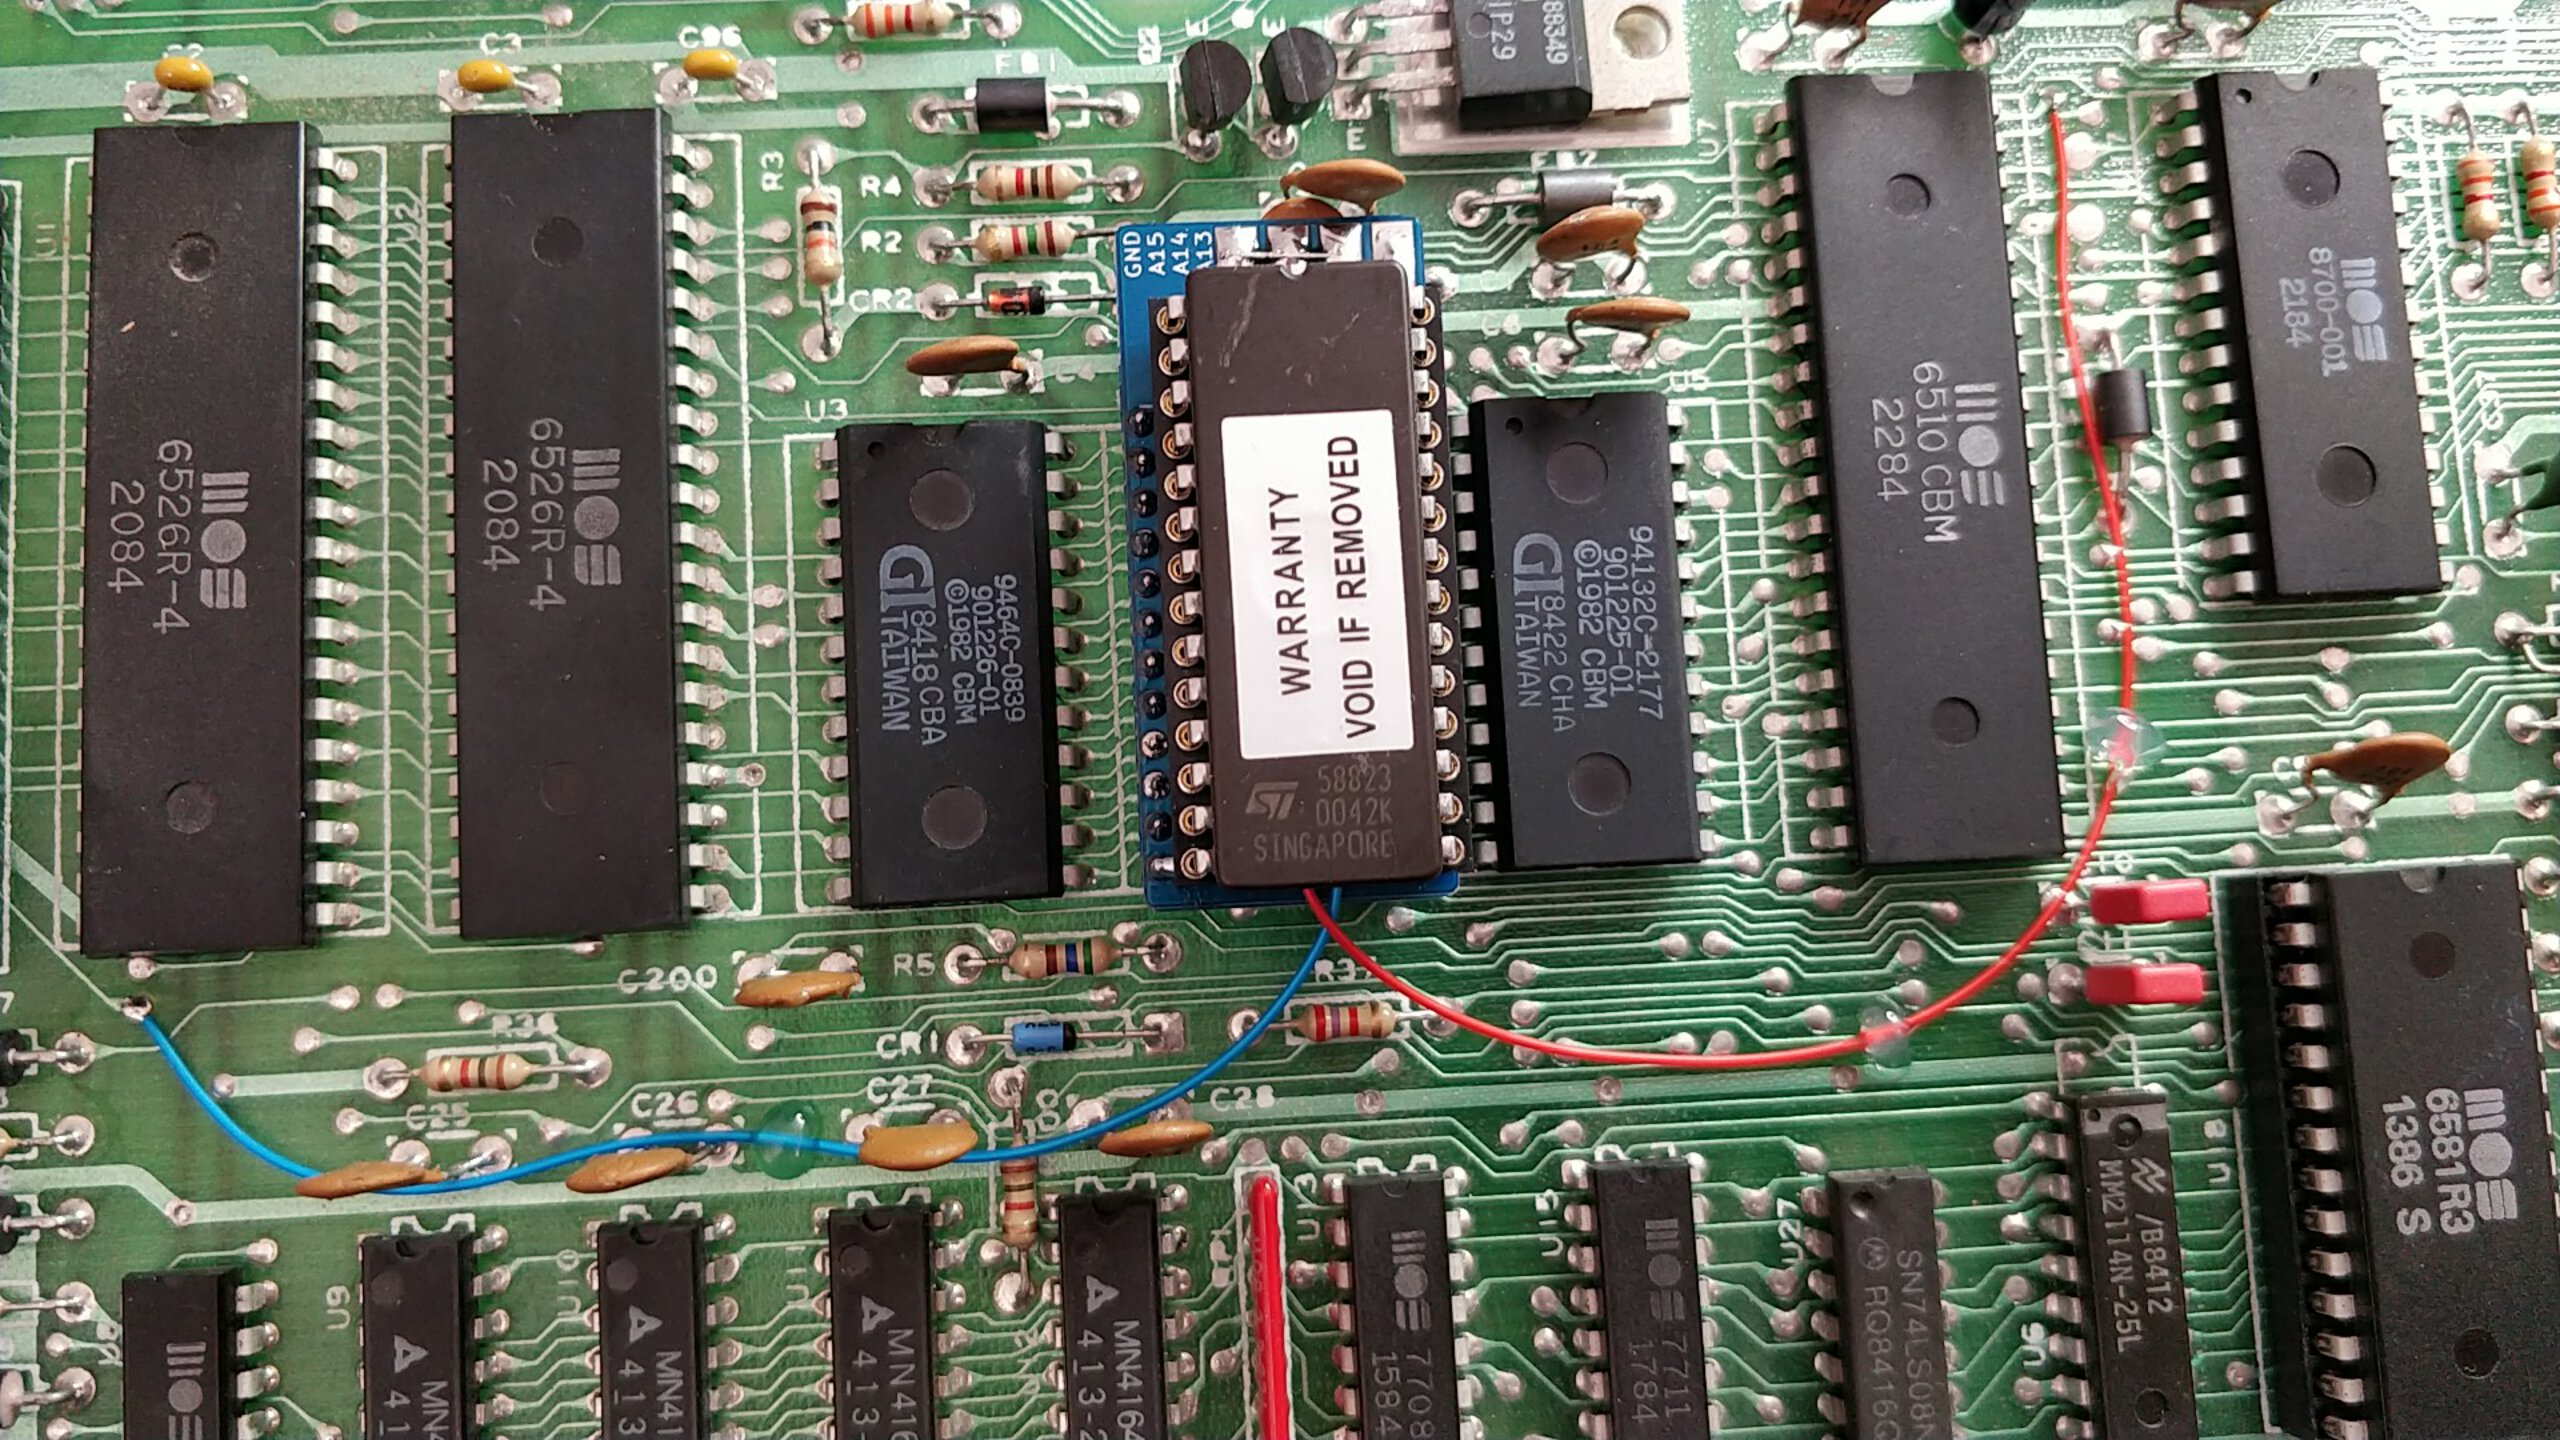
I also soldered switchless kernal-switcher and placed JaffyDOS and stock kernal to EPROM, stock kernal can be selected at power-on time by keeping restore key depressed, otherwise computer boots to JaffyDOS.
And while I was at it, I cleaned and polished the RF-Modulator case cover too.


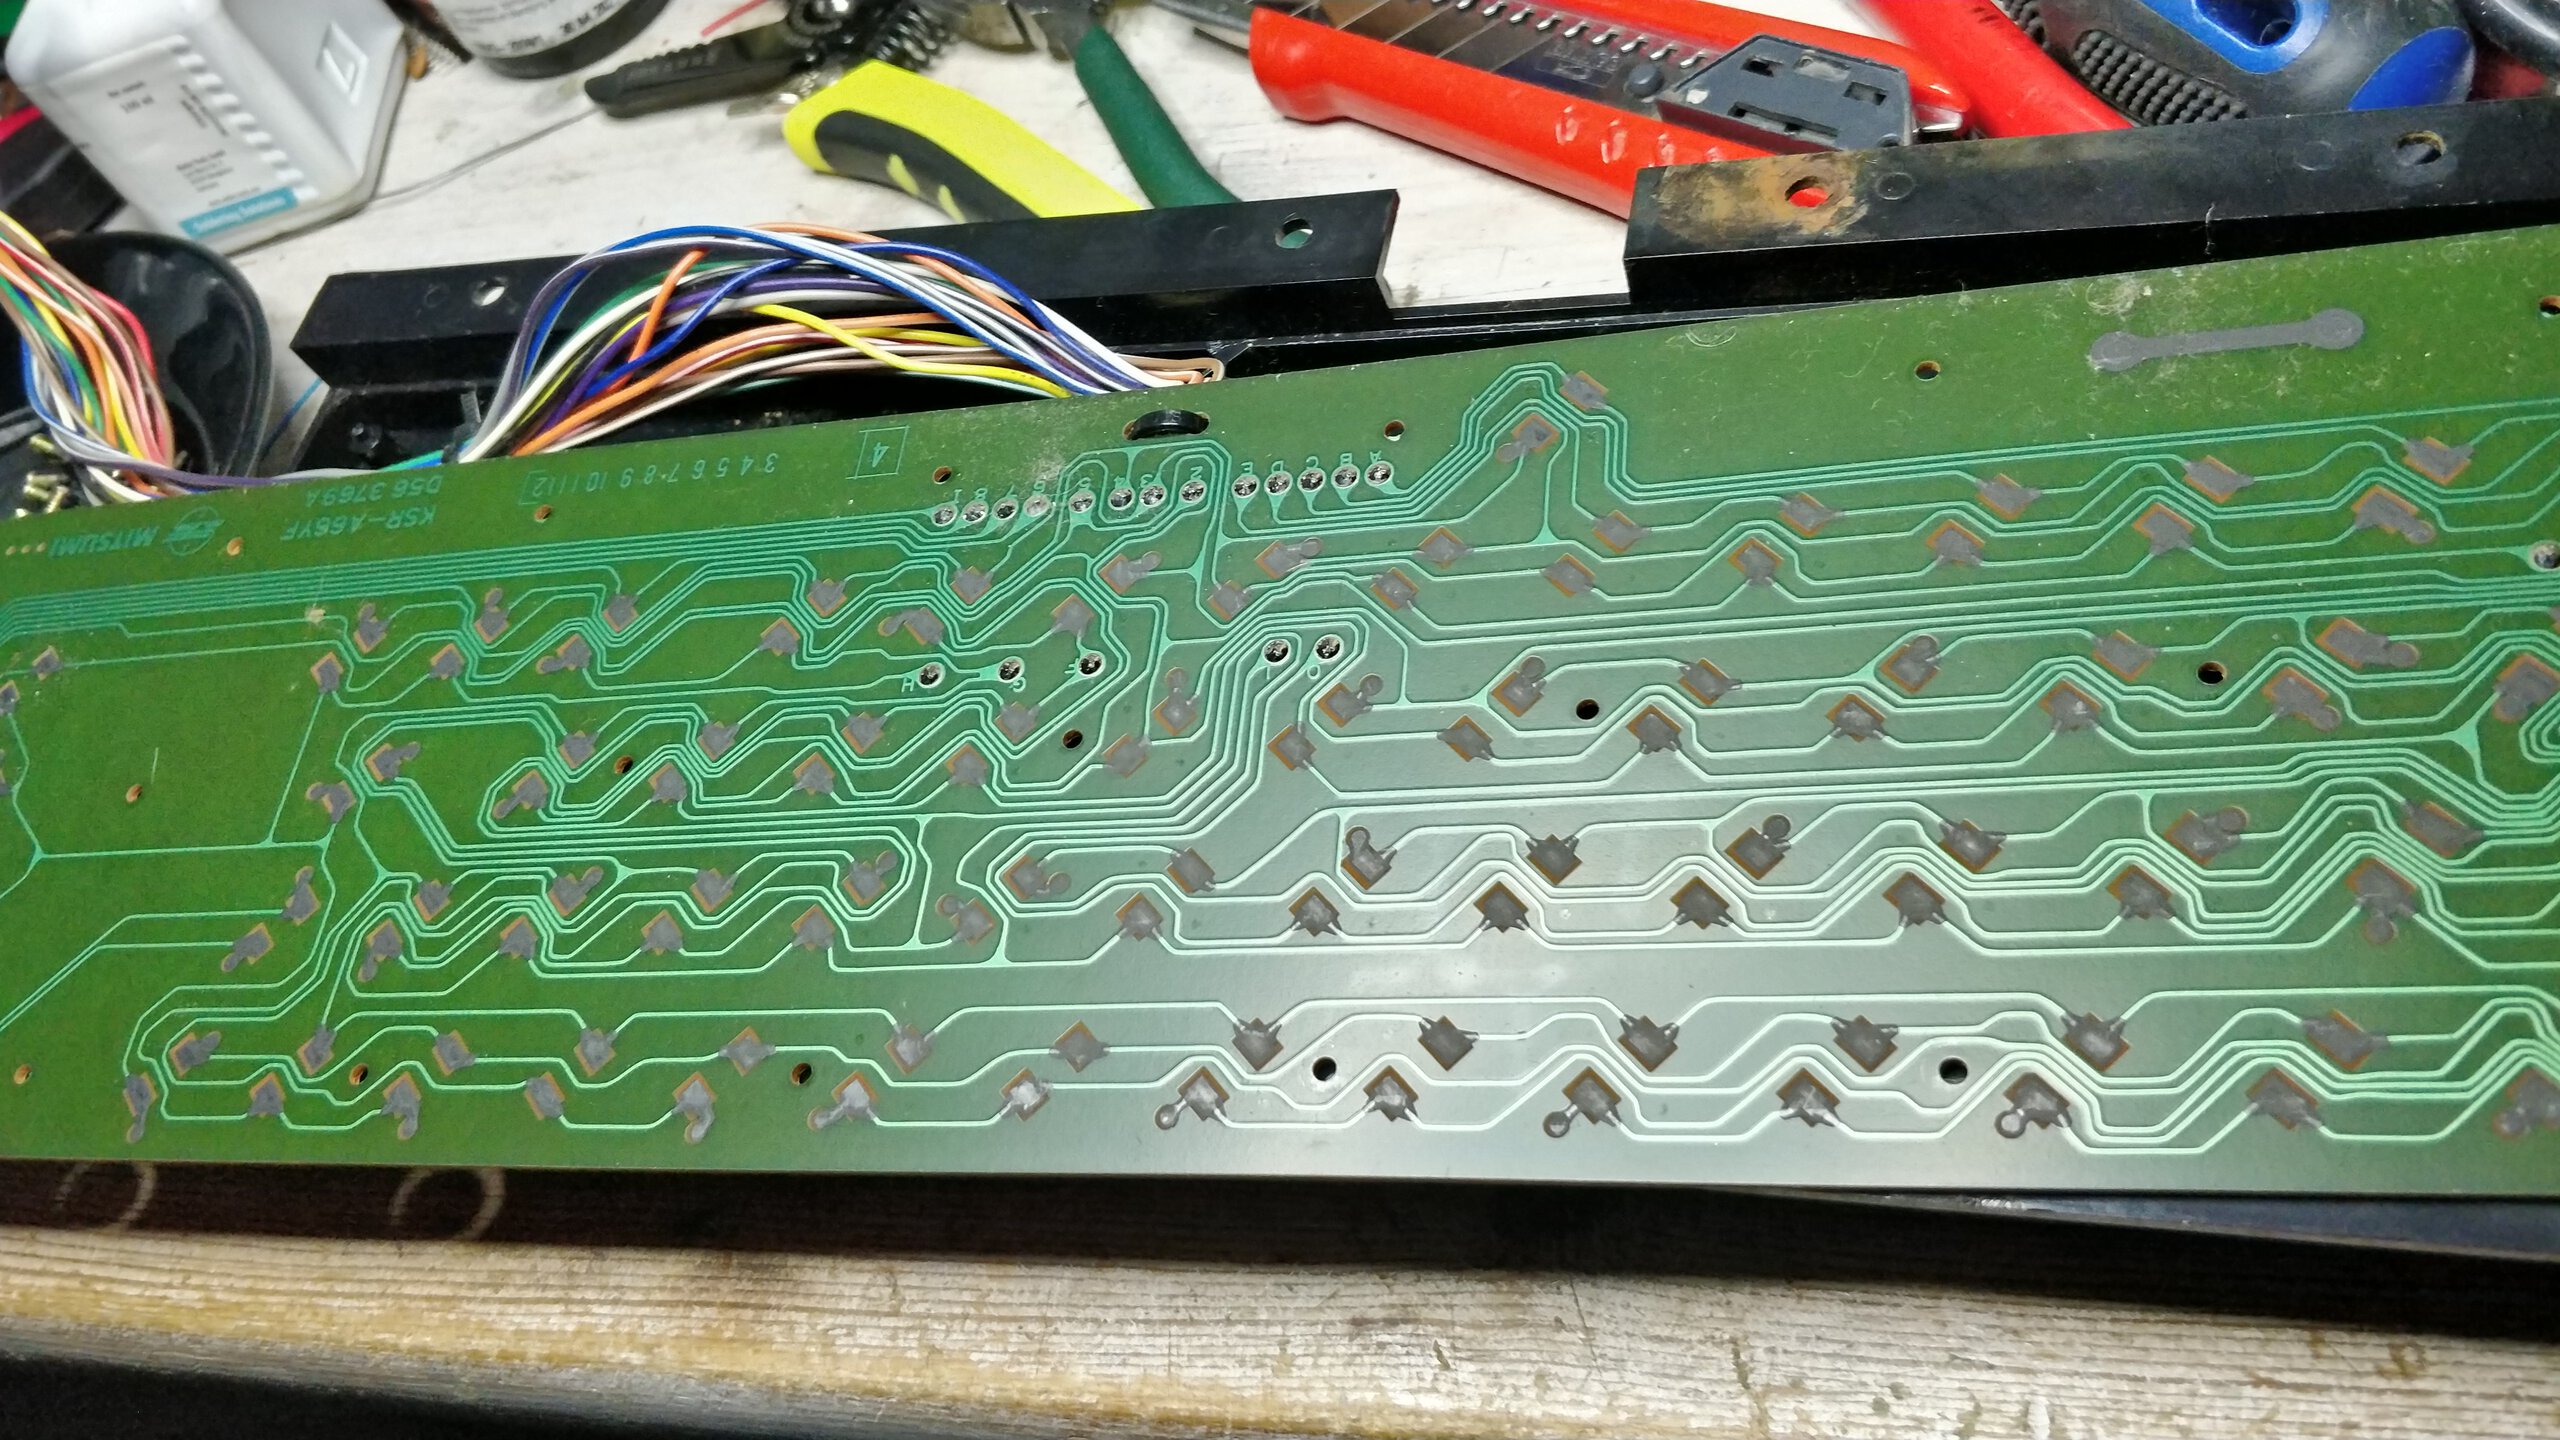
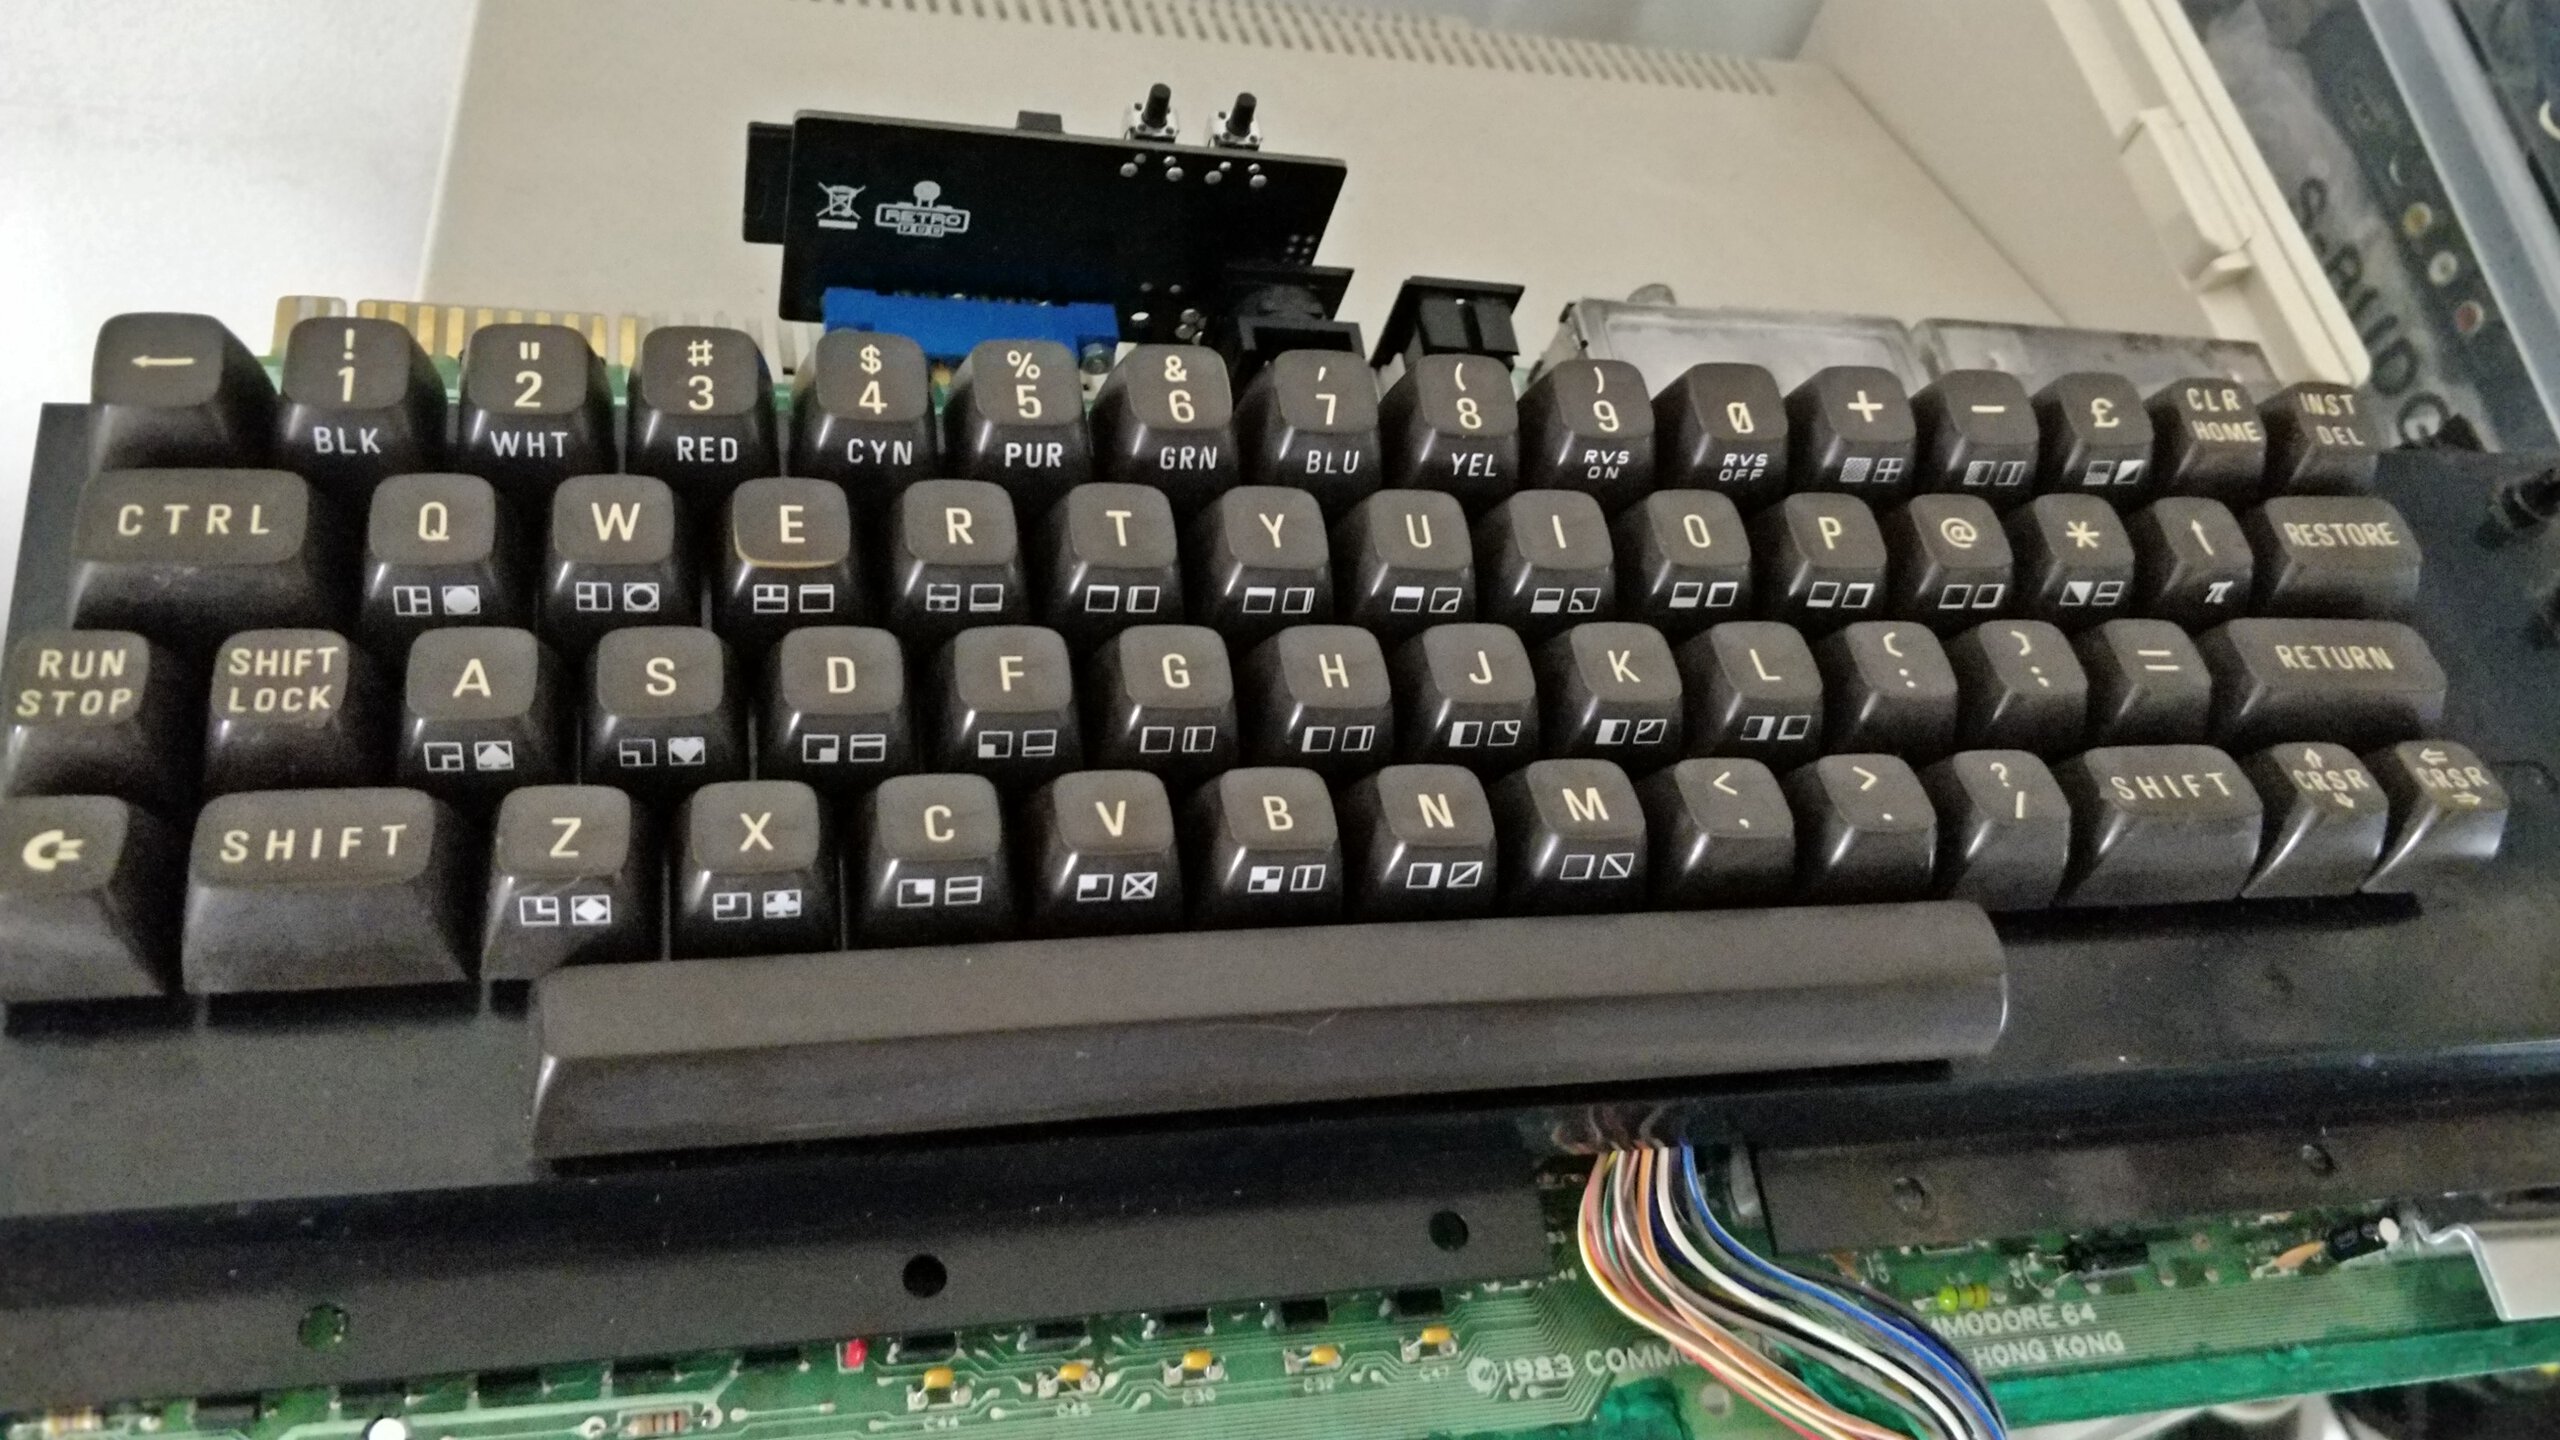
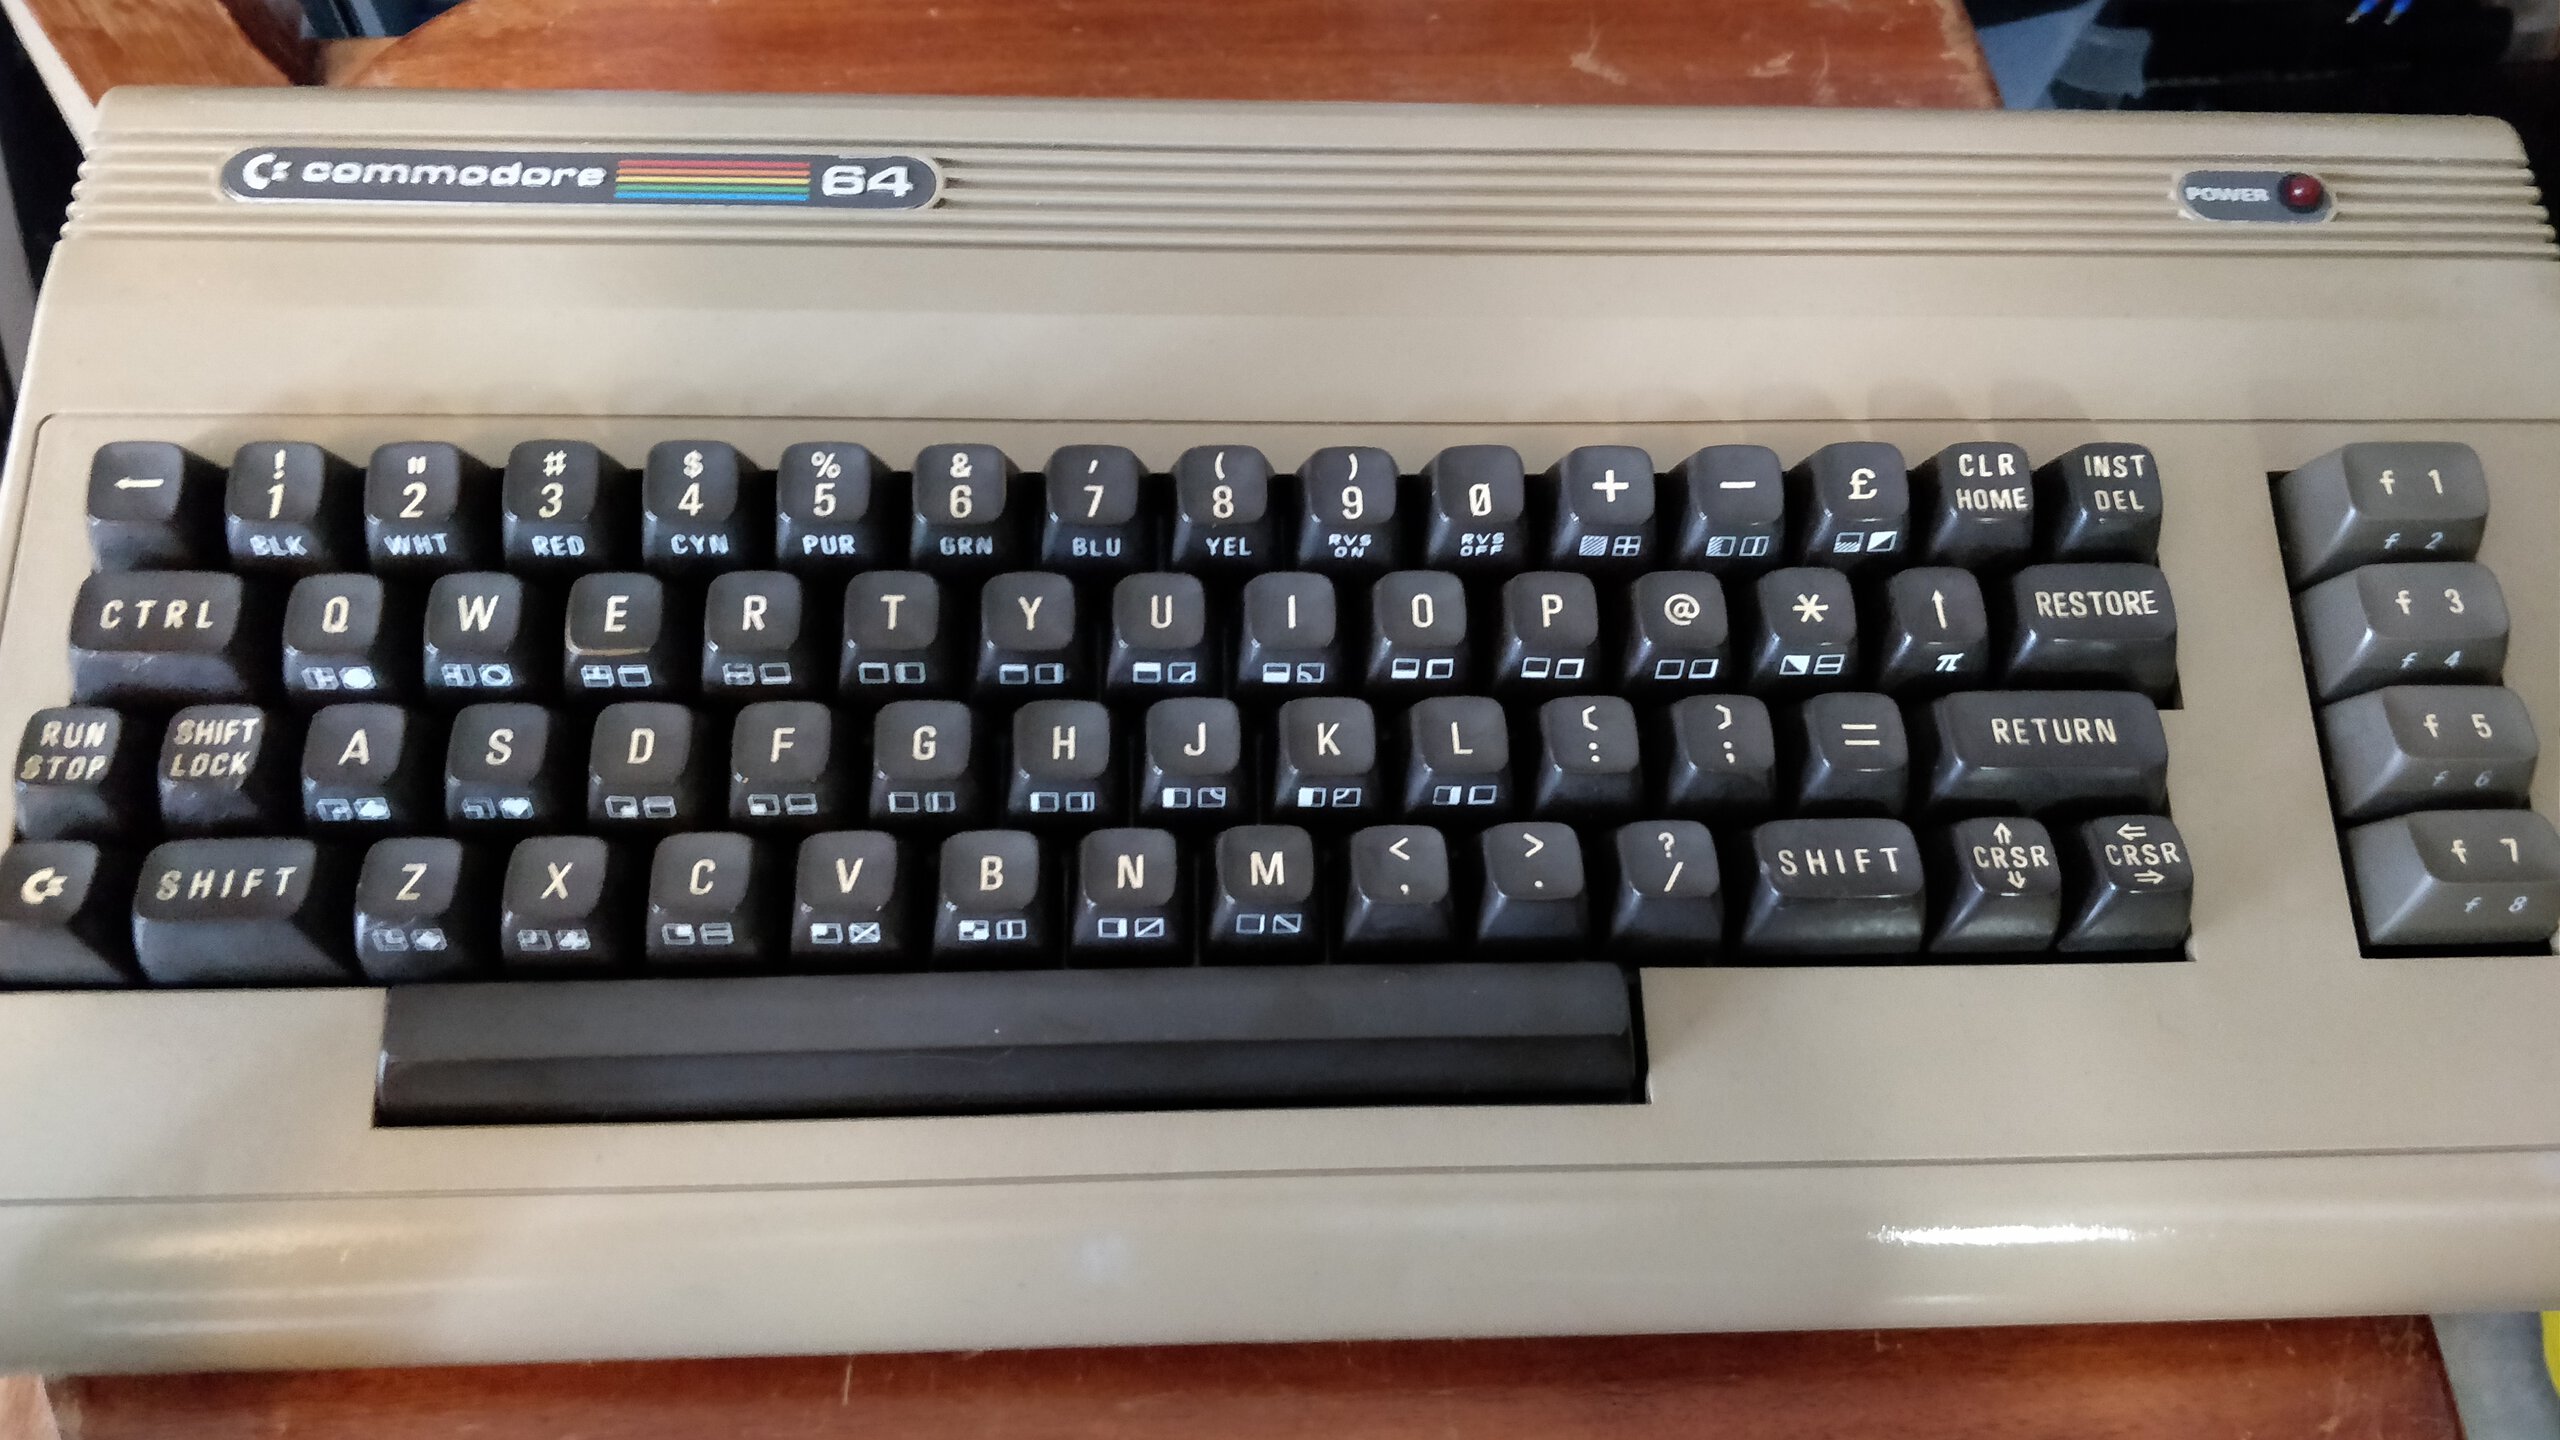
Keyboard repair
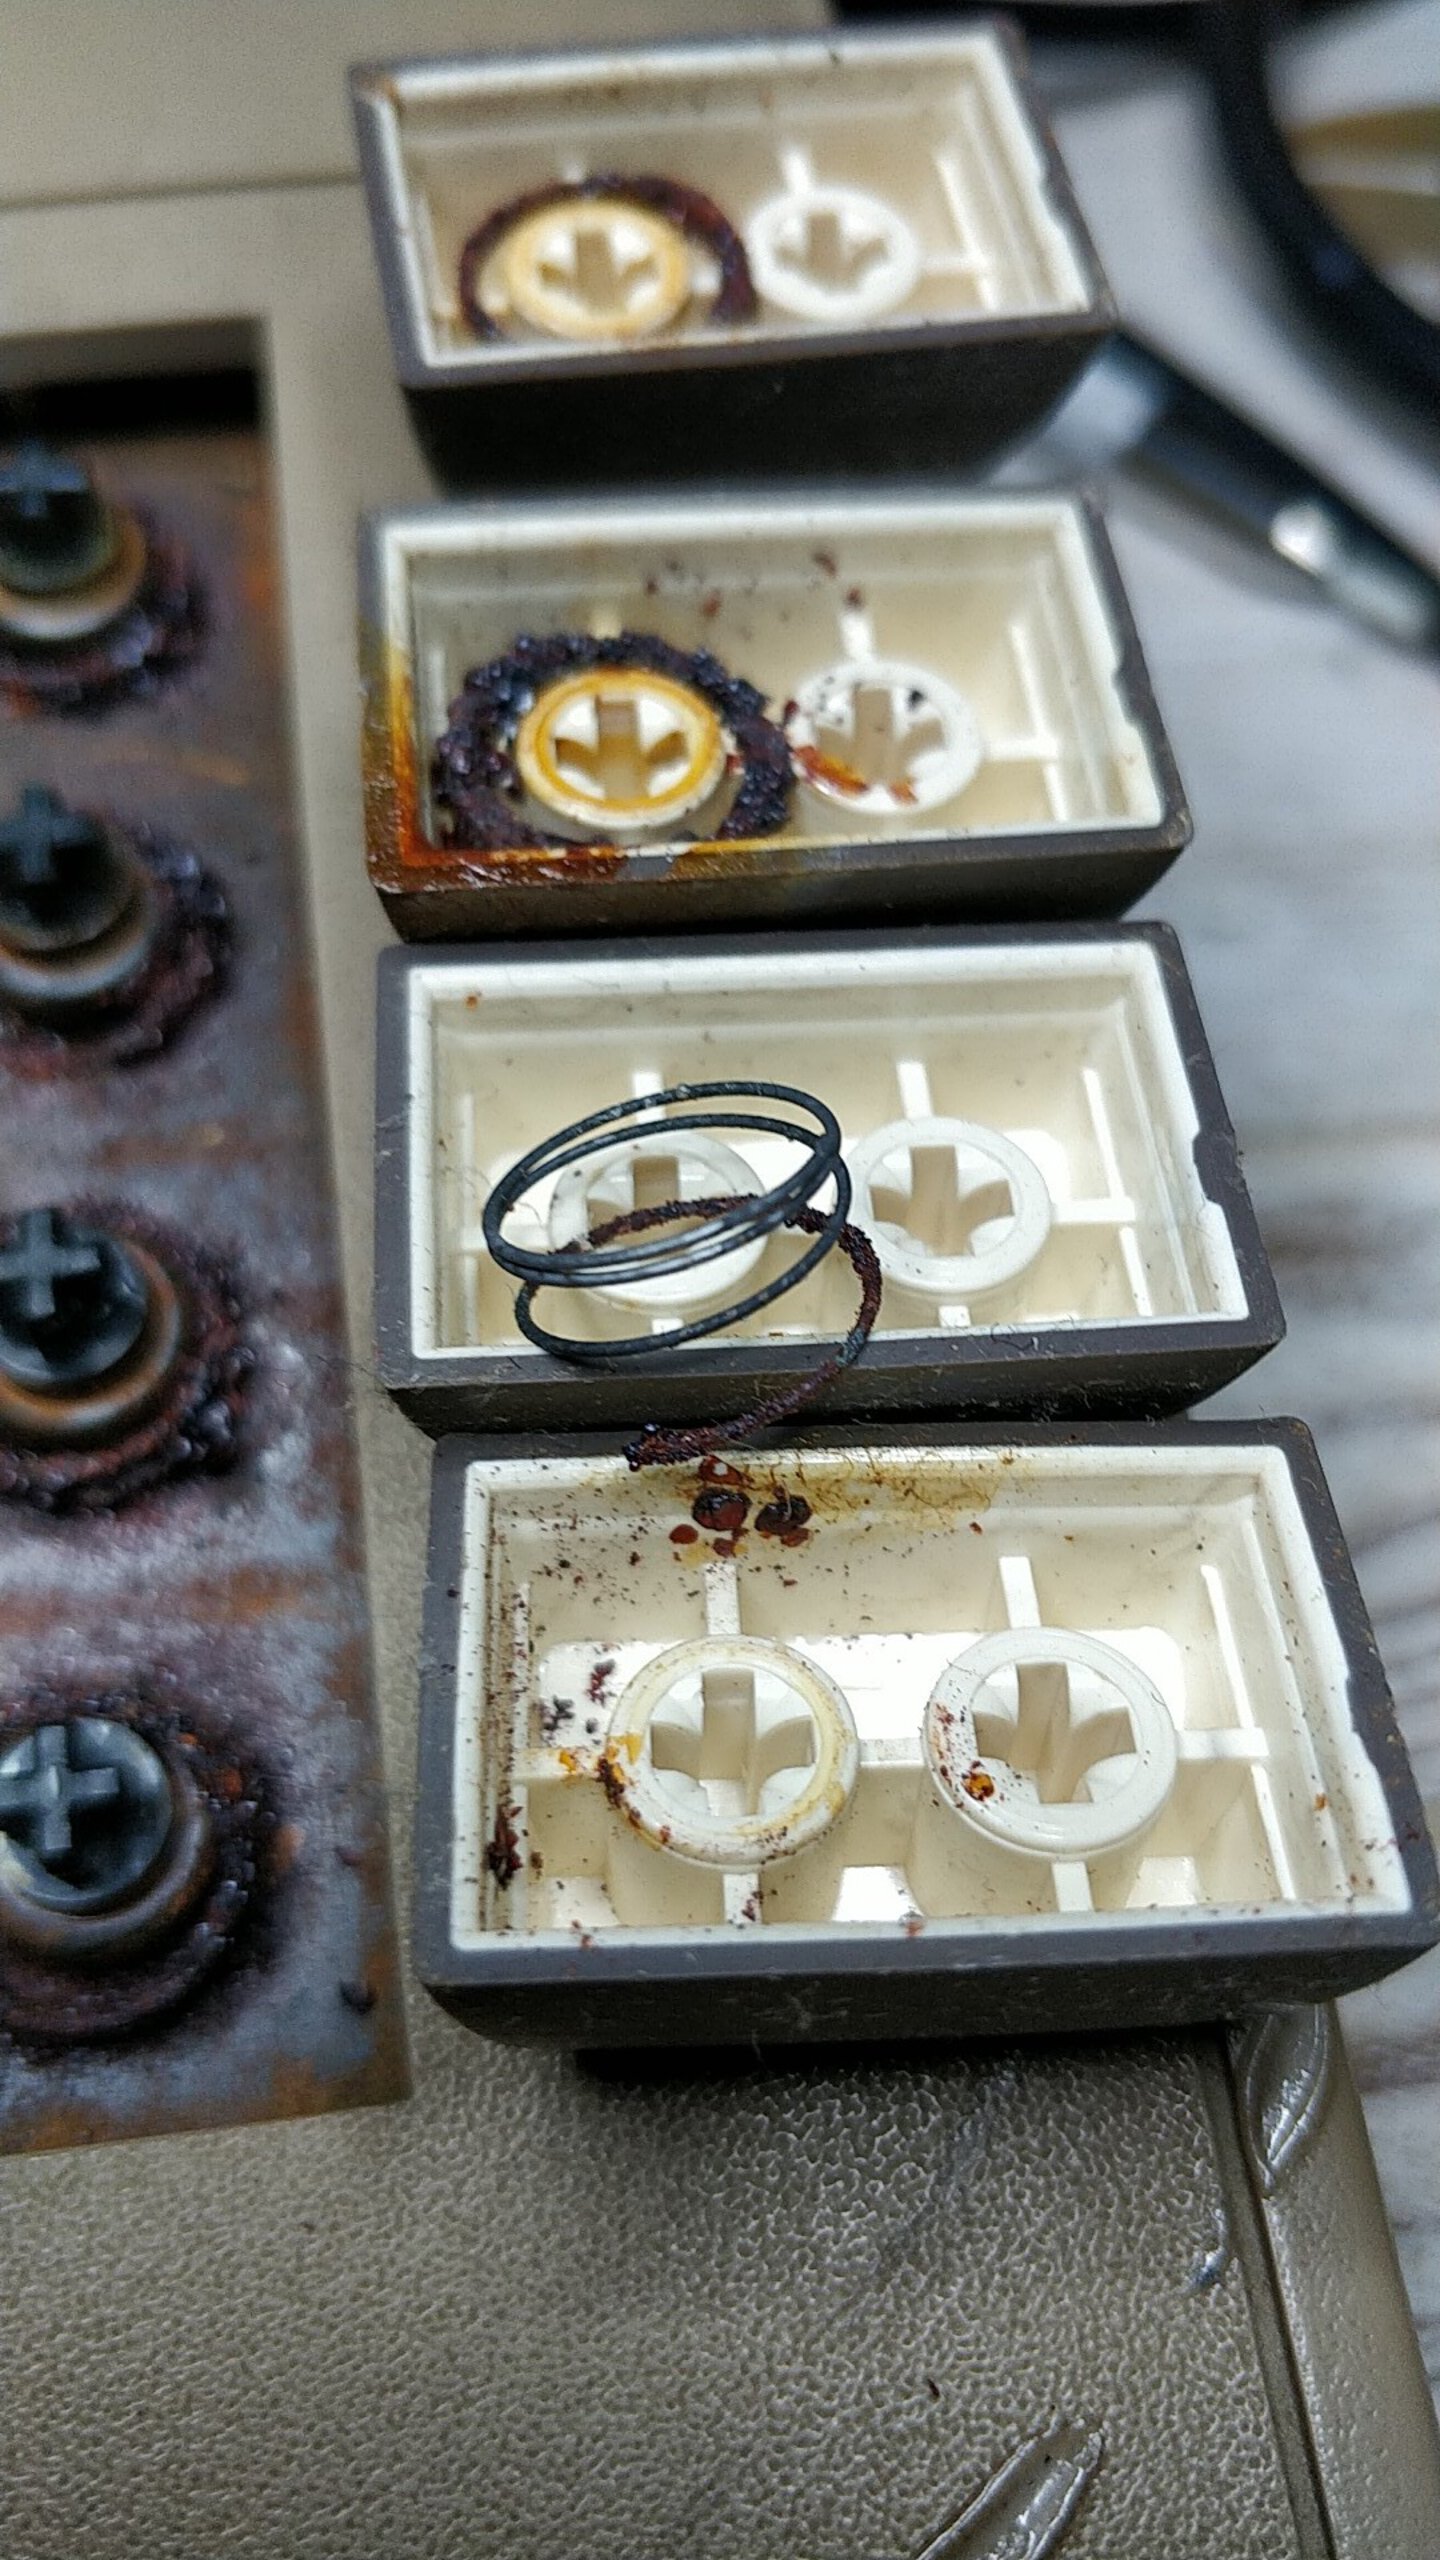
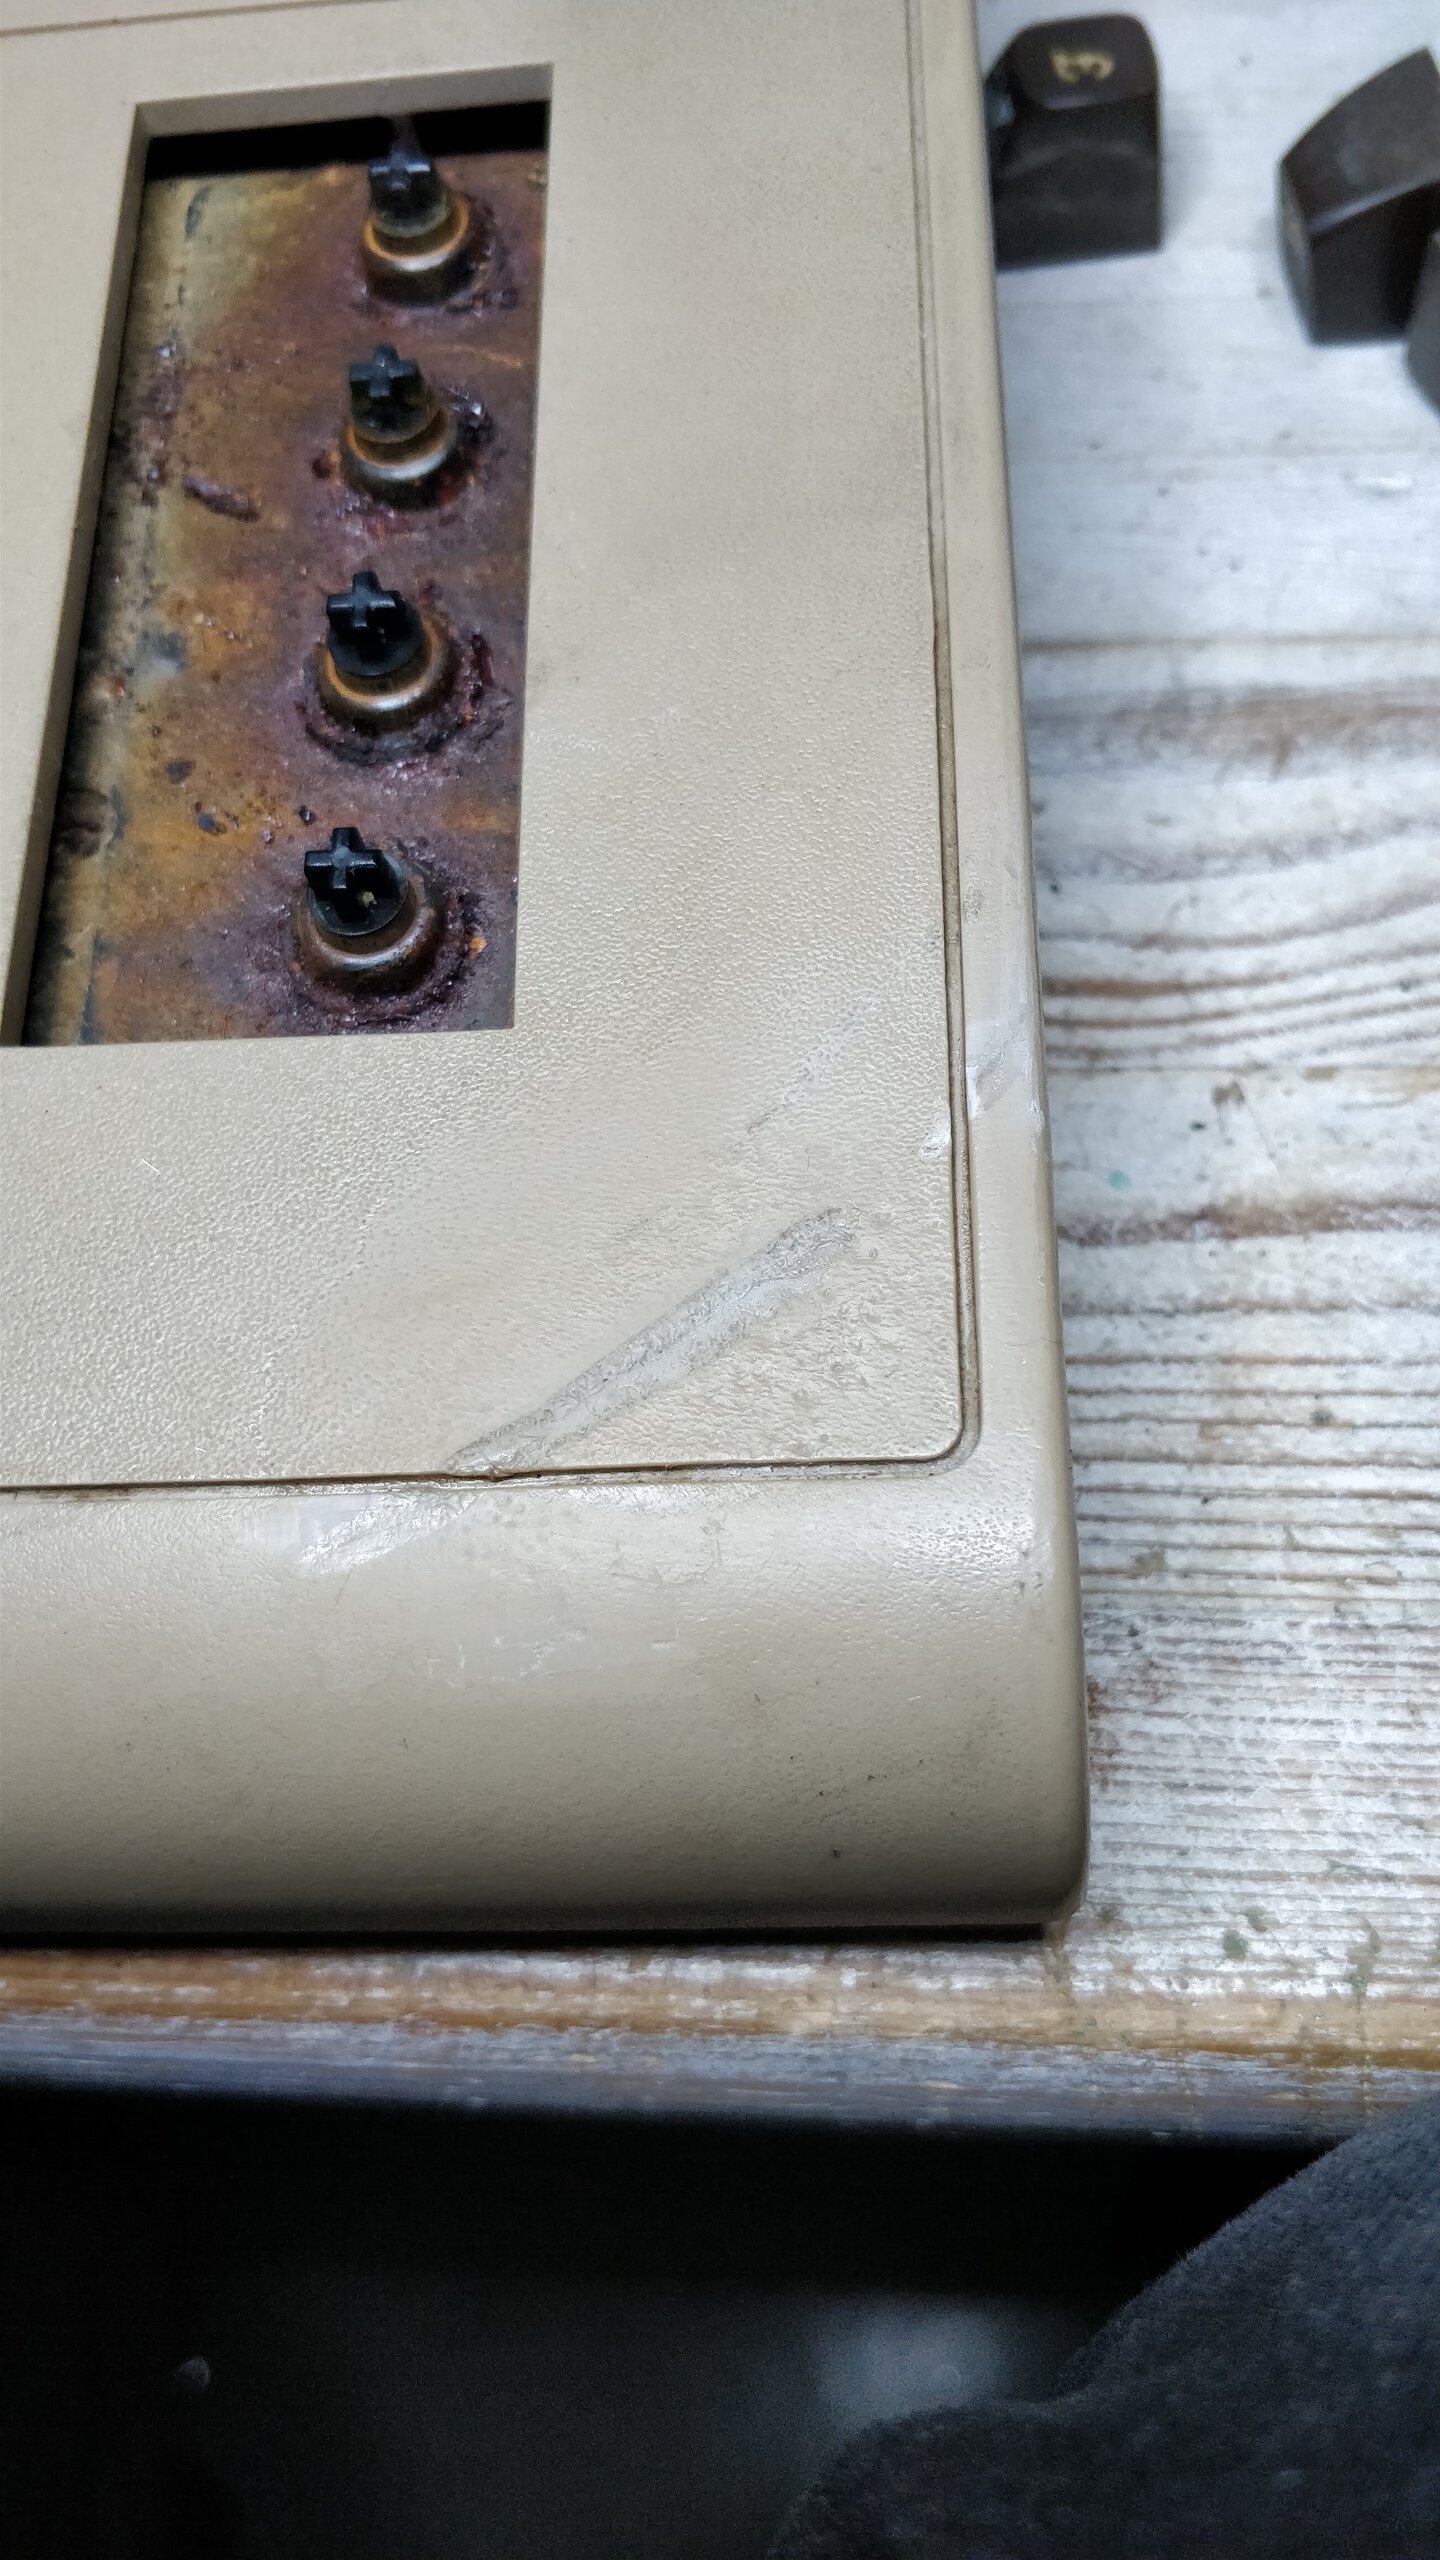
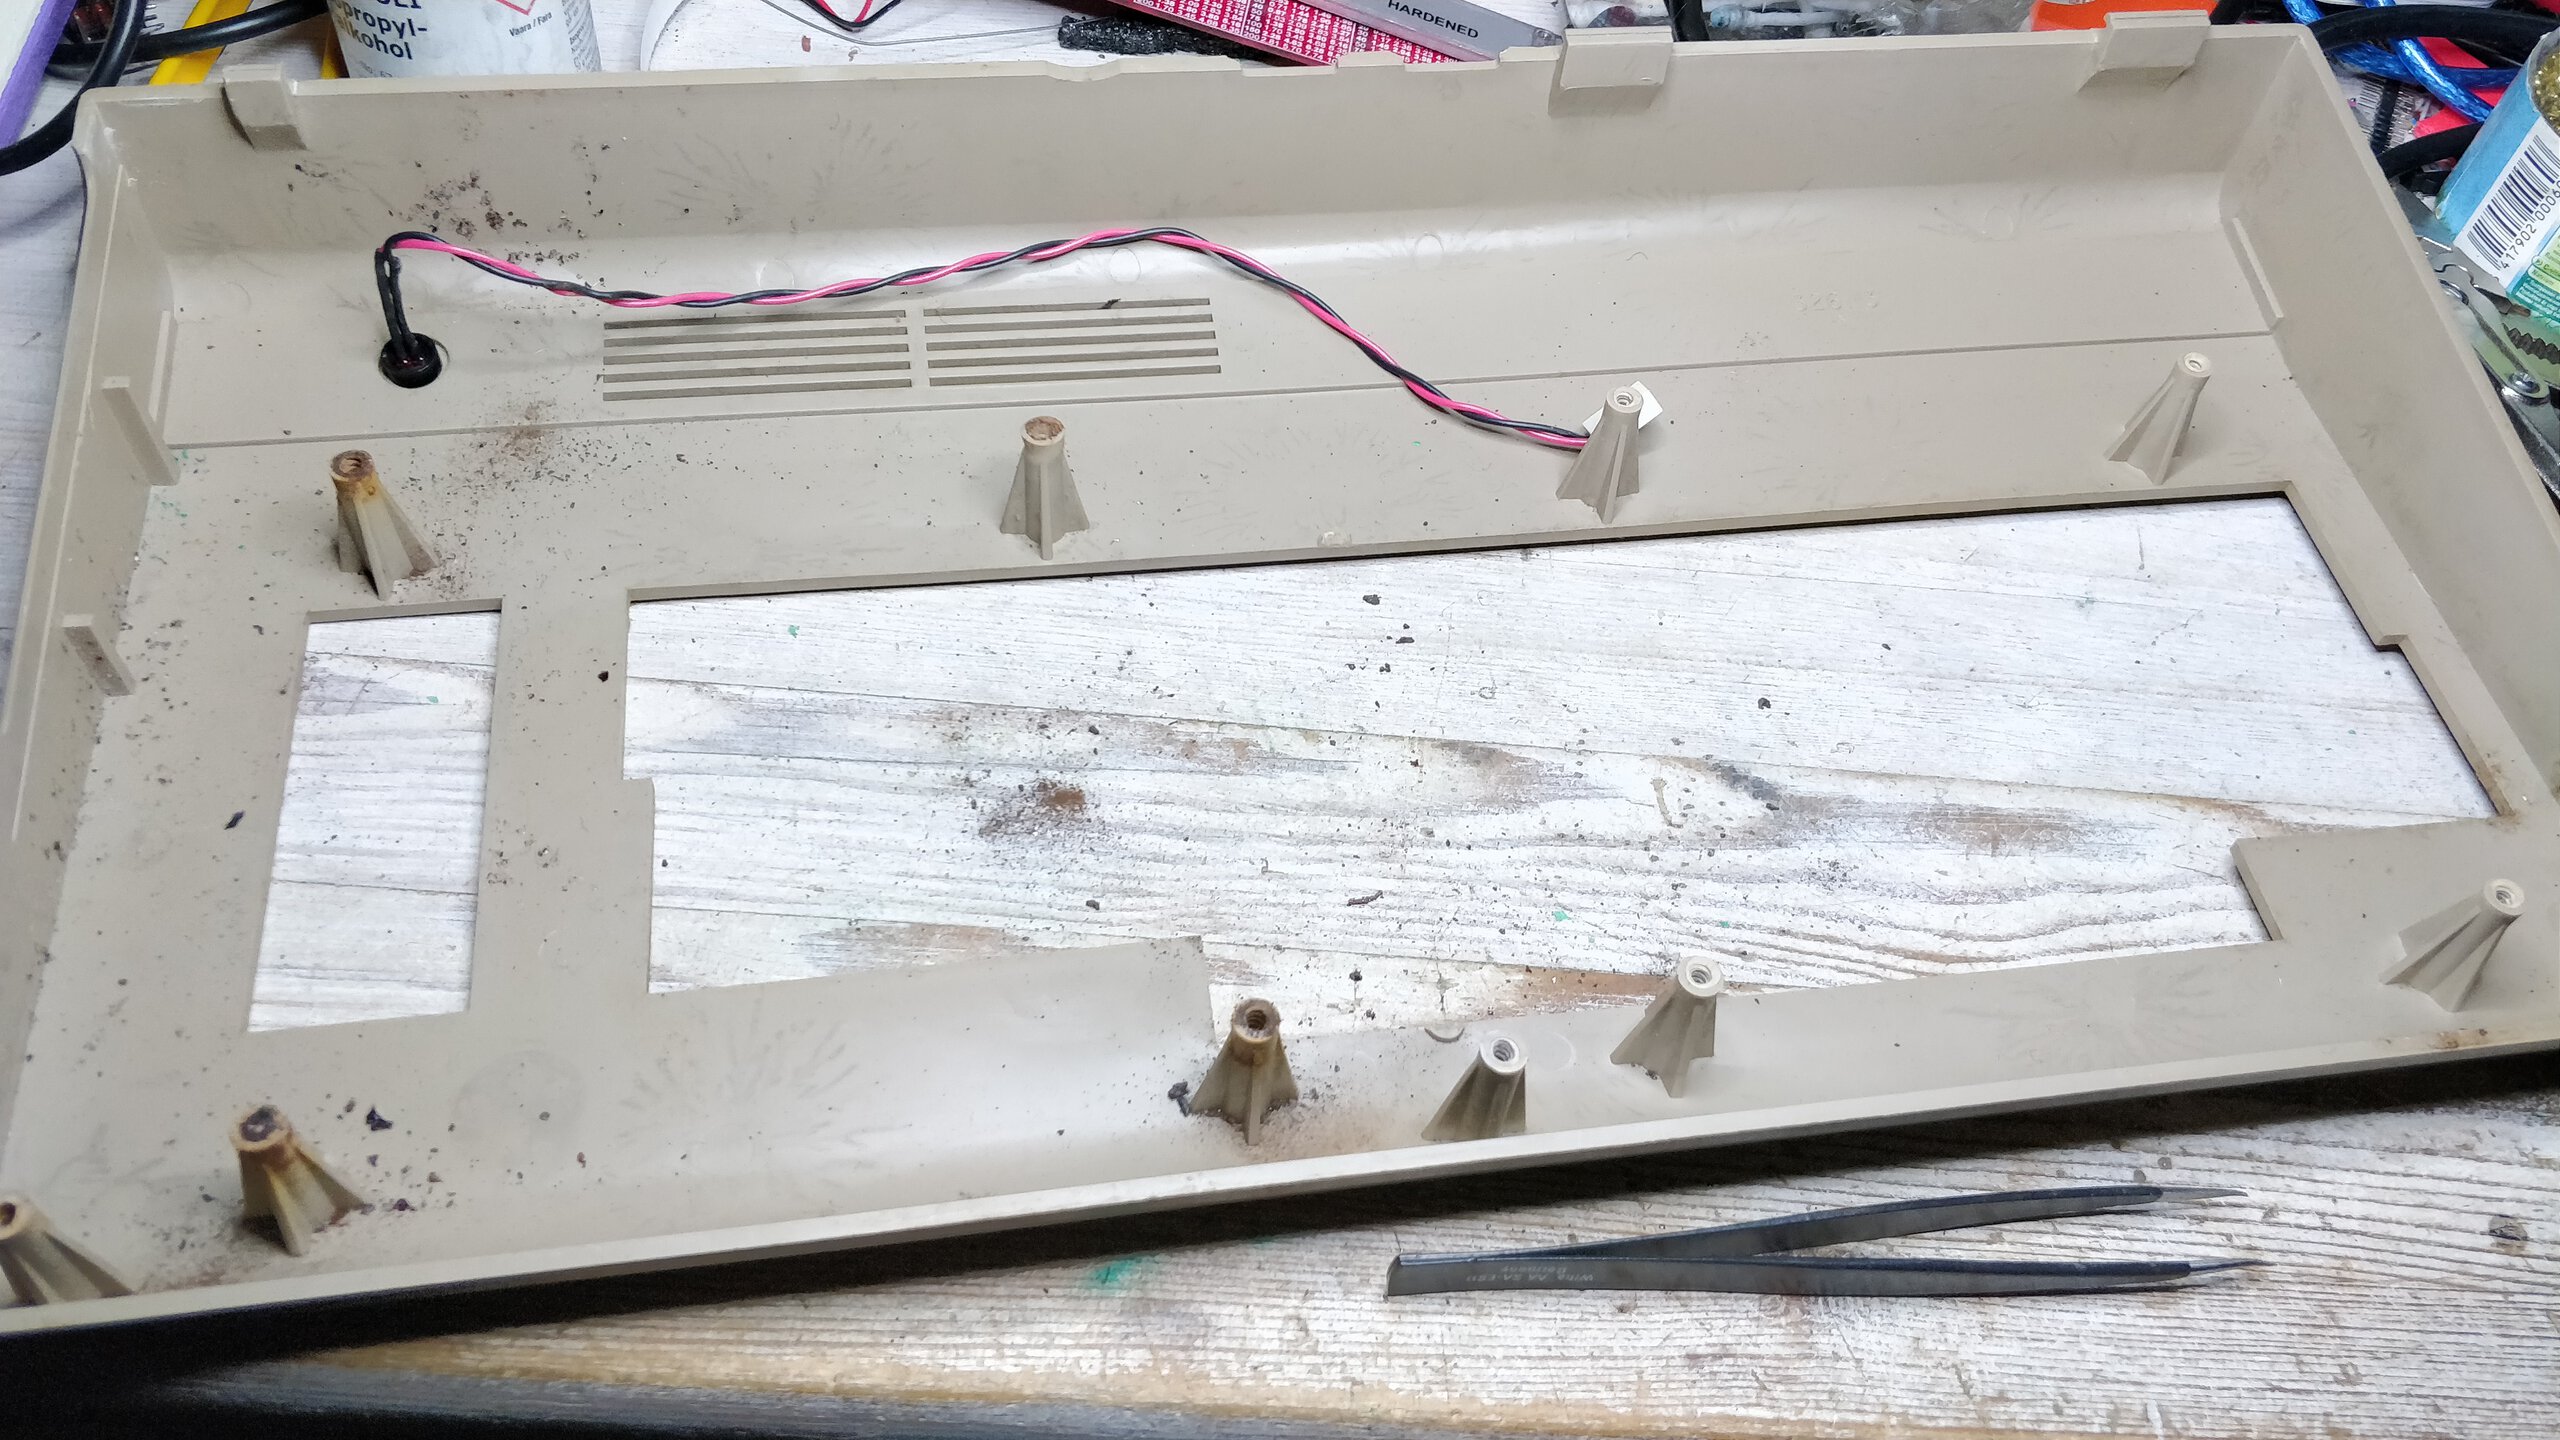
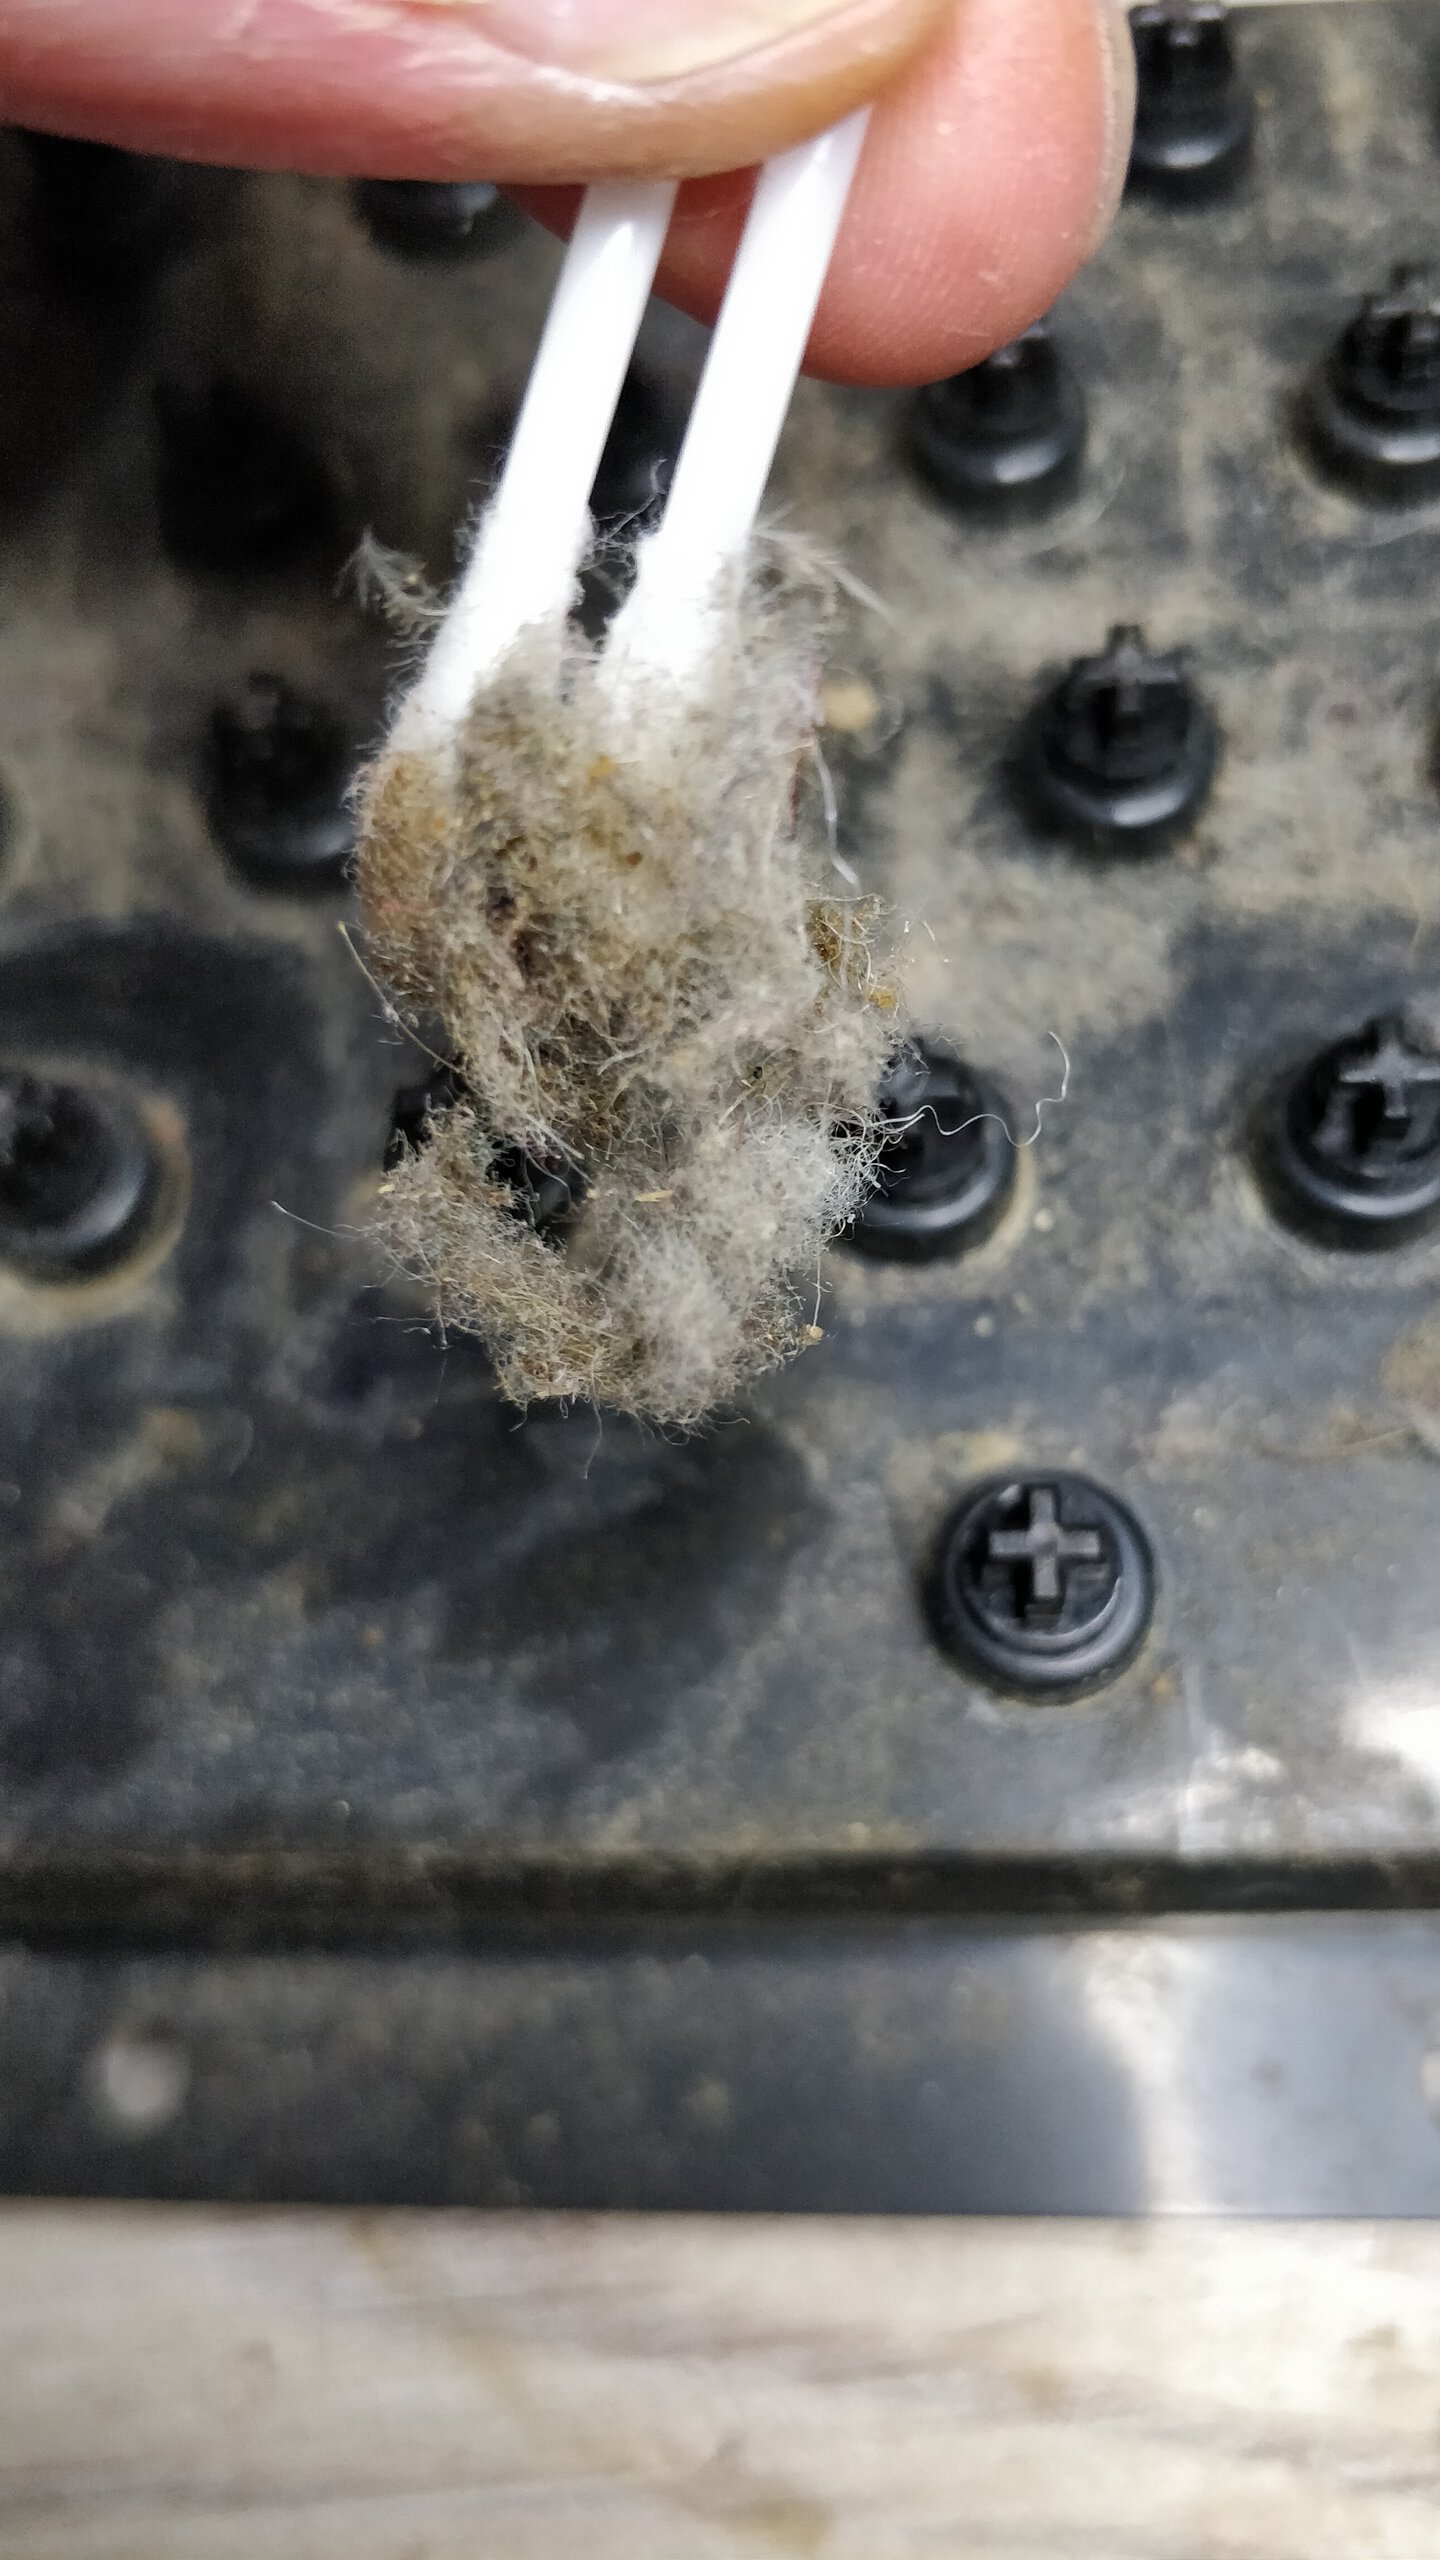
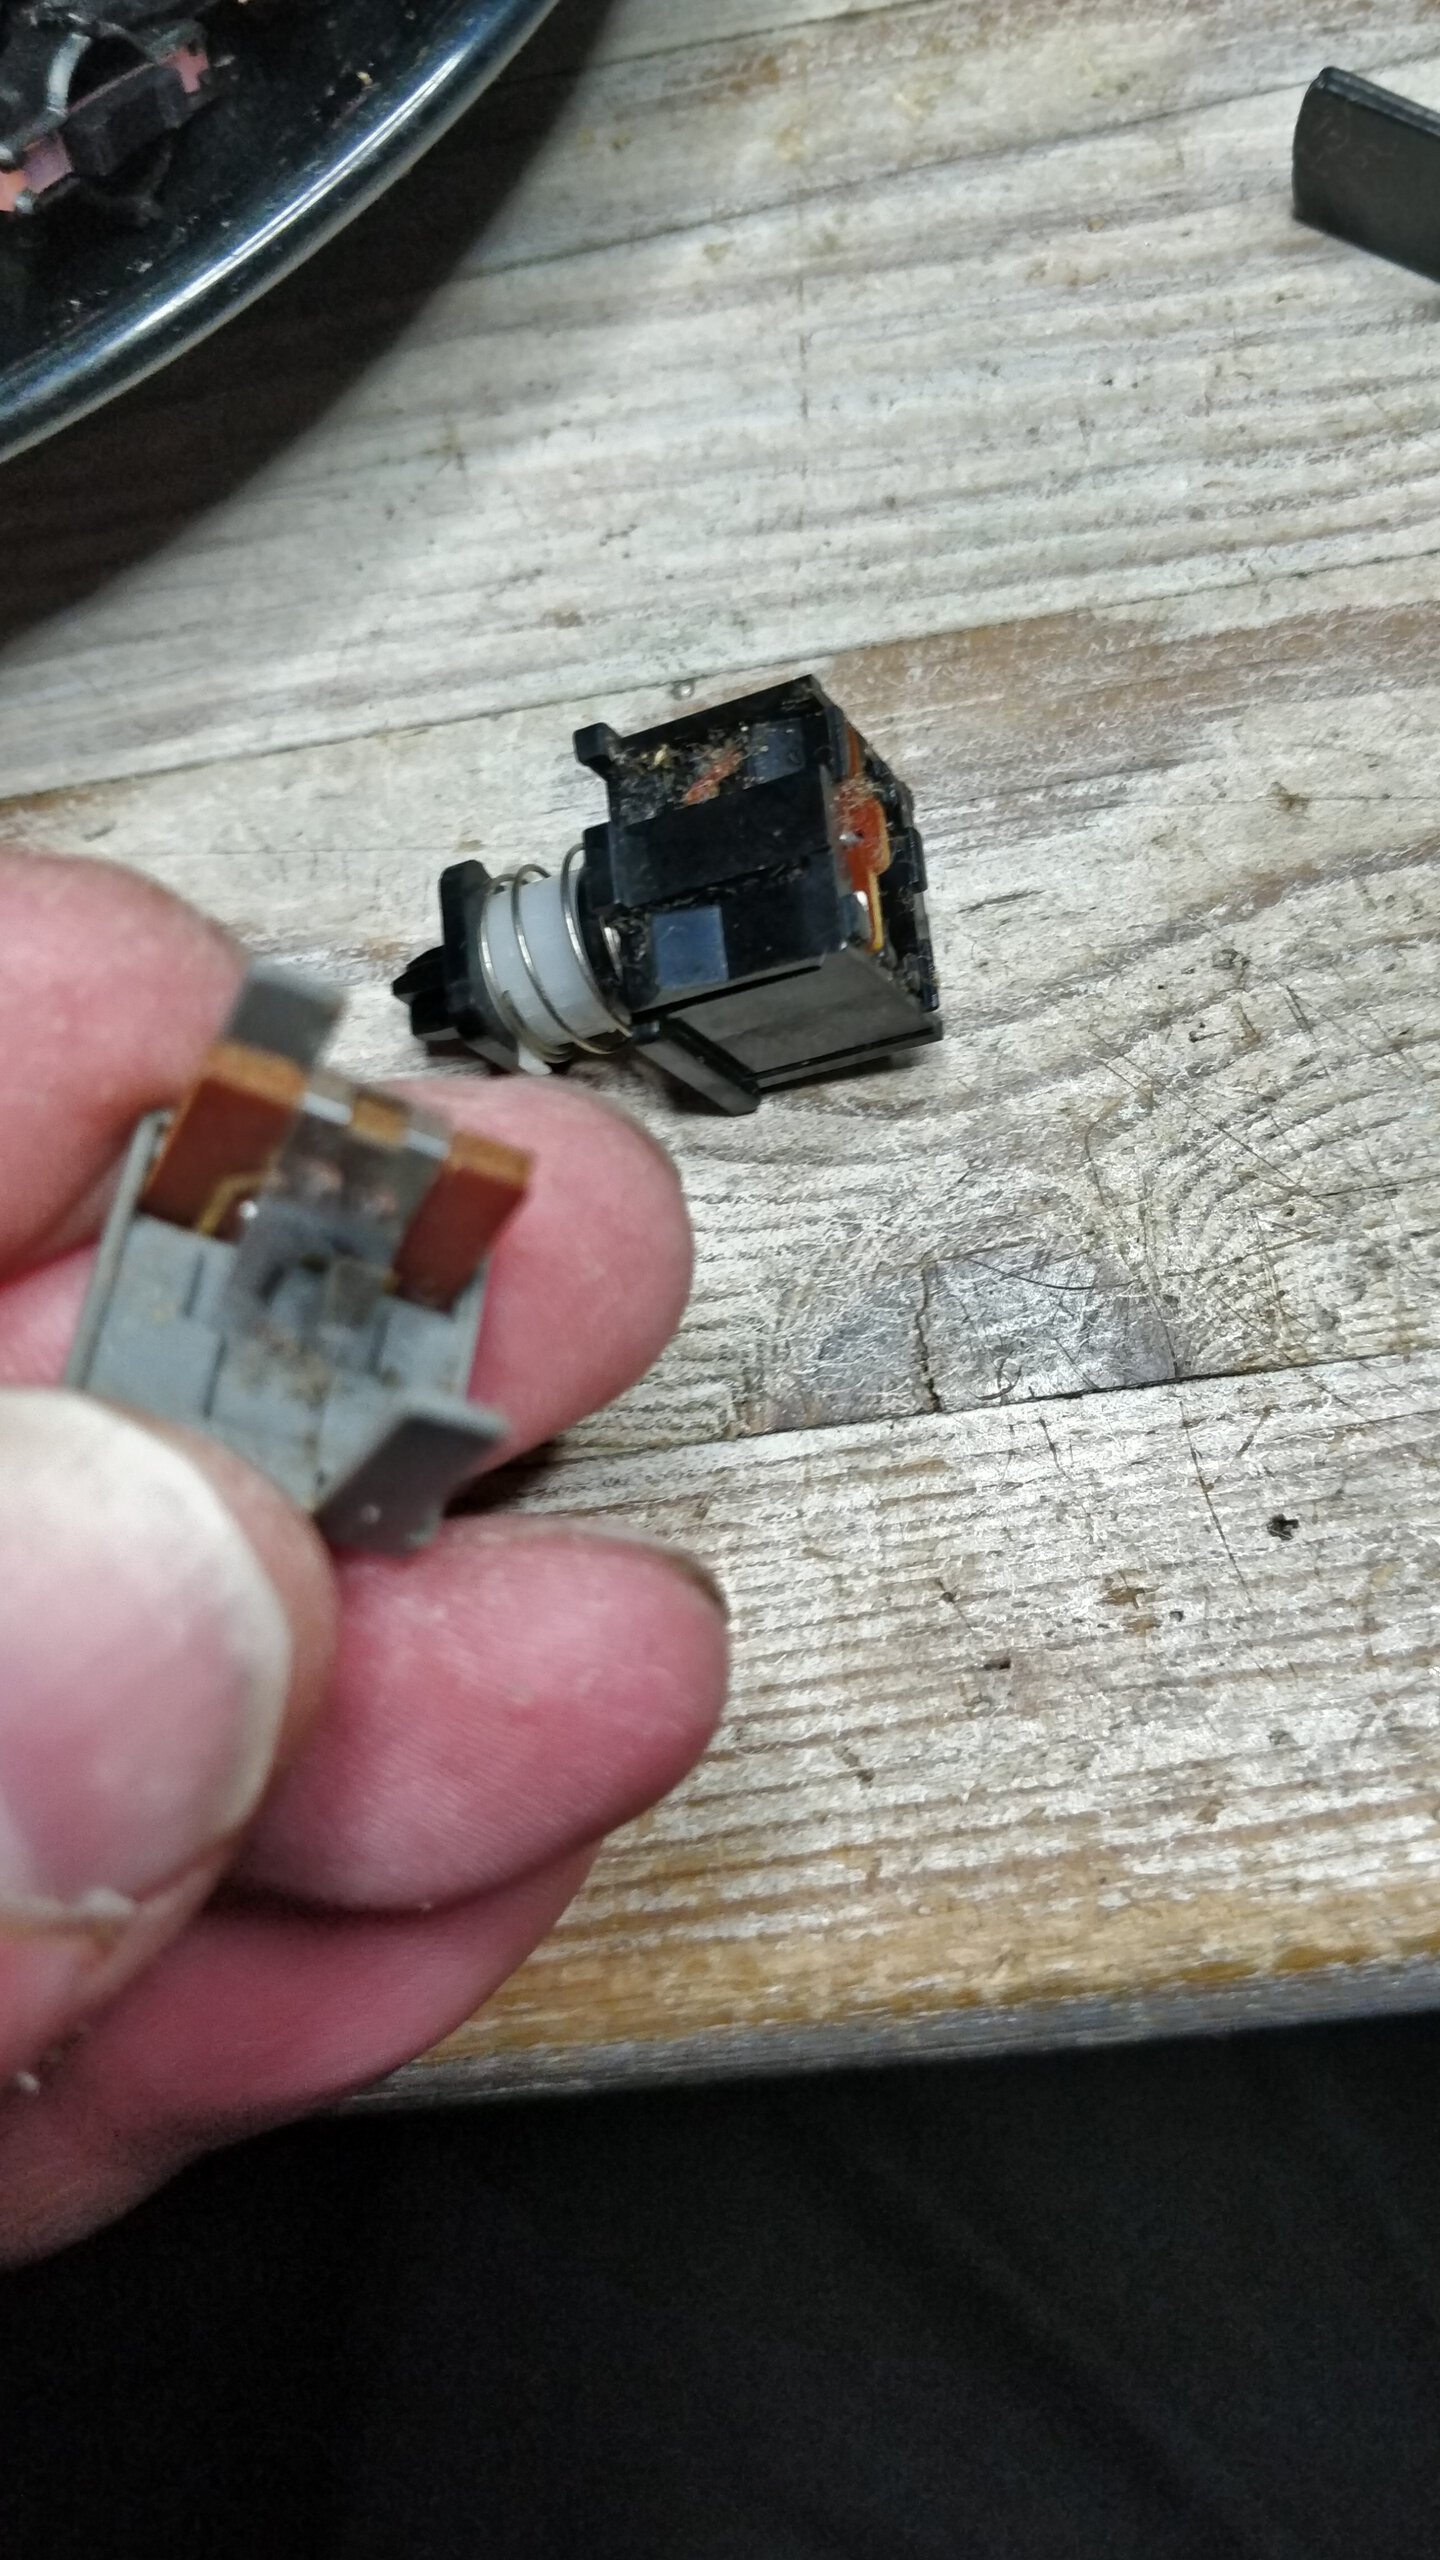
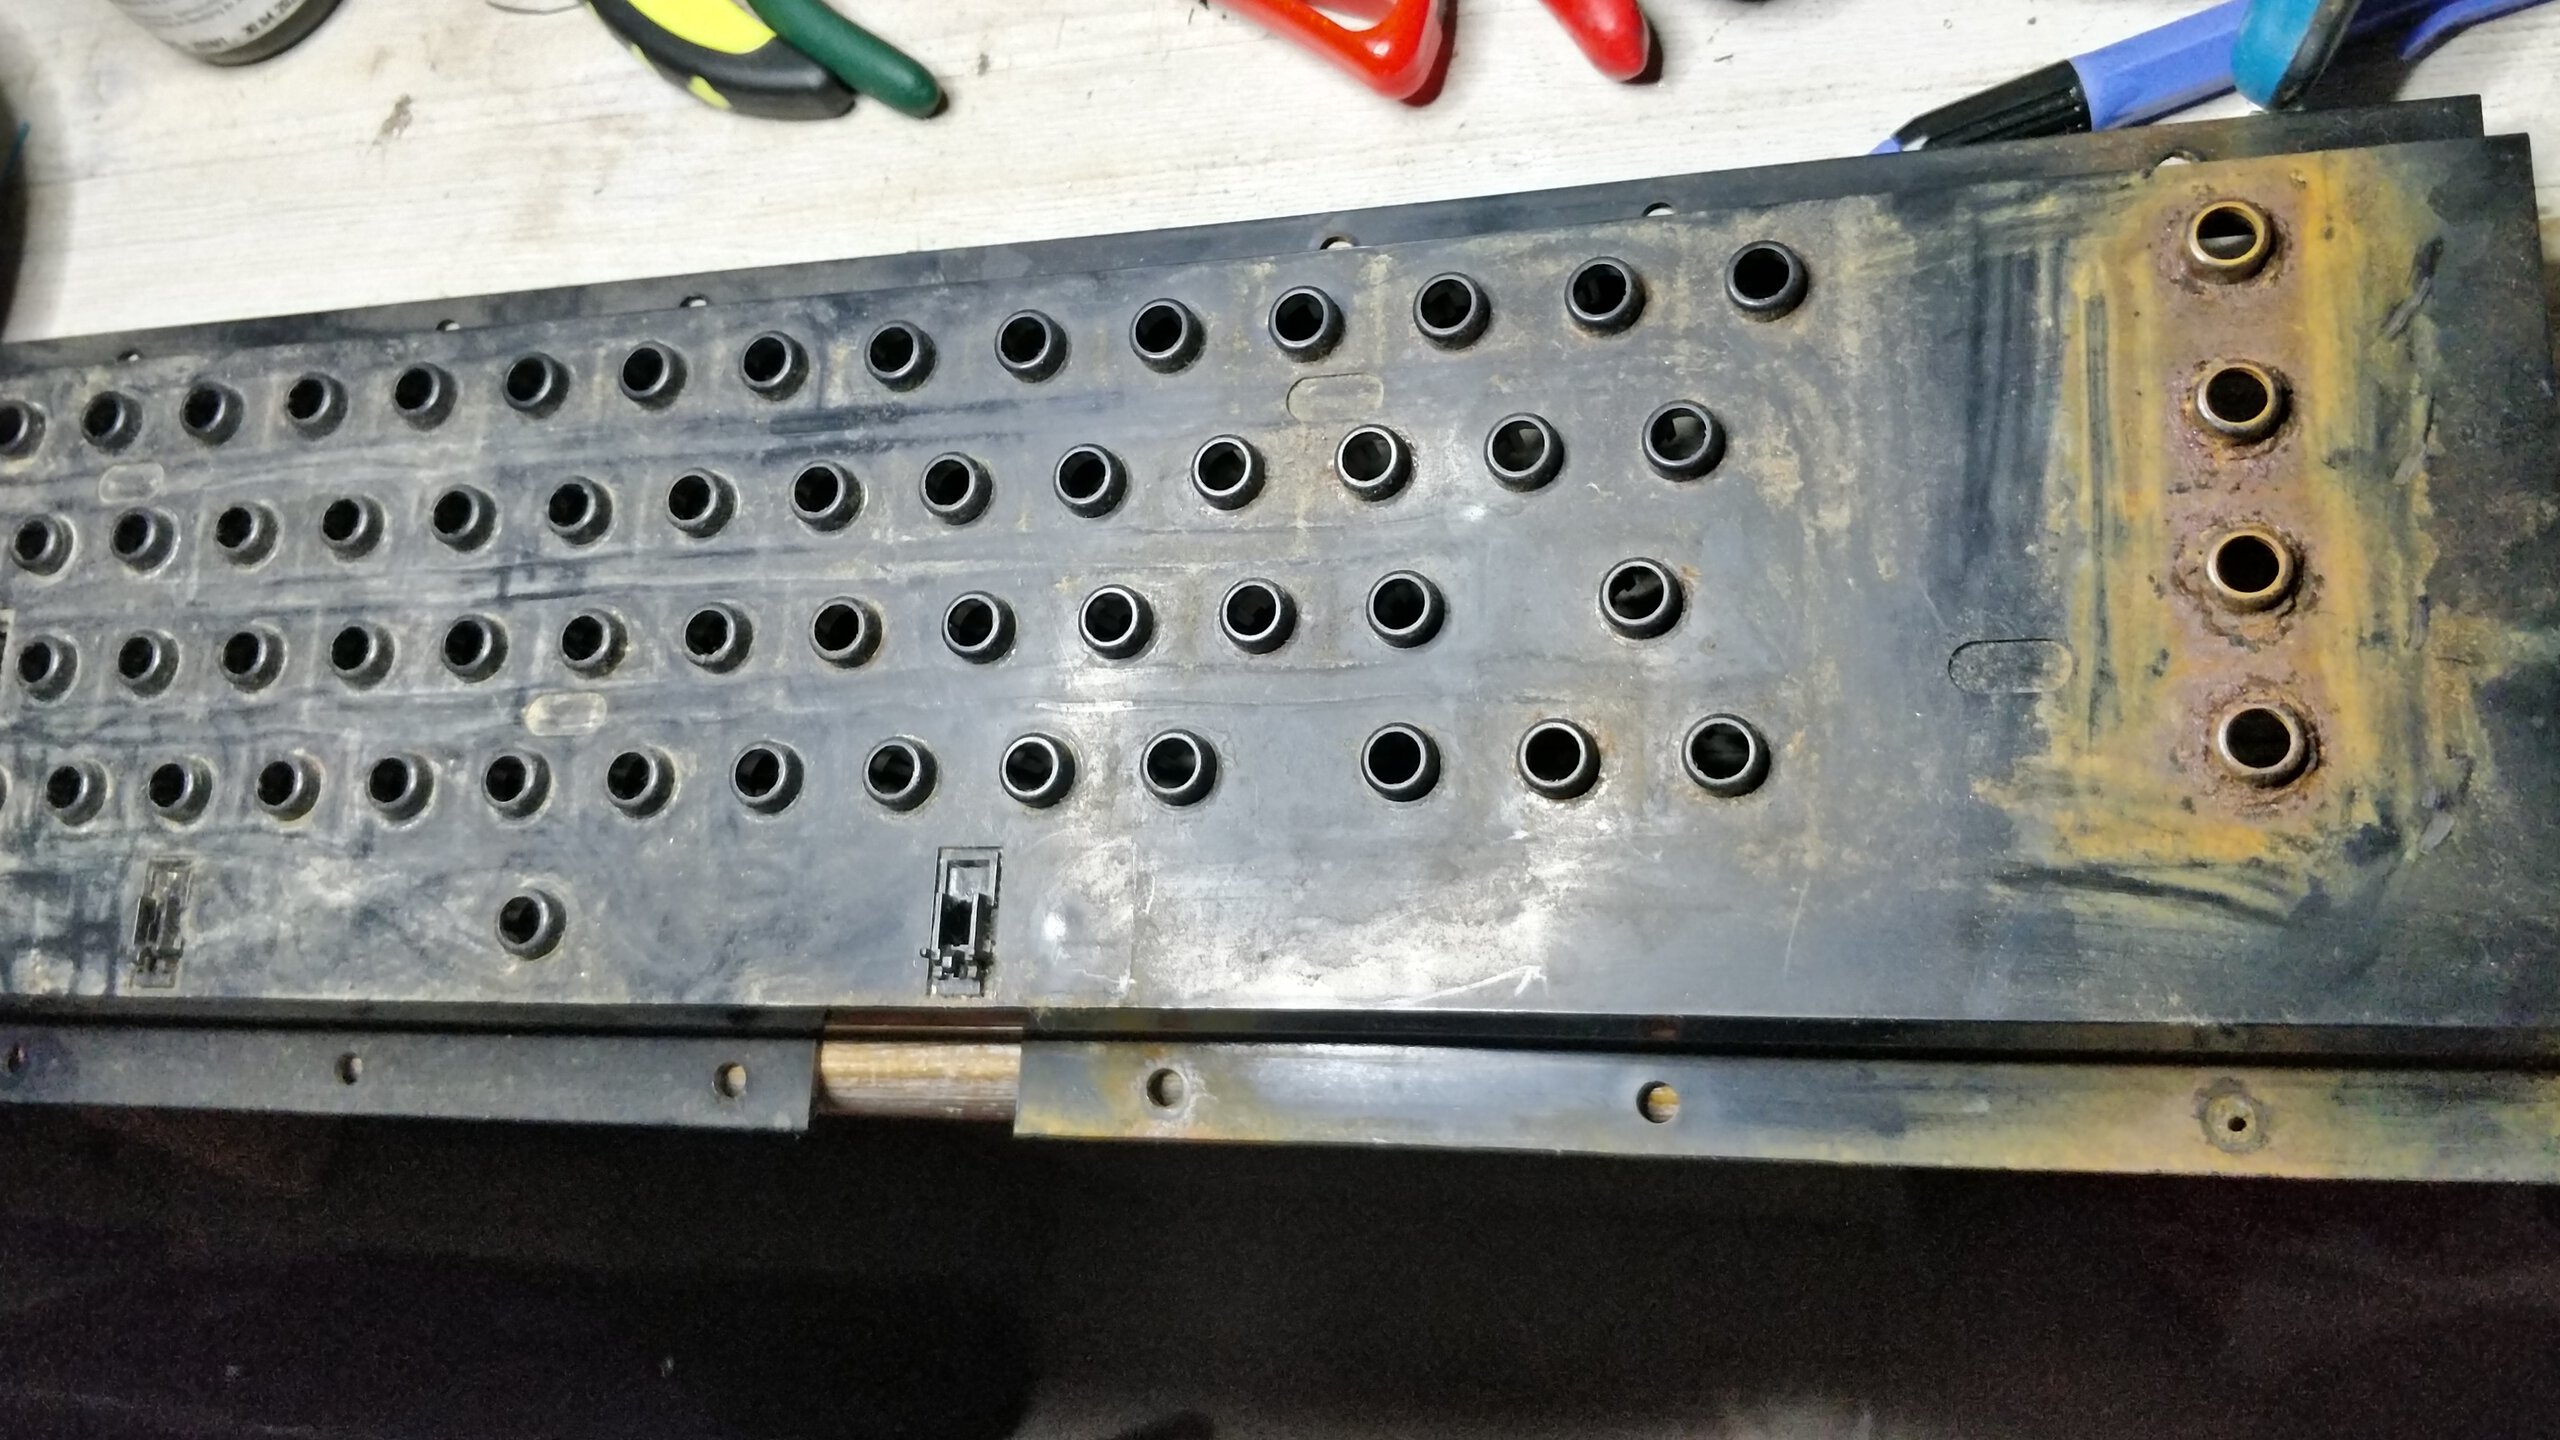
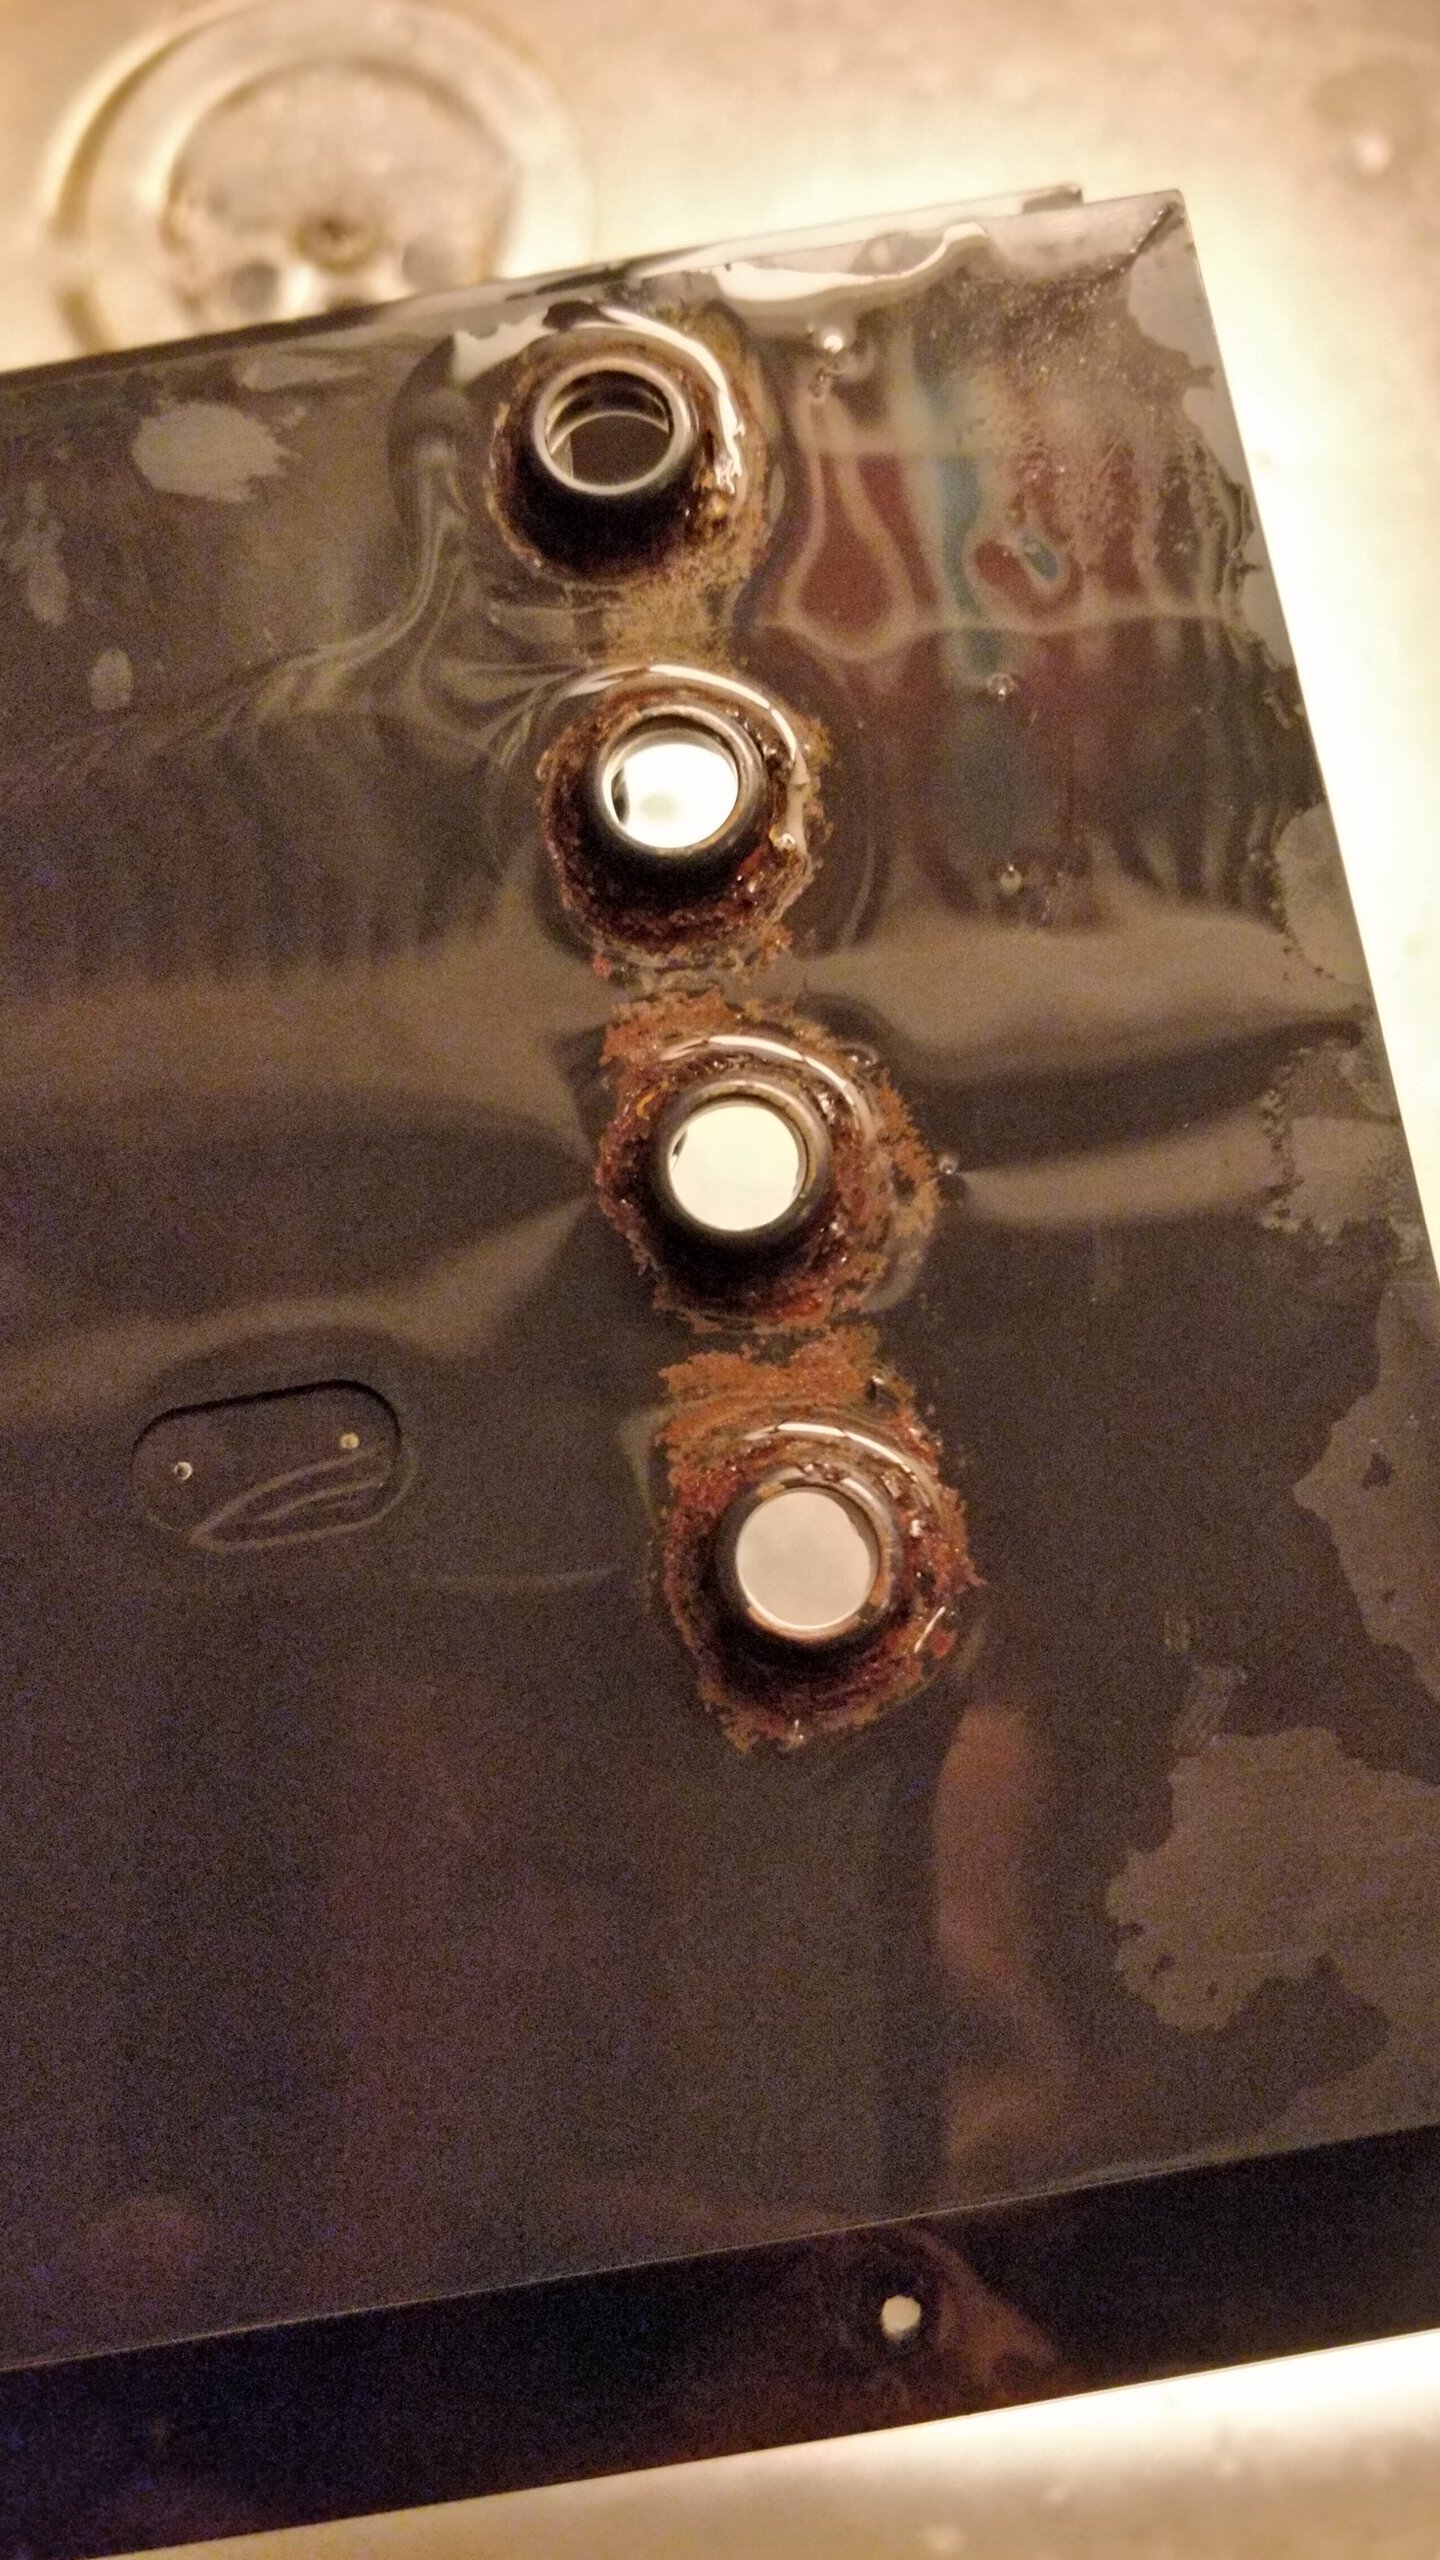
It was time to move on to keyboard. I just attached keyboard, using some cotton swabs to keep the stuck function keys up. Rarely any key produced any letters except when hitting hard - which was kinda expected seeing the all in all condition of the machine. Keyboard screws were also super rusty and pretty much stuck into case, one screw post top snapped away when I tried to remove the screw. Finally I got keyboard separated from case and opened the 65535 screws holding the keyboard together 😉 It was time to start removing the key caps and plungers.
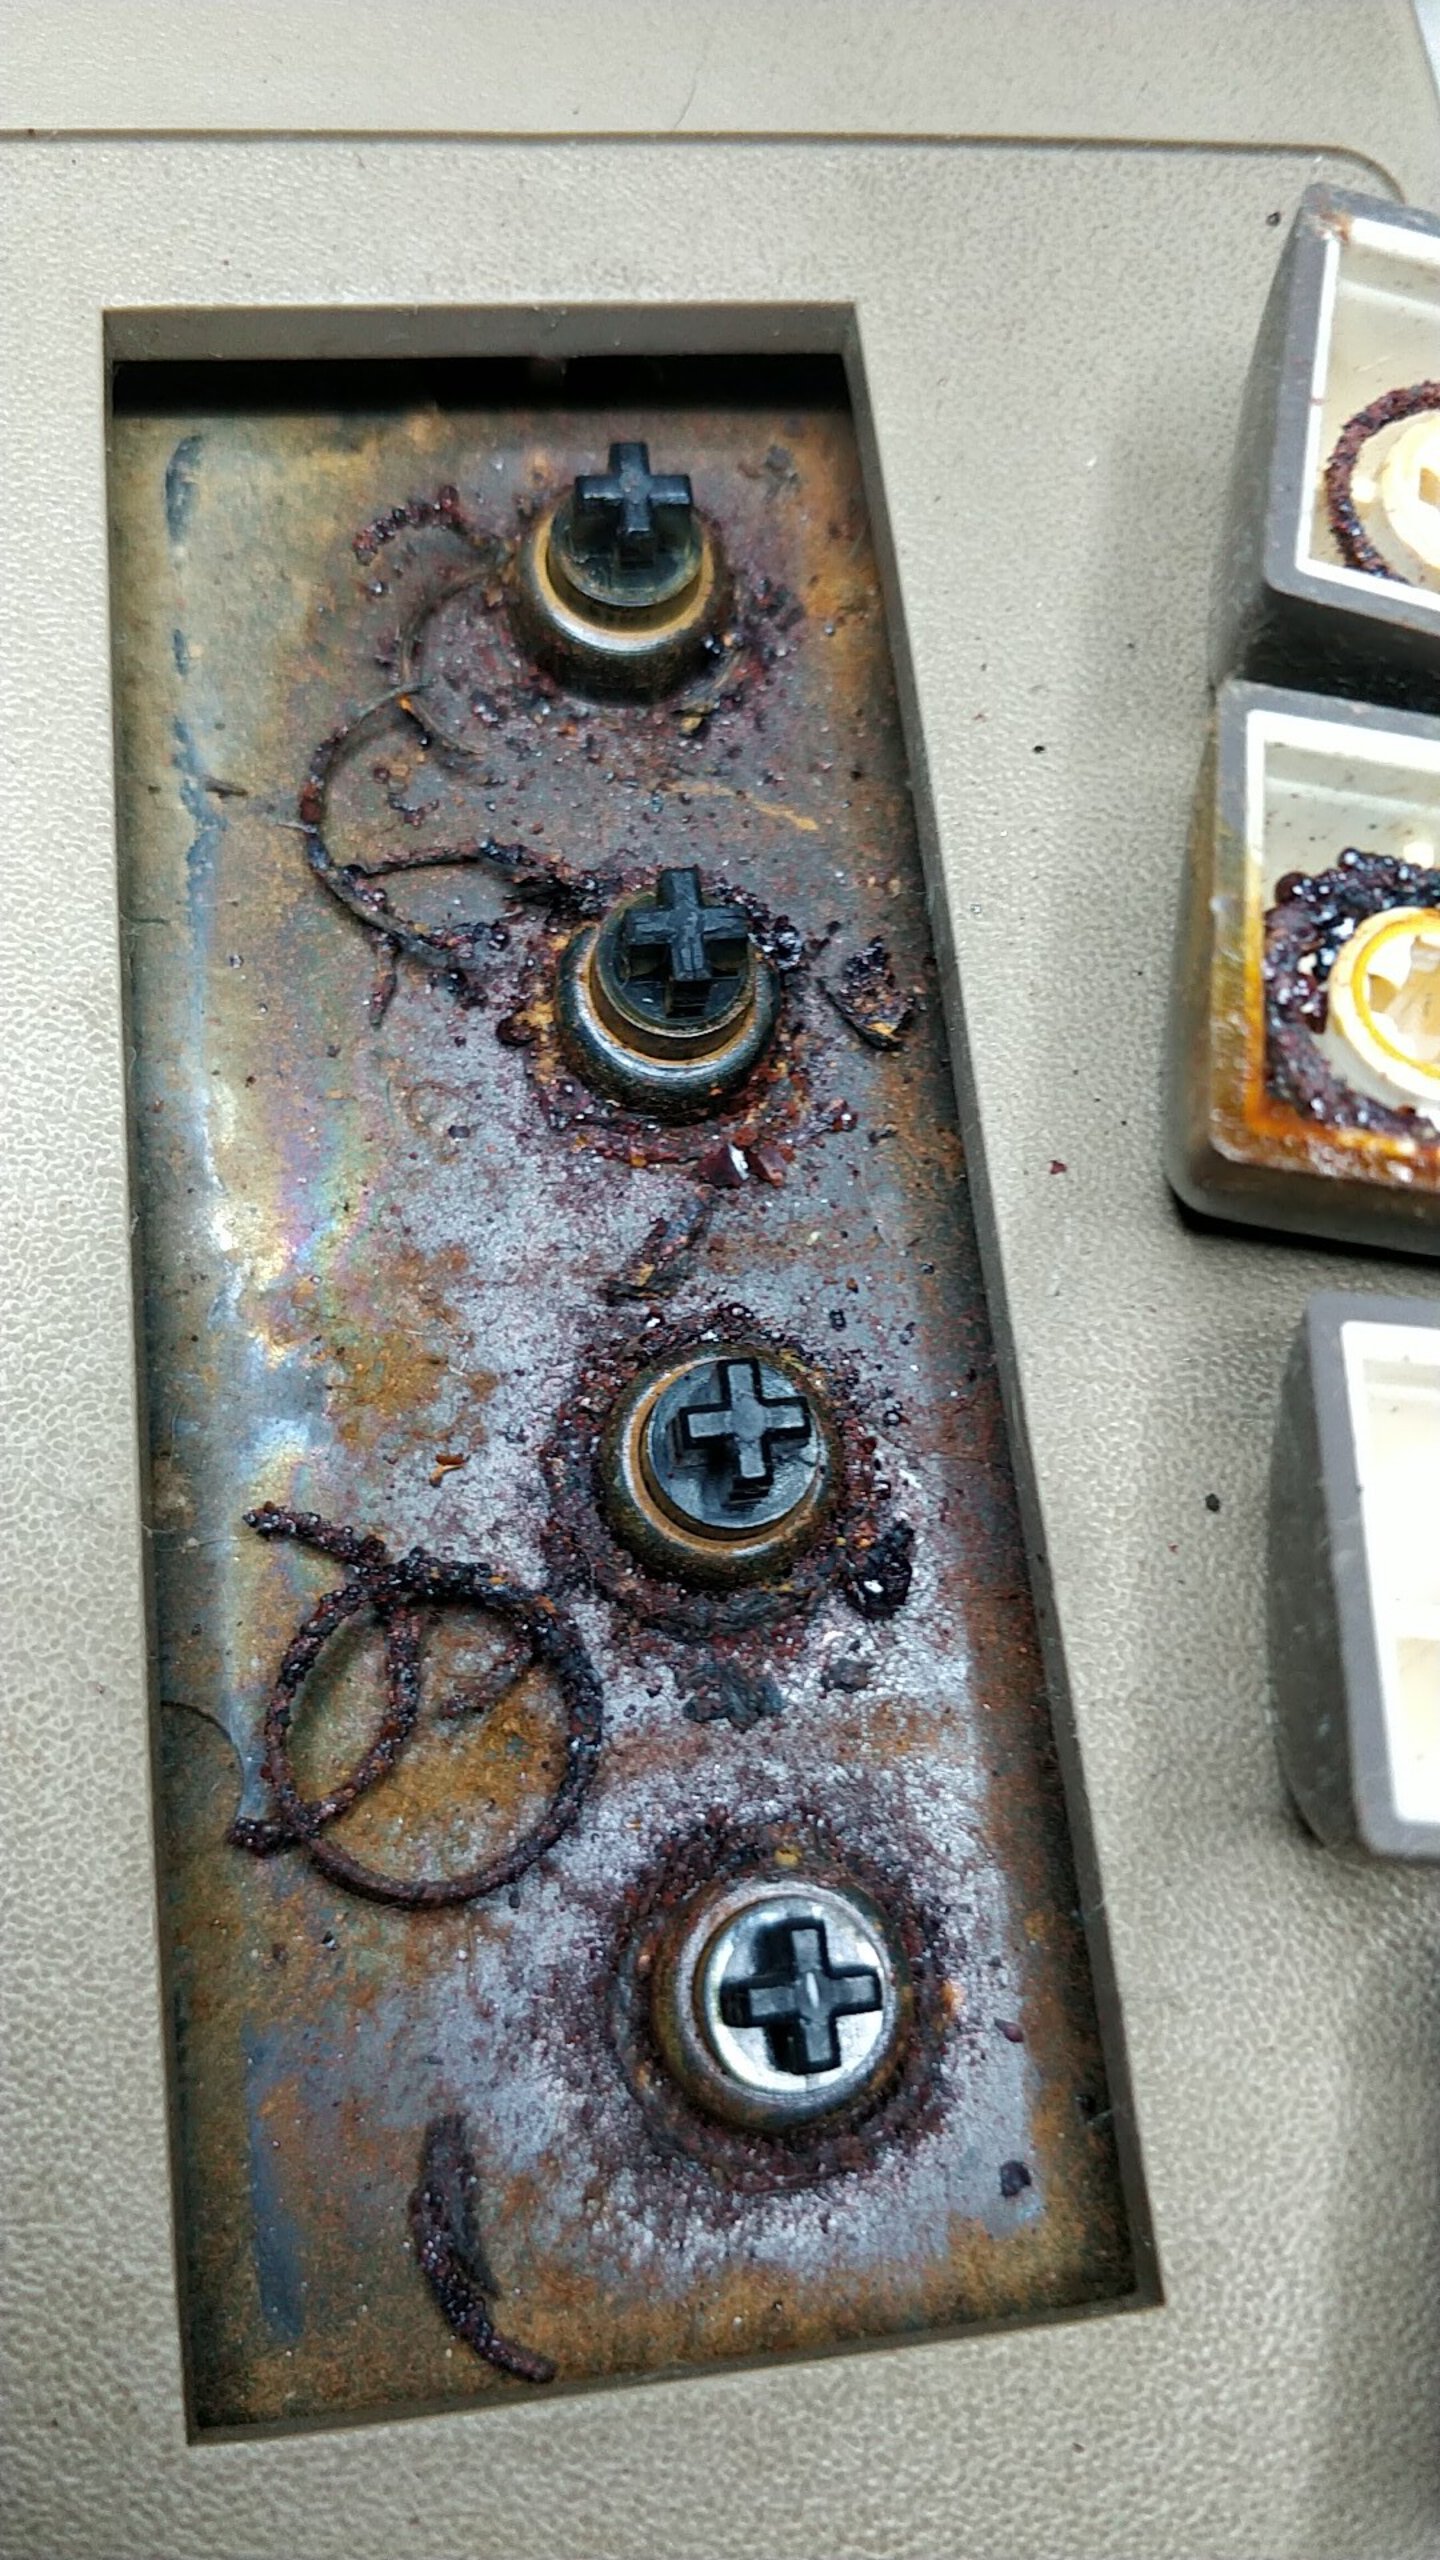
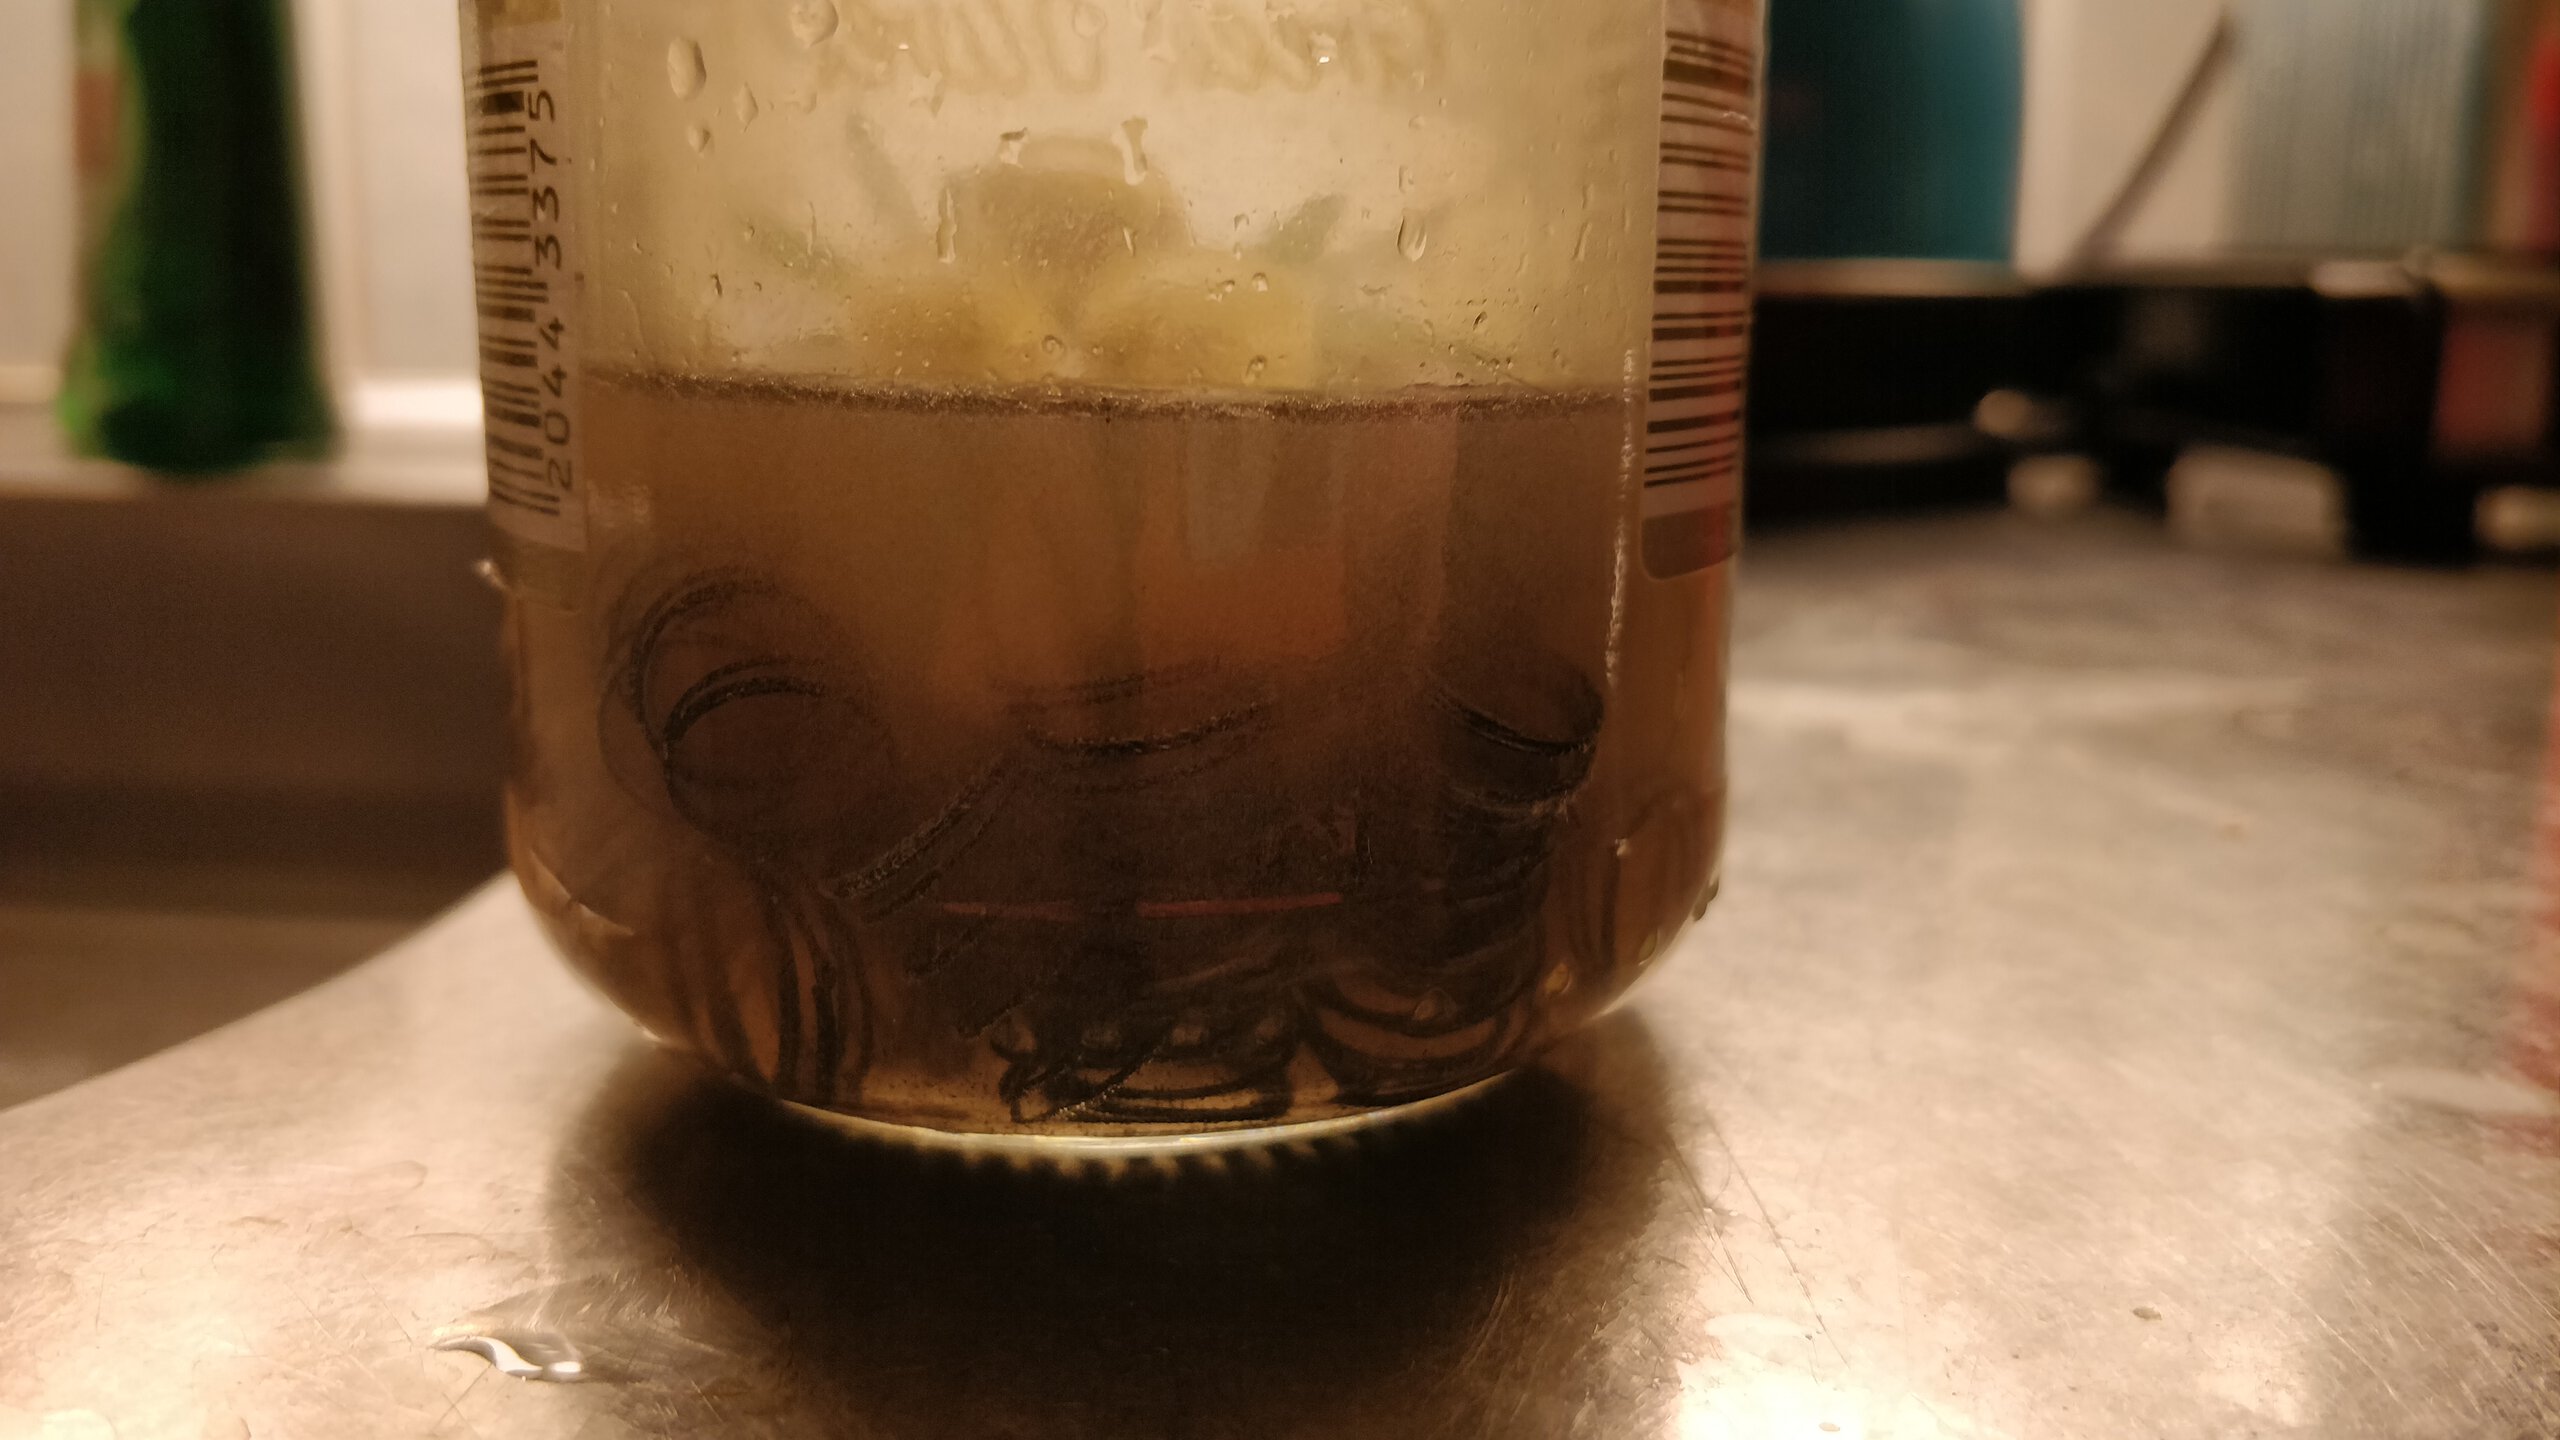
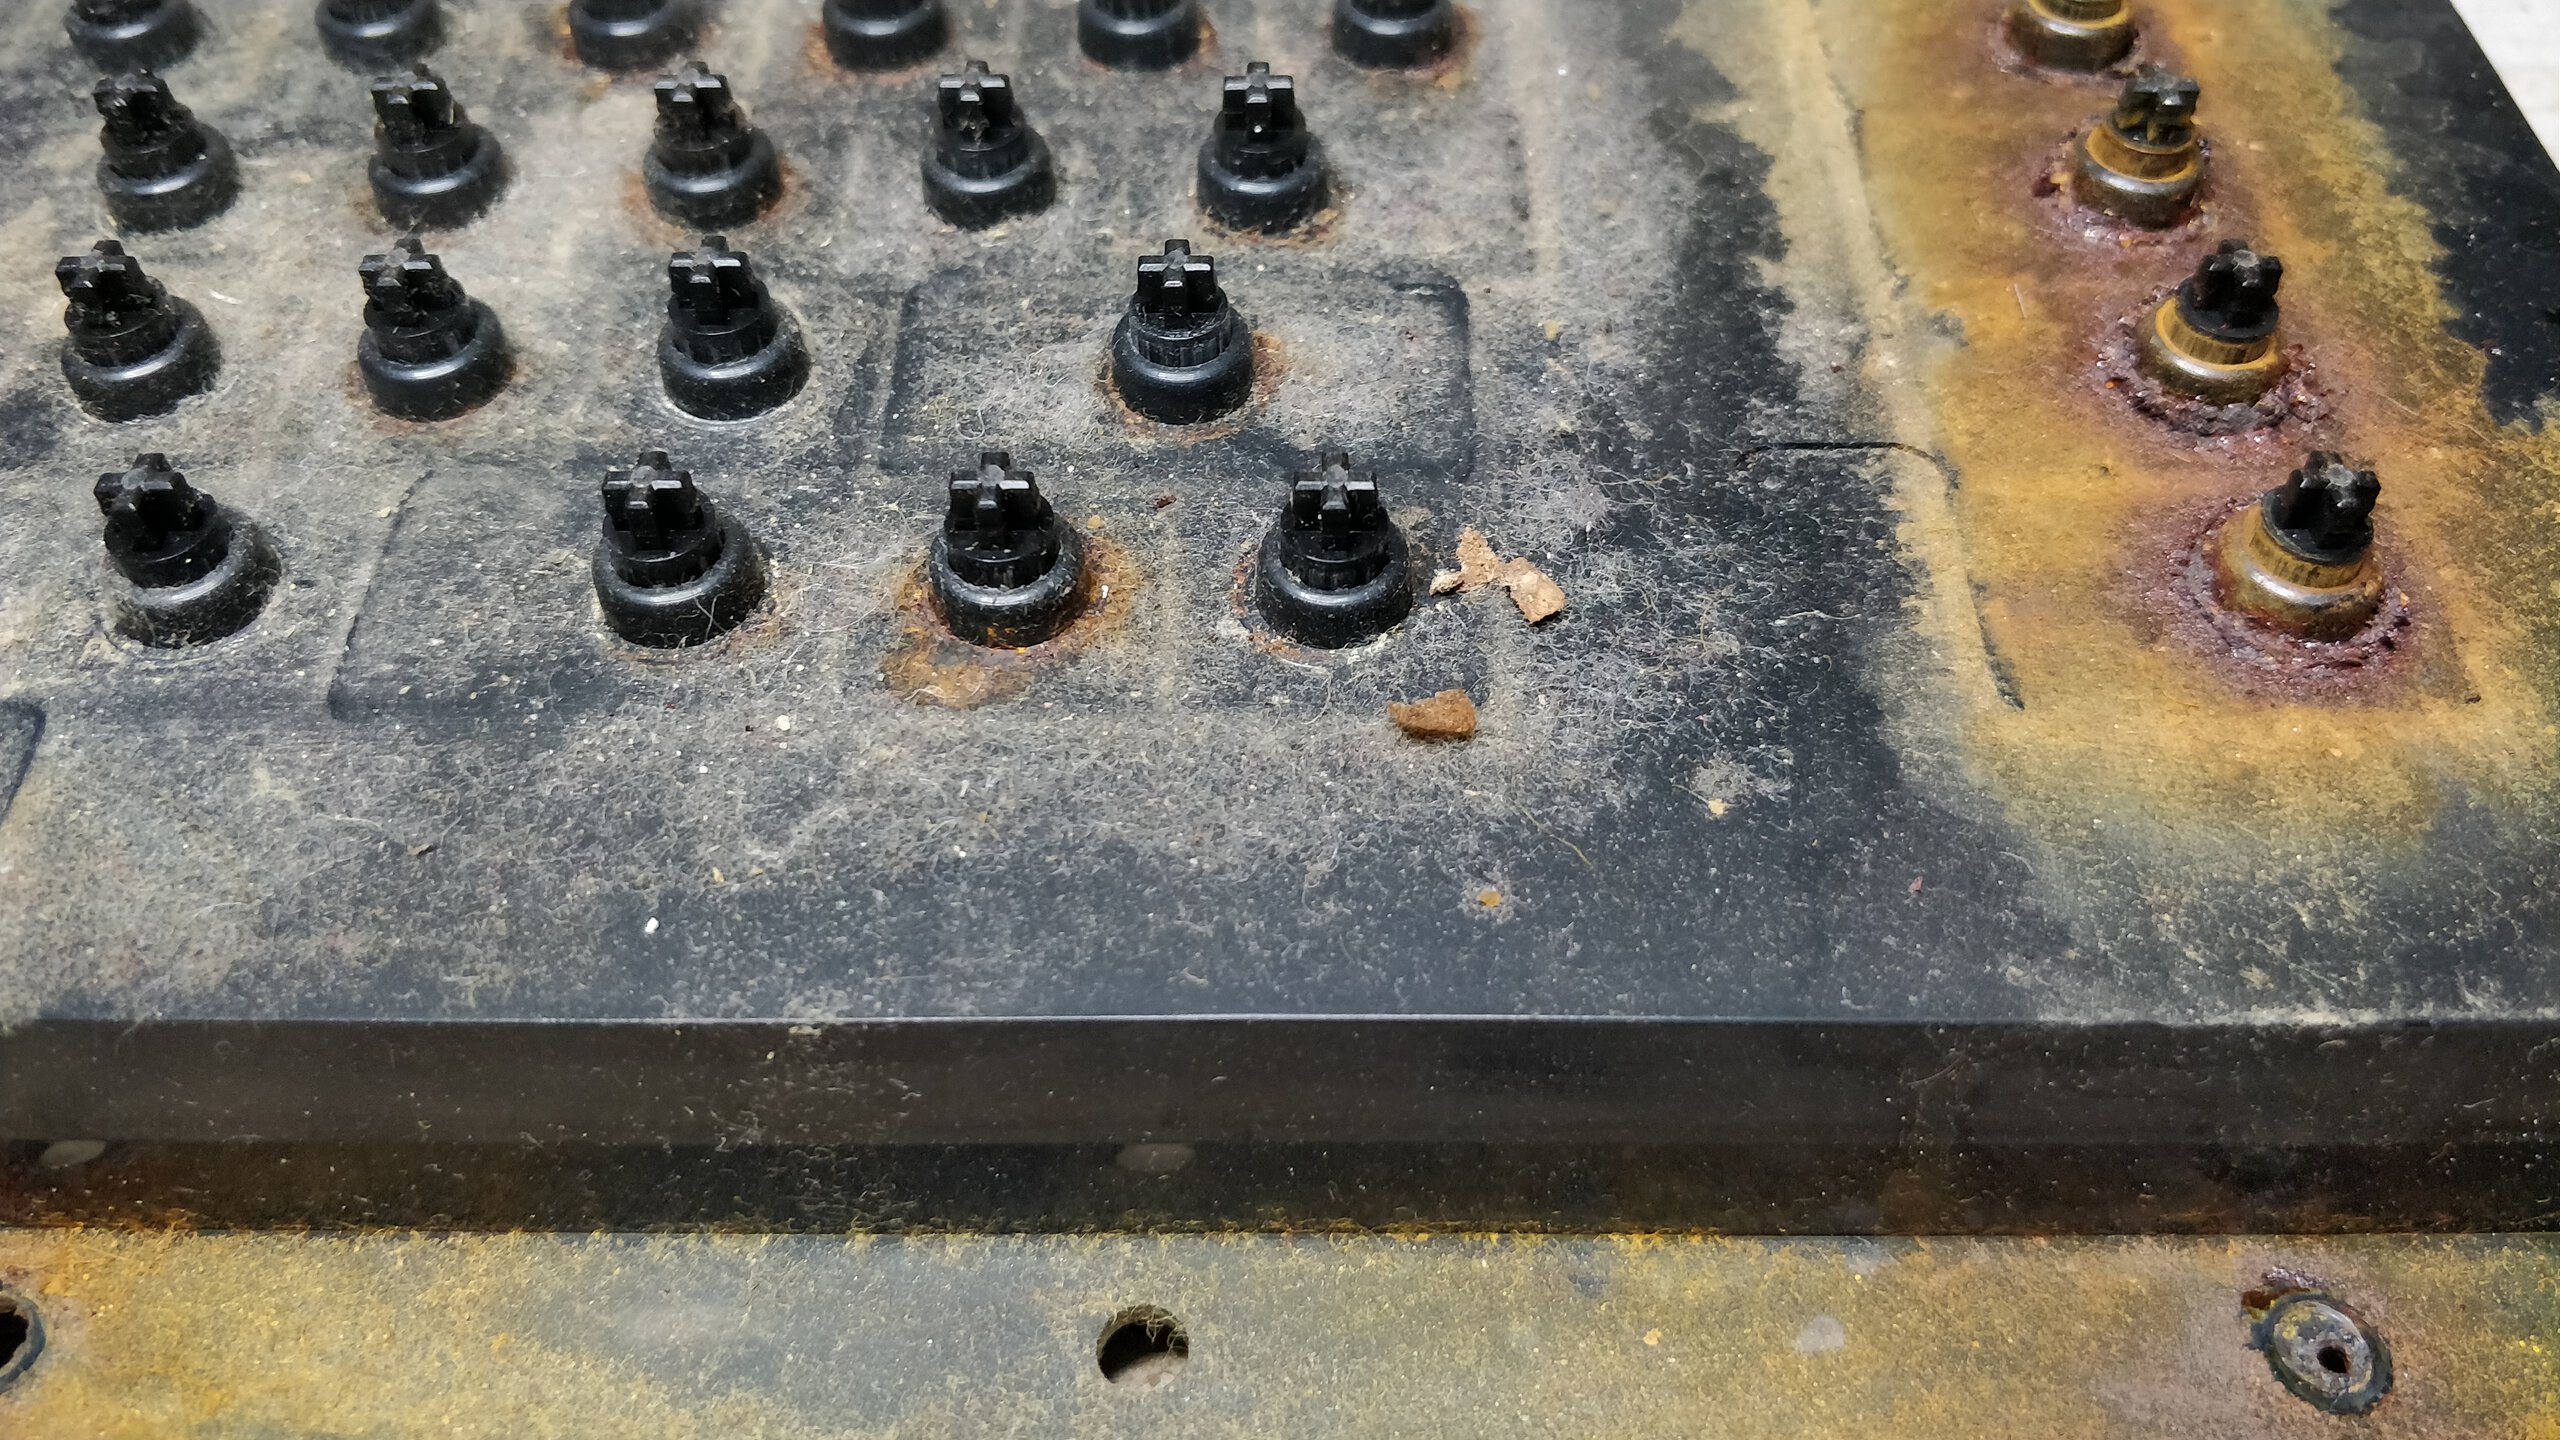
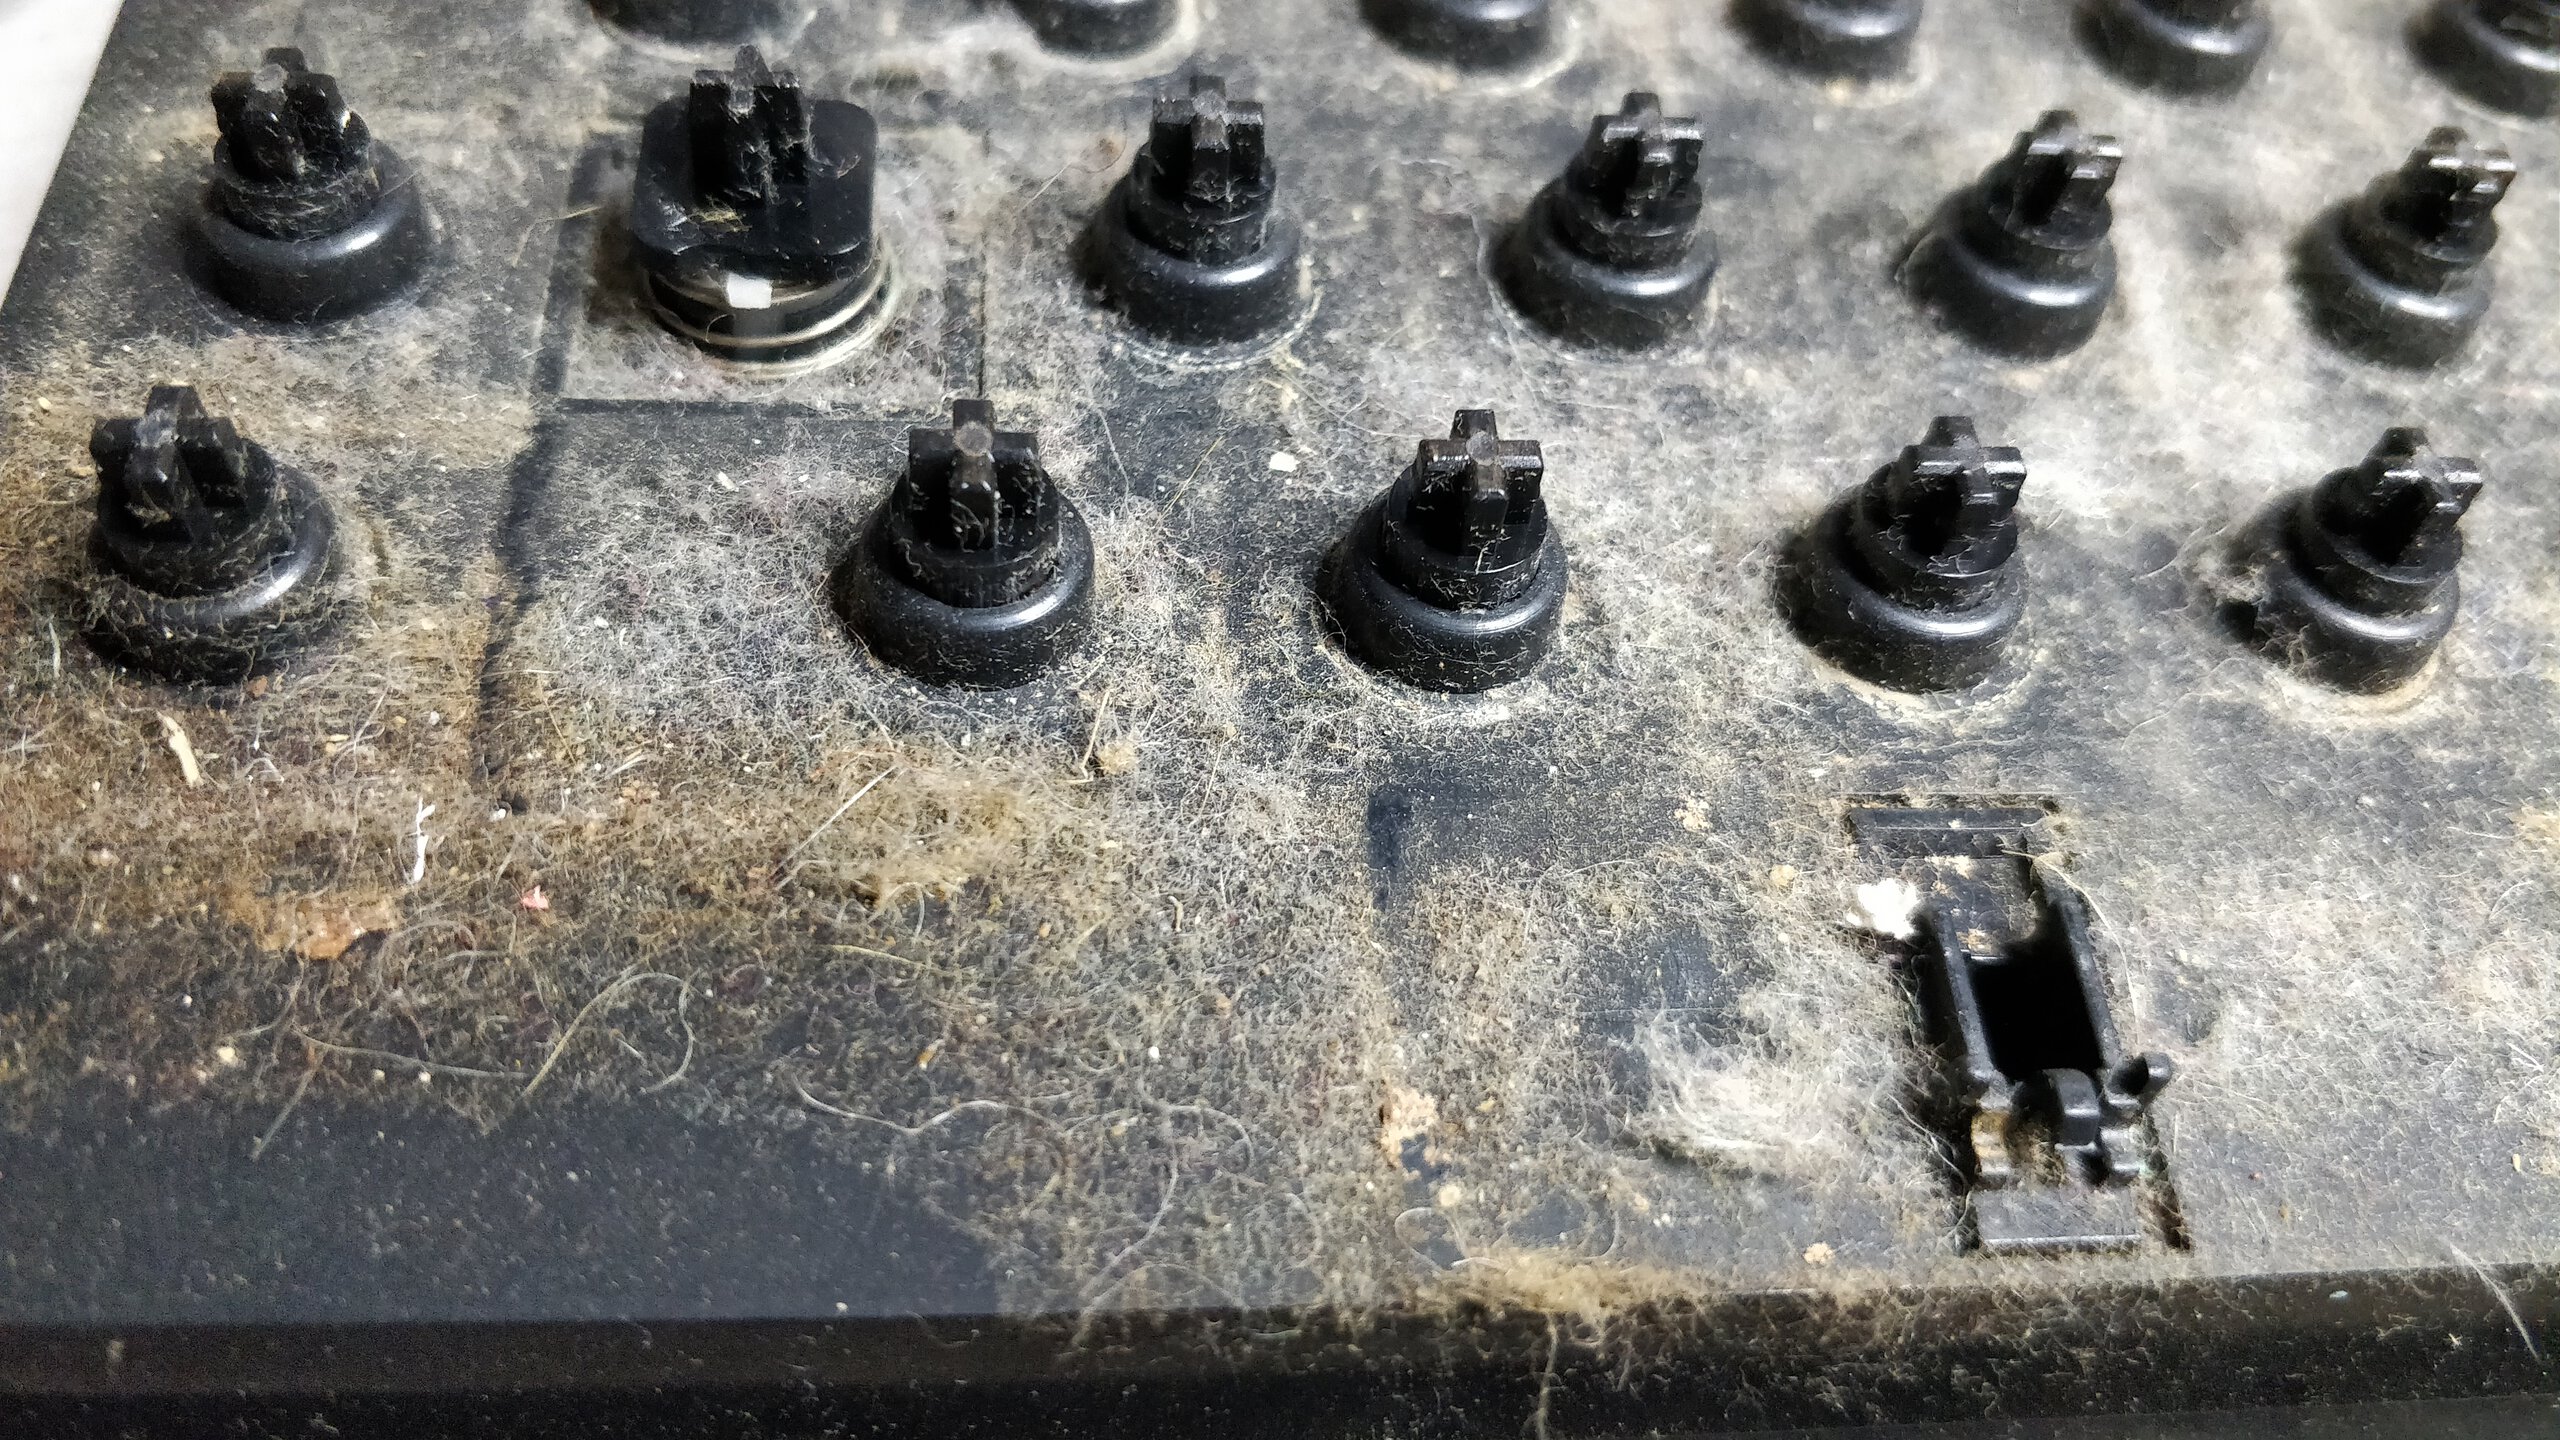
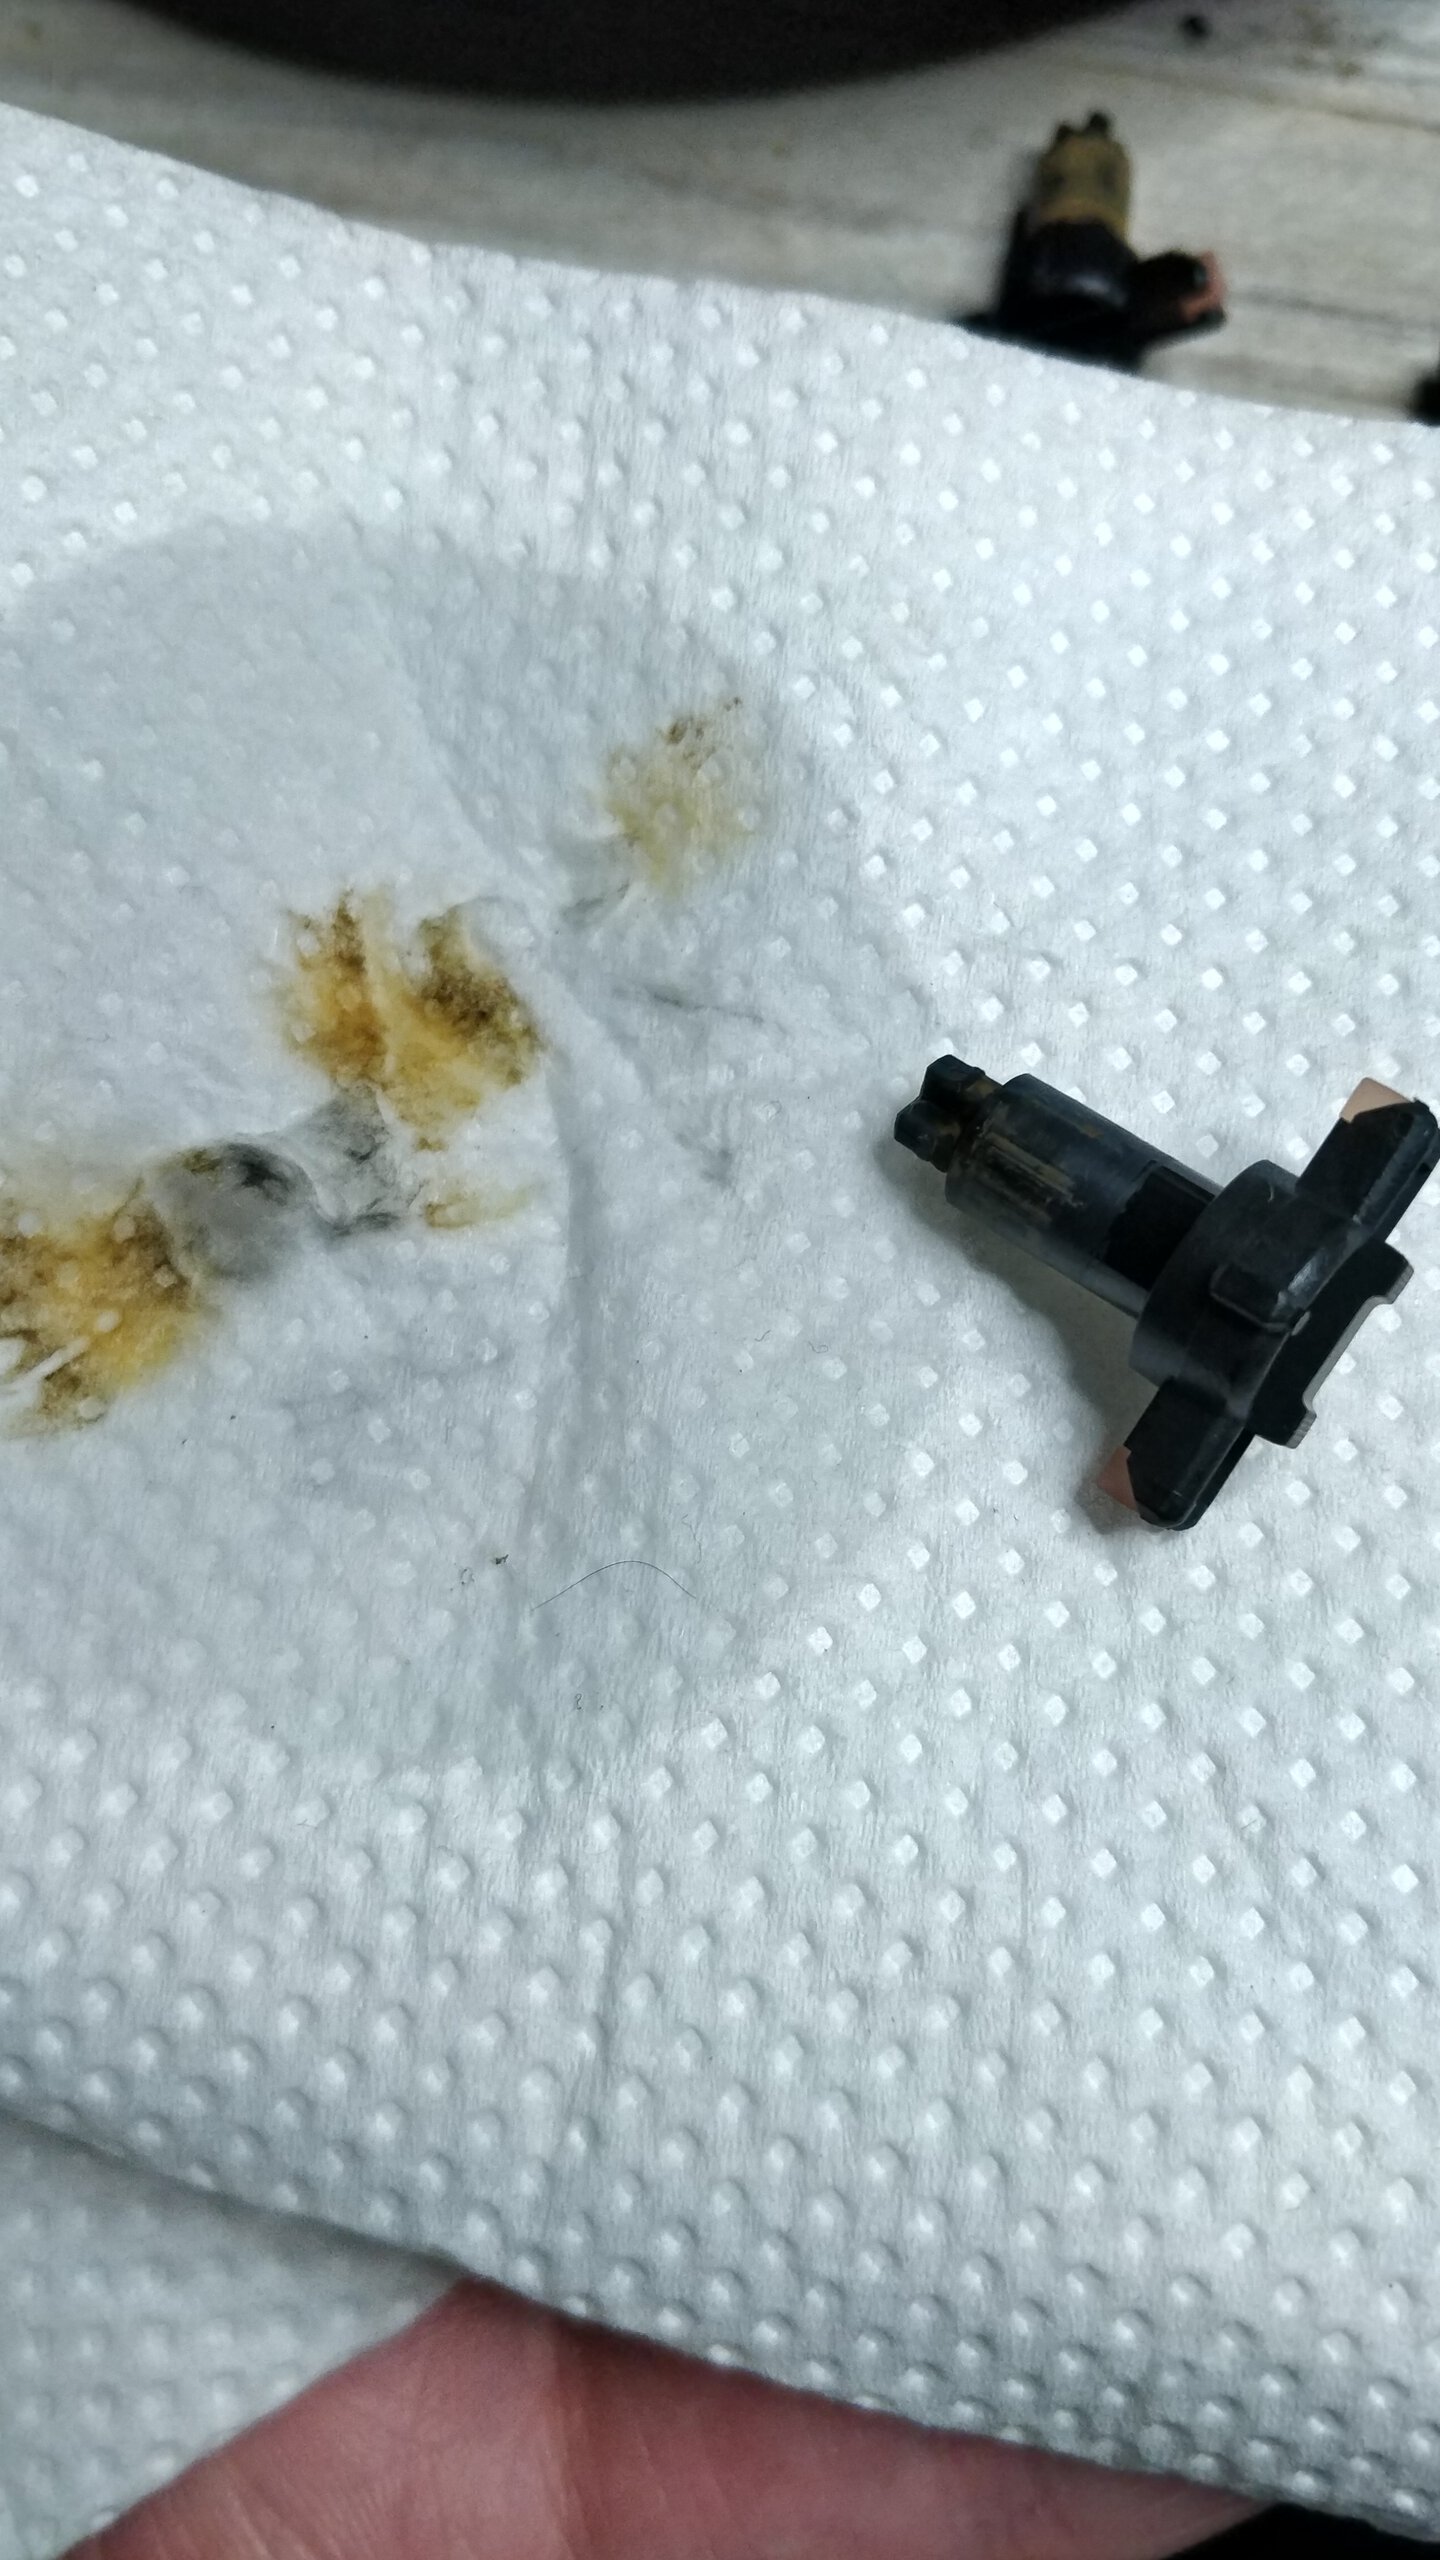
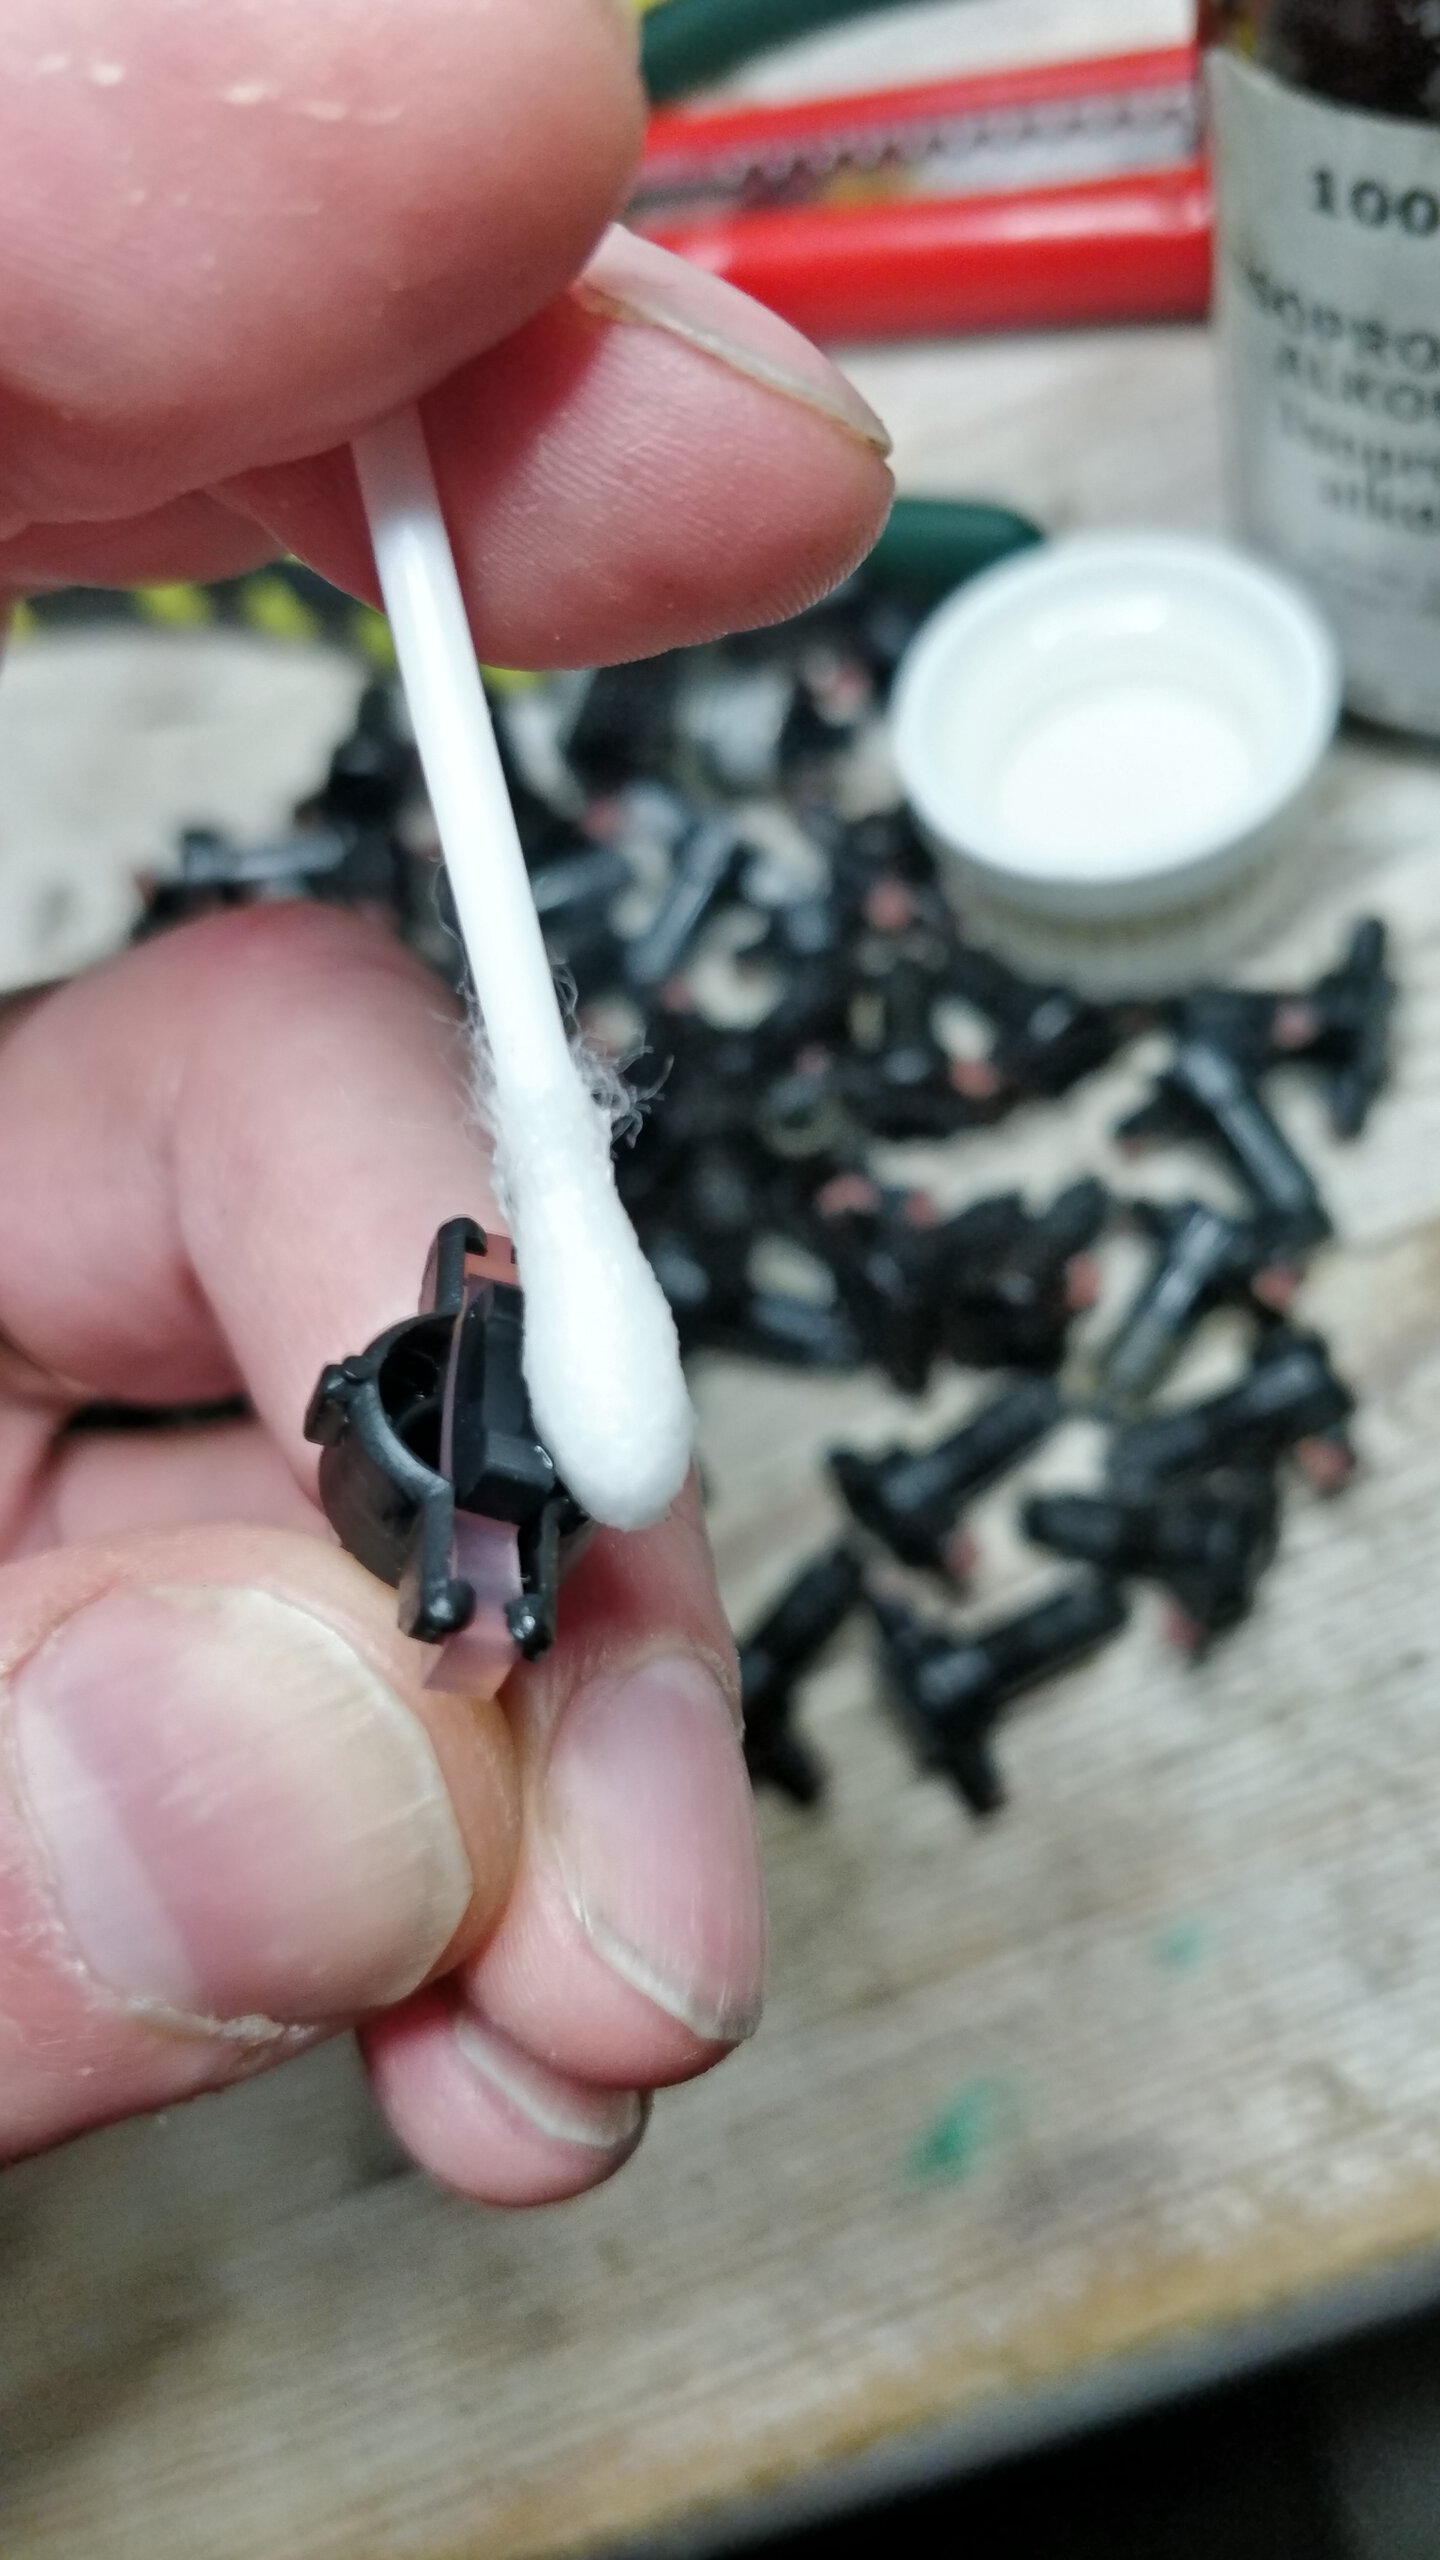
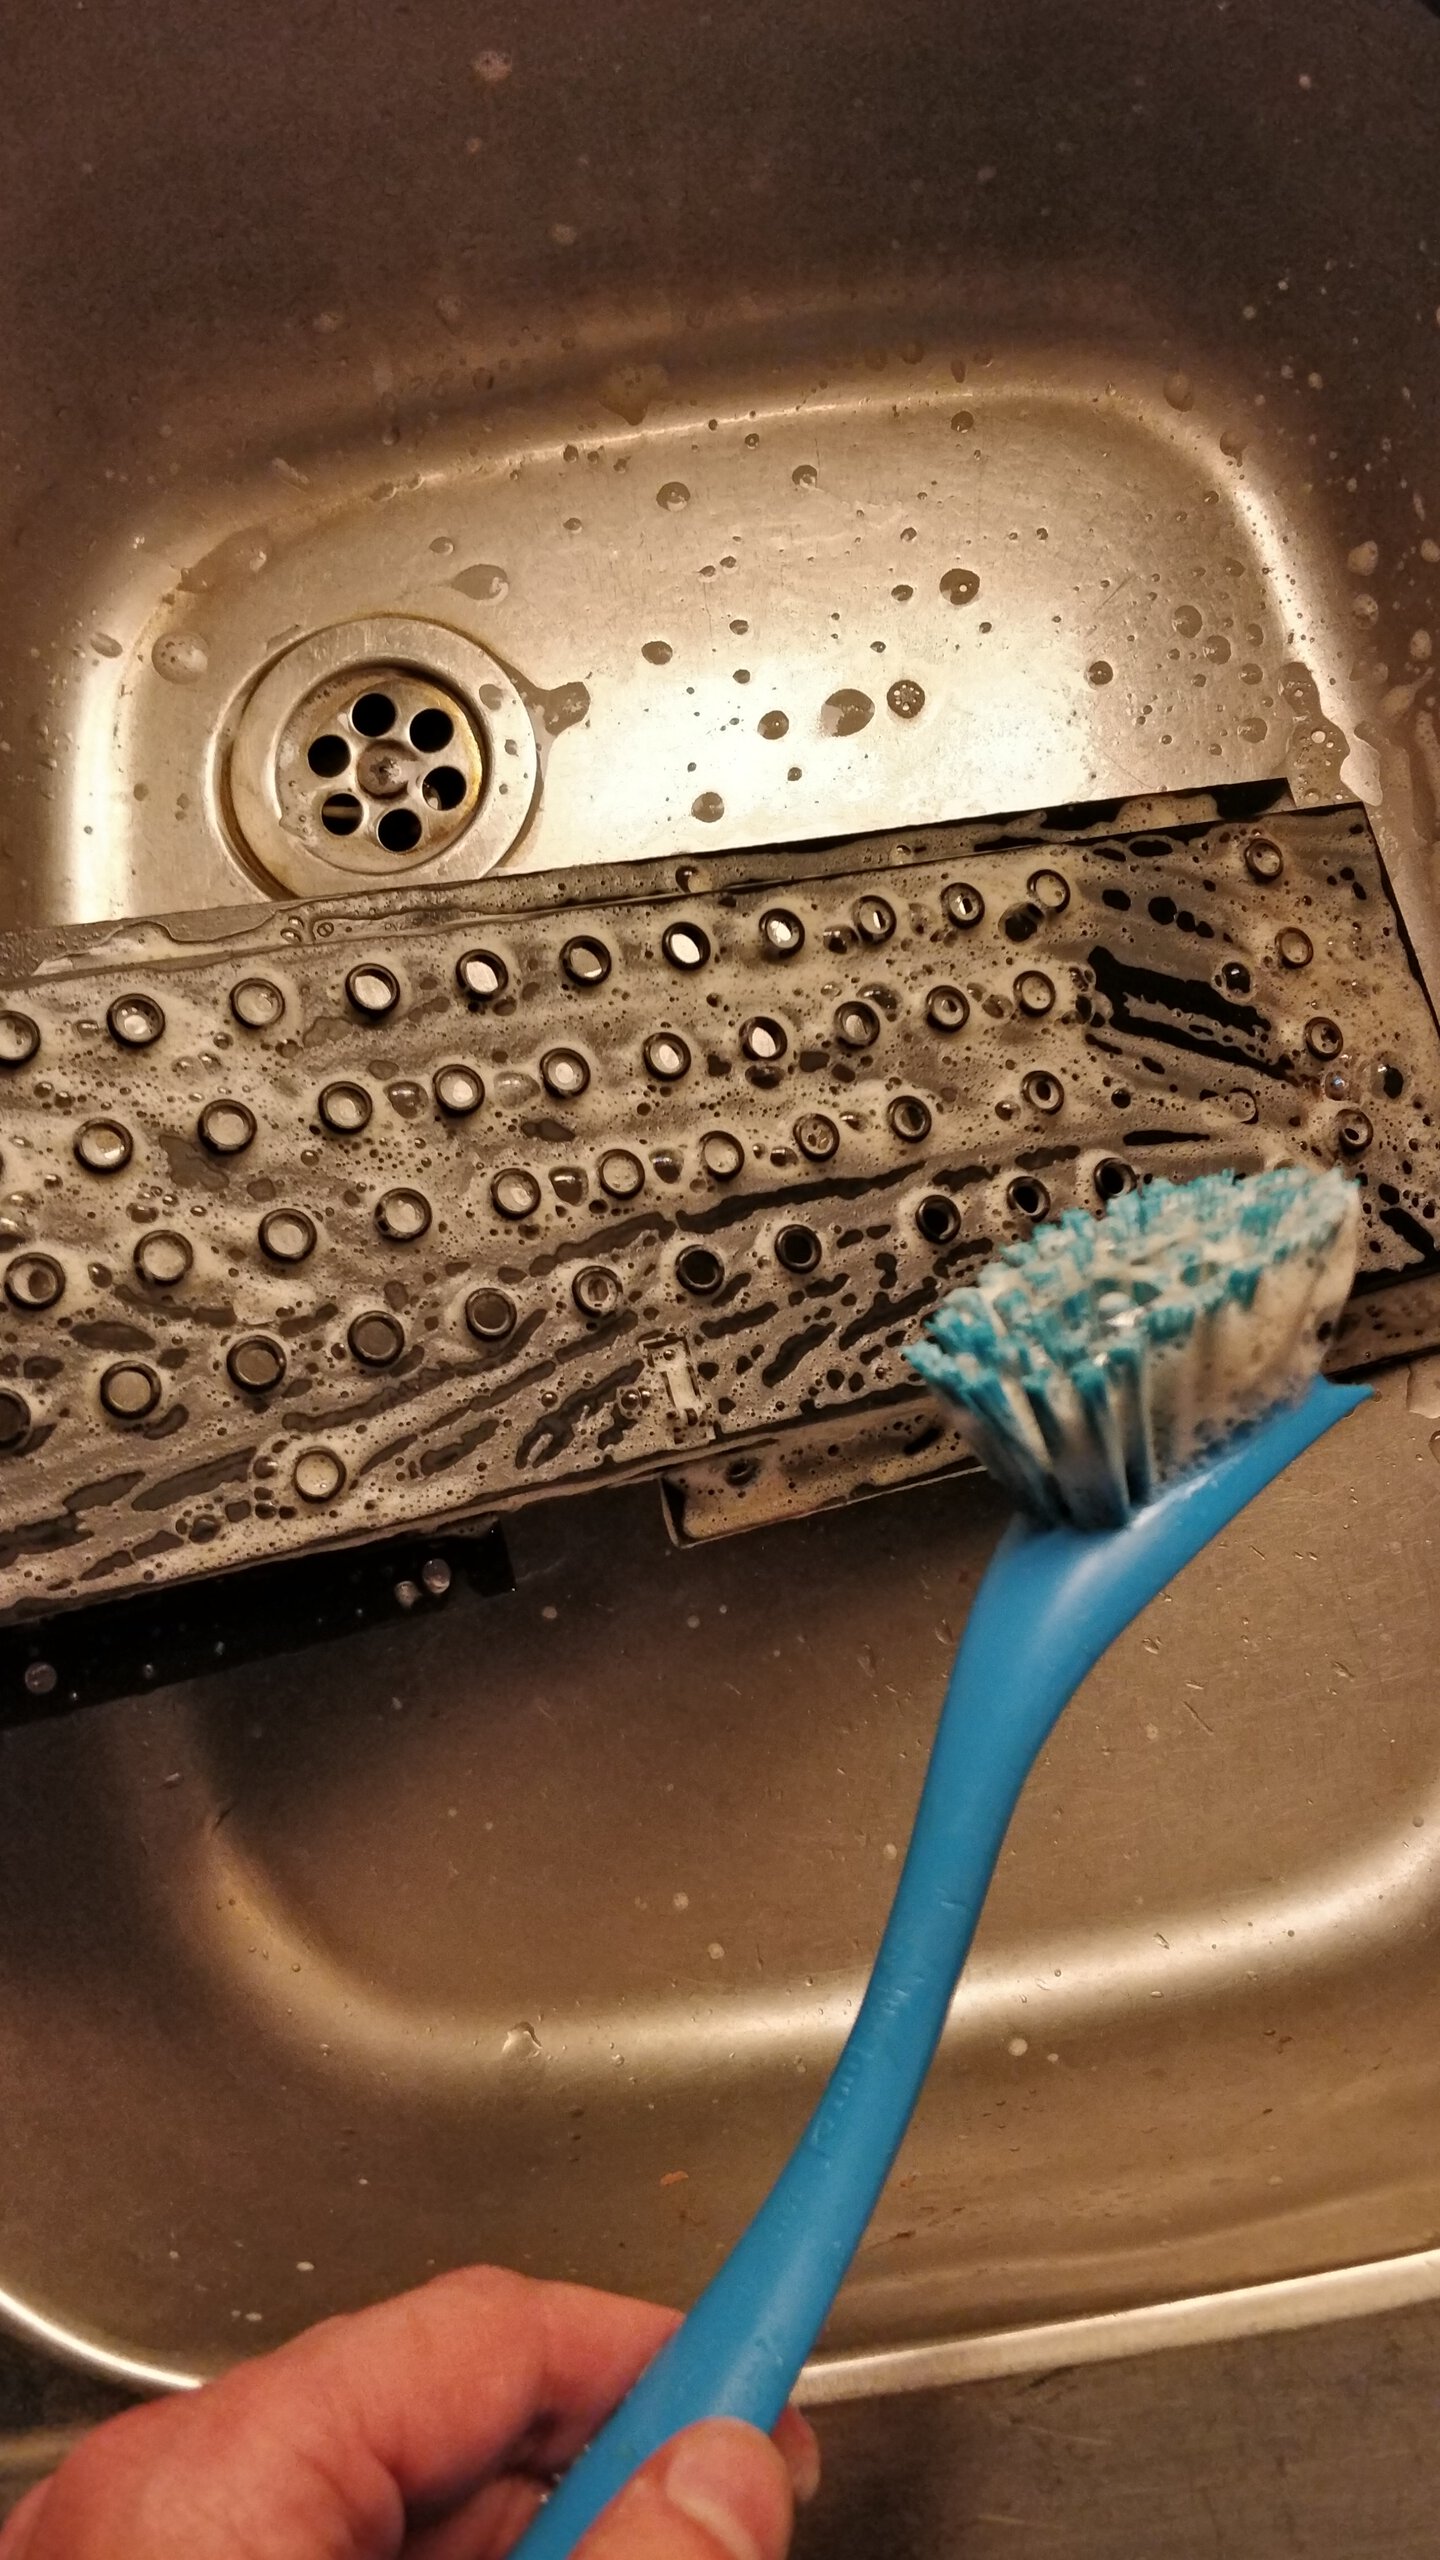
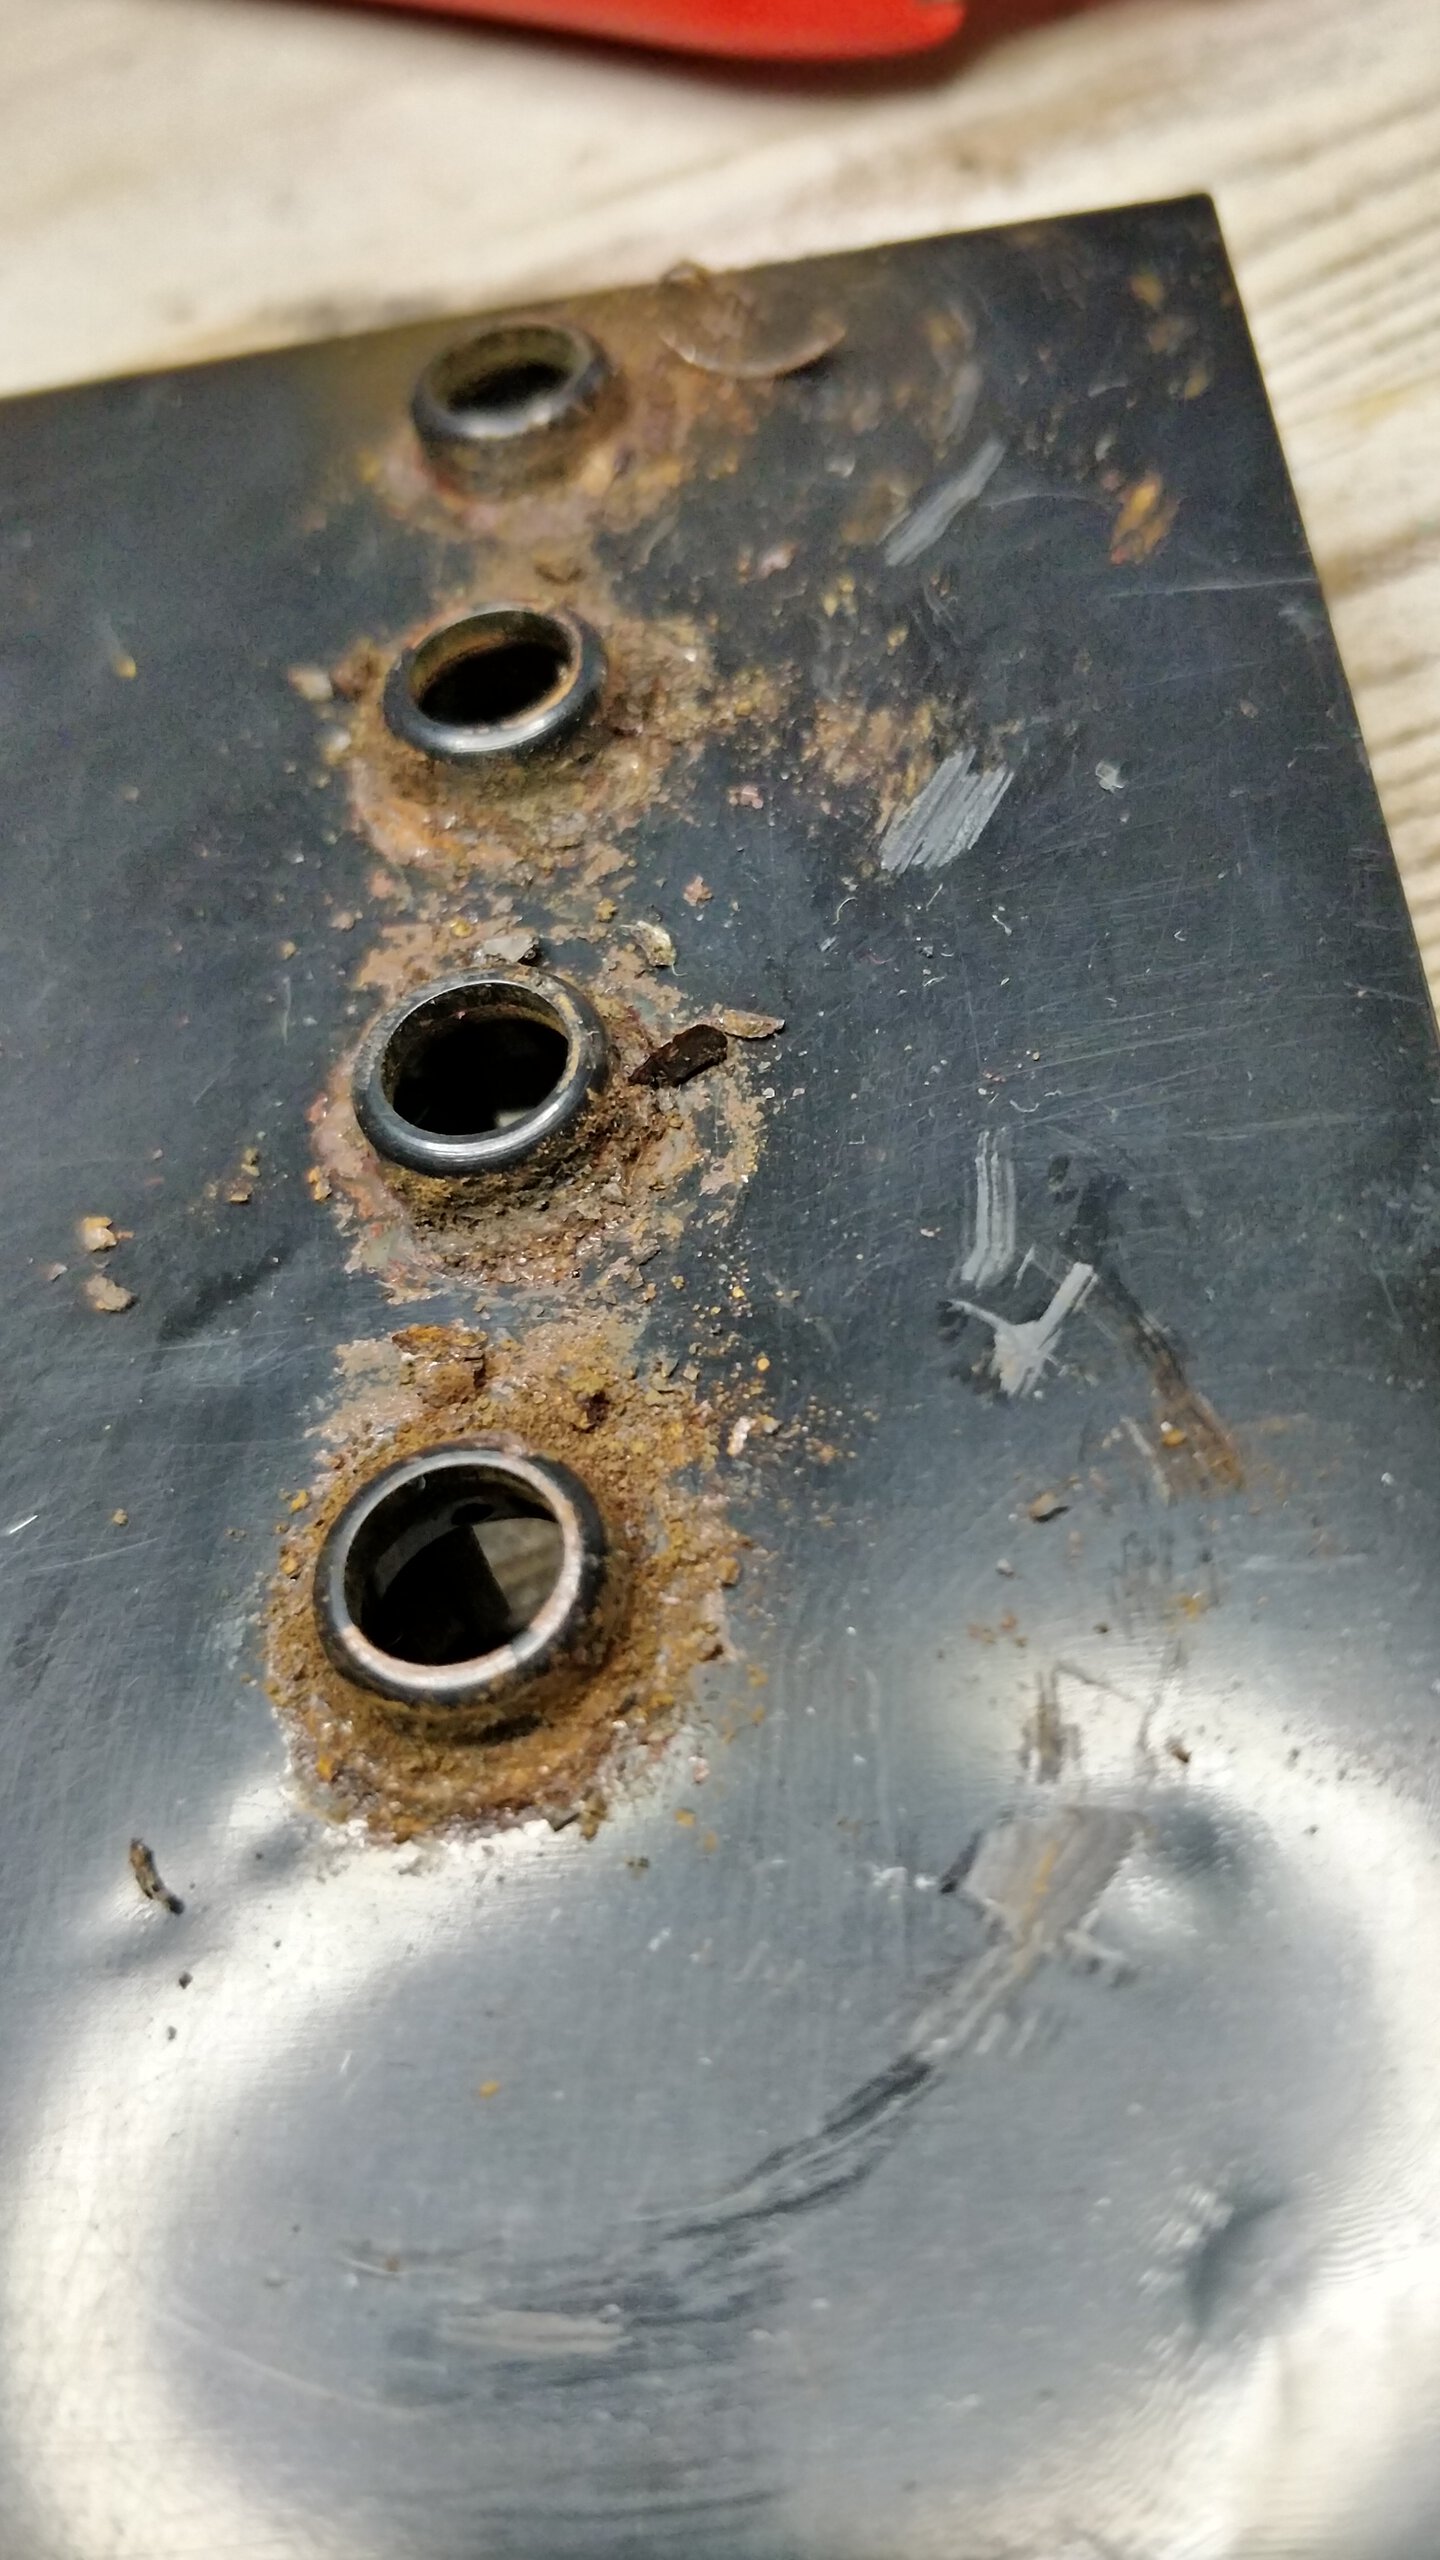
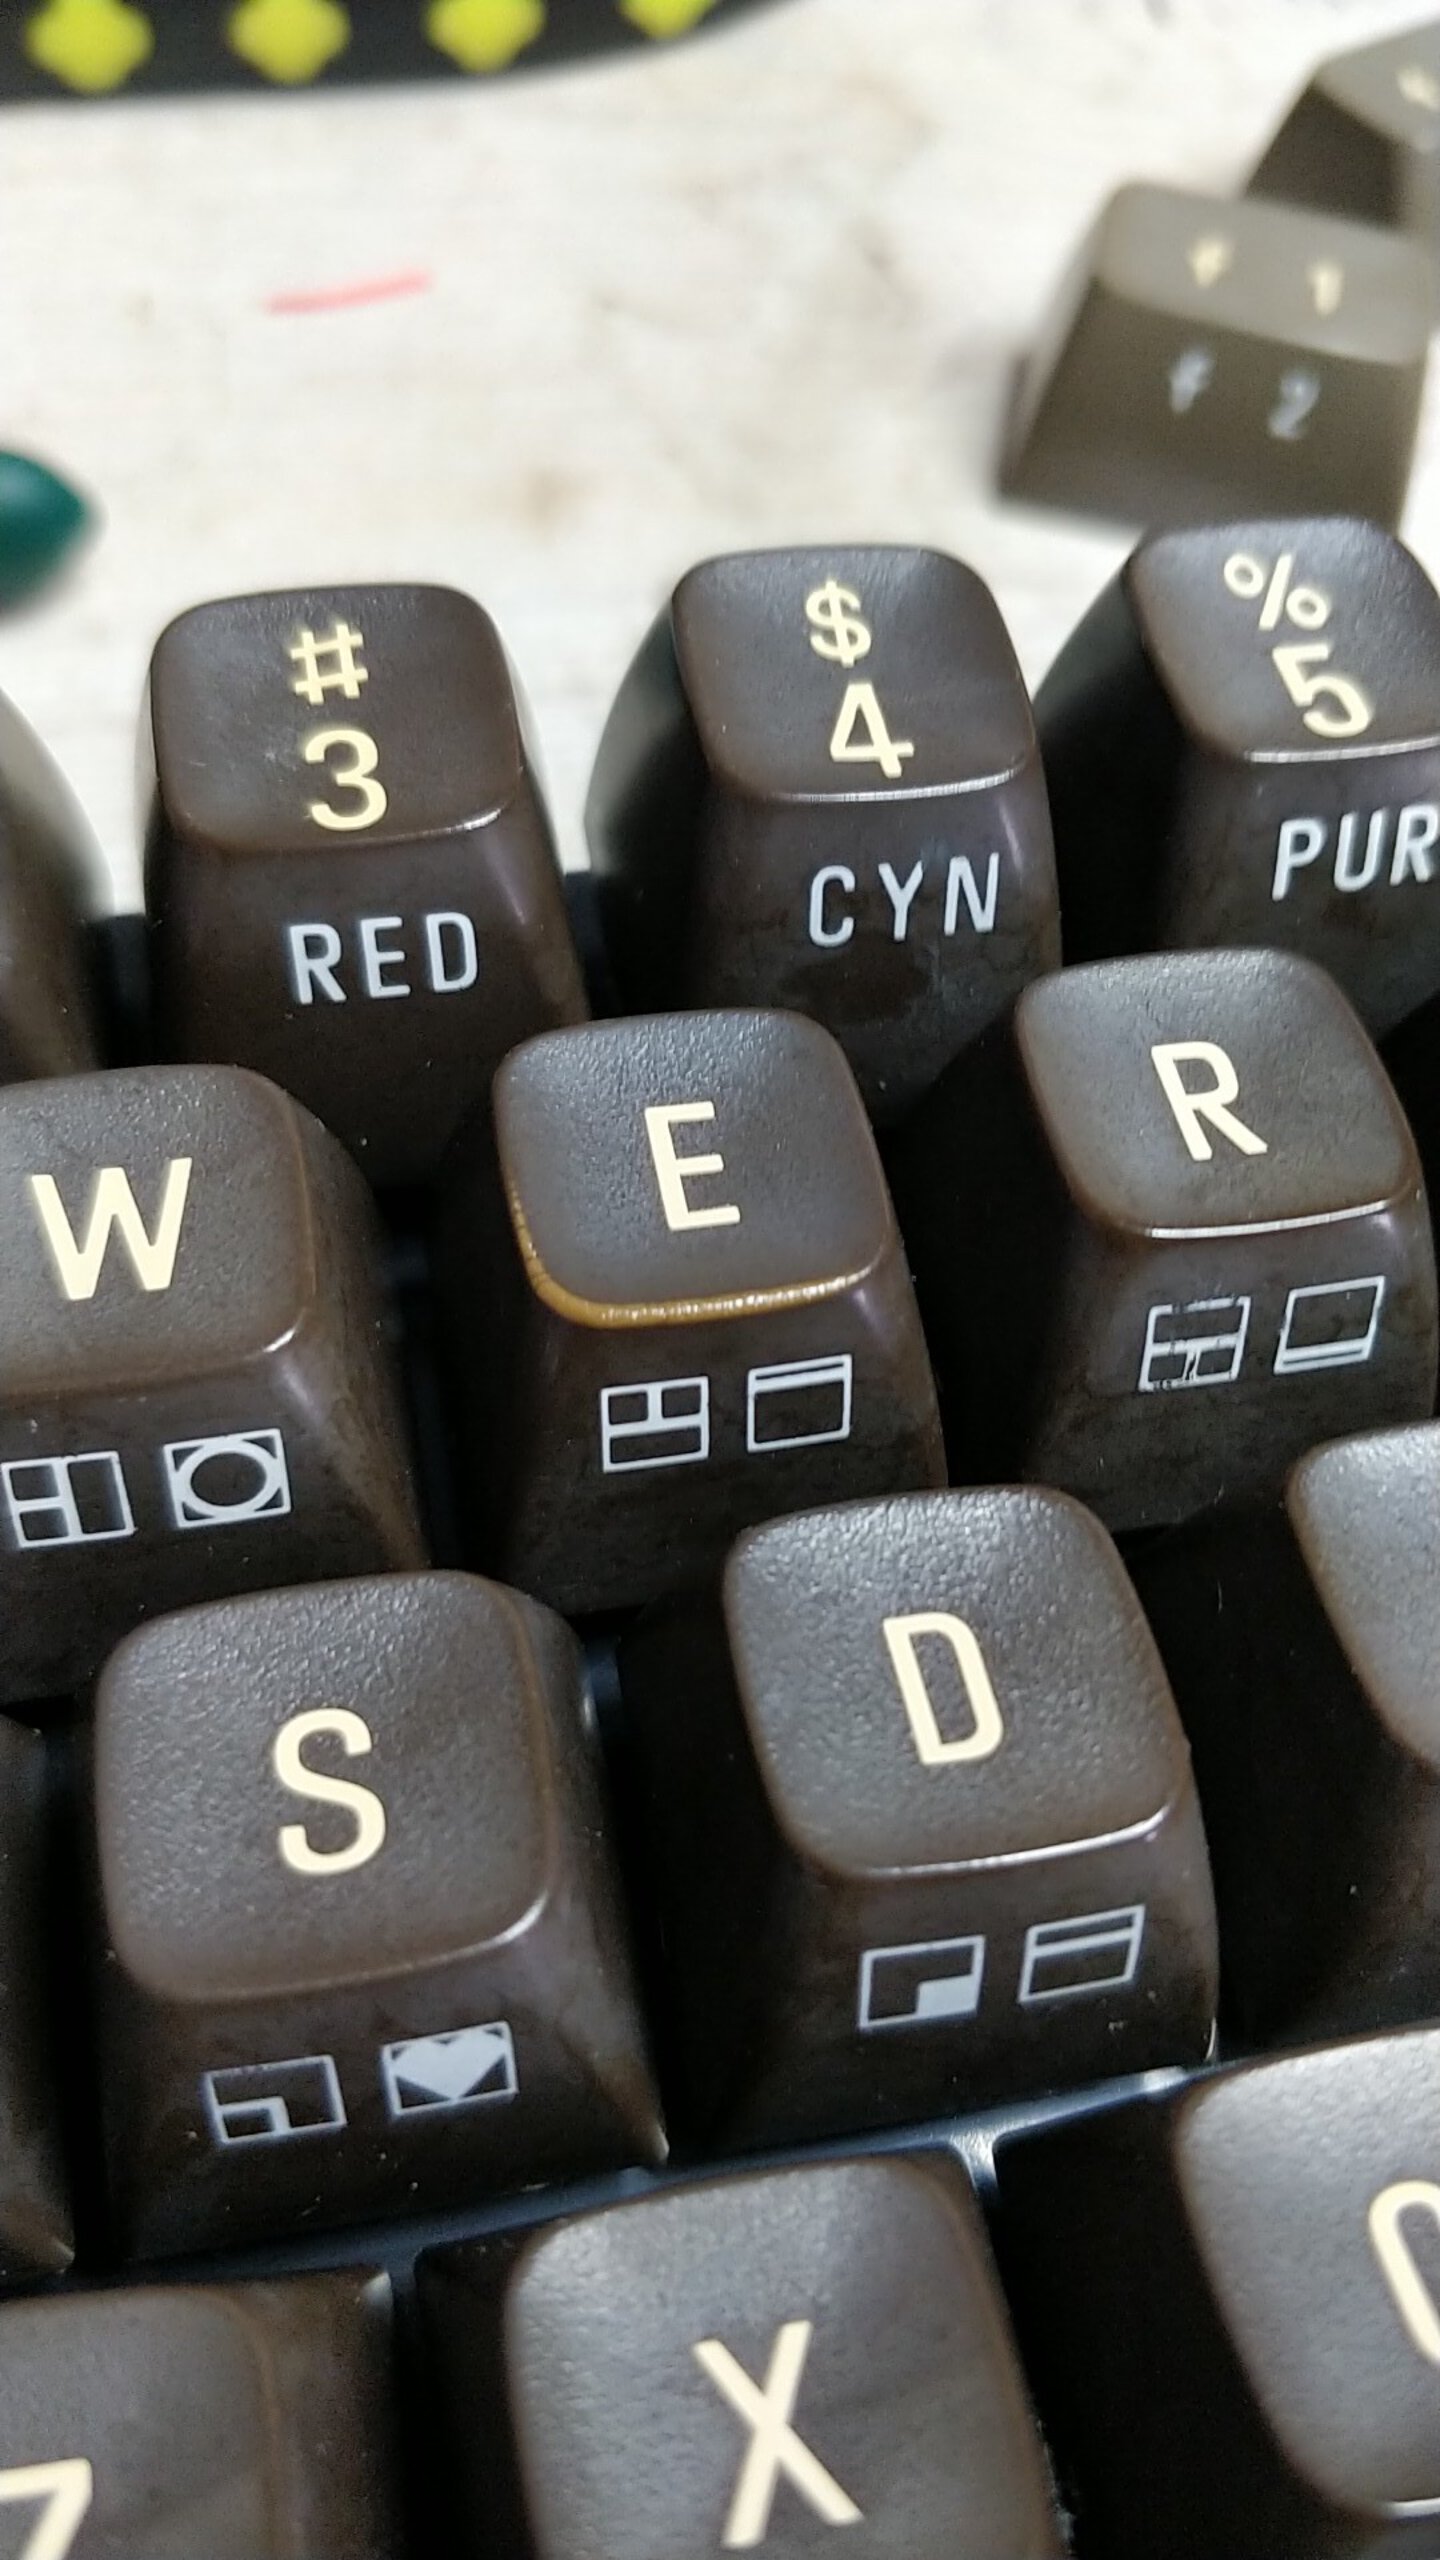
Reason for stuck function keys was pretty obvious, the springs had rusted into brown goo, some other springs showed heavy rusting too. Key caps went into sodium carbonate bath while springs went into vinegar bath - which immediately turned very brown. Anyway, around 90% of the springs were still in OK condition, I only had to replace 6 springs eventually. After cleaning each contact rubber pad of keyboard plungers, each key responded nicely and with light touch again. Perfect.
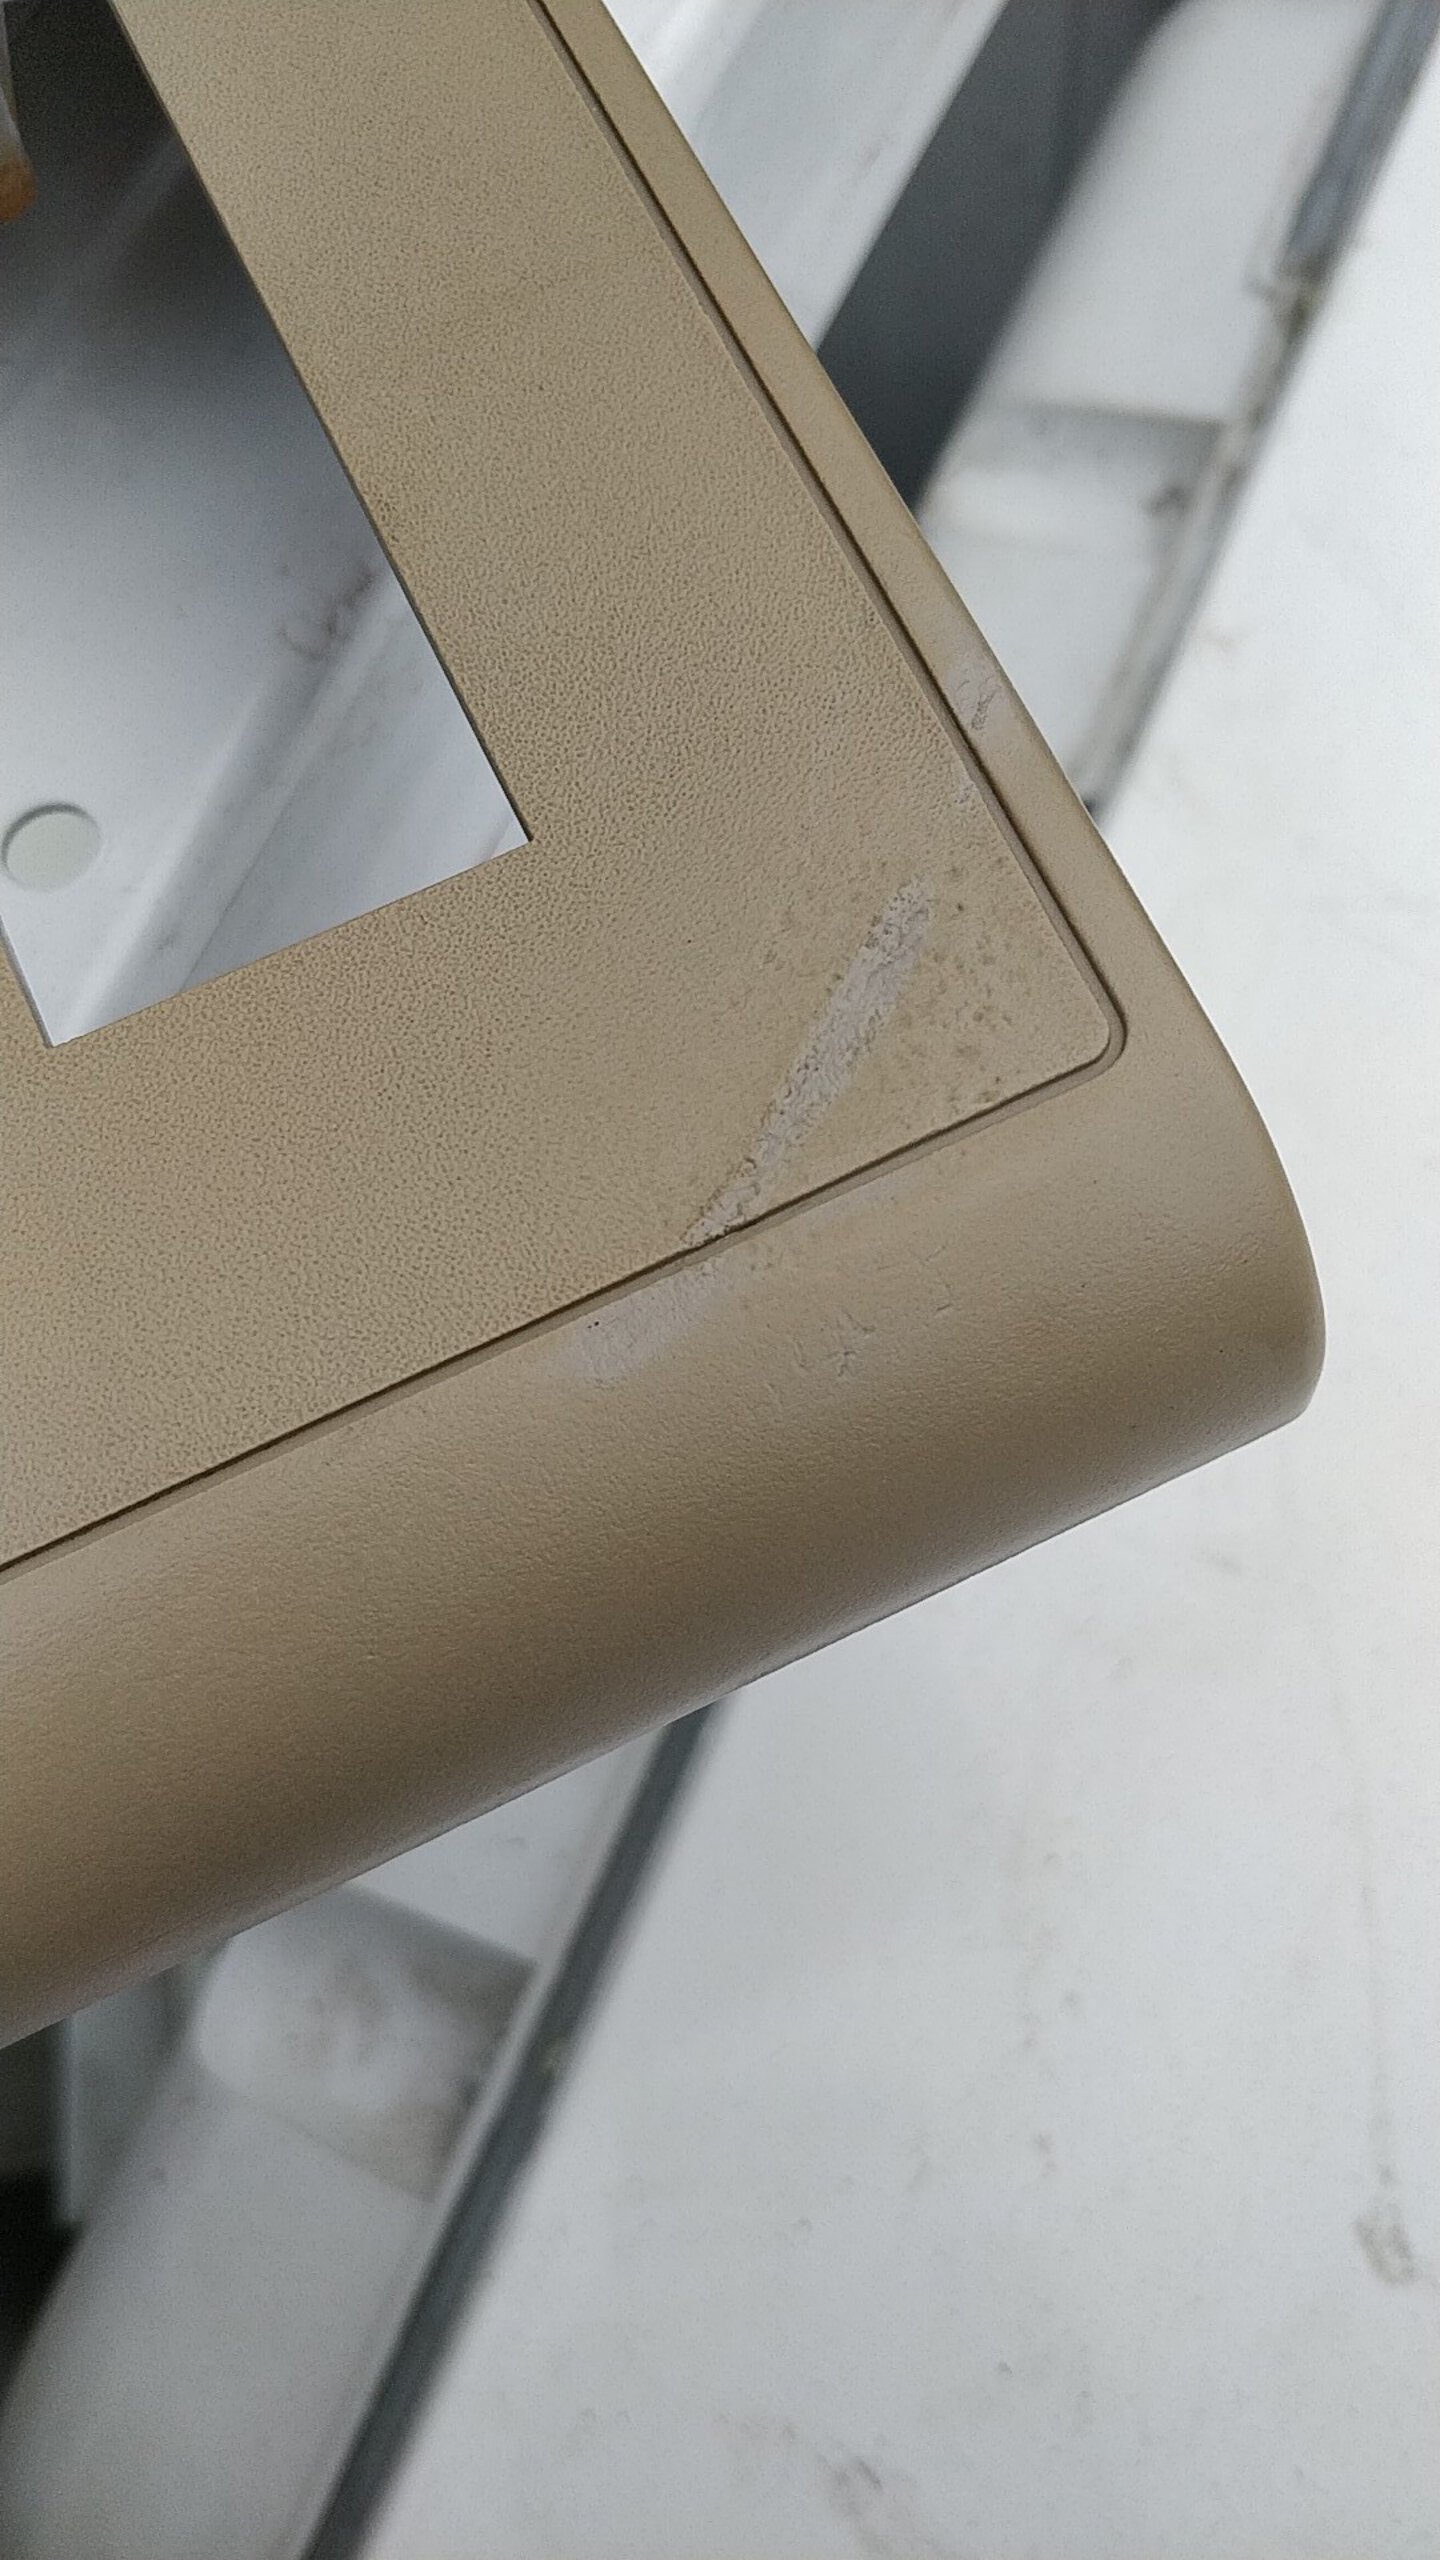
The rusty function keys required some mechanical force to remove the rust and that left some battle scars. The keyboard frame is still in good condition though, and those scars will be hidden under the keycaps.


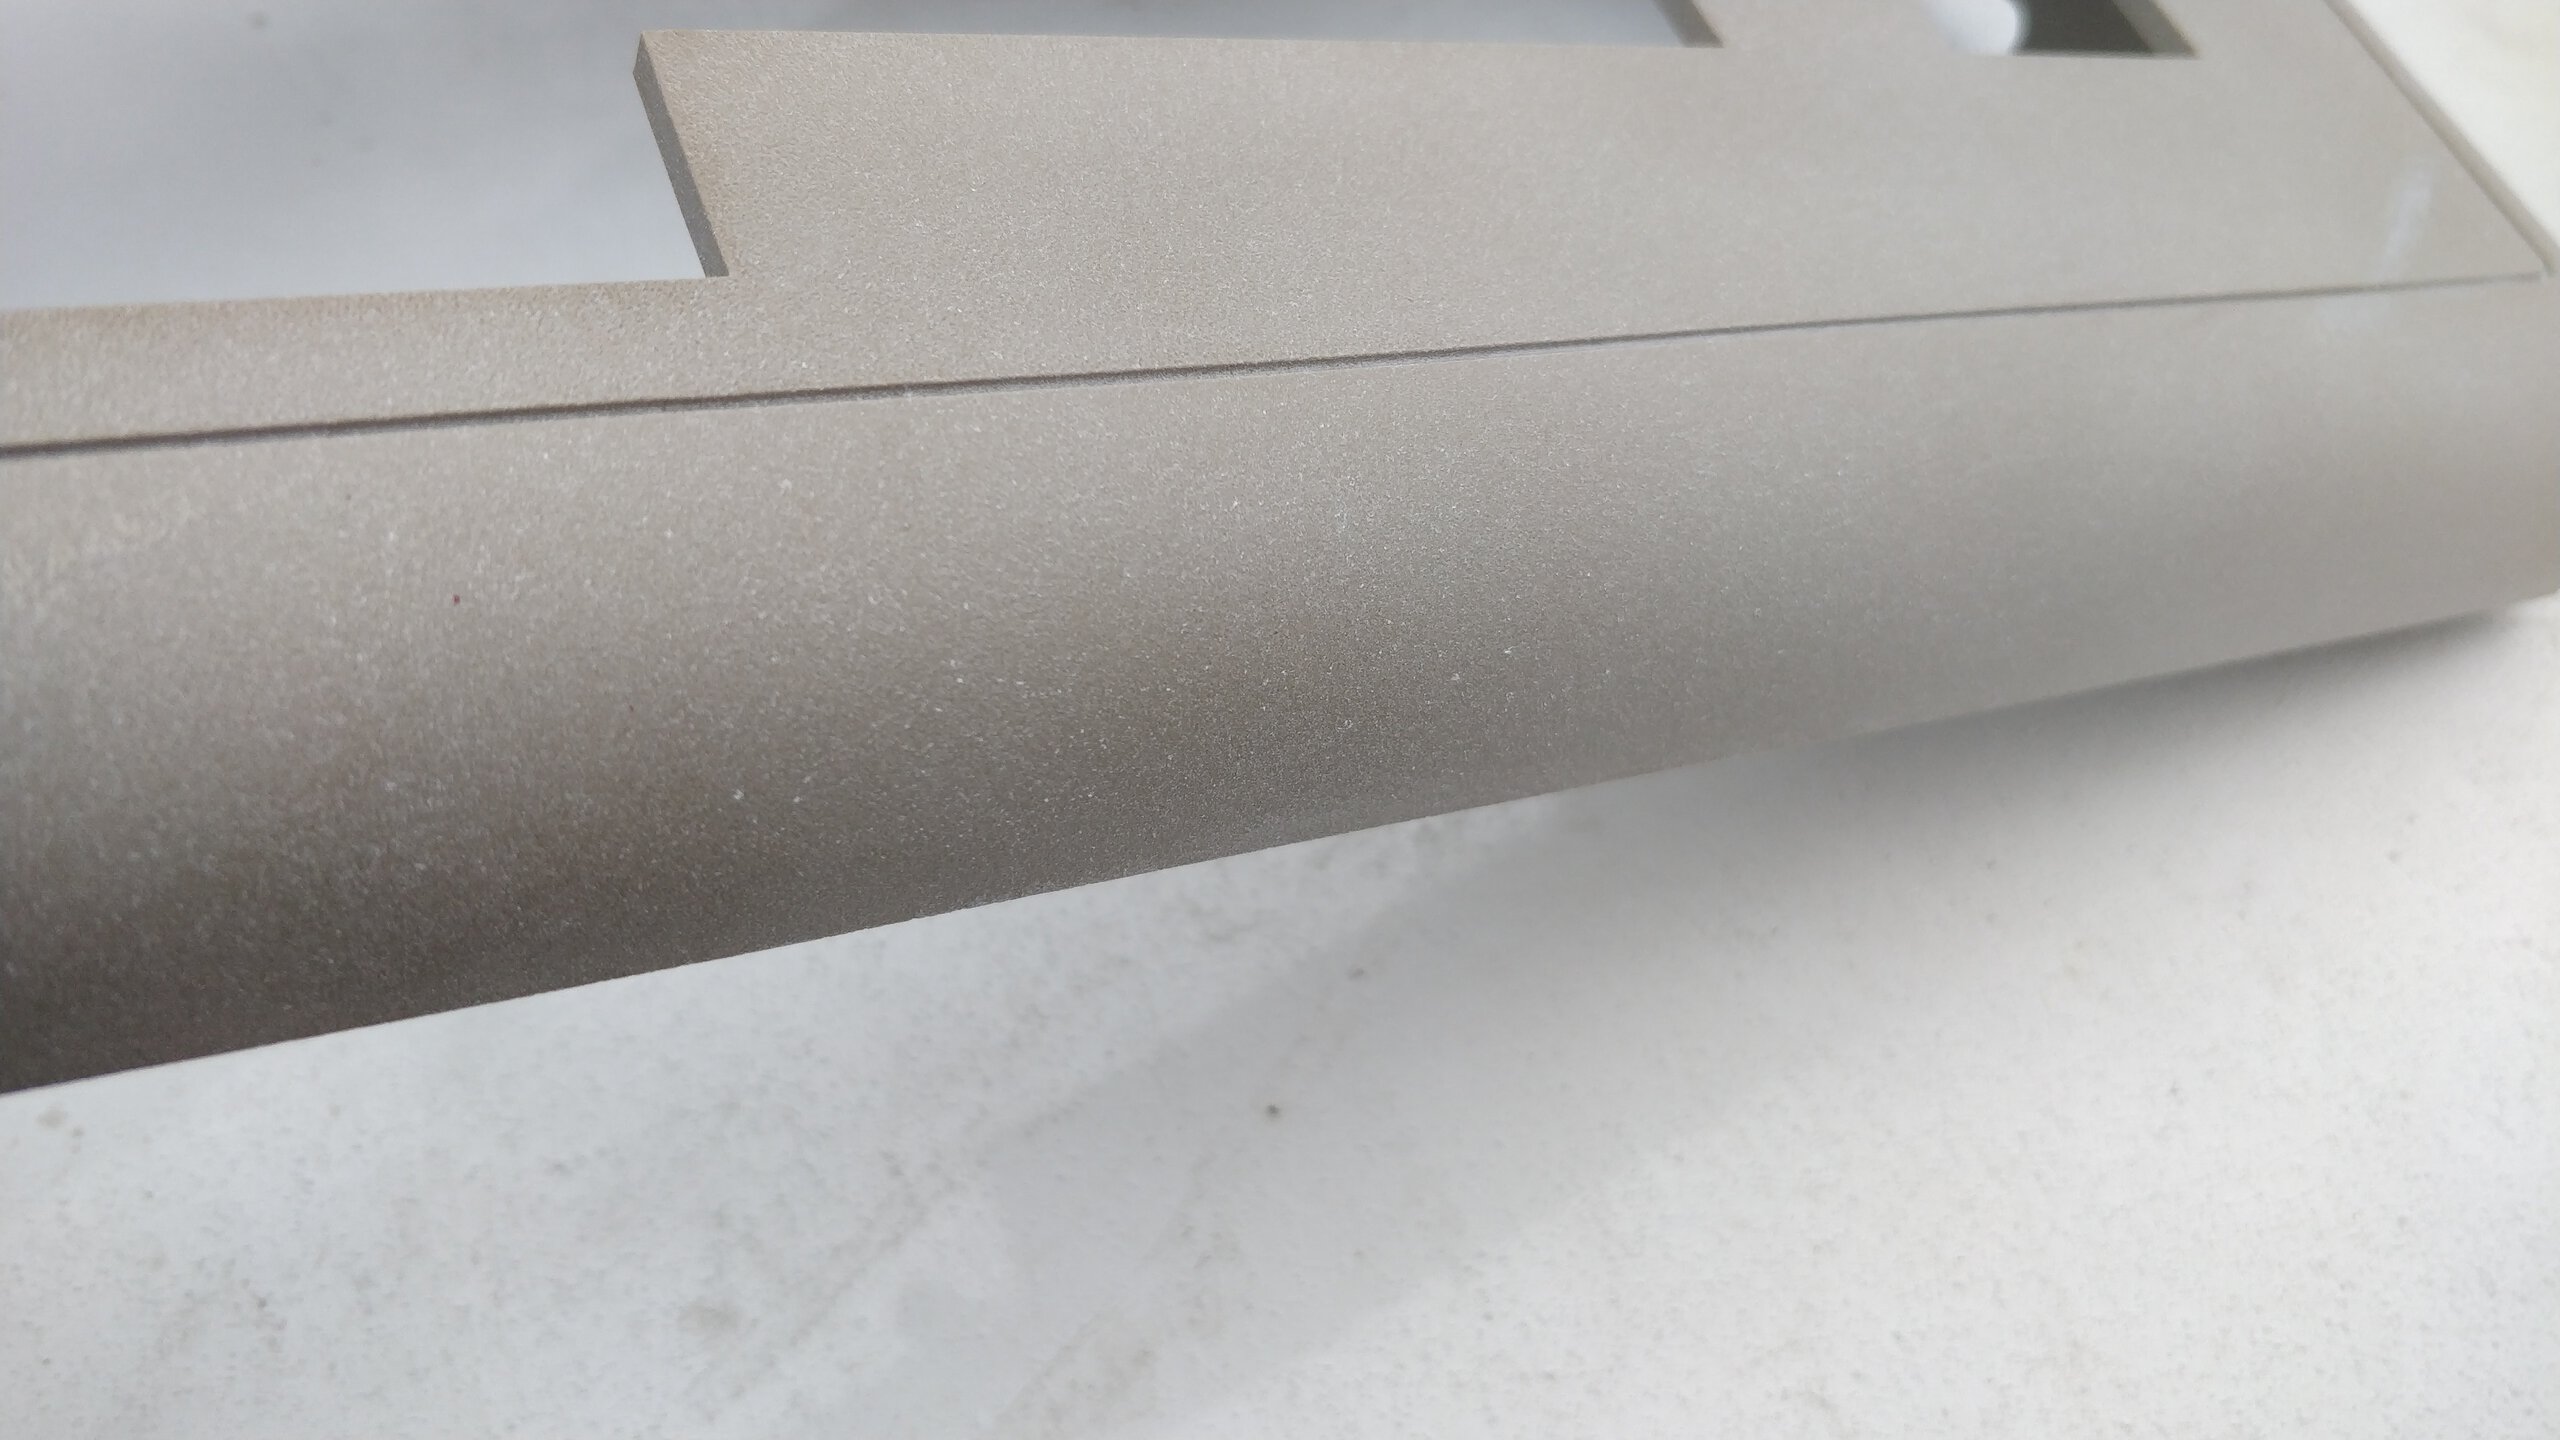
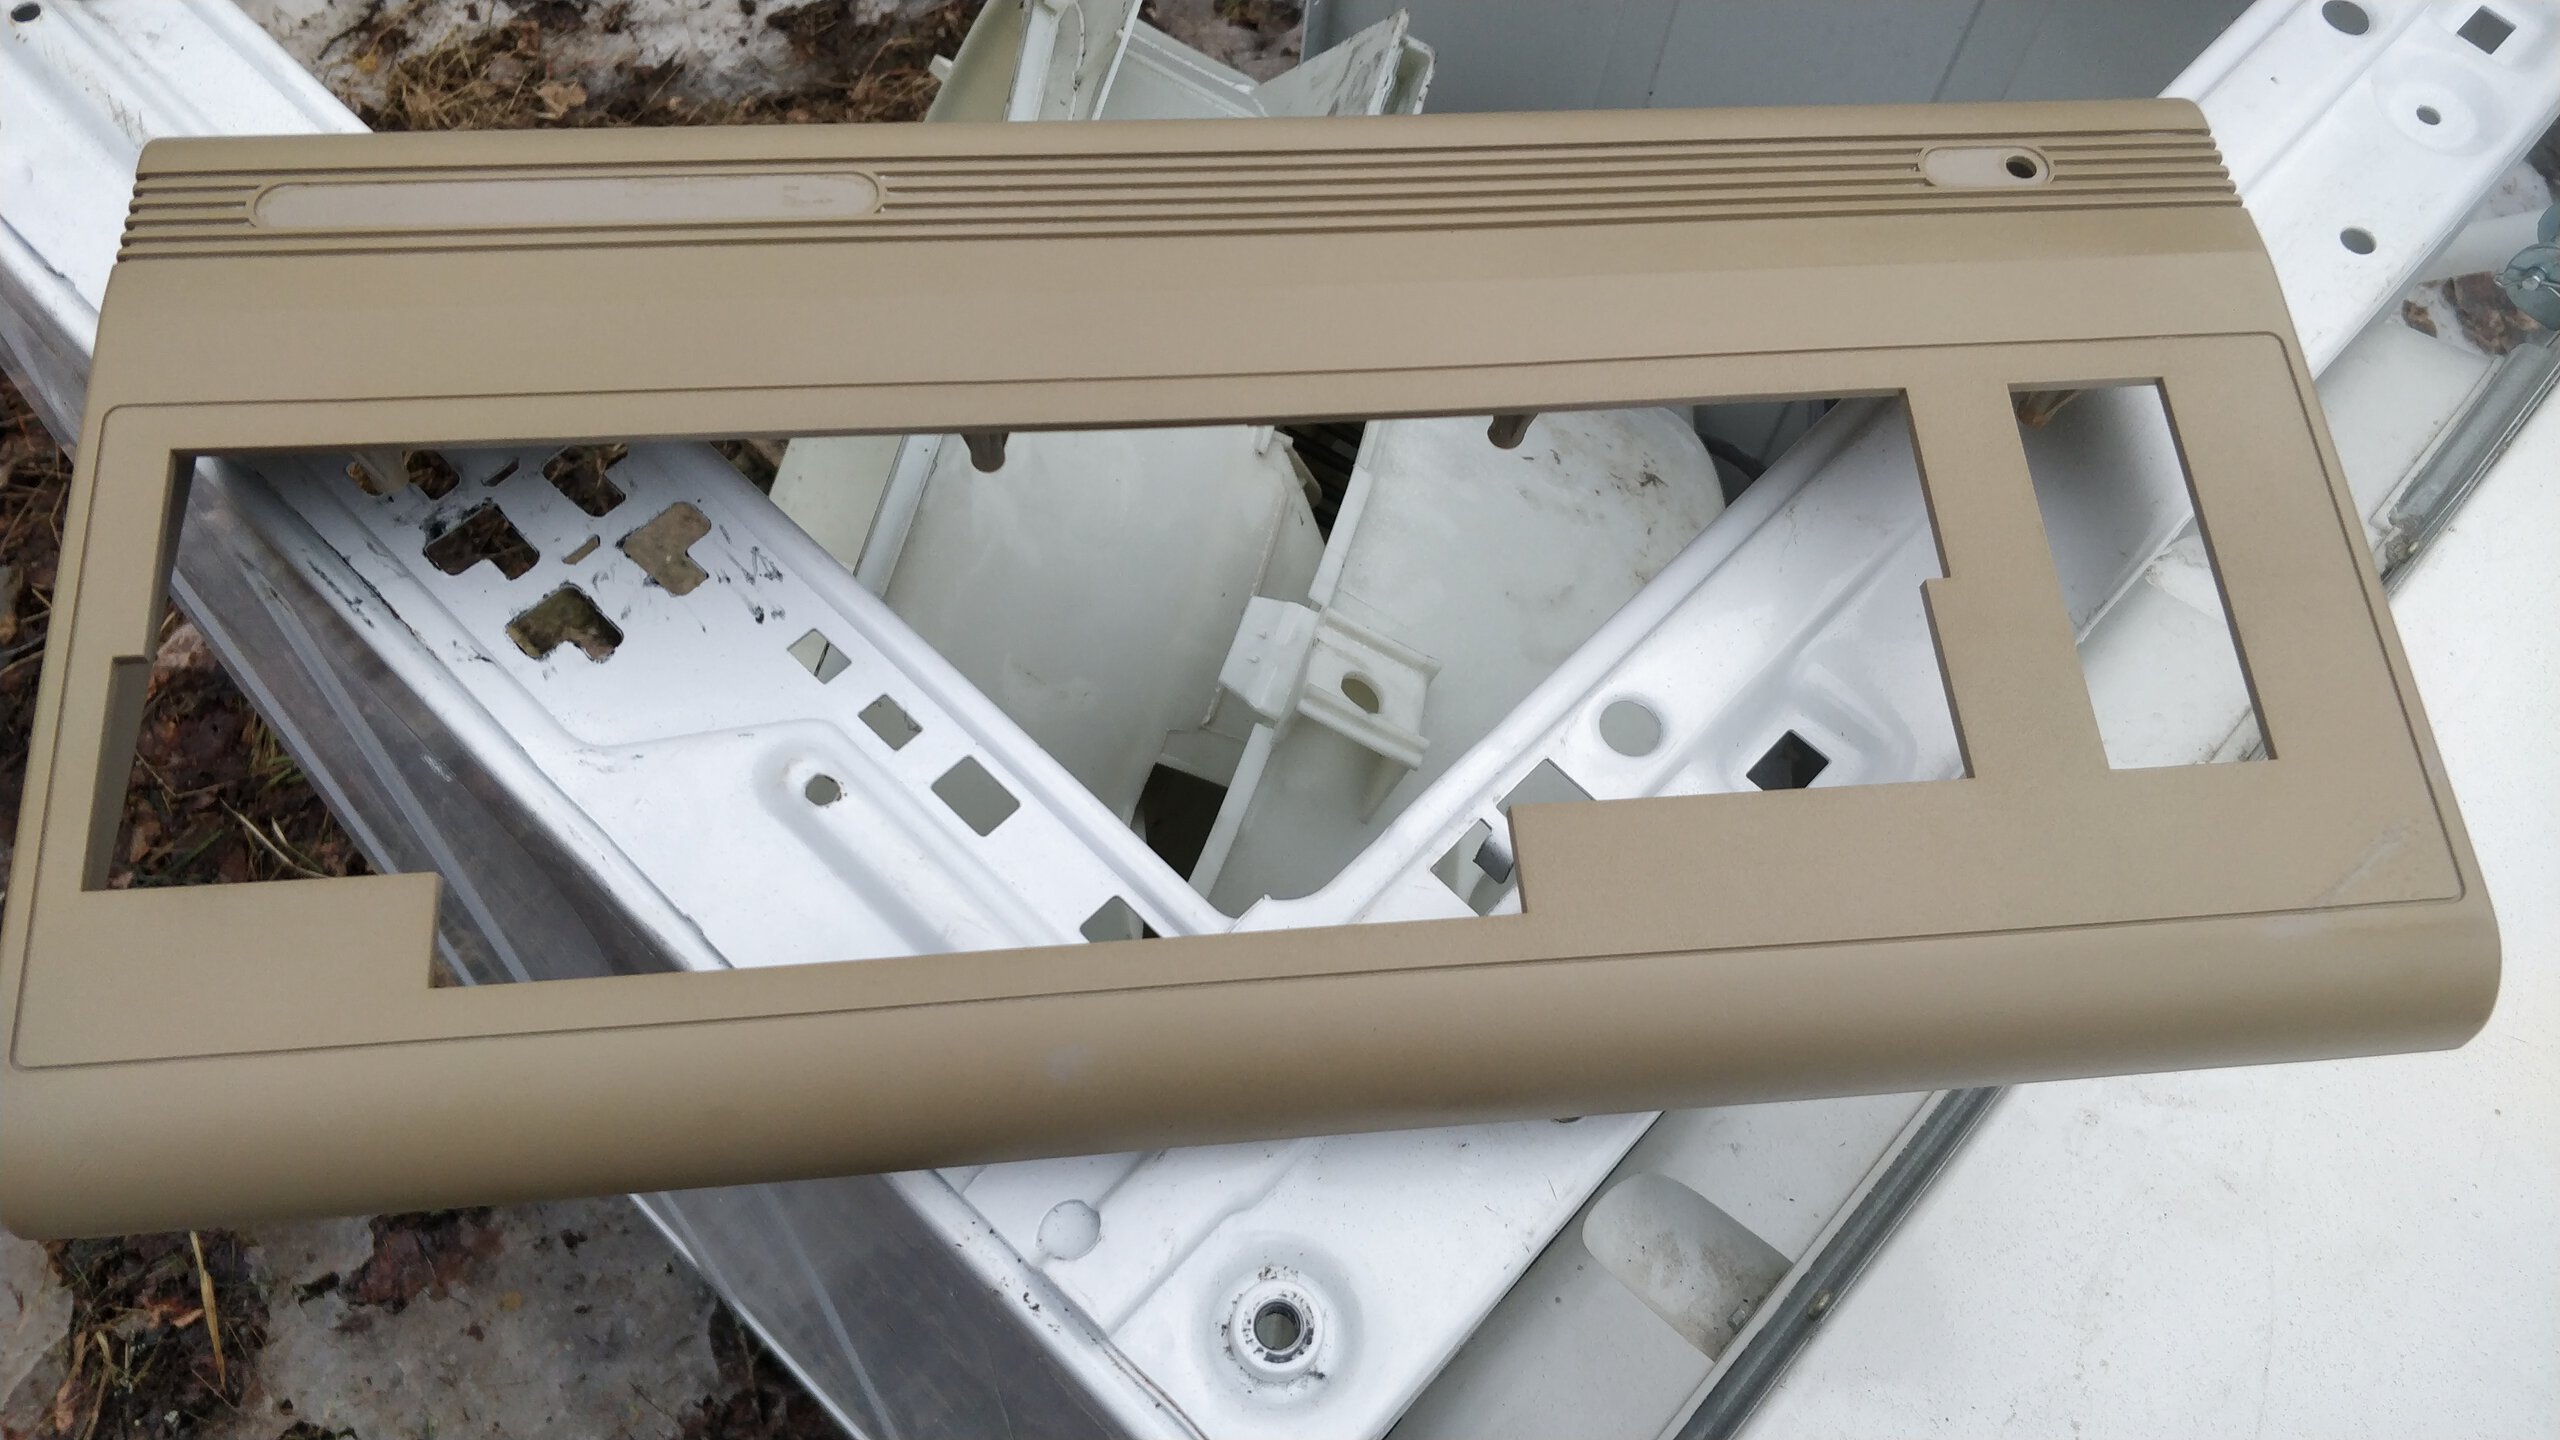
Case repair
Case received soda blasting and some light sanding to get rid of the war scars. I thought a while to paint the case, but decided to just use plastic primer and clearcoat. Some hints of the battle scars are still visible, but I think it just adds to the history of this machine.
Bottom case had some dirt marks that didn’t go away with soda blasting, so bottom case received also few layers of RAL1019 paint before clearcoat.


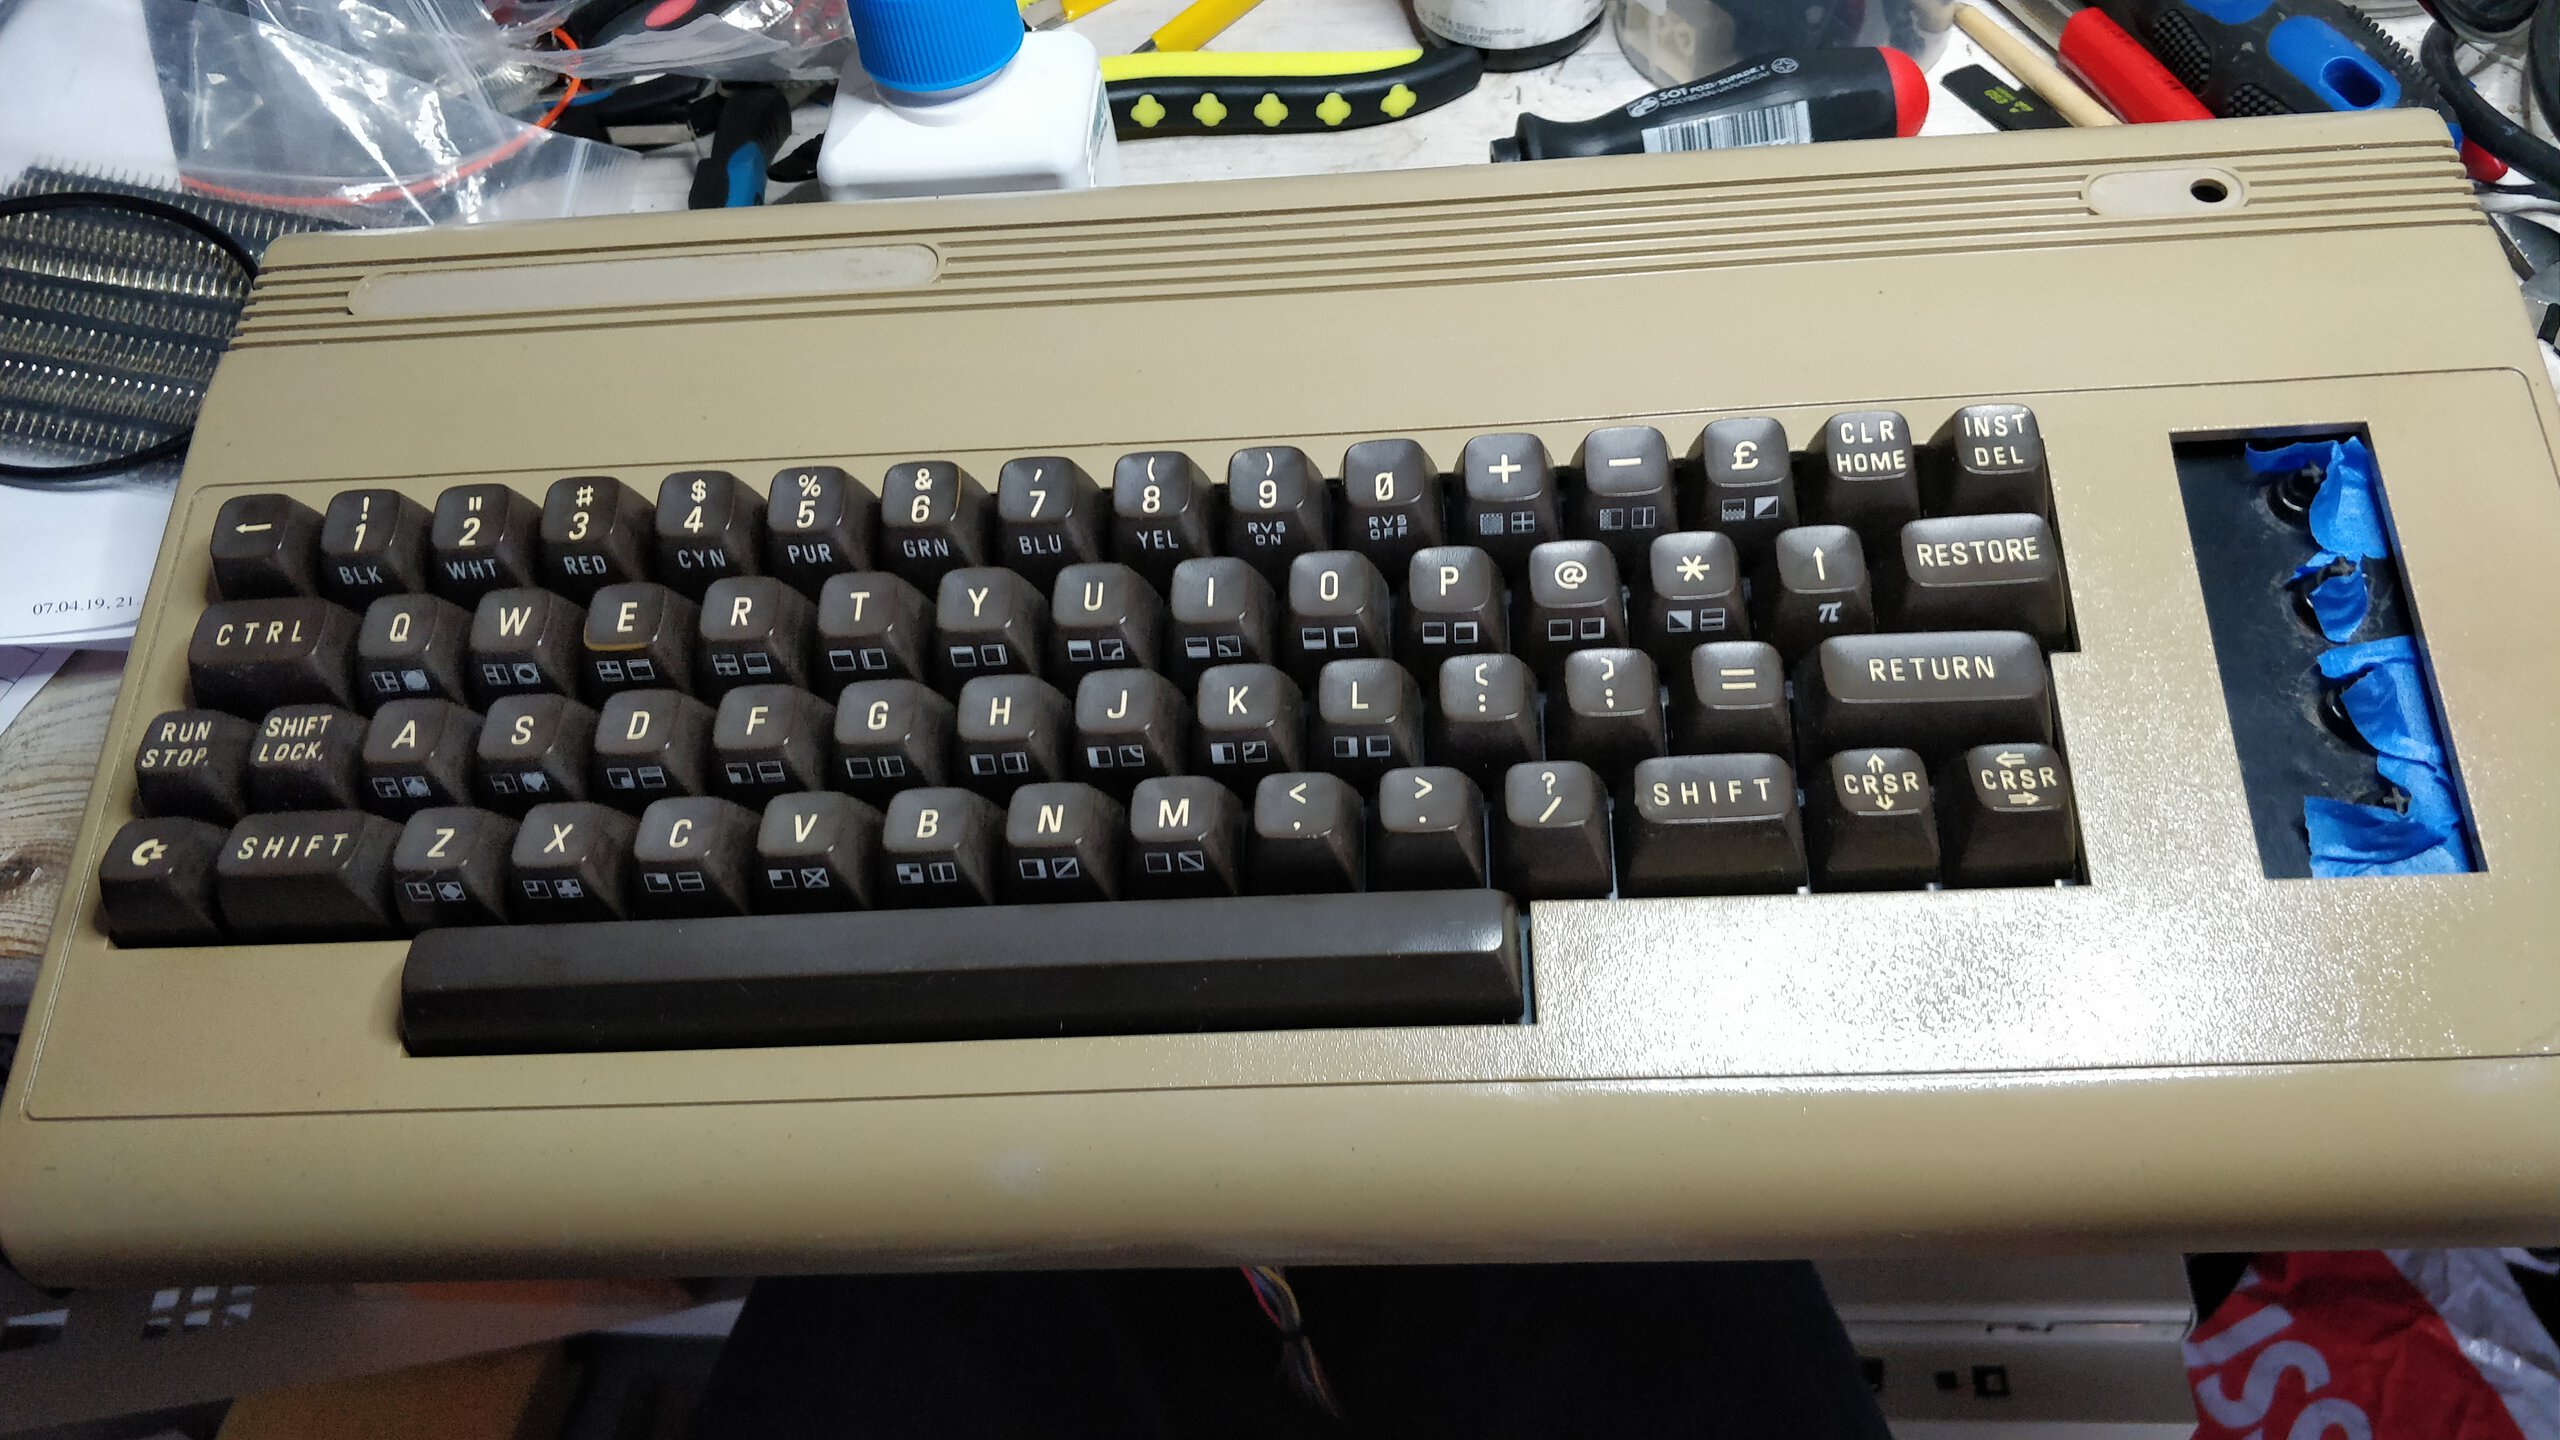
Refurbished machine
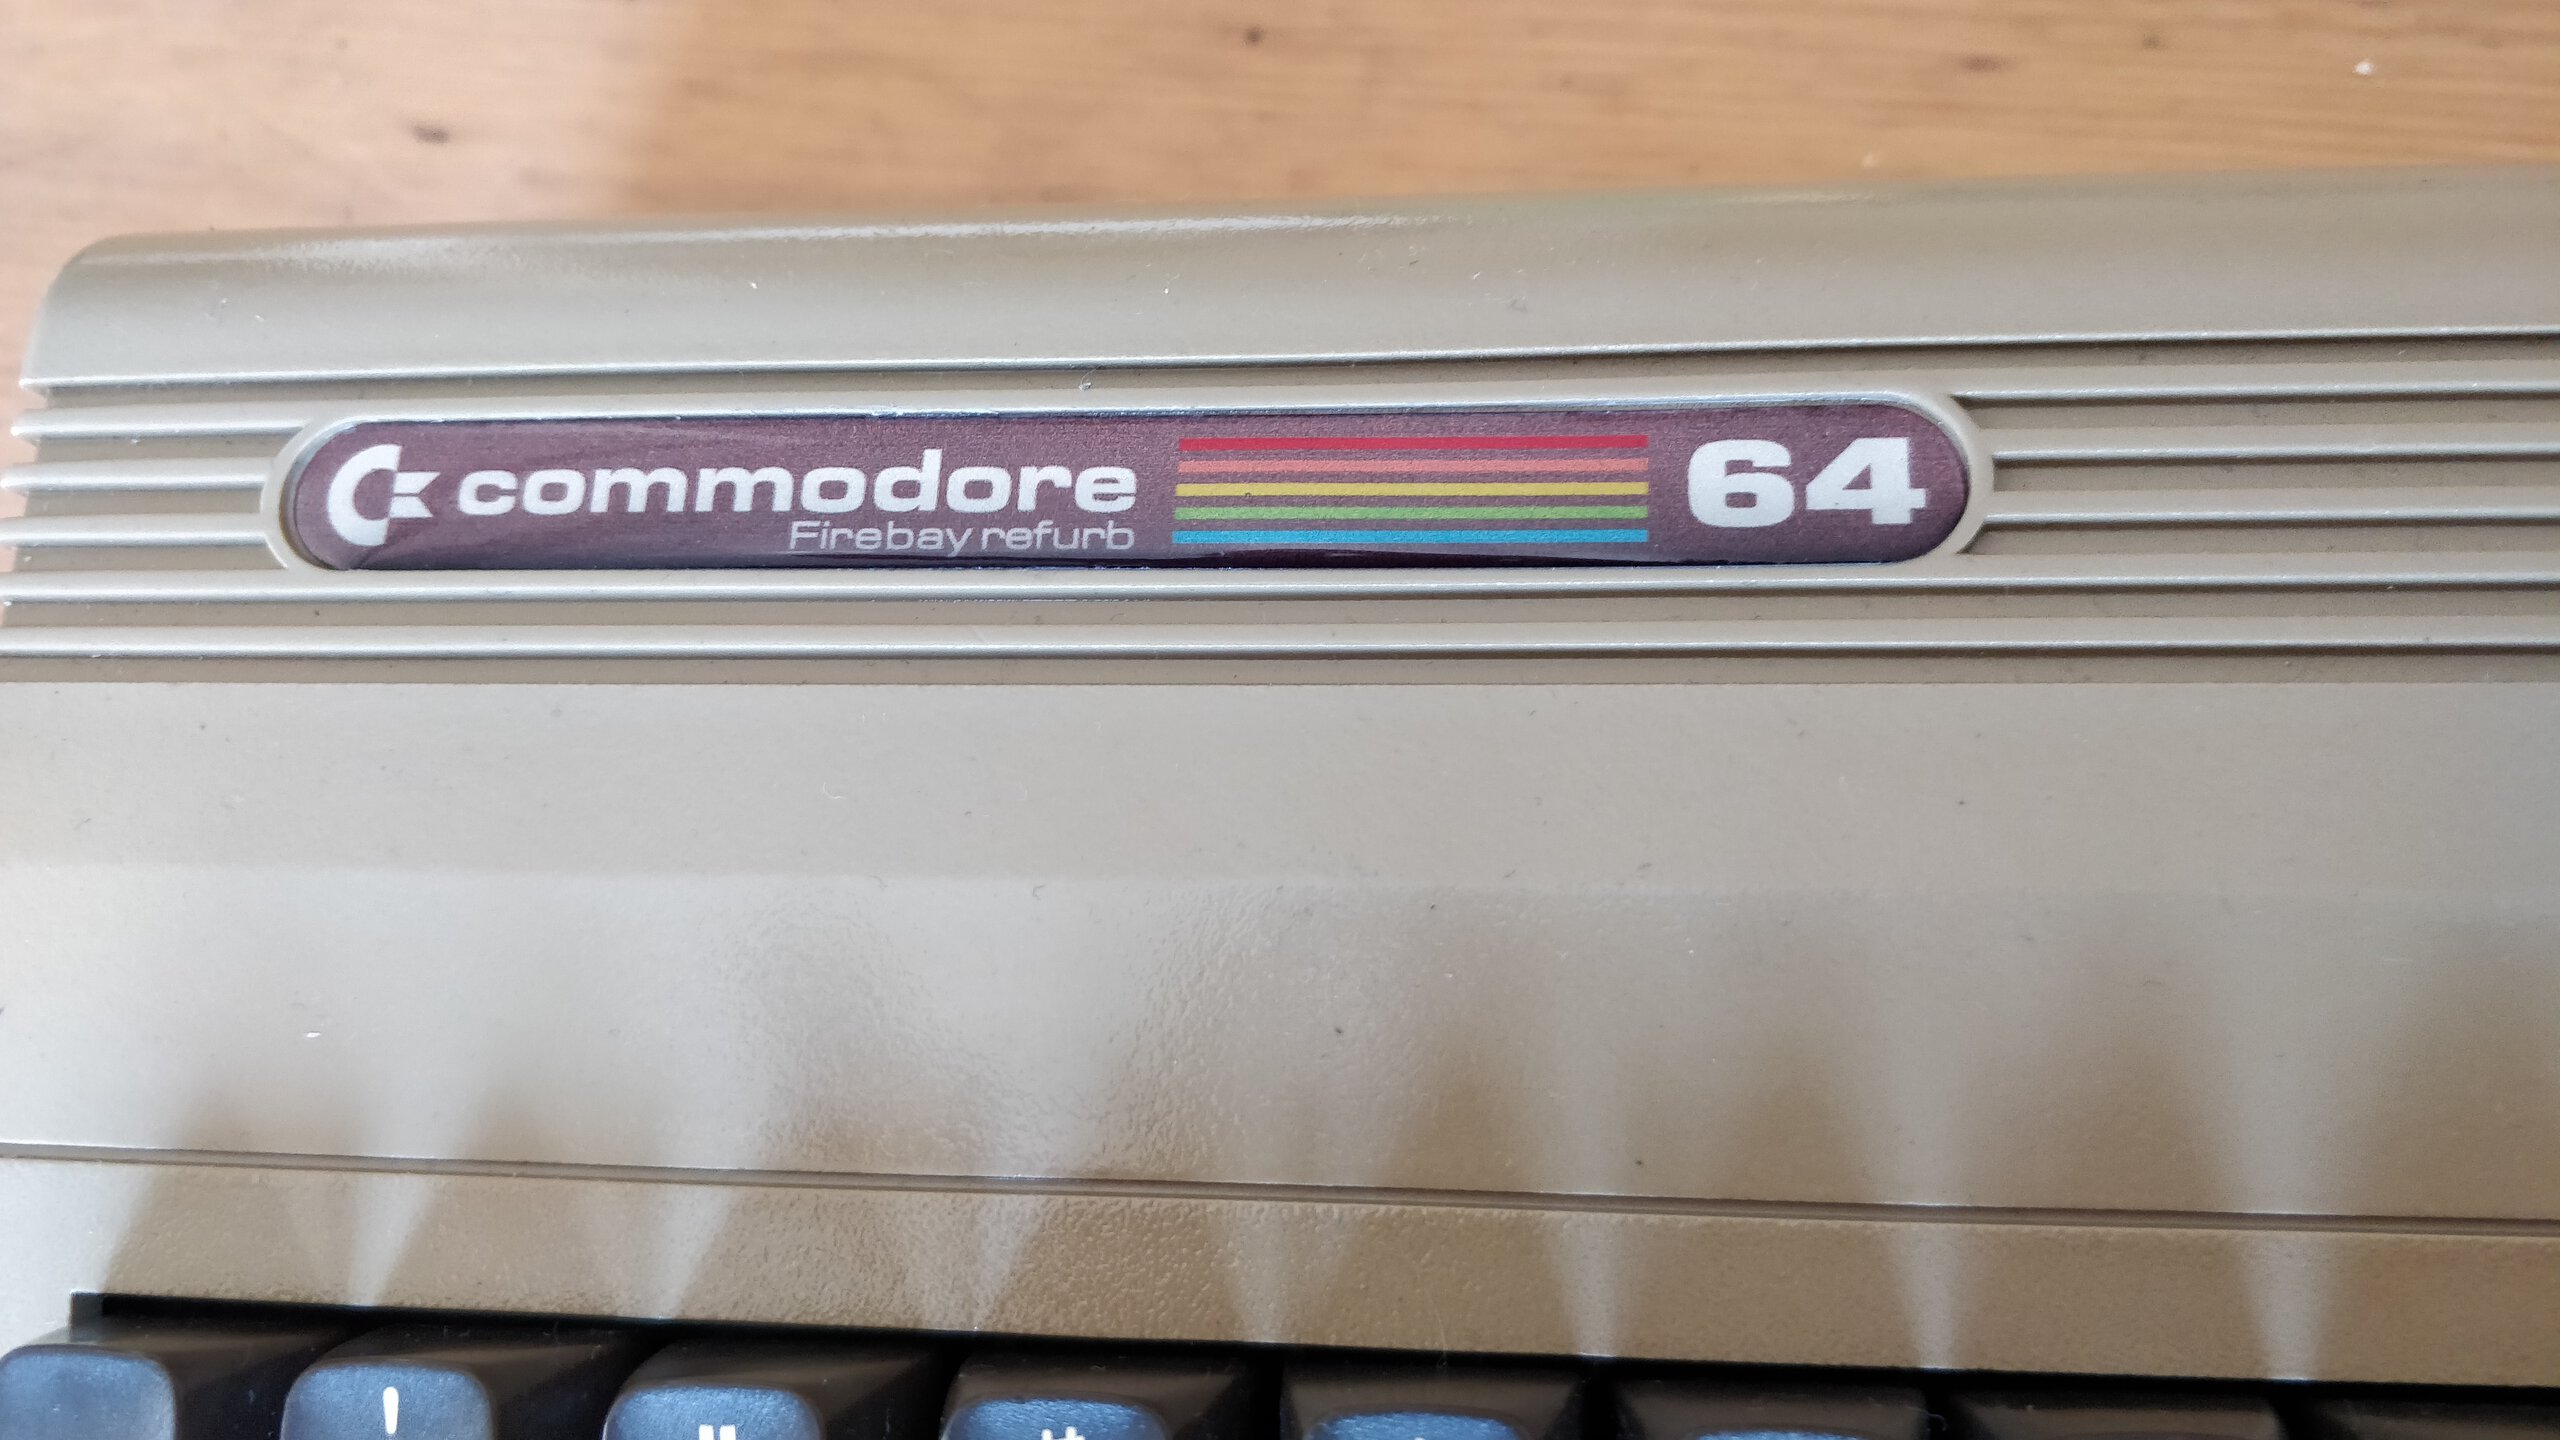
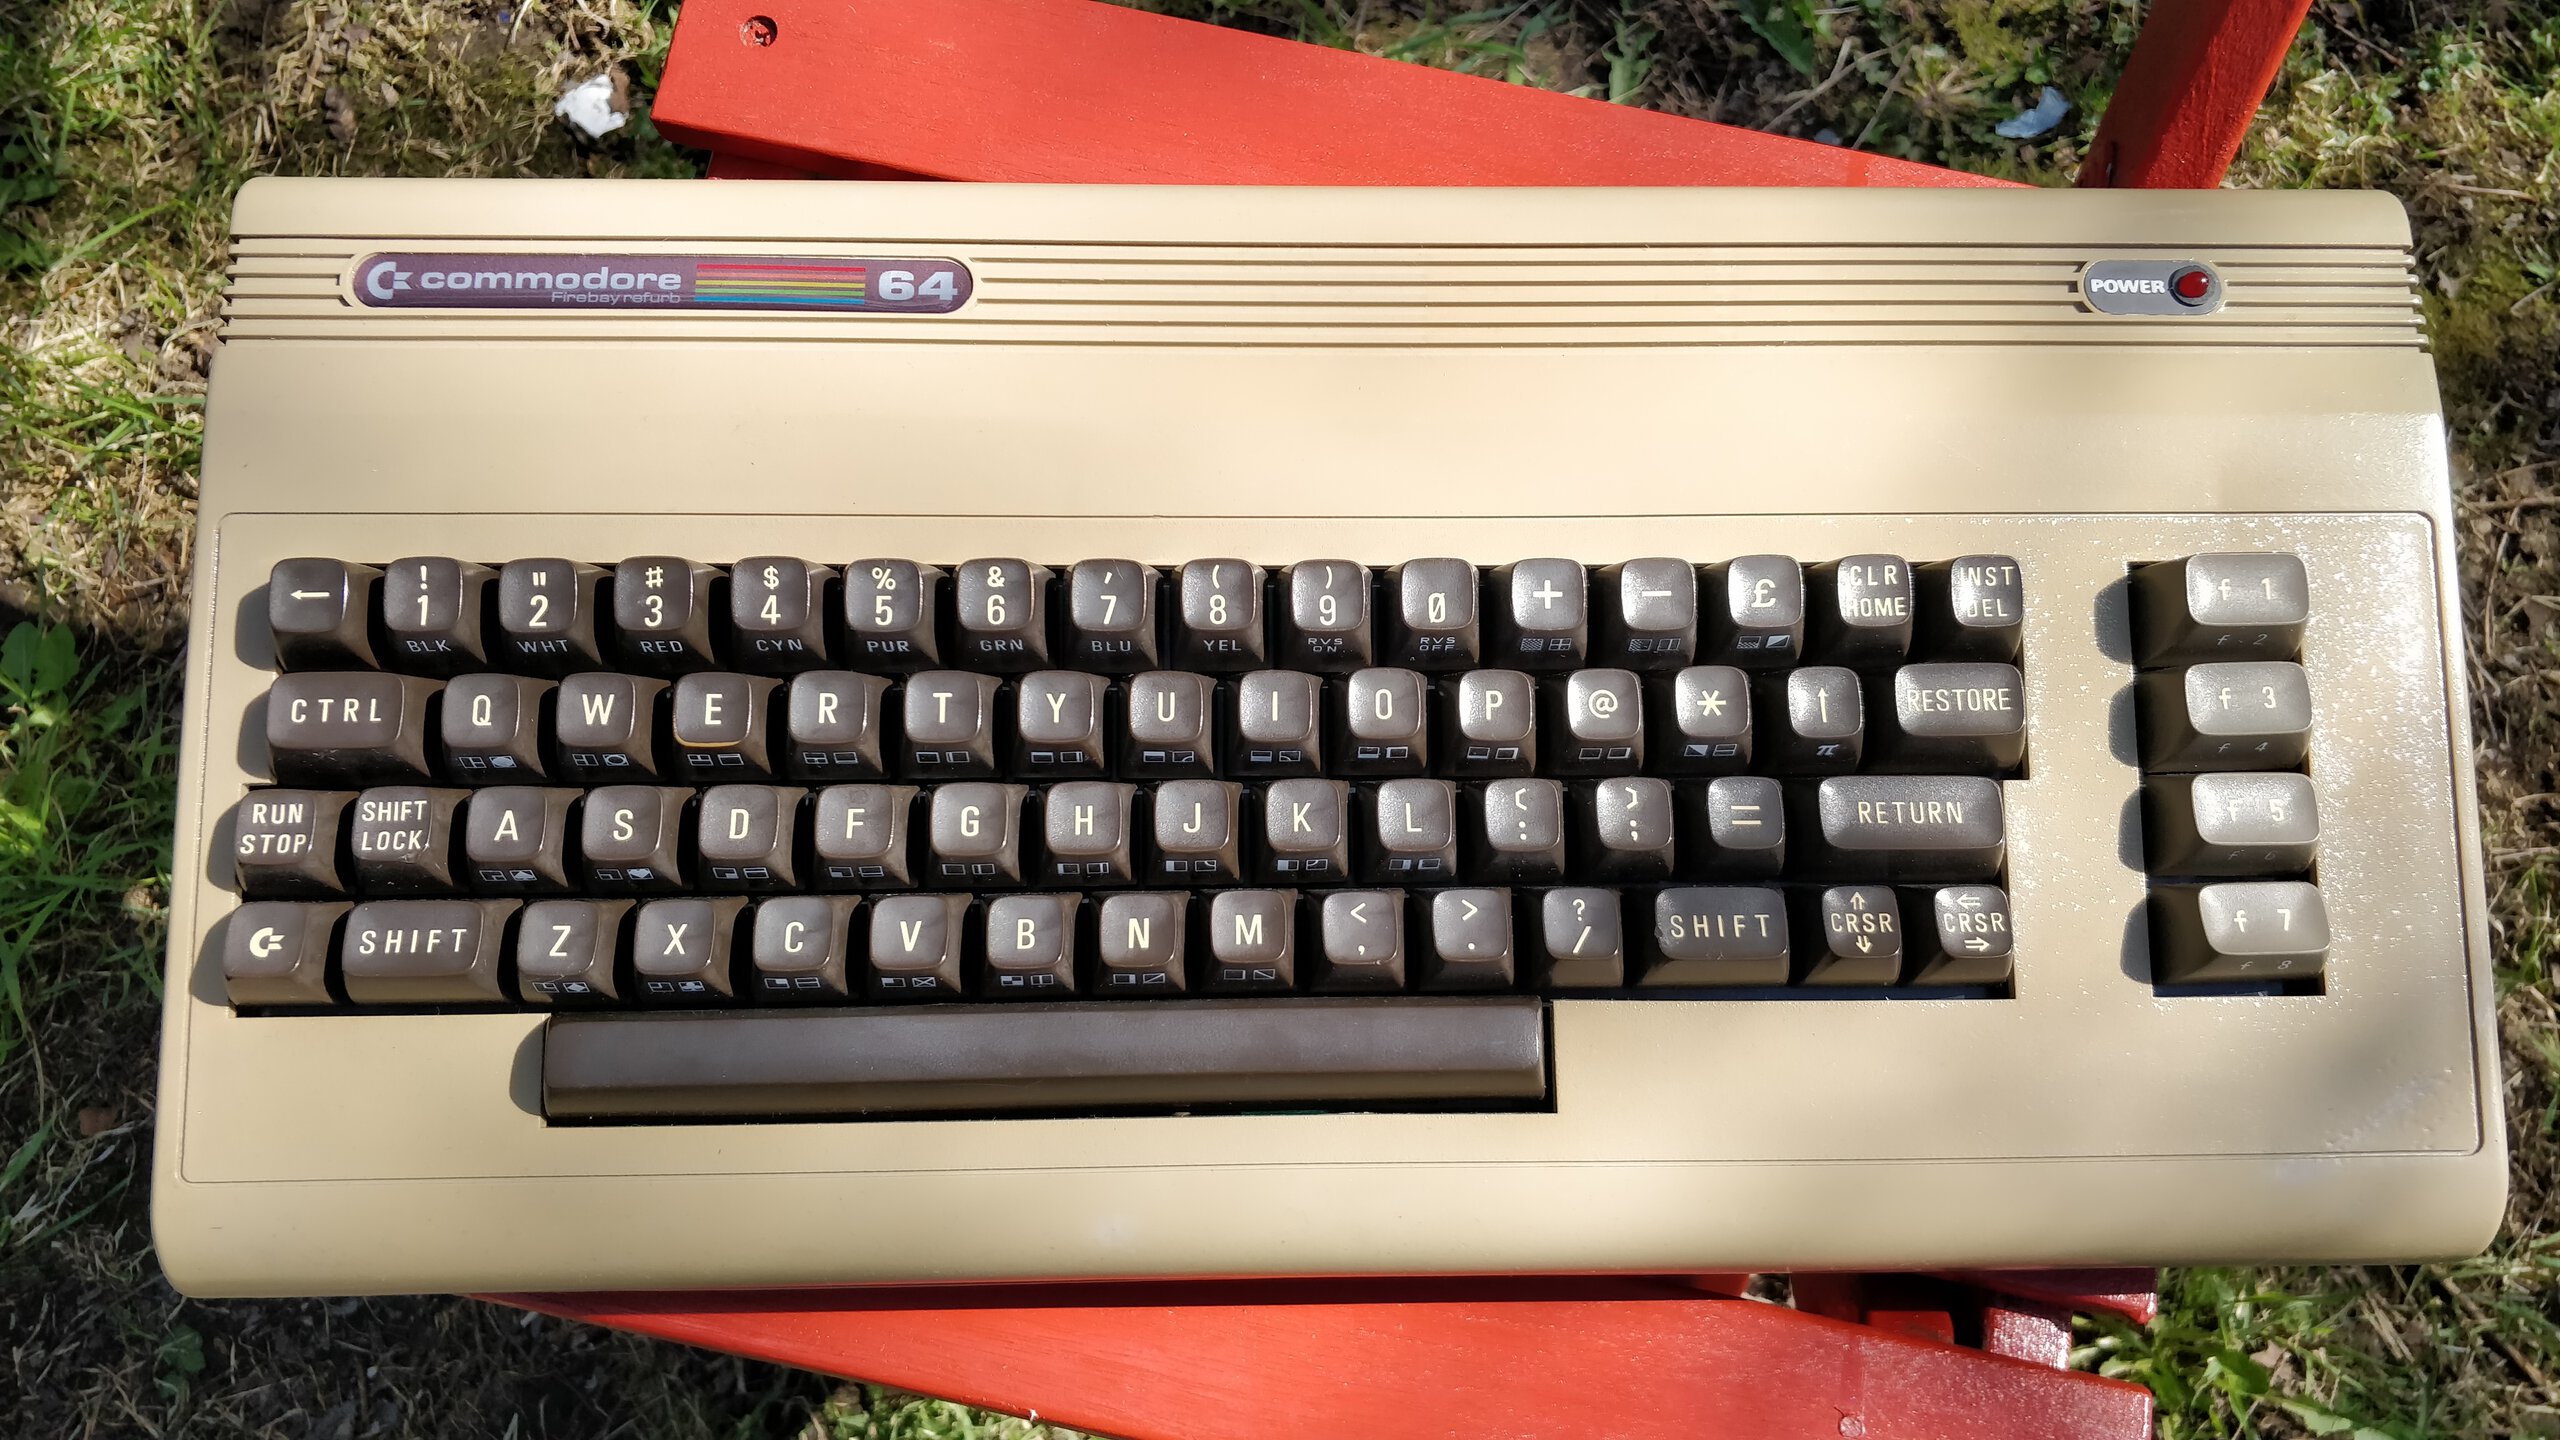
After paint and clearcoat had dried (7 days + 7 days) I started assembling everything together. I printed new serial number sticker to bottom because the old one was in bad shape after removing it, attachned new rubber feet and placed nice personal touch new badges to top case.
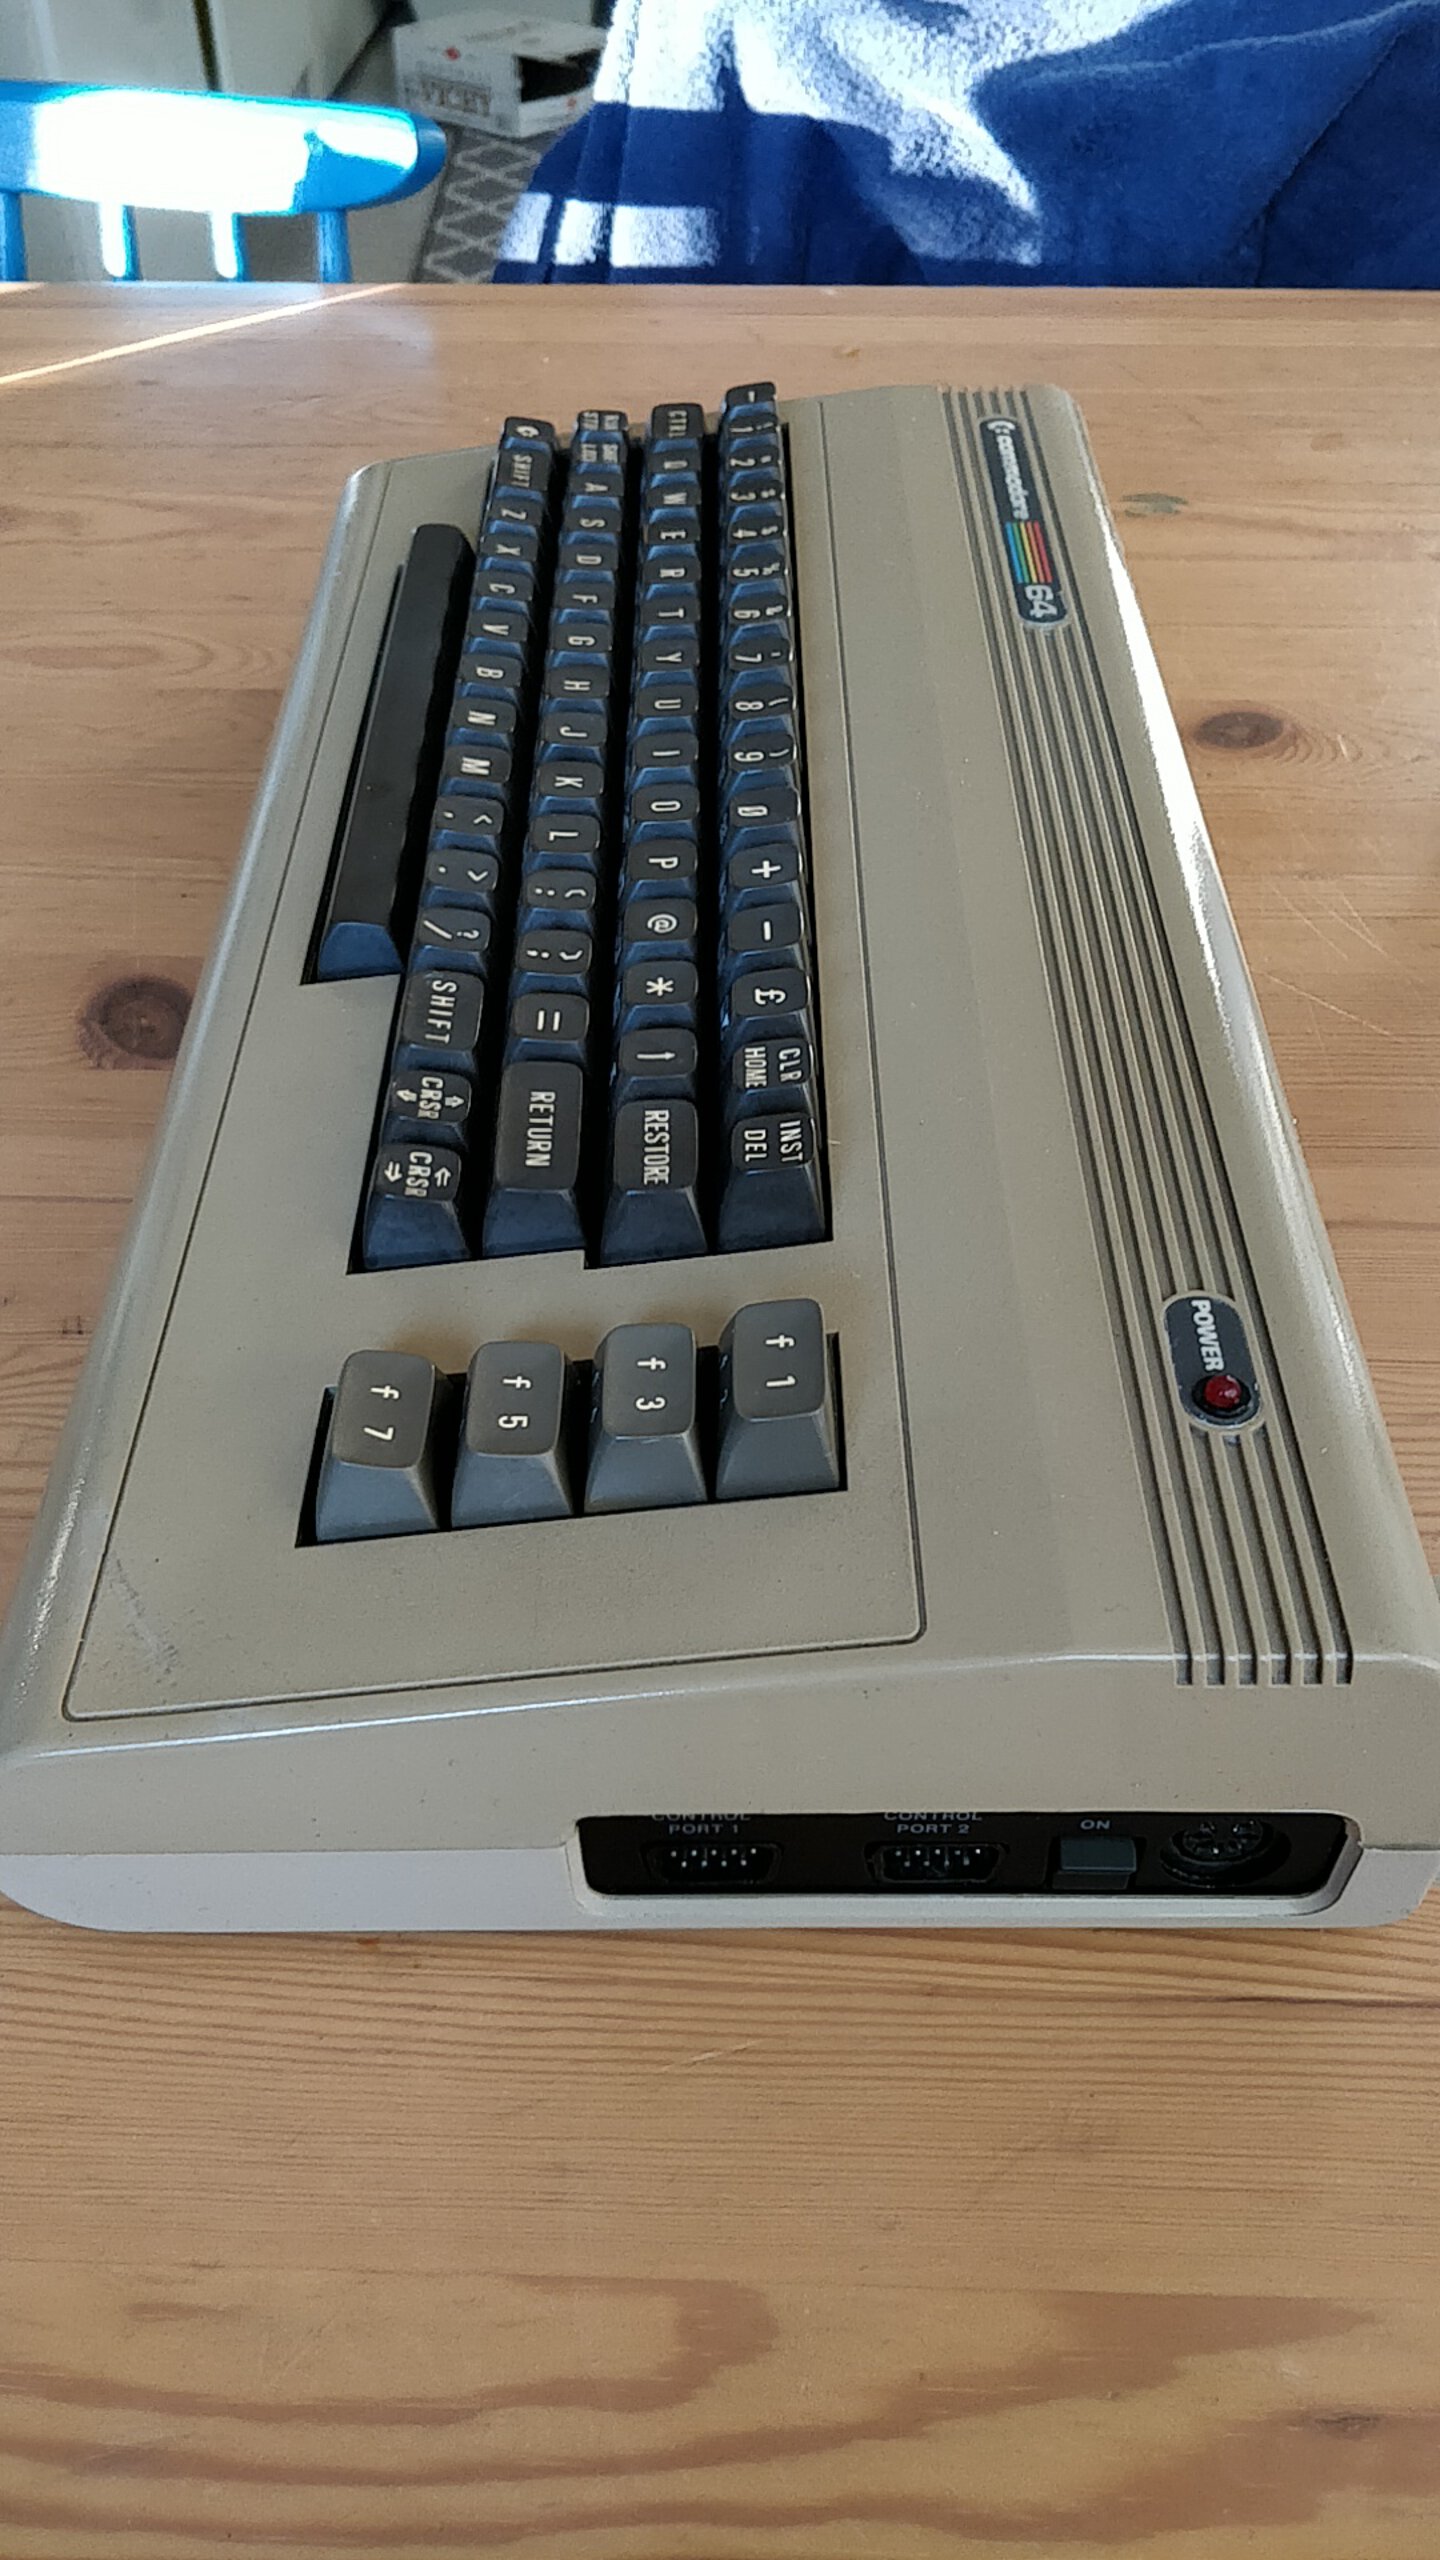


After everything had been repaired, cleaned, tested and re-assembled, I ran diagnostics for full 48 hours without any issues and I have also played lot of games during last few weeks from both floppies and cassette and everything works flawlessly, no crashes, no issues.
It’s time to sell The Rusty British Lady who made her personal Brexit in good time and give it a new home ❤️
PS. Both included datasettes also seem to work after thorough head and mechanics cleaning and new belt, nothing more had to be done to them.